Tools & materials you'll need
Affiliate linksAs an Amazon Associate FixlyGuide earns from qualifying purchases — at no extra cost to you. Prices and availability are accurate as of publication and subject to change.
Quick Answer
Achieving a professional, streak-free paint finish requires more than just a good brush. The pros focus on meticulous preparation, understanding paint characteristics like 'open time,' and employing specific application techniques such as maintaining a wet edge and using proper roller pressure. Neglecting these details often leads to visible lap marks and an uneven appearance that screams 'amateur.' This guide will walk you through the precise steps to replicate a pro's results, ensuring a flawless finish every time.
The Problem
You've spent hours priming, taping, and carefully applying paint, only to step back and notice unsettling streaks, roller marks, or an overall uneven finish on your freshly painted walls. The light catches the imperfections, highlighting every lap mark and blotchy section, leaving you frustrated and wondering why your efforts don't match the smooth, uniform look achieved by professional painters. This common problem stems from a combination of inadequate surface preparation, incorrect paint application techniques, and sometimes, the wrong tools or paint choice. It's not just about getting paint on the wall; it's about how it gets there.
How It Works
A professional paint finish isn't magic; it's a science of adhesion, leveling, and consistent film thickness. When you apply liquid paint to a surface, several processes begin simultaneously. First, the paint needs to adhere properly – this is where surface preparation and primer come in. Dust, grease, or an unprimed surface will lead to poor adhesion, causing flaking or an uneven sheen.
Next, the paint starts to 'level.' High-quality paints contain additives that allow the wet paint film to flow out, minimizing brush strokes and roller stipple. However, this leveling only works effectively within the paint's 'open time' – the period before the paint begins to dry and become tacky. If you try to re-work paint outside its open time, you'll disrupt this leveling process, leading to streaks and lap marks.
Rollers and brushes create thousands of tiny ridges and valleys as they apply paint. For a smooth finish, the paint needs to flow into these imperfections. Proper roller technique, which involves consistent pressure and overlapping passes, ensures an even coating. Too much pressure can squeeze paint out from under the roller, creating thin spots, while too little pressure can leave too much texture. Similarly, brushes should apply a uniform film without overworking the paint, which introduces air bubbles and extends drying time, hindering proper leveling. The goal is to apply enough paint to achieve proper coverage and leveling, but not so much that it sags or runs, all within the paint's crucial open time.
Step-by-Step Fix
1. Prepare Your Canvas – **Thorough cleaning is non-negotiable.
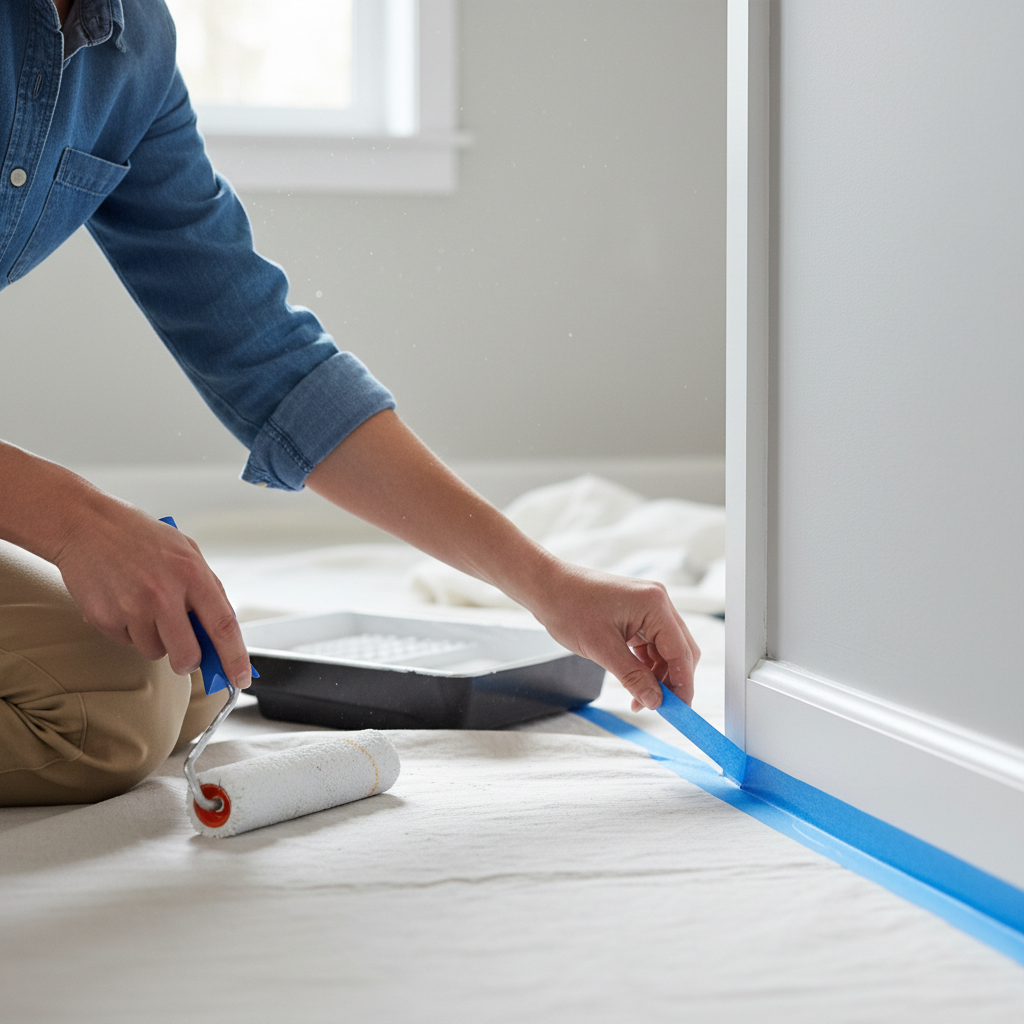
Before any paint can touch the wall, a clean, smooth surface is paramount. Dust, grime, and cobwebs will prevent proper adhesion and create bumps. Begin by removing all switch plates, outlet covers, and light fixtures. Patch any holes or cracks with spackle, allowing it to dry completely, then sand smooth with 120-grit sandpaper. Wipe down all walls, baseboards, and trim with a damp cloth or a mixture of warm water and a small amount of mild detergent. Rinse with clean water and let dry completely. Cover floors with drop cloths and protect furniture or fixtures with plastic sheeting. Use painter's tape to mask off trim, baseboards, and ceilings where crisp lines are desired. Ensure the tape is pressed firmly to prevent bleed-through.
2. Prime for Perfection – Don't skip this crucial step.
Priming isn't just for new drywall; it's essential for consistent color and adhesion, especially when changing colors dramatically or painting over glossy surfaces. A good primer creates a uniform base, seals porous surfaces, and offers better adhesion for your finish coats. Apply one even coat of high-quality primer using a roller for large areas and a brush for edges and corners. Allow the primer to dry thoroughly according to the manufacturer's instructions, typically 2-4 hours. If painting over a dark color with a lighter one, a second coat of primer might be beneficial. This also helps to ensure the true color of your topcoat comes through.
3. Choose the Right Tools & Paint – Quality makes a difference.
Professional results demand quality tools. Invest in a good lamb's wool or synthetic roller cover (3/8-inch nap is versatile for most walls) and a high-quality angled paintbrush for cutting in. Always use a paint tray with a liner for easy cleanup. Select a premium interior latex paint for most walls – it offers better coverage, durability, and leveling properties. Consider a paint with a longer 'open time' if you're working in a warm environment or painting large sections, as this gives you more time to maintain a wet edge and avoid lap marks. If painting a bathroom or kitchen, opt for a mildew-resistant, washable paint.
4. Master the Cut-In – Precision at the edges.
Cutting in is the art of painting neat lines along edges where walls meet ceilings, trim, and corners. Load your angled brush with about an inch of paint. Starting about an inch away from the edge, brush parallel to the line, then gradually move the brush closer, allowing the bristles to flex and feather the paint to the exact edge. Don't overload the brush, and avoid pressing too hard, which can cause drips. Work in manageable sections, typically 2-3 feet at a time, and maintain a consistent hand motion. The goal is a clean, uniform line without visible brushstrokes or paint bleed onto adjacent surfaces.
5. Roll With Confidence – Maintain a wet edge.
This is where many DIYers falter. Load your roller evenly, ensuring the entire nap is saturated but not dripping. Start by rolling a 'W' or 'M' pattern on the wall, then fill it in with vertical passes without lifting the roller. The key is to maintain a 'wet edge,' meaning you should always overlap your previous stroke while the paint is still wet. This prevents lap marks. Work in 3-4 foot sections, overlapping each new section into the previously painted wet section. Always roll from floor to ceiling (or trim to ceiling) in one continuous pass for each vertical stroke to ensure uniform coverage. Apply medium, consistent pressure – too much pressure will thin the paint, too little will leave texture.
6. Second Coat Strategy – Patience and consistency for coverage.
Most walls benefit from two coats of paint for full coverage and a durable finish. Allow the first coat to dry completely according to the manufacturer's recommendations before applying the second. Rushing this step can pull up the first coat or lead to uneven results. When applying the second coat, repeat the cutting-in and rolling techniques, paying even closer attention to maintaining a wet edge and even coverage. Inspect the walls carefully in good lighting after the first coat to identify any thin spots or imperfections that need extra attention on the second pass. If you're working in a very dry or warm environment, increasing the humidity slightly (e.g., using a humidifier in the room) can extend the paint's open time.
7. Finish Flawlessly – The reveal.
Once your final coat is applied and still slightly tacky but not fully dry, carefully remove the painter's tape. Pulling the tape at a 45-degree angle will help create a crisp line and prevent pulling up dried paint. If you wait until the paint is completely dry, the paint film can cure over the tape, and removing it can tear chunks of paint off the wall. Reinstall all switch plates, outlet covers, and light fixtures. Inspect the room in natural light and artificial light to catch any missed spots or imperfections. If you find minor imperfections, resist the urge to do touch-ups with a brush on a fully dry wall, as this often creates noticeable 'flashing' (differences in sheen). Instead, either leave minor flaws or plan to re-coat the entire section if necessary.
Common Causes
- Poor Surface Preparation: Dust, dirt, grease, or an unsanded glossy surface prevents paint from adhering evenly, leading to blotches and poor coverage.
- Skipping Primer: Without primer, paint is absorbed unevenly, especially on bare or patched drywall, resulting in inconsistent color and sheen.
- Improper Roller Technique: Applying too much or too little pressure, not maintaining a wet edge, or overworking the paint causes streaks, lap marks, and uneven texture.
- Low-Quality Tools: Cheap rollers shed fibers and provide poor paint release. Inexpensive brushes leave noticeable brushstrokes and can't hold a sharp line.
- Wrong Paint for the Job: Using the wrong sheen (e.g., flat paint in a high-traffic area) or paint without good leveling properties exacerbates imperfections.
- Rushing Drying Times: Applying subsequent coats before the previous one is fully dry leads to adhesion issues, clumping, and an uneven finish.
- Painting in Extreme Conditions: Very hot or cold temperatures, or low humidity, can drastically alter the paint's open time, making it harder to work with and achieve a smooth finish.
Common Mistakes
- Not cleaning walls thoroughly: Even seemingly clean walls harbor dust and grime that will compromise paint adhesion. Always wipe down with a damp cloth and mild soap.
- Using cheap painter's tape or not pressing it firmly: Leads to paint bleed-through under the tape, resulting in fuzzy lines on trim and ceilings. Invest in FrogTape or similar quality and press all edges down.
- Overloading the roller or brush: Causes drips, runs, and thick, uneven coats that take longer to dry and are prone to defects. Load just enough to cover without dripping.
- **Trying to
Related Articles
Keep troubleshooting with these hand-picked guides from FixlyGuide:
- The 7 Mistakes That Ruin a Perfect Paint Job (and How to Fix Them) — Painting a room like a pro isn't just about technique—it's about avoiding common pitfalls that lead to streaks, drips, and uneven finishes.…
- The 7 Critical Mistakes Almost Everyone Makes When Painting a Room — Unlock the secrets to a flawless, professional-looking paint job by avoiding common pitfalls and mastering essential techniques for perfect…
- The 4-Inch Drywall Hole Fix: Why Spackle Alone Always Fails — Fix a small drywall hole (up to 4 inches) properly with a simple patch kit and avoid common mistakes that lead to visible repairs.
- The 7 Mistakes That Ruin a Paint Job (Before You Even Open the Can) — Proper wall preparation is the unseen foundation of a flawless interior paint job, preventing issues like peeling, uneven finishes, and vis…
- The #1 Mistake Homeowners Make Installing Floating Shelves (and How to Fix It) — Discover the most common error DIYers make when mounting floating shelves into drywall and how to ensure your shelves are sturdy and secure.
- The #1 Mistake Homeowners Make When Sealing a Deck (and How to Fix It) — Many homeowners make a critical error that prevents their deck sealer from lasting, leading to premature rot and mildew. Learn the right wa…
Recommended for DIYers & woodworkers
Sponsored
The Top 20 Tools for Workshops of Any Budget
No stationary machines or power tools required — plus 3 fundamental tools that can't be bought at any price.
Get the free guide
Ted's Woodworking — The #1 Woodworking Resource
Detailed instructions, dimensioned drawings, materials & cutting lists, and 3D schematics for every skill level.
See the plansSponsored: links above are affiliate links. FixlyGuide may earn a commission on qualifying purchases — at no extra cost to you.
Frequently asked questions
How do pros get smooth walls when painting?+
Pros achieve smooth walls through meticulous surface preparation (cleaning, patching, sanding), using high-quality primers and paints, and employing specific application techniques. Key among these are maintaining a wet edge with a roller to prevent lap marks, using consistent roller pressure, and applying thin, even coats, allowing each to dry fully.
What is the secret to getting a perfect paint finish?+
The secret to a perfect paint finish lies in preparation and technique. This includes thoroughly cleaning and priming surfaces, using quality brushes and rollers, and mastering application methods like 'cutting in' neatly and rolling in a W-pattern while maintaining a wet edge, ensuring smooth, overlapping strokes for consistent coverage.
How many coats of paint do professional painters use?+
Professional painters typically apply two coats of paint for optimal color depth, coverage, and durability. In some cases, such as drastic color changes or painting over compromised surfaces, they might use two coats of primer followed by two topcoats, as dictated by the specific project and paint product recommendations.
Should I sand walls before painting?+
Yes, light sanding is often recommended before painting, especially if walls are glossy, have imperfections, or if you're painting over previously painted surfaces. Use fine-grit sandpaper (180-220 grit) to create a 'tooth' for better adhesion, then thoroughly clean off all dust before priming or painting.


Discussion
Loading comments…