Tools & materials you'll need
Affiliate linksAs an Amazon Associate FixlyGuide earns from qualifying purchases — at no extra cost to you. Prices and availability are accurate as of publication and subject to change.
Quick Answer
If your home was built before 1978, assume lead-based paint is present until proven otherwise. The primary danger isn't the intact paint itself, but rather the invisible, toxic dust or chips generated when painted surfaces are disturbed during renovations, repairs, or even routine wear and tear. Always test for lead before beginning any work that might disrupt paint, and if lead is confirmed or suspected, implement strict containment, personal protection, and cleanup protocols to prevent the spread of hazardous lead dust, protecting all occupants, especially children and pregnant women.
The Problem
Imagine a tiny, invisible enemy lurking in the very walls of your beloved home. For millions of homeowners in houses built before 1978, this invisible threat is lead-based paint. While seemingly innocent when encapsulated and undisturbed, the moment you decide to remodel, hang a picture, or even just deal with a peeling windowsill, you risk awakening this silent danger. Lead paint isn't just an outdated building material; it's a potent neurotoxin, particularly destructive to developing brains in young children and fetuses, but harmful to adults as well. Even minute amounts of lead dust, too small to see, can be ingested or inhaled, leading to a cascade of irreversible health problems including developmental delays, learning disabilities, behavioral issues, kidney damage, and nervous system disorders. The problem primarily arises during renovation activities like sanding, scraping, sawing, or demolition, which pulverize lead paint into airborne dust or create hazardous chips. This dust can settle on every surface, contaminate soil around the house, and linger for years, creating a persistent exposure risk long after the work is done. Many homeowners unknowingly expose their families to this toxin, turning what should be an exciting home improvement project into a serious health hazard.
How It Works
Lead-based paint was once prized for its durability, vibrant color, and moisture resistance, making it a popular choice for homes both inside and out. Its appeal, however, masked a profoundly harmful secret. Lead, a heavy metal, doesn't break down or disappear over time; it persists in the environment. When lead paint is intact and not chipping or flaking, it generally poses a lower risk because the lead is bound within the paint matrix. However, this stability is easily compromised. Any activity that scuffs, abrades, or breaks the paint surface releases microscopic lead particles. This is where the danger truly begins.
Think about friction points: window sashes rubbing against frames, doors opening and closing, or even floors being repeatedly walked upon. These actions can generate lead dust from painted surfaces. Renovations amplify this dramatically. Power sanding can create a finely aerosolized plume of lead dust that spreads throughout a home within minutes. Scraping old paint creates chips and dust. Drilling into a wall for a new anchor sends lead particles flying. Even simply removing a wall can release decades of accumulated lead dust from behind plaster or drywall. Once airborne, these particles can be inhaled, or they can settle on surfaces, toys, food, and hands. Children are particularly vulnerable because they often put their hands and objects into their mouths, directly ingesting lead dust. Their developing bodies also absorb lead more efficiently than adults, and their smaller size means a lower dose can have a higher impact. Moreover, lead particles can cling to clothing, shoes, and hair, allowing the toxin to be tracked from a work area into uncontaminated parts of the home or even outside, contaminating soil and exposing neighbors. Understanding this mechanism – that physical disturbance atomizes or fractures lead paint into bioavailable forms – is crucial for effective prevention.
Step-by-Step Fix
1. Get Tested (Properly!) – Don't guess if your pre-1978 home has lead paint. Before disturbing any painted surface, test it.
- Tool: EPA-recognized lead test kits (e.g., 3M LeadCheck Swabs) or laboratory analysis.
- How: For DIY kits, follow instructions carefully, rubbing the swab on a small, discreet painted area after scoring it to expose all layers. For comprehensive testing, consider a certified lead inspector. They use XRF (X-ray fluorescence) analyzers for non-destructive, detailed readings.
- If this doesn't work: If DIY kits are inconclusive or you're testing many areas, professional testing is highly recommended. It’s a small investment for peace of mind and safety.
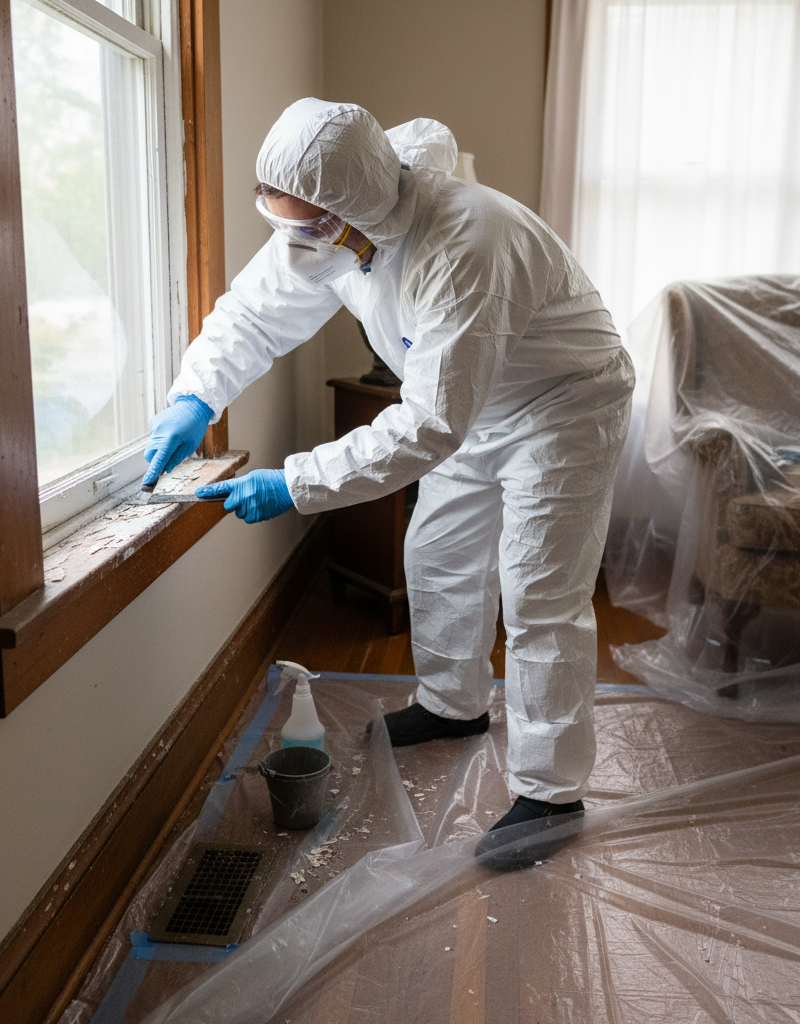
2. Isolate the Work Area – Prevent lead dust from spreading to other parts of your home.
- Material: 6-mil plastic sheeting, painter’s tape, warning signs.
- How: Seal off the room entirely. Close and seal HVAC vents with plastic. Remove all furniture, curtains, and rugs. If items can't be removed, cover them completely with 6-mil plastic sheeting. Use two layers of plastic sheeting for the floor. Create an airlock by hanging a flap of plastic sheeting over the entrance, followed by another sheet a few feet inside, taped securely on three sides.
- Safety: Post clear warning signs on the outside of the work area, especially if children are in the home.
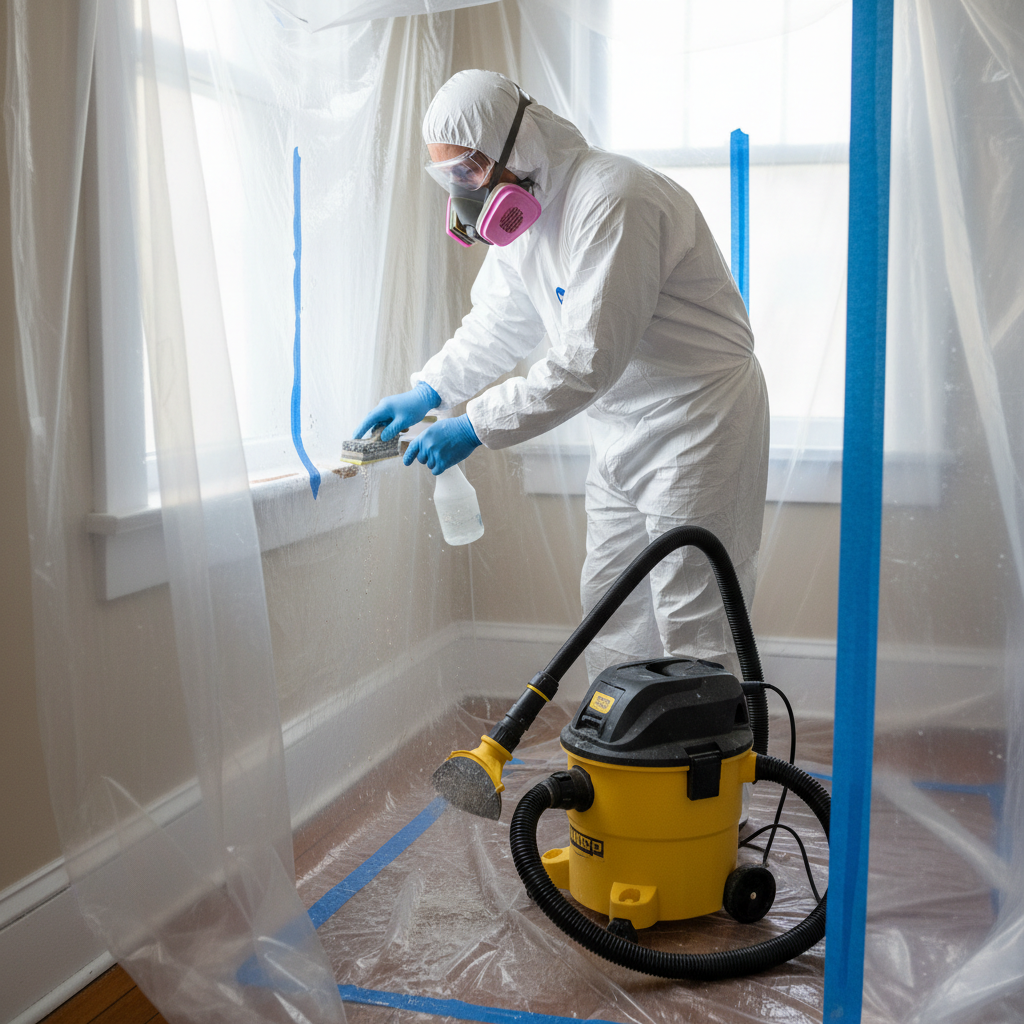
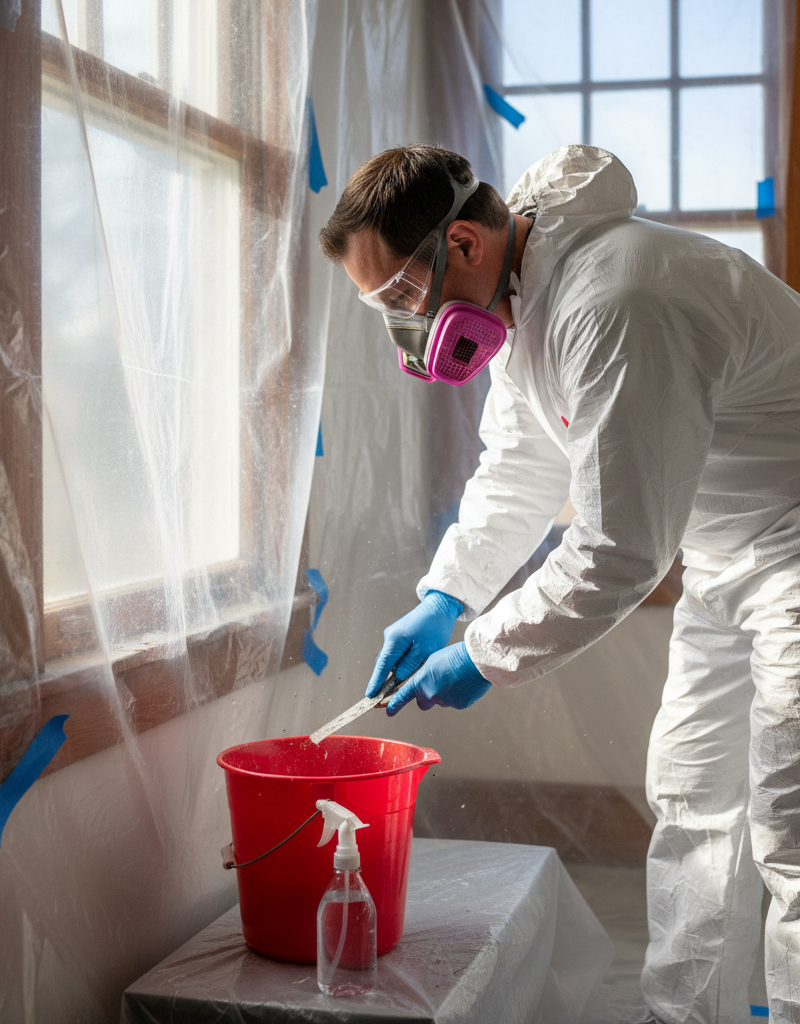
3. Dress for Defense – Protect yourself from lead dust exposure.
- Material: Disposable coveralls, N100 or P100 respirator, nitrile gloves, disposable shoe covers, safety glasses.
- How: Don coveralls over your regular clothes. Ensure your respirator is properly fitted and creates a tight seal around your face (perform a seal check). Use heavy-duty nitrile gloves, not thin latex. Disposable shoe covers prevent tracking dust.
- Safety: Never reuse disposable protective gear. Bag it and dispose of it at the end of each work session. Facial hair can prevent a good respirator seal; shave if necessary, or use a powered air-purifying respirator (PAPR).
4. Control the Dust at its Source – Minimize airborne contaminants.
- Tool: HEPA-filtered vacuum, wet-sanding sponges or chemical strippers (less dust-producing than dry sanding).
- How: Whenever possible, use wet methods for paint removal (e.g., wet sanding with a HEPA-filtered vacuum attachment, or applying chemical strippers and scraping). For drilling, consider shrouds that attach to a HEPA vacuum. Avoid all dry sanding, grinding, or power cutting of painted surfaces without proper enclosure and ventilation.
- If this doesn't work: If dry methods are unavoidable, ensure maximum containment and continuous ventilation with a HEPA-filtered fan exhausting outdoors, away from windows and doors.
5. Clean Meticulously (Wet First!) – Proper cleanup is critical for lead dust.
- Tool: HEPA-filtered vacuum, heavy-duty cleaning wipes, two buckets, MOP, lead-specific cleaning solution (e.g., TSP substitute).
- How: First, vacuum all surfaces (walls, floors, tools) with a HEPA-filtered vacuum. DO NOT use a regular shop vac or household vacuum; they will spread lead dust. Next, wet-wipe all surfaces repeatedly using lead-specific cleaners or general all-purpose cleaners in two buckets (one for rinse, one for cleaner). Change water frequently. Wipe from top to bottom, then dispose of wipes and water properly. Finally, re-vacuum with the HEPA vacuum.
- Safety: Never sweep, as it mobilizes lead dust. Do not shake out dust cloths or drop cloths; fold them carefully and seal them in heavy-duty plastic bags.
6. Bag and Dispose – Follow local regulations for lead waste.
- Material: Heavy-duty 6-mil plastic bags, duct tape.
- How: Carefully roll up plastic sheeting from the floor and walls, folding the dirty side inward. Place all contaminated materials—plastic sheeting, used wipes, disposable PPE, paint chips, and dust—into heavy-duty 6-mil plastic bags. Seal the bags securely with duct tape.
- Contact Local Authorities: Check with your local waste management facility or health department for specific guidance on disposing of lead-contaminated waste. Regulations vary by municipality and waste volume.
7. Final Verification – Ensure the area is truly clean.
- Tool: Lead dust wipes (for laboratory analysis).
- How: After thorough cleaning, collect dust wipe samples from various surfaces within the work area and send them to an accredited lab for analysis. This is the only way to confirm that lead dust levels have been reduced to safe limits.
- If this doesn't work: If lead levels are still high, repeat the cleaning process, focusing on overlooked areas and using fresh materials. Consider professional lead abatement specialists if repeated efforts fail.
Common Causes
- Aging Paint: Over decades, lead paint can chip, flake, or pulverize from natural wear and tear, especially in high-friction areas like windows and doors. This creates lead dust and chips that children might ingest.
- Renovation & Remodeling: Disturbing painted surfaces through scraping, sanding, drilling, or demolition is the leading cause of significant lead dust release. Without proper containment, this disperses lead throughout the home.
- Friction & Impact Surfaces: Areas where painted surfaces rub together (windows, doors) or receive impact (baseboards, stairs) naturally wear down the paint, releasing lead dust over time.
- Exterior Paint Contamination: Lead paint on the exterior of a home can weather and peel, contaminating the surrounding soil. Children playing in the yard can then ingest lead-contaminated soil.
- Water Damage: Moisture can weaken paint adhesion, causing lead paint to blister, peel, and become friable, making it easily disturbed and generating dust.
Common Mistakes
- Skipping the Test: Assuming your home is safe because it
Related Articles
Keep troubleshooting with these hand-picked guides from FixlyGuide:
- 7 Inspection Red Flags That Secretly Signal a $20,000 Bill — Don't let your dream home become a money pit. Many buyers and even some inspectors overlook subtle home inspection red flags that lead to f…
- 7 Hidden Equity Drains Costing You Thousands Annually — Your home is an asset, but silent problems like minor leaks, poor insulation, and deferred maintenance can drain its value. Discover the se…
- The Hidden Culprit Behind Your AC Not Cooling (and How to Find It) — If your central AC isn't cooling your home, the issue often stems from a surprisingly simple problem that's easy to overlook. Learn how to…
- The 3-Ingredient Carpet Cleaner Recipe That Revitalizes Old Stains — Learn the surprisingly simple, three-ingredient recipe that tackles embedded dirt and deep-seated stains, bringing your carpet back to life…
- The 12 Checks That Prevent 80% of Costly Home Repairs — Don't wait for a disaster. Our comprehensive monthly home maintenance checklist reveals the surprising, simple tasks that catch small issue…
- That Ceiling Stain Isn't a Leak: 5 Hidden Causes — A mysterious ceiling stain can be alarming, especially when there's no active leak. The real culprits are often hidden issues like attic co…
This article was independently written by FixlyGuide based on the source topic.
Frequently asked questions
How do I know if my house has lead paint?+
The only definitive way to know is to test. If your home was built before 1978, assume lead paint is present. You can use EPA-recognized lead test kits for a quick check, but for comprehensive and accurate results, consider hiring a certified lead inspector who uses XRF technology or sends samples to a lab.
Is it safe to paint over lead paint?+
Encapsulating intact lead paint by painting over it can be a temporary solution for low-traffic areas, as long as the underlying paint is not peeling or flaking. However, this is not considered abatement and the lead hazard remains. If the paint is already deteriorated or in a high-friction area, painting over it is not recommended as it won't prevent future lead dust release.
What's the most dangerous way to remove old paint?+
Dry scraping, dry sanding, power sanding, and using heat guns above 1100°F (which vaporizes lead) are the most dangerous methods for removing lead paint. These activities create a tremendous amount of lead-contaminated dust and fumes that can easily be inhaled or spread throughout your home, posing severe health risks.
How much does lead paint testing cost?+
DIY lead test kits are typically $10-$30. Professional lead testing for an entire home, including an XRF scan and possibly dust wipe samples, can range from $300-$600, depending on your location and the size of your home. It's a critical investment for safety.
Can I dispose of lead paint chips in my regular trash?+
No, lead paint waste (chips, dust, contaminated materials, PPE) cannot typically be disposed of in regular household trash. It is considered hazardous waste. You must contact your local waste management facility or health department for specific regulations and designated disposal sites in your area. Improper disposal can lead to fines and environmental contamination.

Discussion
Loading comments…