
Tools & materials you'll need
Affiliate linksAs an Amazon Associate FixlyGuide earns from qualifying purchases — at no extra cost to you. Prices and availability are accurate as of publication and subject to change.
How it works
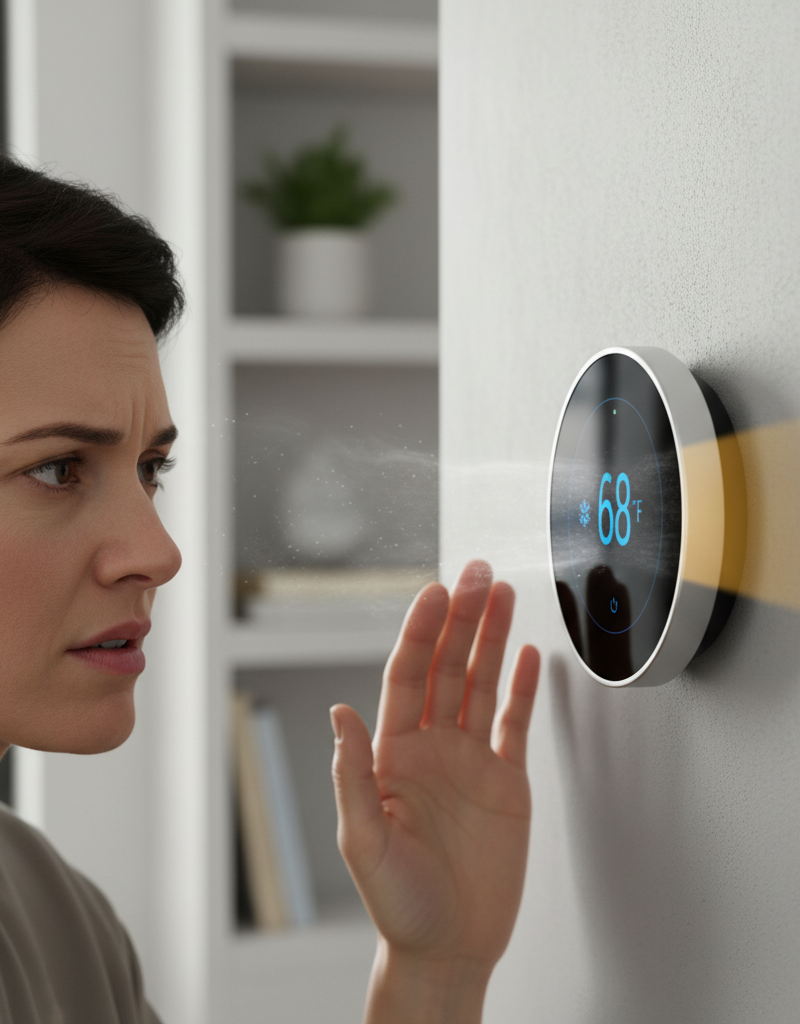
Your thermostat is the command center of your home's heating, ventilation, and air conditioning (HVAC) system. However, it functions as a sophisticated switch, not as a direct producer of hot or cold air. Its primary job is to sense the ambient temperature in the room and compare it to your desired temperature, or "setpoint." When the room temperature deviates from the setpoint by a predetermined margin (typically 1-2°F), the thermostat closes an electrical circuit.
This action sends a low-voltage signal, usually 24 volts AC, through a series of color-coded wires to the main control board located inside your furnace or air handler. Each wire carries a specific command: the 'R' wire provides power, the 'W' wire calls for heat, the 'Y' wire calls for cooling, and the 'G' wire controls the indoor blower fan. When the control board receives a "call for heat," for example, it initiates a precise sequence: it may start an inducer motor to vent exhaust gases, open a gas valve, ignite the burners, and finally, after the heat exchanger is sufficiently warm, activate the blower fan to distribute the heated air through your ductwork. A "call for cool" engages the indoor blower and simultaneously sends a signal to the outdoor condenser unit to start the compressor and fan, which circulates refrigerant to absorb heat from your indoor air. This entire feedback loop relies on clear communication, adequate power, and unrestricted airflow. If any link in this chain is weak—from a dirty sensor to a clogged filter—the system cannot properly execute the thermostat's command, even if the thermostat itself is functioning perfectly.
Step-by-Step Fix
Always begin by turning off all power to your HVAC system at the primary circuit breaker panel. Most systems have two breakers: one for the indoor air handler/furnace and one for the outdoor condenser. Turn off both. Also, toggle any nearby emergency shut-off switches to the "Off" position.
-
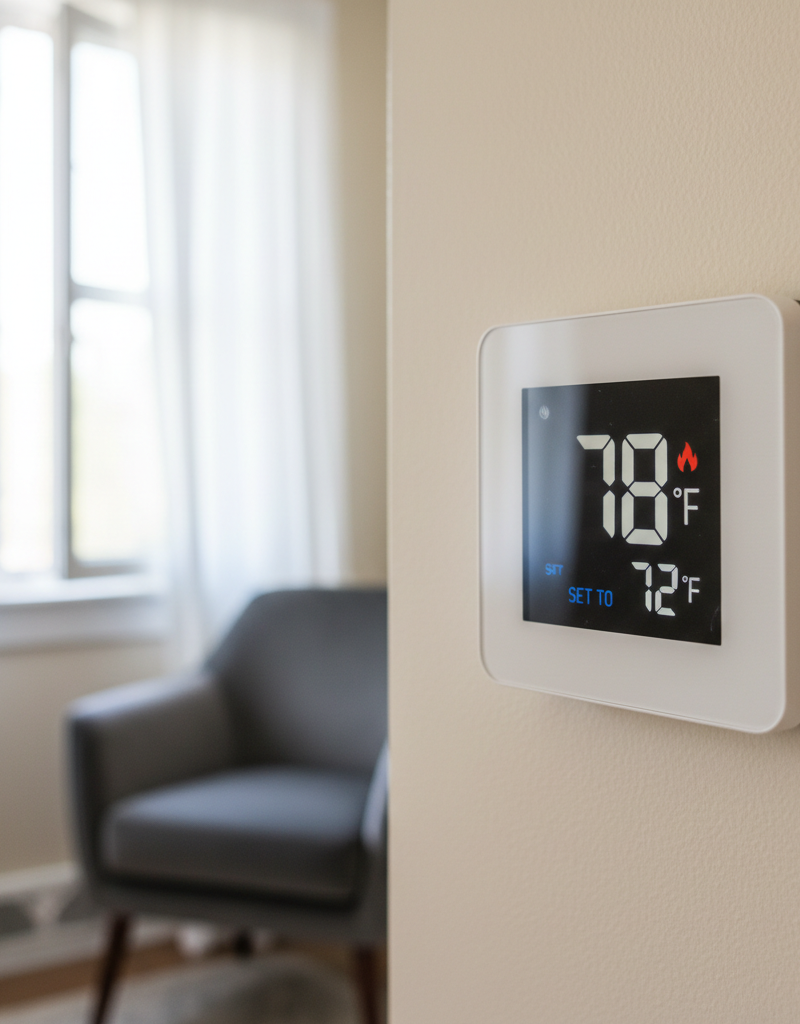
Verify Thermostat Settings — Before dismantling anything, confirm the most basic settings. Ensure the thermostat is set to the correct mode ("Heat" or "Cool") and not "Off." Check that the setpoint is actually lower (for cooling) or higher (for heating) than the current room temperature displayed. If your thermostat has scheduling features, make sure a "Hold" or "Permanent Hold" setting is active to override any program that might be causing the discrepancy.
- Pro Tip: If using an "Auto" changeover mode, ensure the heating and cooling setpoints have at least a 3-5°F deadband (e.g., heat to 68°F, cool to 75°F) to prevent the system from rapidly switching between modes.
-
Inspect and Replace the Air Filter — A clogged air filter is the most common cause of HVAC underperformance. It severely restricts airflow across the evaporator coil (for cooling) or heat exchanger (for heating), preventing proper thermal transfer. Locate your filter, which is typically in a slot on the furnace/air handler or behind a large return air grille in a wall or ceiling. Slide it out and hold it up to a light; if you cannot see light through it, it's overdue for replacement.
- Tool: New air filter of the correct size (printed on the frame of the old filter).
- Note: Use a filter with a MERV rating between 6 and 10 for most residential systems. Higher-rated filters can be too restrictive for some systems and cause the same airflow problems as a dirty filter.
-
Clear All Vents and Registers — Your HVAC system needs to breathe. Walk through your entire home and ensure that all supply and return air vents are open and not blocked by furniture, rugs, drapes, or other items. Closed or obstructed vents create pressure imbalances in the ductwork, reducing system efficiency and airflow to the thermostat's location, which can trick it into thinking the cycle is complete.
-
Clean the Thermostat Interior — Dust and grime can accumulate inside the thermostat's housing, insulating the internal temperature sensor (thermistor). This causes the thermostat to "think" the room is warmer or cooler than it actually is, leading it to shut the system off prematurely or fail to turn it on.
- Tools: Can of compressed air, small soft-bristled brush (like a new, clean paintbrush).
- Instructions: Carefully remove the thermostat's faceplate (it may pull straight off or have a small tab to release). Without touching any wiring, use gentle puffs of compressed air or the soft brush to clean away any visible dust from the circuit board and especially from the small, bead-like thermistor. Do not use liquids or a vacuum cleaner.
-
Clean the Outdoor Condenser Unit (for Cooling Issues) — If your AC is running but not cooling effectively, check the outdoor unit. The large metal fins of the condenser coil are responsible for releasing heat absorbed from inside your home. If they are caked with dirt, grass clippings, or cottonwood seeds, they cannot dissipate heat efficiently.
- Safety: Confirm power is off at both the breaker and the exterior disconnect switch (usually in a metal box mounted on the house near the unit).
- Instructions: Use a garden hose with a gentle spray nozzle. Direct the water from the inside out, if possible, or straight on from the outside. Avoid using a high-pressure washer, as it can easily bend the delicate aluminum fins. For greasy buildup, use a commercially available coil cleaning spray, following the product's directions.
-
Inspect the Condensate Drain Line (for Cooling Issues) — During the cooling process, humidity condenses into water and is drained away through a PVC pipe. If this line becomes clogged with algae and sludge, a safety float switch in the drain pan will trip, cutting power to the thermostat or the entire system to prevent water damage.
- Tools: Wet/dry shop vacuum.
- Instructions: Locate the PVC pipe exiting your indoor air handler. Find the access tee, remove the cap, and use the shop vacuum to suction the line for several minutes to clear the clog. You may hear a "thump" as the obstruction is pulled free.
-
Assess Thermostat Location — The thermostat's placement is critical for accurate readings. If it is located in direct sunlight, next to a hot lamp, above a television, or near a drafty window or exterior door, its readings will be skewed. This can cause the system to run too long or shut off too soon. While moving a thermostat is a larger job, you can mitigate these effects by closing drapes, moving heat-producing electronics, or sealing drafts with weatherstripping.
-
Recalibrate the Thermostat (if applicable) — Many digital thermostats have a temperature offset or calibration feature within their advanced settings menu. Place a known-accurate thermometer next to the thermostat for 30 minutes. If the readings differ by more than a degree or two, consult your thermostat's manual to access the setup menu and adjust the temperature offset to match the accurate thermometer reading.
-
Confirm Low-Voltage Power — This is a more advanced step. If your thermostat display is blank or non-responsive and you've already checked breakers, you may have a low-voltage power issue. The system's 24V transformer or a fuse on the control board may have failed.
- Tool: Multimeter.
- Safety: While 24V is low voltage, proceed with caution. Set your multimeter to AC Volts (VAC).
- Instructions: With power restored to the indoor unit, remove the thermostat faceplate. Carefully touch one probe to the 'R' terminal screw and the other to the 'C' (Common) terminal screw. You should get a reading between 22 and 28 VAC. If you have no 'C' wire, test between 'R' and 'W' (for heat) or 'R' and 'Y' (for cool). A reading of 0V indicates a power supply problem originating at the furnace/air handler, often a blown fuse, a tripped safety switch, or a failed transformer.
Common mistakes
- Ignoring the Air Filter: Homeowners often underestimate how quickly a filter can clog and how drastically it impacts performance. Believing a filter is "good for three months" without checking it can lead to weeks of inefficient operation and strain on the system. Instead, physically inspect your filter monthly.
- Setting the Fan to "ON": Running the fan constantly by setting it to "On" instead of "Auto" can create a perception of poor performance. In cooling mode, this continuous airflow can re-evaporate moisture from the indoor coil back into your home, making it feel humid and less comfortable. In heating mode, it will circulate cool air between cycles. Unless you specifically want air circulation, leave the fan on "Auto."
- "Cranking" the Thermostat: Setting your thermostat to 60°F will not make the house cool down any faster than setting it to 72°F. The air conditioner outputs cold air at a fixed temperature; a lower setpoint simply makes it run for a much longer, continuous cycle to reach that extreme target. This wastes energy and puts unnecessary wear on the system.
- Improper Cleaning Techniques: Using a household vacuum cleaner too close to the thermostat's internal components can create static discharge that damages the circuit board. Using harsh chemical cleaners can corrode contacts and ruin sensors. Stick to compressed air or a very soft, dry brush.
- Forgetting Secondary Power Switches: Many HVAC systems have multiple points of power cutoff. A homeowner may check the main electrical panel and see the breaker is on, but forget about the light-switch-style emergency shutoff near the furnace or the service disconnect box next to the outdoor unit, which may have been turned off for service or by accident.
- Misinterpreting Short Cycling: If a system turns on and off every few minutes, it is "short cycling." Homeowners may think the thermostat is simply reaching the temperature quickly. In reality, it's often a sign of a critical issue like a severely restricted airflow (clogged filter) causing the system to overheat and shut down on a safety limit, or a low refrigerant charge. This problem should not be ignored.
Cost & time breakdown
This table outlines typical costs and time for troubleshooting tasks. Pro costs include a service call fee and labor.
| Task | DIY Cost | Pro Cost | Time |
|---|---|---|---|
| Air Filter Replacement | $5 - $50 (for a pack of filters) | $75 - $150 (as part of a tune-up) | 10 minutes |
| Thermostat Cleaning & Recalibration | $0 - $10 (for compressed air) | $100 - $250 (diagnostic fee) | 20-30 minutes |
| Clearing Condensate Drain Line | $0 (if you own a shop vac) | $75 - $250 | 30-60 minutes |
| Cleaning Outdoor Condenser Coil | $0 - $15 (for coil cleaner) | $100 - $300 (as part of a tune-up) | 45-60 minutes |
| Complete Thermostat Replacement | $50 - $300 (for a new unit) | $150 - $550 | 1-2 hours |
| Replacing Control Board Fuse | $2 - $5 (for a new fuse) | $100 - $200 (diagnostic fee) | 30 minutes |
When to call a pro
While many thermostat-related issues are simple fixes, certain symptoms point to deeper problems that require professional expertise and specialized tools. Do not hesitate to call a licensed HVAC technician if you encounter any of the following signs:
- Repeatedly Tripping Circuit Breakers: If you reset the breaker for your HVAC system and it trips again—either immediately or after a short time—there is likely an electrical short in the wiring or a failing component like a compressor or fan motor. Continuously resetting it is a fire hazard.
- Significant Ice Buildup: Ice forming on the copper refrigerant lines, the outdoor condenser, or the indoor evaporator coil is a serious red flag. This typically indicates either a severe airflow blockage or, more commonly, a refrigerant leak or improper charge, which can only be diagnosed and repaired by a certified technician.
- Loud and Unusual Noises: Grinding, squealing, or metallic banging sounds from the furnace or outdoor unit signal mechanical failure. These could be worn-out motor bearings, a broken fan belt, or a failing compressor. Shut the system down immediately to prevent catastrophic failure.
- Burning Smells: Any odor of burning plastic, hot wiring, or ozone indicates an urgent electrical problem. Turn off all power at the breaker and call for emergency service. A musty or "dirty sock" smell is less urgent but indicates mold/bacteria growth on the coils that requires professional cleaning.
- System Fails to Power On: If you've verified all breakers and shutoff switches are on and a multimeter test shows no 24V power at the thermostat, the issue lies within the furnace or air handler. It could be a failed transformer, a bad control board, or an open safety limit switch that requires professional diagnosis.
Prevention & maintenance
Proactive maintenance is the most effective way to prevent thermostat and HVAC performance issues, ensuring comfort, efficiency, and system longevity.
- Change Air Filters Routinely: This is the single most important maintenance task. Inspect the filter monthly and replace it at least every 90 days. Homes with pets, smokers, or local construction may require monthly changes. A clean filter ensures proper airflow, which is critical for all other system functions.
- Schedule Annual Professional Tune-Ups: Have a qualified HVAC technician service your system once a year—the AC in the spring and the furnace in the fall. During a tune-up, a pro will clean and inspect internal components, check refrigerant levels, test electrical connections and capacitors, and ensure all safety systems are functioning correctly, catching small problems before they become major failures.
- Keep HVAC Units Clear: Maintain at least 24 inches of clear space around your outdoor condenser unit and indoor furnace/air handler. Do not store items near the indoor unit that could block combustion air intake, and regularly trim back bushes, weeds, and overhanging branches from the outdoor unit to ensure it can breathe.
- Maintain the Condensate Drain: At the beginning of each cooling season, prevent clogs by pouring a solution of one cup of distilled water mixed with one cup of distilled vinegar down the condensate line access port. This helps inhibit the growth of algae and sludge that cause blockages and water damage.
- Use a Programmable or Smart Thermostat: Program your thermostat to reduce heating or cooling when you are away or asleep. This not only saves significant energy but also reduces the overall runtime and wear-and-tear on your HVAC equipment, extending its lifespan.
Related Articles
Keep troubleshooting with these hand-picked guides from FixlyGuide:
- Why Your Thermostat Lies: The Real Reason Your Home Won't Hit the Set Temperature — Discover why your thermostat struggles to reach the set temperature and learn actionable steps to diagnose and fix common HVAC issues.
- AC Blowing Warm Air? Easy Fixes for Common AC Problems — Discover the most common reasons your AC is blowing warm air and learn simple, actionable steps to troubleshoot and fix the issue yourself,…
- The #1 Mistake Homeowners Make When Their AC Won't Turn On (And the Easy Fix) — Learn the most common oversight homeowners make when their AC won't turn on and how to troubleshoot basic issues to restore cooling.
- Why Your House is Humid Despite AC & How to Fix It — Even with your AC running, high indoor humidity can make your home uncomfortable. Often, common issues like oversized units or clogged filt…
- The $0 Trick to Revive Your Frozen AC Fan (Before You Call a Pro) — Before you spend money on an AC repair, try this simple, no-cost trick to get your condenser fan spinning again and cool your home.
- Fix Your Sprinkler System: Troubleshooting Common Issues — Troubleshoot and fix common sprinkler system problems like no water, low pressure, or zones not activating with these DIY steps.
Get the print-ready PDF of this guide
A clean, ad-free, printable version you can keep on your phone or pin to the workshop wall. Free with a FixlyGuide account.
- Print-optimized layout
- Tools, materials & every step included
- Saved to your account
Frequently asked questions
Why is my thermostat not reaching the set temperature?+
Common reasons include a dirty air filter, a miscalibrated thermostat (especially older mercury models), power issues to your HVAC system (like a tripped breaker), or drafts affecting the thermostat's sensor.
How often should I change my air filter?+
It's generally recommended to change your HVAC air filter every 1 to 3 months. If you have pets, allergies, or live in a dusty environment, you may need to change it more frequently.
Can a draft affect my thermostat's reading?+
Yes, if your thermostat is located near a drafty window, door, or air vent, it can inaccurately read the room temperature, causing your HVAC system to cycle incorrectly or struggle to reach the set temperature.
When should I call a professional for thermostat issues?+
You should call a professional if you've tried the basic troubleshooting steps and your system still isn't working, if you suspect a refrigerant leak, or if you hear unusual noises coming from your furnace or air conditioner.

Discussion
Loading comments…