Tools & materials you'll need
Affiliate linksAs an Amazon Associate FixlyGuide earns from qualifying purchases — at no extra cost to you. Prices and availability are accurate as of publication and subject to change.
Quick Answer
If your home was constructed before 1978, there's a significant chance it contains lead-based paint. While intact lead paint generally poses little risk, any activity that disturbs it—like sanding, scraping, drilling, or demolition during a DIY renovation—can release microscopic lead dust and chips into the air and onto surfaces. This lead-contaminated dust is the primary health hazard, especially for children and pregnant women. To ensure safety, always test for lead before starting any renovation project, meticulously plan for containment, perform careful removal, and follow rigorous cleanup procedures to prevent exposure.
The Problem
You're excited to tackle that old bathroom remodel or finally strip the paint from those antique window frames. But if your home predates 1978, a hidden danger might be lurking: lead-based paint. For decades, lead was a common additive in house paint, valued for its durability and vibrant color. The problem is, lead is a potent neurotoxin. When lead paint is disturbed during renovation activities—even seemingly minor ones—it releases invisible, microscopic dust particles. These particles can settle on surfaces, be inhaled, or ingested, creating a serious health risk, particularly for young children whose developing nervous systems are highly vulnerable. Lead poisoning can lead to developmental delays, behavioral problems, learning difficulties, and in severe cases, seizures or coma. Adults can also suffer from lead exposure, experiencing high blood pressure, joint pain, memory issues, and reproductive problems. Many homeowners unknowingly expose themselves and their families to this hazard, turning a dream renovation into a health nightmare.
How It Works
Lead was added to paint primarily as a pigment (white lead) and to accelerate drying, increase durability, and resist moisture. The federal government banned lead-based paint for residential use in 1978, but millions of homes built before this time still contain it. The danger isn't typically intact, undisturbed paint on a wall. The real threat emerges when this paint is disturbed. Think about what happens when you sand a painted surface: microscopic particles of paint, now laden with lead, become airborne. The same occurs when you scrape old paint, drill holes, or even forcefully pull down a painted drywall. These particles are too small to see with the naked eye but can travel far, settling on floors, furniture, toys, and even into ventilation systems. Once settled, lead dust can be easily ingested by children through hand-to-mouth contact, or inhaled by anyone in the vicinity. Over time, even low-level exposure can accumulate and cause significant health issues. The dust can remain a hazard for years if not properly contained and cleaned, meaning a quick renovation today can be a lingering problem for tomorrow.
Step-by-Step Fix
Addressing lead paint isn't a "fix" in the traditional sense, but a meticulous process of containment, abatement, and cleanup to ensure safety during renovations. Always get a lead paint test before starting.
1. Test for Lead (Don't Guess) – Before touching any painted surface in a pre-1978 home, get it tested for lead. This is crucial for planning.
* **Pro Tip:** DIY lead test kits are available, but for absolute certainty and accurate results, consider hiring a certified lead inspector. They use specialized equipment and can provide a comprehensive report.
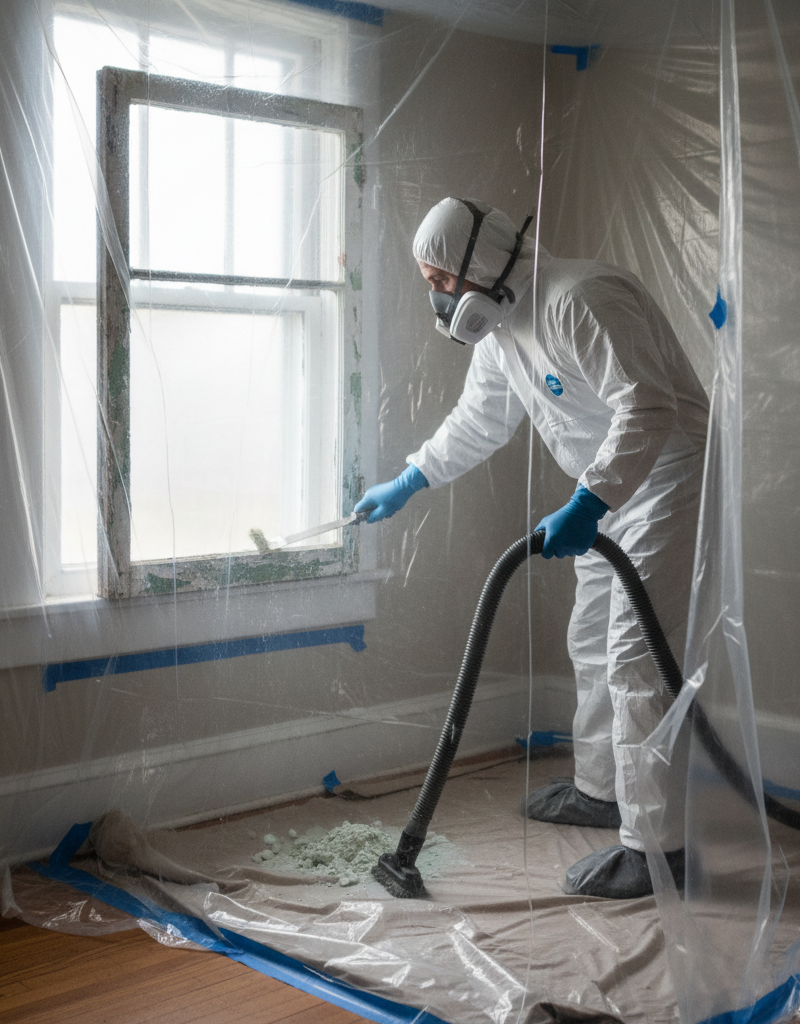
2. Plan Your Containment Zone – Isolate the work area completely from the rest of your home to prevent lead dust from spreading.
*   **Materials:** Use 6-mil plastic sheeting to seal off doors (double-bagging entrances), windows, and HVAC vents. Tape all seams securely with painter's tape or duct tape.
*   **Entry/Exit:** Establish a single entry/exit point, ideally through a window or exterior door if possible, and set up a decontamination area just inside.
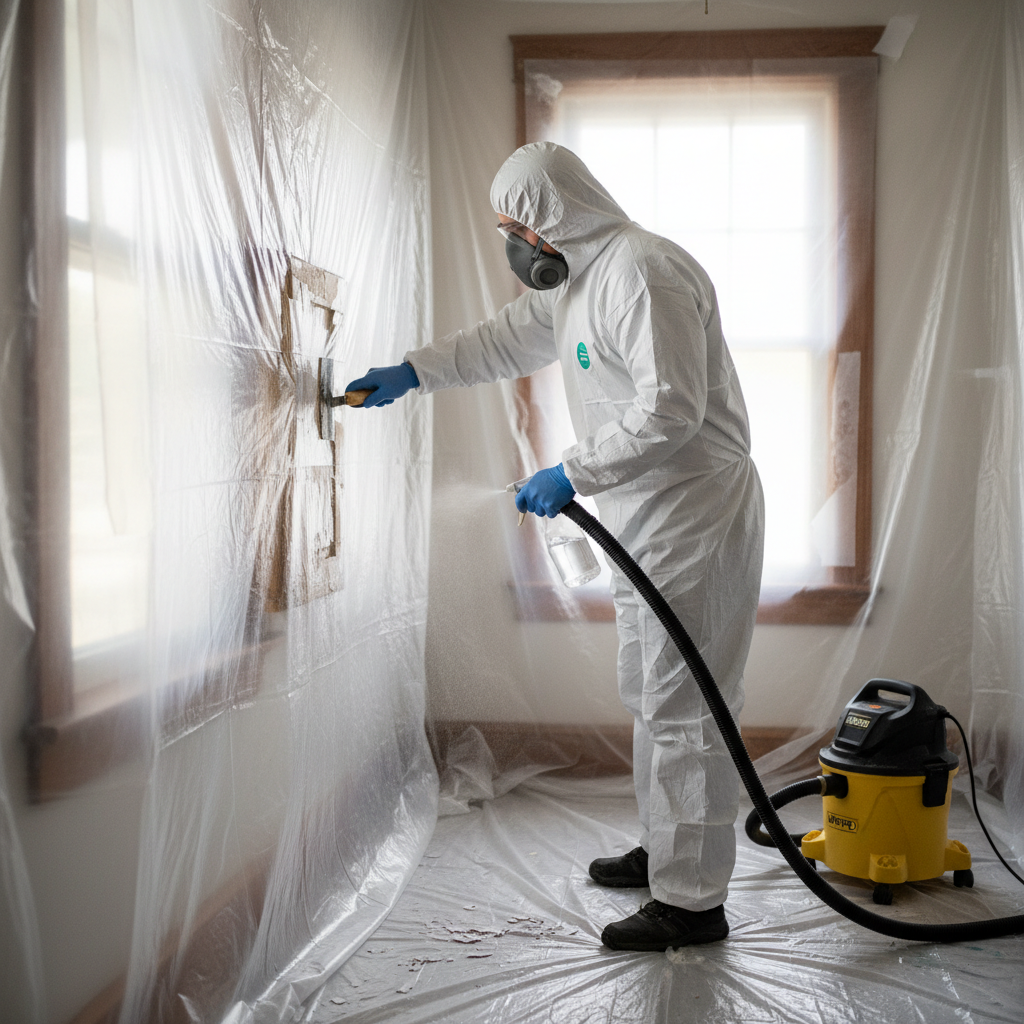
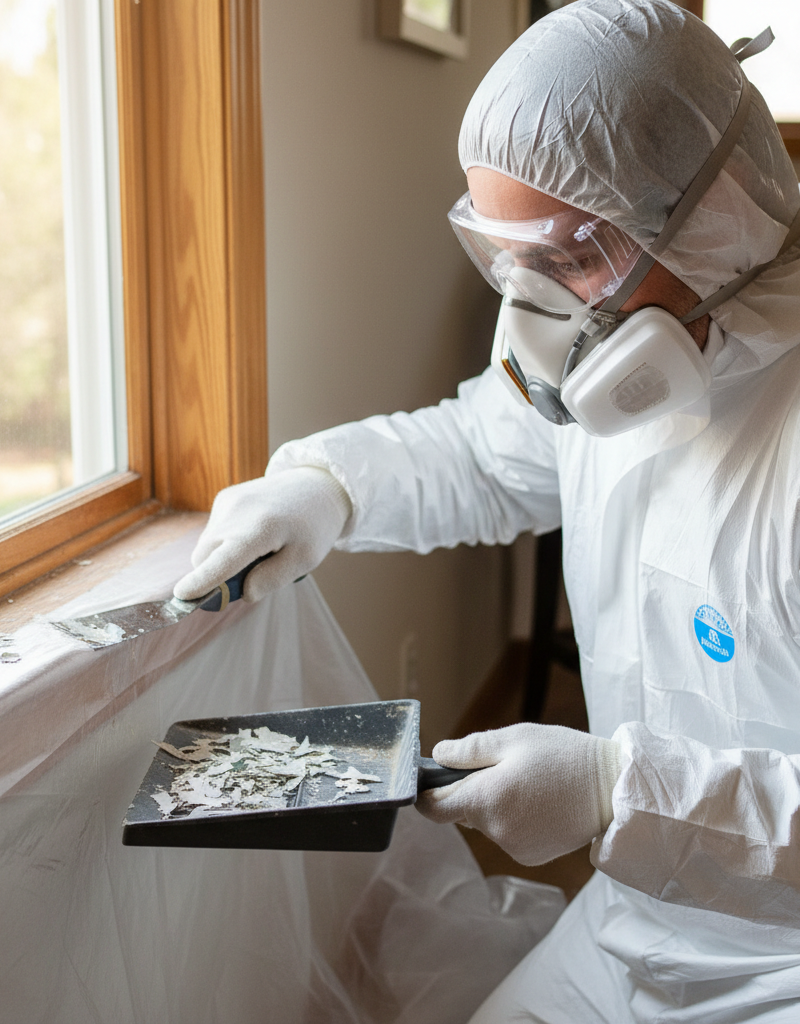
3. Protect Yourself with Personal Protective Equipment (PPE) – Lead dust is insidious; protect your eyes, skin, and lungs rigorously.
*   **Respirator:** A NIOSH-approved respirator with P100 cartridges is essential. N95 masks are NOT sufficient for lead dust.
*   **Clothing:** Wear disposable coveralls, booties over your shoes, and disposable gloves. Change these before leaving the containment area.
*   **Eyewear:** Use safety goggles that seal around your eyes.
4. Prepare the Work Area – Remove all movable furniture, rugs, and decorative items from the room. Cover immovable items with 6-mil plastic sheeting.
*   **Flooring:** Lay down an additional layer of 6-mil plastic sheeting on the floor, extending up the walls by at least 6 inches, taping it securely.
*   **Power Off:** For electrical work, turn off power at the breaker before starting.
5. Wet Methods for Lead Paint Removal – Wherever possible, use methods that minimize dust creation.
*   **Wet Scraping/Sanding:** Lightly mist the painted surface with water before scraping or sanding. This helps lead particles clump together and fall, rather than becoming airborne.
*   **Chemical Strippers:** Use strippers specifically designed for lead paint removal. Follow product instructions carefully and ensure good ventilation.
*   **Avoid:** Never use heat guns above 1100°F (593°C), open-flame torch burning, or power sanding/grinding without HEPA vacuum attachments—these create significant lead dust.
6. Dispose of Lead-Contaminated Waste Safely – Treat all debris as hazardous waste.
*   **Double Bag:** Place all removed paint, plastic sheeting, used PPE, and cleaning materials into heavy-duty plastic bags, then double-bag them.
*   **Seal:** Seal bags tightly with duct tape. Check with your local waste management facility for specific disposal instructions for lead waste. Do NOT put it in regular household trash.
7. Meticulous Cleanup – This is perhaps the most critical step to prevent ongoing exposure. Do NOT use a regular household vacuum cleaner, which will simply spread lead dust.
*   **HEPA Vacuum:** Use a HEPA-filtered vacuum to thoroughly clean all surfaces, including walls, ceilings, and floors. Go slowly and overlap passes.
*   **Wet Wipe:** After vacuuming, thoroughly wet-wipe all surfaces (walls, floors, windowsills, fixtures) with a lead-specific cleaning solution or a general all-purpose cleaner. Use separate rags for each room and dispose of them carefully. Repeat this step twice.
*   **Final Rinse:** Follow with a clean water rinse and wipe.
8. Post-Renovation Lead Dust Clearance Testing – For peace of mind and verification, consider professional clearance testing.
* **Professional Test:** A certified lead professional can collect dust wipe samples to ensure lead levels are below federal standards, confirming your work area is safe for re-occupancy.
Common Causes
- Age of Home: Any home built before 1978 is likely to contain lead-based paint. The older the home, the higher the probability and concentration.
- Aggressive Renovation Techniques: Dry scraping, power sanding without HEPA attachments, abrasive blasting, and using high-heat guns directly on painted surfaces are the primary culprits for generating dangerous lead dust.
- Friction and Impact: Areas like windows and doors, where painted surfaces rub together, can create lead dust over time, even without active renovation.
- Poorly Maintained Surfaces: Chipping, peeling, or cracking lead paint, especially on exterior surfaces, can release lead-contaminated chips into the soil, which can then be tracked indoors.
- Lack of Awareness: Many DIYers simply don
Related Articles
Keep troubleshooting with these hand-picked guides from FixlyGuide:
- The Secret to Lush Raised Beds? It's Not Just About How You Water — Smart irrigation for raised garden beds isn't just about automation; it's about delivering the right amount of water precisely when your pl…
- The 6-Minute Secret to a Sparkling Bathroom (It’s Not What You Think) — Unleash the hidden power of your cordless drill to tackle stubborn household grime, from tile grout to dryer vents, with specialized attach…
- The Hidden Reason Your GFCI Trips (It's Not Always a Faulty Outlet) — A continuously tripping GFCI outlet is a critical safety warning, often indicating moisture, a faulty appliance, or a wiring problem that r…
- The 4-Hour — Transform your garden into a self-sufficient oasis with smart strategies for watering, weeding, and pest control, minimizing your effort.
- The 9 Sneaky Filters Stealing Your Home's Efficiency (And How to Fix It) — Unseen or neglected filters throughout your home can secretly inflate utility bills, degrade air quality, and lead to expensive appliance b…
- The 3 Hidden Mistakes That Make Your Deck Sealer Fail (And How to Fix Them) — Properly sealing your wood deck protects it from the elements, but common mistakes often lead to early failure. Learn how to reseal your de…
This article was independently written by FixlyGuide based on the source topic.
Frequently asked questions
How do I know if my home has lead paint?+
The only definitive way to know is to have your home tested by a certified lead inspector or use reliable DIY lead test kits. Assume lead paint is present if your home was built before 1978, especially on windows, doors, and trim.
Can I simply paint over lead paint?+
Encapsulation (painting over) is a temporary solution for intact lead paint. It's not a permanent abatement method and won't prevent lead dust if the underlying paint is disturbed later. It's only safe if the existing lead paint is in good condition with no chipping or peeling.
What kind of mask do I need for lead paint?+
You need a NIOSH-approved respirator with P100 particulate filters. Simple dust masks (like N95) are NOT sufficient to protect against microscopic lead dust particles.
How do I dispose of lead paint waste?+
Lead paint waste is considered hazardous. It must be double-bagged in heavy-duty plastic and sealed. Contact your local waste management facility or environmental agency for specific instructions on hazardous waste disposal in your area.
When should I call a professional for lead paint?+
If you are dealing with large areas of lead paint, suspect lead in soil or water, or are uncomfortable with the rigorous containment and cleanup procedures, call a lead-certified professional or abatement contractor. They have specialized training and equipment to ensure safe removal and disposal.

Discussion
Loading comments…