
Tools & materials you'll need
Affiliate linksAs an Amazon Associate FixlyGuide earns from qualifying purchases — at no extra cost to you. Prices and availability are accurate as of publication and subject to change.
Quick Answer
For homes constructed before 1978, assume the presence of lead-based paint. Renovation activities such as sanding, scraping, drilling, or demolition can release lead dust and chips, posing a significant health risk. It's crucial to test for lead, isolate work areas, wear appropriate personal protective equipment, and follow strict cleanup protocols to prevent lead exposure and protect your family.
The Problem
Imagine undertaking a home improvement project, blissfully unaware that each scrape of paint or drill into a wall releases microscopic particles that are slowly, silently poisoning your family. This isn't a horror story; it's the very real risk posed by lead-based paint in older homes. While intact lead paint, in good condition, generally doesn't pose an immediate threat, any activity that disturbs it—from a minor patch-up to a full-scale renovation—can turn a dusty endeavor into a dangerous one. When lead paint is chipped, sanded, or scraped, it creates a lead-contaminated dust that is easily inhaled or ingested. This invisible dust can settle on floors, toys, and food preparation surfaces, becoming a persistent hazard, especially for young children whose developing bodies are far more susceptible to lead's toxic effects. The consequences range from developmental delays and learning disabilities in children to kidney damage and neurological problems in adults. Understanding this silent threat is the first step toward a safe and successful renovation.
How It Works
Lead-based paint was widely used in homes until it was banned in 1978 due to its recognized health hazards. The danger lies in the lead pigment itself, which, when disturbed, breaks down into minute particles. These particles can be as small as one hundredth the size of a grain of sand, making them impossible to see with the naked eye. When paint containing lead is scraped, sanded, dry-scraped, or broken, these lead particles become airborne, creating a super-fine dust. This dust can remain suspended in the air for hours before settling on surfaces throughout your home. Once settled, it can be easily stirred up again by everyday activities like walking or vacuuming.
Lead can also leach into the soil around the exterior of a home from deteriorating exterior paint. Children playing in contaminated soil can ingest lead by putting their hands or toys into their mouths after touching the soil. Additionally, lead dust isn't just a respiratory hazard; it can also be ingested. Small children are particularly vulnerable because they often put their hands and objects into their mouths. A child crawling on a floor contaminated with lead dust can effortlessly transfer lead particles from the floor to their mouth. Adults can also inadvertently ingest lead dust by eating food with unwashed hands, or transferring it from their clothing or hair.
Furthermore, even seemingly minor renovations can generate significant amounts of lead dust. For example, simply removing a window can create enough lead dust to contaminate hundreds of square feet of living space if proper precautions aren't taken. The lead particles are persistent; they don't break down over time and can remain a hazard for decades unless properly removed and the area thoroughly cleaned. This is why a methodical approach to lead paint management is essential in any pre-1978 home renovation.
Step-by-Step Fix
Working with lead paint isn't a "fix" in the traditional sense, but rather a methodical process of containment, removal, and cleanup to ensure the safety of your home and family. If you suspect lead paint, your first "fix" is to get it tested. If lead is confirmed, follow these steps for safe renovation practices.
-
Test for Lead Paint — Before touching any painted surface in a pre-1978 home, invest in a lead test kit.
- These kits are available at most hardware stores or online. Follow the manufacturer's instructions carefully.
- For more conclusive results, consider professional lead testing, especially for larger renovation projects. This often involves sending paint chip samples to a lab.
-
Plan and Prepare the Work Area — Isolation is key to preventing lead contamination.
- Empty the Room: Remove all furniture, curtains, rugs, and anything else that can absorb or trap dust. If items cannot be removed, cover them completely with 6-mil plastic sheeting and seal the edges with painter's tape.
- Seal HVAC Vents: Turn off your HVAC system and cover all supply and return vents in the work area with 6-mil plastic and painter's tape to prevent lead dust from circulating throughout your home.
- Seal Doorways and Openings: Use two layers of 6-mil plastic sheeting to create a dust barrier over all doorways and openings to other parts of the house. Overlap the plastic by at least 12 inches and seal all edges with painter's tape. Create a "flap" entrance if needed for access.
- Cover the Floor: Lay down heavy-duty 6-mil plastic sheeting to completely cover the floor, extending it up the walls by at least six inches. Secure all seams and edges with tape.
-
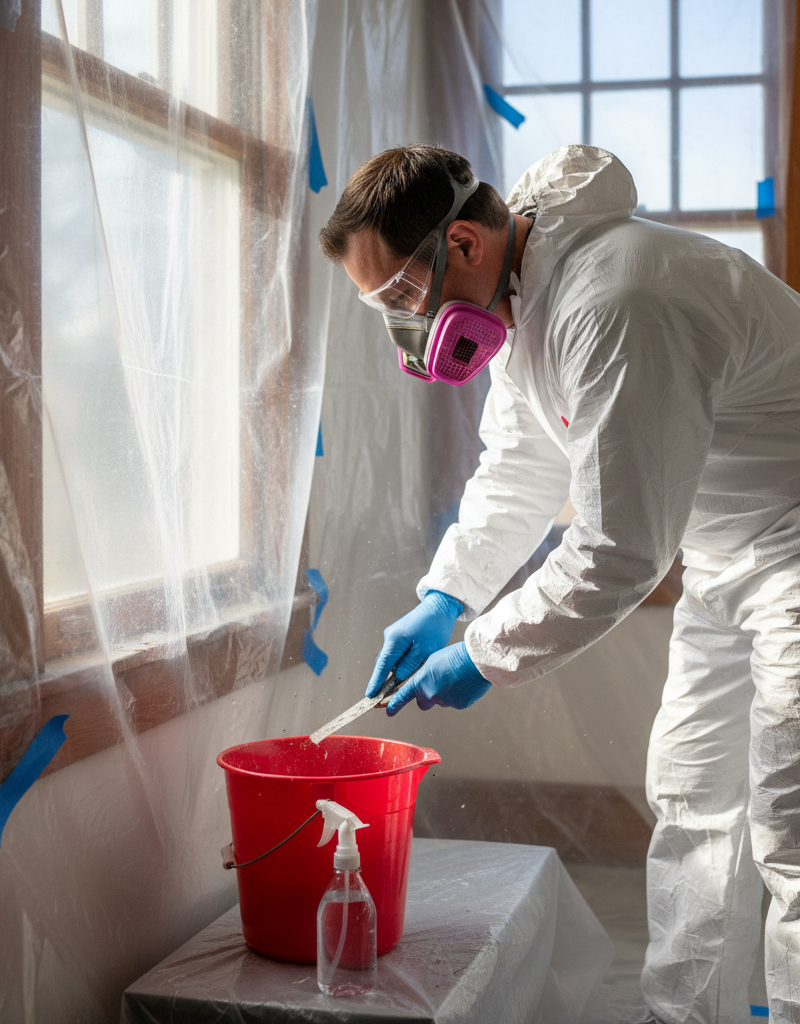
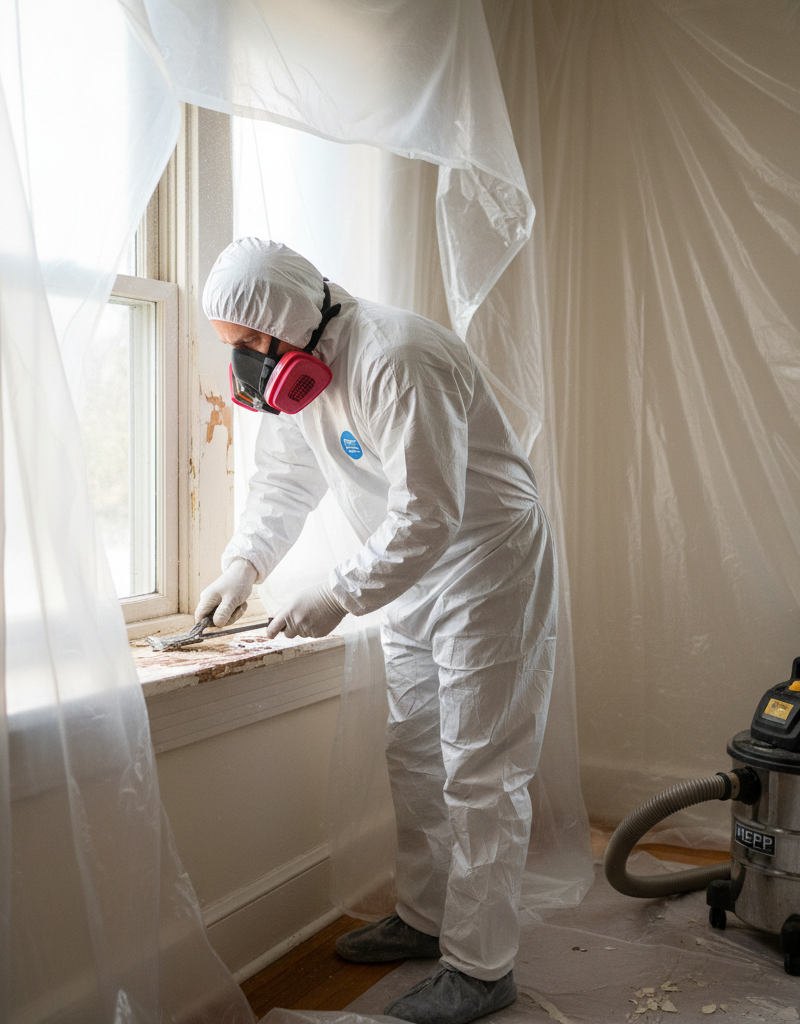
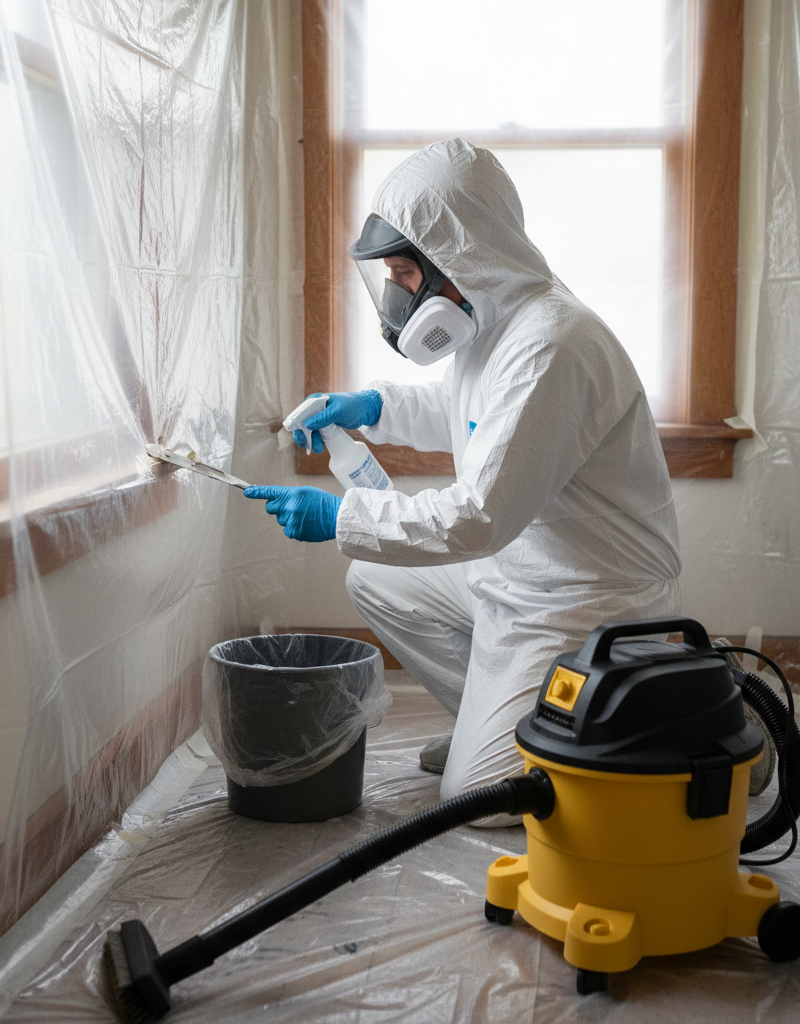
Don Your Personal Protective Equipment (PPE) — Protect yourself from inhaling or ingesting lead particles.
- Respirator: Use an N100 or P100 NIOSH-approved respirator, not a simple dust mask. Ensure it fits snugly.
- Disposable Coveralls: Wear disposable coveralls to protect your clothing. Change them before leaving the work area.
- Gloves and Eye Protection: Heavy-duty work gloves and safety glasses or goggles are essential.
-
Wet Methods are Your Friend — Minimize airborne dust creation.
- Wet Scraping: When scraping paint, mist the surface with water using a spray bottle. This helps to agglomerate the lead paint chips and dust, making them heavier and less likely to become airborne.
- Wet Sanding: If sanding is necessary, use wet/dry sandpaper and a small amount of water. Avoid dry sanding at all costs, as it creates vast amounts of airborne lead dust.
-
Careful Removal and Containment — Never let lead debris spread.
- Collect Debris: Use a heavy-duty plastic garbage bag or a designated waste container to collect all paint chips, dust, and contaminated materials as you work. Double-bag all waste.
- Avoid Power Tools That Create Dust: Steer clear of power sanders, heat guns above 1100°F (which can vaporize lead), and aggressive demolition techniques that generate excessive dust. If power tools are unavoidable, ensure they are equipped with HEPA-filtered vacuum attachments.
-
HEPA Vacuuming for Initial Cleanup — Standard vacuums will spread lead dust.
- After removing visible debris, use a HEPA-filtered vacuum cleaner to thoroughly vacuum all surfaces, including walls, floors, and any remaining covered items. A regular vacuum will not trap lead particles and will simply redistribute them into the air.
-
Wet Wipe Down All Surfaces — This is critical for capturing fine dust.
- Using disposable wipes or cloths dampened with a lead-specific cleaning solution (or a general all-purpose cleaner), thoroughly wipe down all surfaces. Start from the top down. Dispose of cloths after each use.
- Repeat the wet wiping process at least twice, using fresh cloths each time, until no dust or residue is visible.
-
Dispose of Waste Properly — Lead-contaminated waste is hazardous.
- Seal all plastic sheeting, coveralls, gloves, rags, and contaminated materials in heavy-duty plastic bags. Double bag for extra security.
- Contact your local waste management facility or health department for specific instructions on disposing of lead-contaminated waste. Regulations vary by municipality.
-
Post-Renovation Cleaning and Testing — Ensure the area is safe.
- After all work and cleanup are complete, perform a final, meticulous wet wipe-down of the entire area.
- Consider professional lead dust testing for clearance, especially if children will occupy the space. This involves professional sampling to ensure lead levels are below federal standards.
Common Causes
The primary "cause" of lead paint becoming a problem in your home is disturbing existing lead-based paint through various activities. It
Related Articles
Keep troubleshooting with these hand-picked guides from FixlyGuide:
- 7 Hidden Equity Drains Costing You Thousands Annually — Your home is an asset, but silent problems like minor leaks, poor insulation, and deferred maintenance can drain its value. Discover the se…
- 7 Inspection Red Flags That Secretly Signal a $20,000 Bill — Don't let your dream home become a money pit. Many buyers and even some inspectors overlook subtle home inspection red flags that lead to f…
- The Hidden Reason Your AC Isn't Cooling (And 7 Fixes Homeowners Miss) — If your central AC isn't cooling your home, the culprit often lies in an overlooked issue that's simple to fix, preventing costly professio…
- The Hidden Culprit Behind Your AC Not Cooling (and How to Find It) — If your central AC isn't cooling your home, the issue often stems from a surprisingly simple problem that's easy to overlook. Learn how to…
- The Hidden Truth About — Uncover the surprising risks of buying used furniture and appliances, and learn essential inspection tips to protect your home and wallet.
- The 3 Hidden Dangers of Frozen Pipes (And How to Thaw Them Safely) — Safely thawing a frozen pipe is crucial to prevent bursting, water damage, and costly repairs; acting quickly and correctly can save your h…
Get the print-ready PDF of this guide
A clean, ad-free, printable version you can keep on your phone or pin to the workshop wall. We'll also send occasional weekly tips matched to your home situation.
- Print-optimized layout
- Tools, materials & every step included
- Unsubscribe anytime
This article was independently written by FixlyGuide based on the source topic.
Frequently asked questions
How do I know if my home has lead paint?+
The easiest way to determine if your home has lead paint is to use a lead test kit, available at hardware stores. For more comprehensive results, especially for large renovations, consider professional lead testing where samples are sent to a lab.
Is it safe to live in a house with lead paint?+
If lead paint is intact and in good condition, it generally poses a low risk. The danger arises when the paint chips, peels, or is disturbed during renovation, creating hazardous lead dust and chips.
What are the health risks of lead exposure?+
Lead exposure can cause serious health problems, especially in children, affecting brain development, causing learning disabilities, and behavioral issues. In adults, it can lead to kidney damage, high blood pressure, and reproductive problems.
Can I remove lead paint myself?+
DIY lead paint removal is possible, but requires strict adherence to safety protocols, including proper containment, personal protective equipment, and meticulous cleanup. For extensive projects or if you're unsure, it's best to hire EPA-certified lead-safe contractors.
How do I dispose of lead paint debris?+
Lead-contaminated waste should be double-bagged in heavy-duty plastic bags. Contact your local waste management services or health department for specific instructions on proper disposal, as regulations vary.
Discussion
Loading comments…