Tools & materials you'll need
Affiliate linksAs an Amazon Associate FixlyGuide earns from qualifying purchases — at no extra cost to you. Prices and availability are accurate as of publication and subject to change.
Quick Answer
Warped deck boards are a common problem caused by uneven moisture absorption and release, often exacerbated by improper fastening or inadequate ventilation. The most effective fix depends on the severity of the warp: minor warps can often be corrected by re-securing the board, while moderate warps might require flipping and re-fastening. Severely warped boards are best replaced. Crucially, addressing the root cause—like improving drainage or applying a better sealant—is vital for long-term prevention.
The Problem
You step onto your beautiful deck, only to be greeted by an annoying trip hazard or an unsightly wavy surface. Your deck boards are warping. This isn't just an aesthetic issue; warped boards can loosen fasteners, create dangerous tripping hazards, and allow water to pool, accelerating rot and further damage to your deck’s sub-structure. Cupping (edges higher than the center) and crowning (center higher than the edges) are the most common forms, both stemming from the wood’s natural response to its environment. Ignoring warped boards can lead to more extensive and costly repairs down the line, compromising the safety and longevity of your entire deck.
How It Works
Wood is a hygroscopic material, meaning it naturally absorbs and releases moisture from its environment. This process causes the wood fibers to swell when wet and shrink when dry. Warping occurs when different parts of a board gain or lose moisture at different rates. For example, if the top of a deck board dries out much faster than the bottom (which might stay damp from rain or ground moisture), the top fibers will shrink while the bottom fibers remain expanded, resulting in the board cupping upwards. Conversely, if the top receives more moisture than the bottom, it might crown.
The way a board is cut from the log also plays a significant role. Flat-sawn lumber (where the growth rings are roughly parallel to the board's wide face) is more prone to cupping because the annual rings try to straighten out when drying, creating tension. Quarter-sawn lumber (where growth rings are perpendicular to the wide face) is more stable but less common for deck boards. Fastener type and spacing, adequate ventilation beneath the deck, and proper sealing all influence how uniformly a board dries and thus its propensity to warp. Improperly spaced boards can trap moisture between them, and insufficient ventilation prevents the underside from drying, leading to imbalance. Even the grain pattern—specifically, the direction of the growth rings—determines which way a board will cup or crown as it dries.
Step-by-Step Fix
Safety First: Always wear appropriate personal protective equipment, including work gloves and eye protection, when working with tools and lumber. Be mindful of protruding fasteners on warped boards that could cause injury.
1. Assess the Damage – Determine the severity and type of warp.
- Examine each warped board. Is it a slight cup, a pronounced crown, or a significant twist?
- Slight warp: Board is still mostly flat but has a minor curve. Can often be re-secured.
- Moderate warp: A noticeable curve or cup, but the board isn't split or severely twisted. Might be salvageable.
- Severe warp: Deep V-shape, significant twisting, or extensive splitting. Replacement is usually the best option.
2. Prepare the Area – Clear and clean the affected boards.
- Remove any furniture, planters, or objects from the warped section of the deck.
- Sweep or power wash the deck surface to remove dirt, mildew, and debris. This helps expose the full extent of the warp and improves grip. Let the deck dry thoroughly before proceeding.
3. Re-secure Slightly Warped Boards – For minor cupping or crowning.
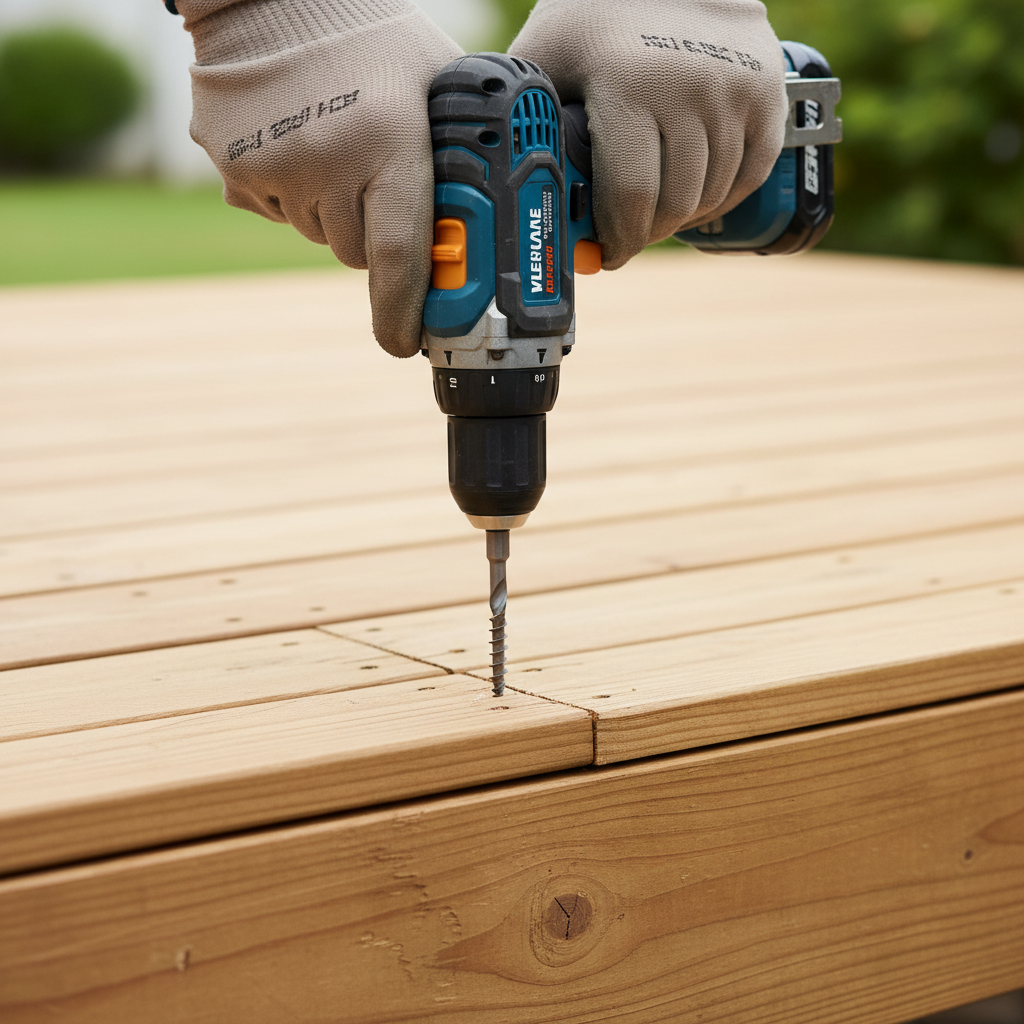
- If the warp is minimal, try driving additional deck screws into the board, especially near the edges of the cupped or crowned section.
- Use corrosion-resistant deck screws that are slightly longer than the original fasteners (e.g., 2.5-inch for 1-inch thick boards) but ensure they won't protrude underneath. Predrill pilot holes if working with dense hardwood or if there's a risk of splitting.
- Drive screws firmly until the board pulls down flush with the joist, but avoid overtightening, which can strip the wood.
- If this doesn't work: The warp is likely too significant for simple re-fastening. Move to the next step.
4. Flip and Re-fasten Moderately Warped Boards – A common and effective technique.
- Carefully remove all fasteners from the warped board using a drill/driver.
- If the board is cupped (edges up), flip it over so the cupped side faces down. This allows the concave shape to shed water better and uses gravity to help flatten it over time.
- Position the flipped board back onto the joists. If the board is still somewhat resistant, you may need to use a pry bar, clamps, or even a second person to temporarily hold it flat against the joist.
- Predrill new pilot holes. Then, install two new deck screws into each joist the board crosses. Ensure screws are driven straight and flush.
- Helpful Tip: Wetting the concave side of a moderately cupped board (before flipping) and letting it sit in the sun for a few hours can sometimes help relax the wood fibers, making it easier to flatten when re-fastened.
5. Replace Severely Warped Boards – When all else fails, or for extreme cases.
- Remove all fasteners from the severely warped board.
- Use a pry bar to carefully lift the board from the joists. If necessary, cut the board into smaller, more manageable sections with a circular saw to aid removal.
- Measure the removed board precisely for length and width.
- Purchase a new deck board of the same type, species, and dimensions. Allow new boards to acclimate to your local climate for several days, laid flat, before installation.
- Place the new board, predrill pilot holes, and fasten it securely to the joists with two deck screws per joist. Maintain consistent spacing with adjacent boards using spacers.
6. Address Underlying Causes – Crucial for long-term prevention.
- Ventilation: Ensure there is adequate airflow beneath your deck. Clear away any dense landscaping, stored items, or obstructions that block air circulation. Consider adding lattice with larger openings or even small foundation vents if your deck is enclosed.
- Drainage: Check that water isn't pooling on or under the deck. Regrade the ground beneath the deck away from the house, and ensure downspouts divert water far from the deck structure.
- Sealing: Once repairs are complete and the deck is clean and dry, apply a high-quality water-repellent sealant or stain to all surfaces of the boards (top, ends, and ideally, undersides if accessible). This creates a barrier against moisture fluctuations. Reapply every 1-3 years as recommended by the product manufacturer.
- Fasteners: Use appropriate corrosion-resistant deck screws (e.g., stainless steel or ceramic coated) for your climate and wood type. Consider using hidden fasteners for future installations, which can reduce surface moisture entry points.
Common Causes
- Uneven Moisture Exposure: This is the primary culprit. When one side of a deck board gets consistently wetter or dries out faster than the other, the resulting differential in fiber expansion/contraction causes warping. Examples include sunlight heating the top rapidly while the bottom remains damp from ground moisture, or water pooling on the surface.
- Improper Fastening: Under-fastening (too few screws) or using incorrect fasteners (nails instead of screws, non-corrosion-resistant types) can allow boards to move and warp freely. Improperly driven fasteners can also promote localized moisture entry.
- Lack of Acclimation: New lumber should be allowed to sit at the job site for several days to weeks before installation. This allows the wood to acclimate to the local humidity and temperature, reducing the shock of installation and subsequent warping.
- Inadequate Ventilation: Poor airflow beneath the deck traps moisture, keeping the underside of the boards damp for extended periods while the top dries out quickly. This creates a severe moisture imbalance.
- Incorrect Graining: Flat-sawn lumber (often recognizable by its cathedral-like grain pattern) is inherently more prone to cupping than quarter-sawn lumber. Many deck boards are flat-sawn for economic reasons.
- No or Poor Sealing: Unsealed or poorly sealed wood is highly susceptible to moisture absorption. A quality sealant acts as a barrier, slowing down moisture exchange and promoting more uniform drying.
Common Mistakes
- Ignoring Minor Warps: Small warps can escalate quickly into major structural issues and tripping hazards. Address them early.
- Using Nails Instead of Screws: Nails tend to lose their gripping power over time and
Related Articles
Keep troubleshooting with these hand-picked guides from FixlyGuide:
- The #1 Mistake Homeowners Make After Finding Missing Shingles (And How to Fix It Right) — Discover the crucial steps to take after a storm rips shingles from your roof, ensuring a proper, lasting repair and preventing costly futu…
- Is Your Gutter Sagging After Every Storm? The Hidden Flaw Most Homeowners Miss — Discover the overlooked reason your gutters sag after every storm and learn the lasting fix that most homeowners miss.
- The 3 Hidden Mistakes That Make Your Deck Sealer Fail (And How to Fix Them) — Resealing your wood deck protects it from weather and extends its life. Learn how to avoid common mistakes for a long-lasting finish and vi…
- The 3 Missing Shingles: Why Ignoring Them Costs You $10,000 — Ignoring even a few missing roof shingles after a storm can lead to thousands in water damage and rot – here’s how to safely fix them yours…
- The #1 Mistake Homeowners Make When Sealing a Deck (and How to Fix It) — Prevent costly damage and extend your deck's life by avoiding common sealing errors and following a simple, effective resealing process.
- The 3 Hidden Reasons Your Baseboards Are Pulling Away (And How to Fix It Right) — Don’t just nail it back! Discover the real reasons your baseboards are separating from the wall and how to achieve a lasting repair.
Frequently asked questions
Why do deck boards warp?+
Deck boards warp primarily due to uneven moisture absorption and release. When one side of a board dries or gets wet faster than the other, the wood fibers expand or contract differentially, causing the board to bow, cup, or twist. Improper fastening, lack of ventilation, and type of wood cut also contribute.
Can you unwarp a deck board?+
Minorly warped deck boards can sometimes be unwarped by re-securing them with additional screws, or by flipping them over and re-fastening. For moderate cupping, wetting the concave side before flipping and allowing it to dry slowly in place can sometimes help. Severely warped boards are generally best replaced.
How do you prevent deck boards from warping?+
To prevent warping, ensure proper ventilation under your deck, allow new lumber to acclimate before installation, use appropriate corrosion-resistant fasteners, maintain consistent spacing between boards, and regularly apply a high-quality water-repellent sealant or stain to all wood surfaces.


Discussion
Loading comments…