- Original Shelf Design: The fundamental issue is just the design of wire shelving itself. It's made to be open, not solid.
- Small Item Storage: Trying to store anything smaller than a 3-inch base on a wire shelf is usually asking for trouble. Spice jars, cans of tuna, small tools – they all fall through.
- Sagging Bags/Containers: Soft-bottomed bags or flimsy containers will inevitably sag through the gaps, making a mess and wasting space.
- Cleaning Frustration: Those wires make it impossible to wipe down a shelf properly without snagging rags or leaving residue in the nooks.
- Aesthetics: Let's be honest, wire shelves rarely add to the visual appeal of a room. They scream
Published August 8, 2026Last updated August 17, 2026
Tools & materials you'll need
Affiliate linksAs an Amazon Associate FixlyGuide earns from qualifying purchases — at no extra cost to you. Prices and availability are accurate as of publication and subject to change.
Quick Answer
Listen, those wire shelves are great for air circulation in a pantry or a garage, but they're a royal pain when you're trying to store anything small, or anything that doesn't have a perfectly flat bottom. Ever try to stand a spice jar on one of those? Forget about it. You end up with leaning towers of pantry goods or a garage floor littered with dropped bits. Building your own solid shelf covers out of plywood or MDF, with a simple trim, is a game-changer. It makes your shelves functional for everything, looks a hundred times better, and honestly, it's an easy afternoon project you'll kick yourself for not doing sooner. I've done it for dozens of clients, and my own garage looks ten times better for it.
The Problem
You know the drill. You've got these perfectly good, strong wire shelves in your pantry, laundry room, or garage. They hold a lot of weight, no doubt about it. But the design, with those open gaps, makes them utterly useless for anything that isn't a huge, flat-bottomed tote. Canned goods tilt, small tools disappear, and bags of chips sag through the gaps. It's frustrating. Not only do you lose usable storage space, but it also just looks messy. You're constantly fishing things out from underneath, or trying to balance items precariously. It's an inefficient system, and it makes your storage areas feel disorganized and unfinished. Plus, cleaning? Don't even get me started on trying to wipe down a wire shelf without half your cleaning rag getting snagged.
How It Works
Think about what makes a good shelf: a flat, solid surface. That's what we're creating here, essentially turning an open grid into a functional platform. Wire shelves work by using thin, strong metal rods, typically steel, configured into a grid and supported by brackets mounted to wall studs. The strength comes from the truss-like structure of the wires and the secure wall attachment. They're built to stay light and still carry a decent load, which is fine, but that open layout is exactly what makes them a headache for real-world storage.
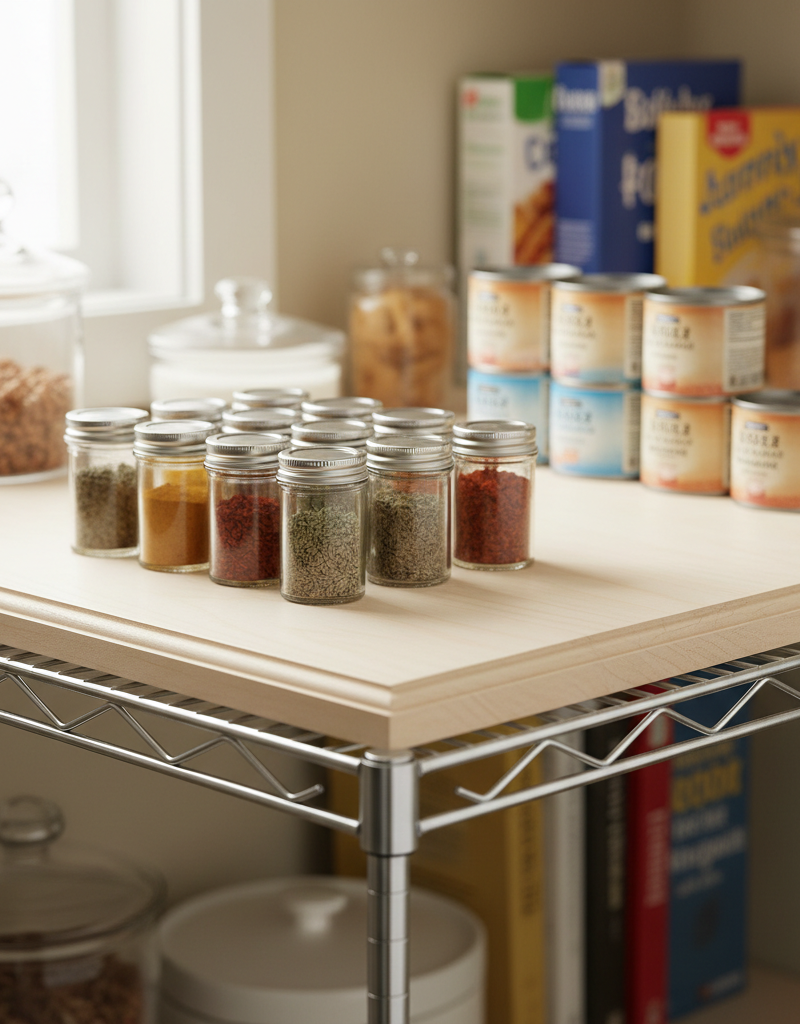
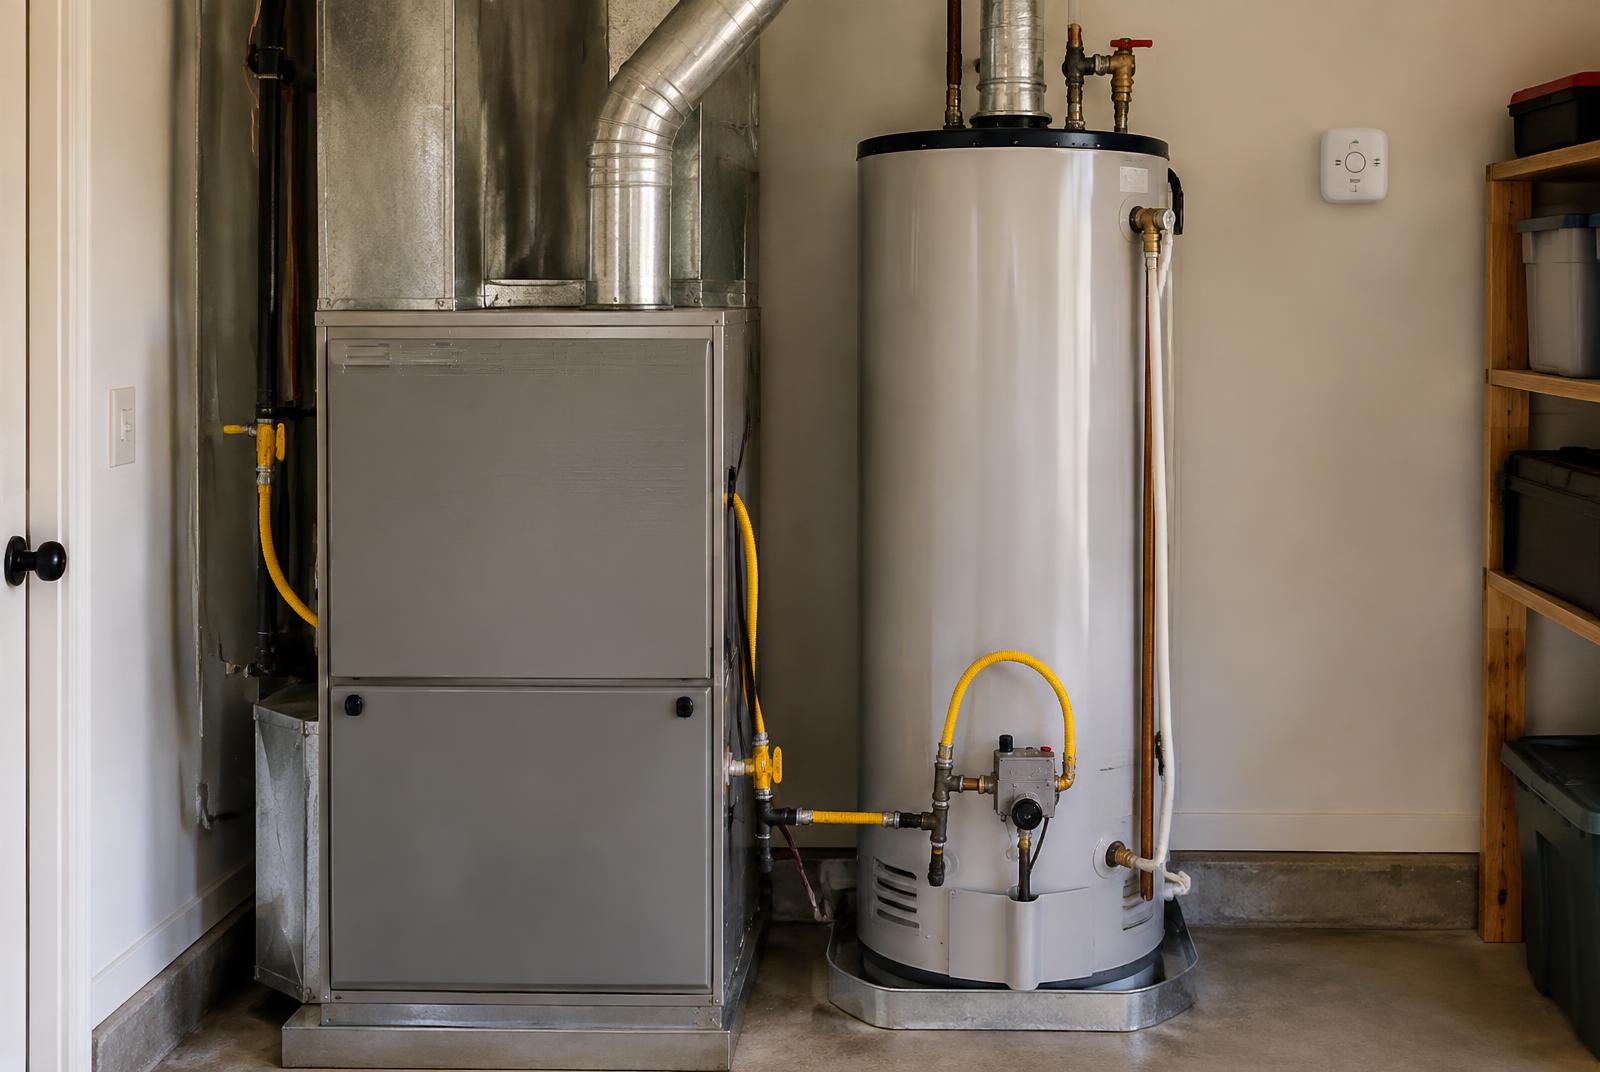
Our fix is simple. We make a solid deck that sits right on top of the wire grid. I usually use plywood or MDF, and 1/2-inch or 3/4-inch thick is the sweet spot. That gives you the flat surface you actually need. Then I like to add a strip of trim — 1x2 or 1x3 lumber works fine — along the front edge. It cleans up the raw edge, makes the whole thing look intentional, and gives you a little lip so stuff doesn't skate off the front. The shelf cover's own weight, plus whatever you set on it, keeps it put. No fancy clips. No glue tricks. Gravity does the job. I pulled a water heater in Frisco last month that had exactly this kind of shelf setup in the utility closet, and once we covered the wire racks, the whole space looked like somebody actually cared about it. Simple fix. Big difference.
Step-by-Step Fix
Here's how I typically tackle these. It's straightforward, but measure twice, cut once – always good advice.
- Measure Your Shelves – Grab your tape measure. You'll want the exact width of your wire shelf, from the left wall or support to the right. Then measure the depth, from the very back of the shelf to the absolute front edge. Don't eyeball it; get precise. Write these down immediately. I once built a whole set of covers for a walk-in pantry in Alpharetta, GA, only to find out the back wall wasn't perfectly straight, and my front-to-back measurements were off by a quarter-inch on some. Had to re-cut three of 'em. Learn from my mistakes, folks.
- Cut Your Shelf Blanks – Head over to your sheet goods. Using your measurements, mark out your shelf blanks on the plywood or MDF. A circular saw with a straight edge guide or a table saw is your best friend here for clean, straight cuts. Make sure your cuts are square. For a typical 12-inch deep wire shelf, I'd cut the sheet material about 1/4-inch less, so 11 3/4 inches deep. This small gap at the back allows a little breathing room and makes it easier to drop into place. The length should be spot on with your shelf width.
- Prepare the Front Trim – Now for the trim. You'll need pieces of 1x2 (actual dimensions usually 3/4 inch x 1 1/2 inches) or 1x3 cut to the exact length of your shelf blanks. This trim will form the front lip. If you want a really clean look, consider mitering the ends if your shelves butt into a corner. Otherwise, straight cuts are perfectly fine.
- Pro Tip: If your shelves are against a wall on one side but open on the other, you might consider adding a small trim piece to the exposed side as well, or at least sanding and painting that edge really well.
- Attach the Front Trim – This is where it starts to look like a real shelf. Lay your cut plywood blank flat. Take a trim piece and align its bottom edge with the top surface of your plywood blank, flush with the front edge. Use wood glue along the entire contact surface, then secure it with finish nails or screws. For 3/4-inch plywood, 1 1/4-inch finish nails or 1-inch screws work well. Space them every 8-10 inches. Wipe off any squeezed-out glue immediately with a damp rag.
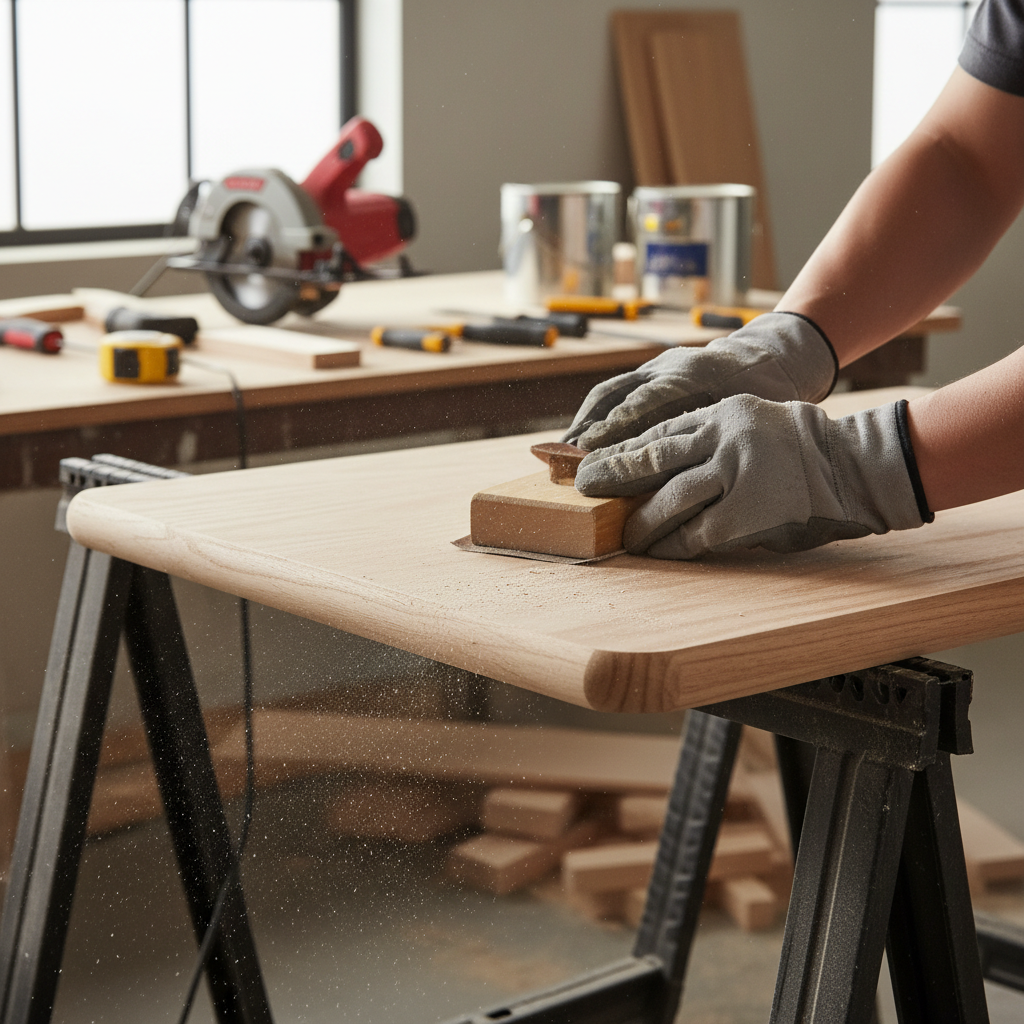
- Sand and Fill – Once the glue is dry (give it at least an hour, or check your glue's instructions), it's time to smooth things out. Sand all surfaces and edges with 120-grit sandpaper, then follow up with 220-grit for a super smooth finish. Pay special attention to the front edge and where the trim meets the plywood. Fill any nail holes or small gaps with wood filler, let it dry, and then sand it smooth again. This step makes all the difference in the final painted look.
- Prime 'Em Up – Don't skip priming, especially with plywood or MDF. These materials can be thirsty and absorb paint unevenly. A good quality primer will seal the wood, provide a uniform base, and ensure your topcoat looks professional and lasts. Apply one to two coats, letting each dry fully between applications. Lightly sand with 220-grit after the first coat if there are any raised wood fibers.
- Paint or Finish – Now for the fun part! Choose a durable paint. A semi-gloss or satin enamel is usually best for shelves; it's tough, washable, and looks good. Apply two even coats, allowing adequate drying time. Don't rush it. You want a smooth, chip-resistant surface. For a garage or utility room, a simple latex semi-gloss is fine. For a pantry, you might want something a little more robust to handle spills.
- Installation – Once the paint is completely cured (give it a few days for maximum hardness, even if it feels dry to the touch), simply set your new shelf covers right on top of your existing wire shelves. They'll drop into place, the trim will face forward, and boom – you've got solid, functional, and great-looking shelves. No fasteners needed; gravity and friction will keep them right where they belong.
Common Causes
- Original Shelf Design: The fundamental issue is just the design of wire shelving itself. It's made to be open, not solid.
- Small Item Storage: Trying to store anything smaller than a 3-inch base on a wire shelf is usually asking for trouble. Spice jars, cans of tuna, small tools – they all fall through.
- Sagging Bags/Containers: Soft-bottomed bags or flimsy containers will inevitably sag through the gaps, making a mess and wasting space.
- Cleaning Frustration: Those wires make it impossible to wipe down a shelf properly without snagging rags or leaving residue in the nooks.
- Aesthetics: Let's be honest, wire shelves rarely add to the visual appeal of a room. They scream
Related Articles
Keep troubleshooting with these hand-picked guides from FixlyGuide:
- 7 Hidden Equity Drains Costing You Thousands Annually — Your home is an asset, but silent problems like minor leaks, poor insulation, and deferred maintenance can drain its value. Discover the se…
- The Surprising Trick to Cutting Your Dryer Bill By $100 Per Year — Installing a clothesline can significantly reduce your energy bills and add a fresh scent to your laundry. This guide covers how to choose…
- The Hidden Reason Your GFCI Trips (and Why Most Homeowners Miss It) — A continuously tripping GFCI outlet is a safety warning, often signaling common but overlooked issues like moisture intrusion, appliance fa…
- The Hidden Reason Your GFCI Trips — And Why Most Homeowners Get It Wrong — A continuously tripping GFCI outlet is a safety warning, often indicating a problem like moisture, a faulty appliance, or a wiring issue th…
- The Surprising Yard Tool That Vaporizes Weeds (No Chemicals Needed) — A weed torch offers an efficient, chemical-free method for removing unwanted plants from hardscaped areas like driveways, patios, and grave…
- Those Ugly Black Streaks on Your Roof Aren't Dirt — Those unsightly black streaks are actually a type of algae called Gloeocapsa magma feeding on your shingles, but they can be cleaned and pr…
Should you do this yourself?
Answer five quick questions before you start. Safety outranks savings every time.
Your experience with work like this
How high do you have to work?
Does the job involve any of these?
Will it need a permit?
Specialty tools
Free and instant. Educational guidance only — not a quote, inspection, or professional diagnosis.
What should this project cost?
Enter your project details for a realistic cost range before you call anyone.
Outlet and switch work usually $150–$400; panel upgrades commonly $1,800–$4,200.
- Regional adjustment
- National average
- Labor share (typical)
- ~$709
- Quotes to collect
- 3 written estimates
Educational estimate based on national averages — not a binding quote. Always confirm with written local estimates.
Before you start
Check the difficulty, permits, and safety risk — then decide whether to call a pro.
- Estimate this projectGet a cost range for your scope and ZIP before you call anyone.Open
- Get local estimatesSend one request and compare written estimates from vetted pros.Open
Free, no signup required. Estimates are educational guidance, not a quote or an inspection.
Get the print-ready PDF of this guide
A clean, ad-free, printable version you can keep on your phone or pin to the workshop wall. Free with a FixlyGuide account.
- Print-optimized layout
- Tools, materials & every step included
- Saved to your account
This article was independently written by FixlyGuide based on the source topic.
Frequently asked questions
What's the best material for DIY wire shelf covers?+
For most applications, 1/2-inch or 3/4-inch plywood or MDF (Medium-Density Fiberboard) are excellent choices. Plywood offers more strength and screw-holding power, while MDF provides a super smooth finish for painting and is often cheaper. Both are stable enough for shelf duty.
Do I need to attach the shelf covers to the wire shelves?+
Nope, in most cases, you don't. The weight of the shelf cover itself, plus whatever you put on it, is usually enough to keep it securely in place. The front trim helps it sit flush and prevents shifting. This makes them easy to remove if you ever need to clean the wire shelves underneath.
Can I use these covers in a damp environment like a bathroom?+
You can, but you'll want to use moisture-resistant materials and finishes. Consider exterior-grade plywood or MDF, and ensure you use a high-quality, water-resistant primer and a marine-grade or epoxy paint for maximum durability against humidity and splashes. Standard materials might warp over time.
How do I cut the wood straight for the shelf covers?+
A circular saw with a straight edge guide or a table saw will give you the cleanest, straightest cuts. If you don't have these, a jigsaw can work for shorter cuts, but it's tougher to get perfectly straight lines. Many home improvement stores will also make basic cuts for you if you provide precise measurements.
What kind of paint should I use for shelf covers?+
A durable enamel paint in a semi-gloss or satin finish is ideal. These finishes are tough, easy to clean, and resist scuffs better than flat paints. Look for paints formulated for trim and cabinets for the best performance and longevity, especially in high-traffic areas like a pantry.
How much space should I leave around the shelf cover?+
I generally recommend cutting the shelf blank about 1/4-inch to 1/2-inch shorter in depth than the actual wire shelf. This small gap at the back helps with installation and allows for minor wall irregularities. The length should be a snug fit, but not so tight it's hard to get in or out.
Can I use thinner materials like hardboard or thin plywood?+
While you *could*, I wouldn't recommend going much thinner than 1/2-inch for the main shelf blank. Thinner materials are more prone to bowing or sagging over time, especially with heavier items. The small added cost for 1/2-inch or 3/4-inch material is worth the improved durability and stability.
What if my wire shelves aren't perfectly level?+
If your wire shelves aren't level, your new solid covers won't be either. Before you even start cutting, check the level of your existing shelves. If they're off, you'll need to adjust the wire shelf brackets themselves to get a truly flat surface for your new covers.

Discussion
Loading comments…