
Tools & materials you'll need
Affiliate linksAs an Amazon Associate FixlyGuide earns from qualifying purchases — at no extra cost to you. Prices and availability are accurate as of publication and subject to change.
Quick Answer
Lead-based paint, if present in homes built before 1978, poses a significant health risk primarily when it's disturbed during repairs or renovations, releasing invisible, toxic dust. Intact lead paint is generally safe, but activities like sanding, scraping, or drilling can create a serious hazard. Proper containment, personal protective equipment, and professional testing are crucial for safety and should be followed diligently to prevent exposure to lead particles.
The Problem
You're tackling a home renovation project – perhaps scraping old paint off a window sill, sanding down a door frame, or even drilling into a wall to hang a new shelf. It seems like a standard DIY task, but if your home was built before 1978, you could be unknowingly releasing a silent, invisible threat: lead dust. This isn't just a concern for major demolitions; even minor disturbances of lead-based paint can create microscopic particles that, when inhaled or ingested, can cause serious health problems, particularly for children and pregnant women. The challenge lies in the fact that lead paint can be hidden under layers of newer paint, making it undetectable without proper testing. The dust it creates is invisible to the naked eye, lingers in the air, and can settle on surfaces, becoming a persistent hazard. Understanding this risk is the first step toward protecting yourself and your family from a dangerous and often overlooked hazard.
How It Works
Lead was a common additive in household paints for decades, prized for its durability, vibrant color, and resistance to moisture and corrosion. However, the dangers of lead exposure became increasingly clear, leading to its ban in residential paint in the United States in 1978. When lead paint is intact and undisturbed, it generally doesn't pose an immediate health threat, as the lead is encapsulated within the paint film. The danger emerges when this paint deteriorates or is disturbed by activities that create dust or chips. For example, sanding generates fine lead dust particles that can become airborne, while scraping produces larger chips that can be ingested. Drilling creates both dust and small fragments. Heat guns used to remove paint can vaporize lead, creating invisible fumes that are highly toxic. These lead particles, whether airborne dust or settled on surfaces, can be easily inhaled or inadvertently ingested, especially by young children who often put their hands or toys in their mouths. Once inside the body, lead can accumulate in bones and soft tissues, interfering with various bodily functions and leading to a range of health issues, including developmental problems in children, neurological damage, and kidney issues in adults. Even low levels of lead exposure can have significant, long-lasting consequences, making lead dust control paramount in older homes.
Step-by-Step Fix
1. Identify Potential Lead Paint — The first step is to determine if lead paint is even a concern in your home.
- How: If your home was built before 1978, assume lead paint is present until proven otherwise. Visually inspect painted surfaces for chipping, peeling, or chalking paint, which are common signs of older paint. Lead paint can be found on walls, trim, windows, doors, and even exterior surfaces.
- Tools: Lead test kits are available at hardware stores, but professional testing is more accurate.
- If this doesn't work: If a DIY test kit gives an inconclusive result, or if you want definitive peace of mind before a large project, hire a certified lead inspector. Their specialized equipment provides far more accurate readings.
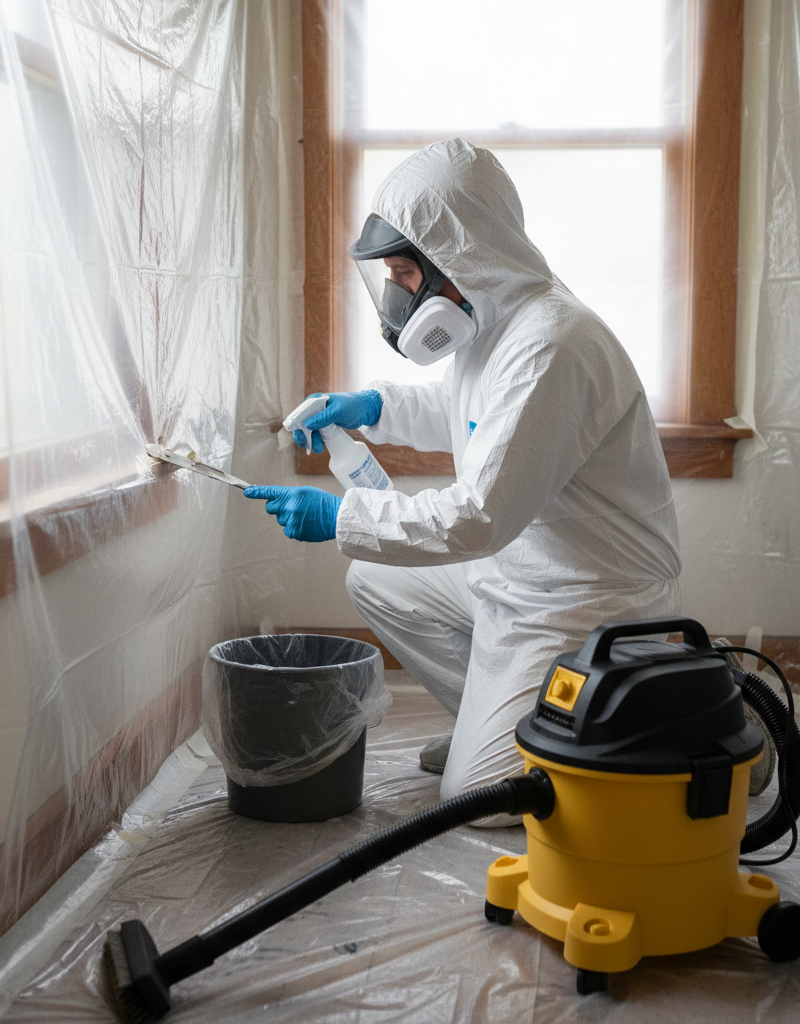
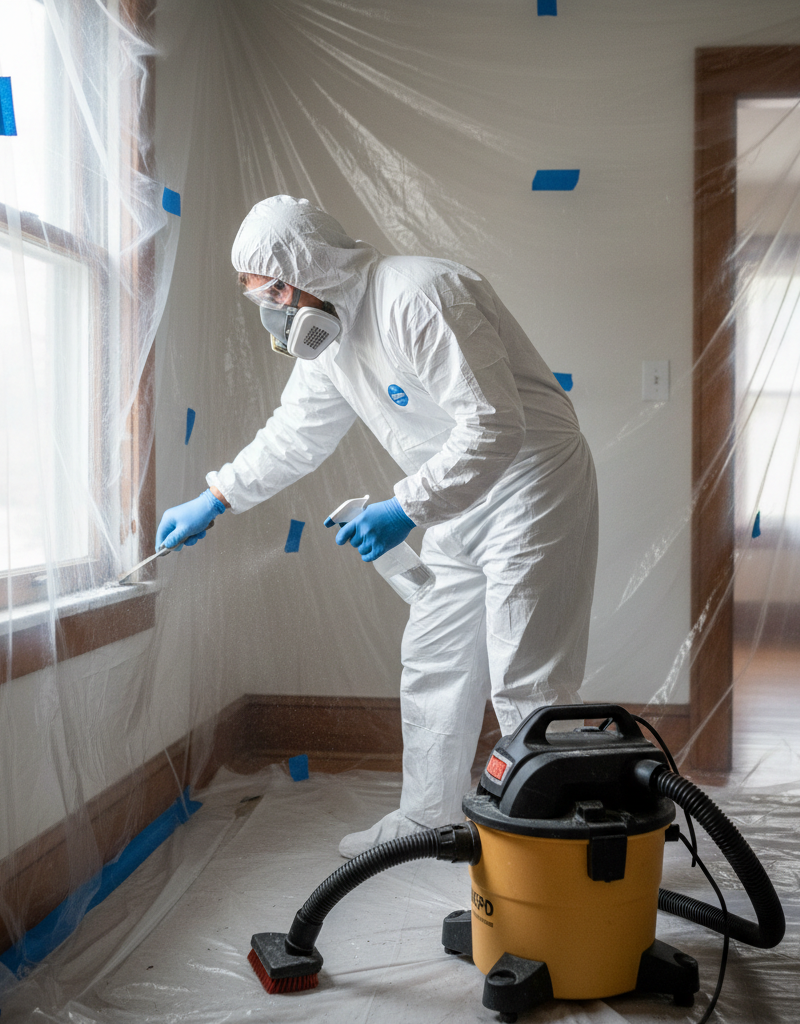
2. Prepare the Work Area — Proper containment is critical to prevent lead dust from spreading.
- How: Clear the room of all furniture, rugs, and personal items. If items cannot be removed, cover them completely with 6-mil plastic sheeting and painter's tape, ensuring a tight seal. Lay down a double layer of 6-mil plastic sheeting on the floor, extending at least 6 feet beyond the work area in all directions. Seal off doorways and HVAC vents with plastic sheeting and tape to isolate the work zone.
- Safety: Always wear disposable gloves, an N100 or P100 respirator, and disposable coveralls. Eye protection is also essential.
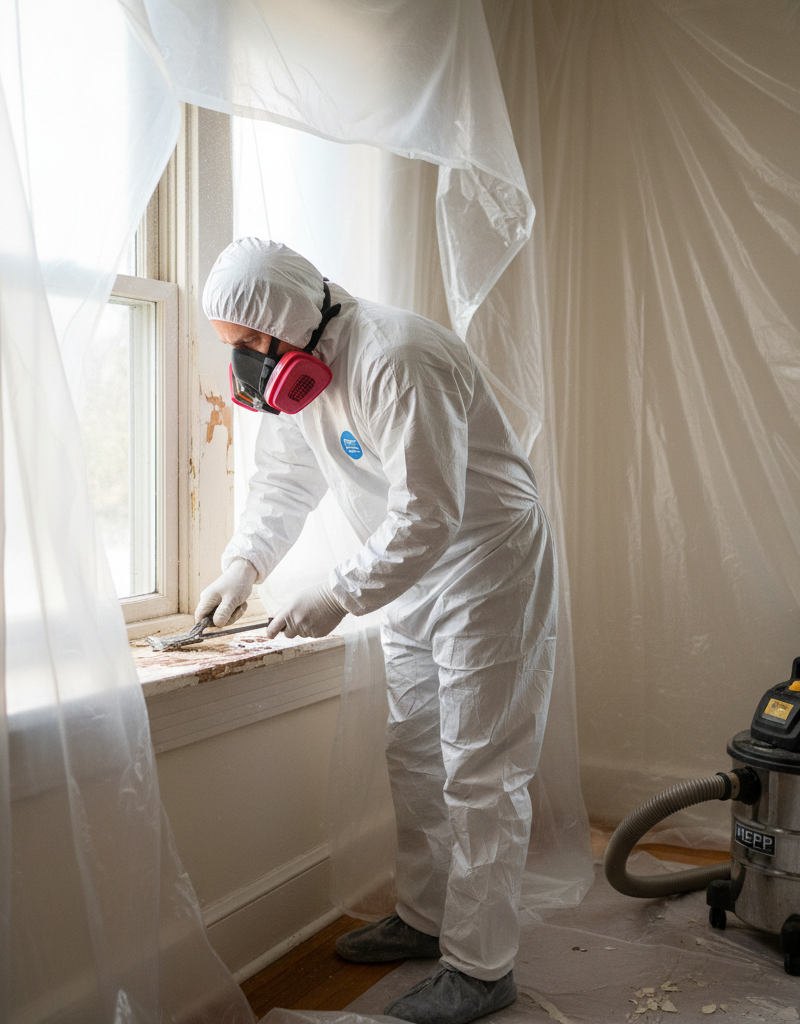
3. Wet-Scrape or Wet-Sand — Minimize dust by using wet methods for paint removal.
- How: Before scraping or sanding, lightly mist the painted surface with water using a spray bottle. This helps to agglomerate lead dust particles, preventing them from becoming airborne. For scraping, use a sharp hand scraper. For sanding, use a wet/dry sandpaper sparingly, keeping the surface damp throughout the process. Avoid power sanding unless equipped with a HEPA-filtered vacuum attachment.
- Tools: Spray bottle with water, hand scraper, wet/dry sandpaper (various grits), bucket for water.
- If this doesn't work: If wet methods aren't sufficient or the paint is particularly stubborn, consider using a chemical paint stripper designed for lead paint. Always follow manufacturer instructions carefully and ensure adequate ventilation.
4. Contain Debris — Collect all paint chips and dust meticulously.
- How: As you work, immediately collect all paint chips and debris into heavy-duty plastic bags. Once the work is complete, carefully fold the plastic sheeting from the floor inward, containing any settled dust. Seal the plastic sheeting and its contents tightly in heavy-duty contractor bags.
- Safety: Do not use a regular household vacuum cleaner, as it will simply blow lead dust particles into the air. Only use a vacuum equipped with a HEPA filter.
5. Clean the Work Area Thoroughly — Meticulous cleaning is crucial for lead dust removal.
- How: After removing all debris, wet-wipe all surfaces in the work area twice using a lead-specific cleaning solution or a general all-purpose cleaner. Use disposable rags and change them frequently. Following the wet-wiping, use a HEPA-filtered vacuum to clean all surfaces, including walls, floors, and windowsills, slowly and methodically. Finally, wet-mop any hard floors.
- Tools: Lead-specific cleaning solution or all-purpose cleaner, disposable rags, HEPA-filtered vacuum, mop and bucket.
6. Dispose of Waste Properly — Lead paint waste is considered hazardous material.
- How: Contact your local waste management facility or health department for specific instructions on lead-based paint waste disposal in your area. Do not dispose of lead paint chips, dust, or contaminated materials in regular household trash.
- Safety: Always wear gloves and a respirator when handling lead waste.
7. Personal Decontamination — Prevent tracking lead dust elsewhere.
- How: Before leaving the work area, remove disposable coveralls and place them in a sealed bag with other lead waste. Remove your respirator and gloves. Wash your hands and face thoroughly with soap and water immediately. Shower and wash your hair as soon as possible after completing the work.
- Safety: Never eat, drink, or smoke in the work area.
Common Causes
- Home Construction Before 1978: The ban on lead-based paint in residential use in the US happened in 1978. Any home built or painted before this year has a high likelihood of containing lead paint, often beneath layers of newer paint. This is the primary
Related Articles
Keep troubleshooting with these hand-picked guides from FixlyGuide:
- The 3-Ingredient Secret to Sparking Clean Carpets (That Most Don't Know) — Unlock the secret to brilliantly clean carpets with a simple, potent three-ingredient homemade solution that effectively tackles stains and…
- The Hidden Reason Your GFCI Trips (It's Not Always a Faulty Outlet) — A continuously tripping GFCI outlet is a critical safety warning, often indicating moisture, a faulty appliance, or a wiring problem that r…
- The 6-Minute Secret to a Sparkling Bathroom (It’s Not What You Think) — Unleash the hidden power of your cordless drill to tackle stubborn household grime, from tile grout to dryer vents, with specialized attach…
- The Secret to Lush Raised Beds? It's Not Just About How You Water — Smart irrigation for raised garden beds isn't just about automation; it's about delivering the right amount of water precisely when your pl…
- The 4-Hour — Transform your garden into a self-sufficient oasis with smart strategies for watering, weeding, and pest control, minimizing your effort.
- The #1 Mistake Homeowners Make After Finding Missing Shingles (And How to Fix It Right) — Discover the crucial steps to take after a storm rips shingles from your roof, ensuring a proper, lasting repair and preventing costly futu…
This article was independently written by FixlyGuide based on the source topic.
Frequently asked questions
How do I know if my home has lead paint?+
The most reliable way is to have your home professionally tested by a certified lead inspector. You can also use DIY lead test kits, but these are less precise. If your home was built before 1978, it's safest to assume lead paint is present until proven otherwise.
What are the health risks of lead exposure?+
Lead exposure can lead to serious health problems, especially in children and pregnant women. Symptoms can include developmental delays, learning difficulties, nervous system damage, kidney problems, and anemia. Even low levels of exposure can have long-lasting effects.
Can I paint over lead paint?+
Yes, encapsulating intact lead paint with a new layer of paint is a common and often effective strategy, as long as the underlying lead paint is stable and not chipping or peeling. However, this is a temporary solution and does not remove the hazard; the lead paint is still there beneath the new layer. If the encapsulated paint is later disturbed, the hazard reappears.
What should I do if my child has been exposed to lead?+
Consult your pediatrician immediately. They can perform a blood test to determine lead levels and recommend appropriate medical interventions. Also, contact your local health department to report the exposure and get guidance on how to address the lead hazard in your home.
Discussion
Loading comments…