Tools & materials you'll need
Affiliate linksAs an Amazon Associate FixlyGuide earns from qualifying purchases — at no extra cost to you. Prices and availability are accurate as of publication and subject to change.
Quick Answer
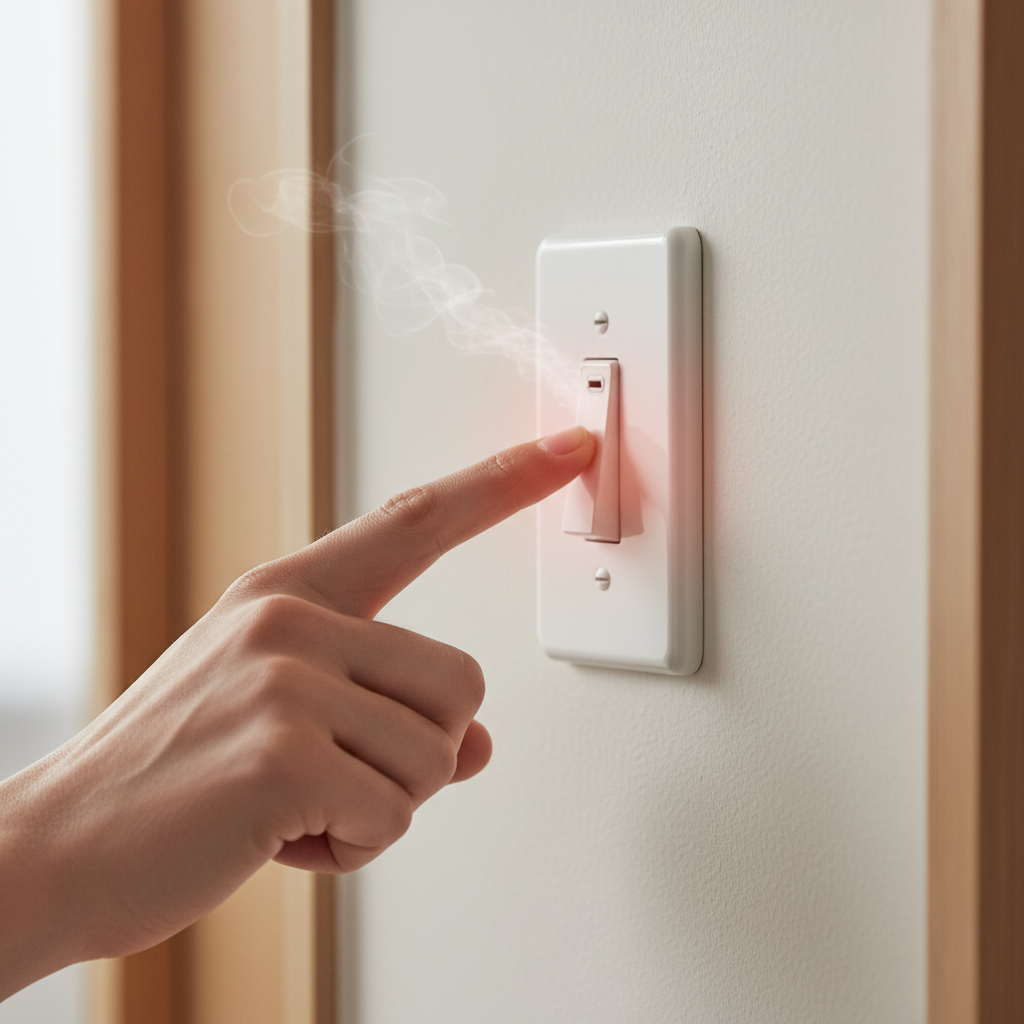
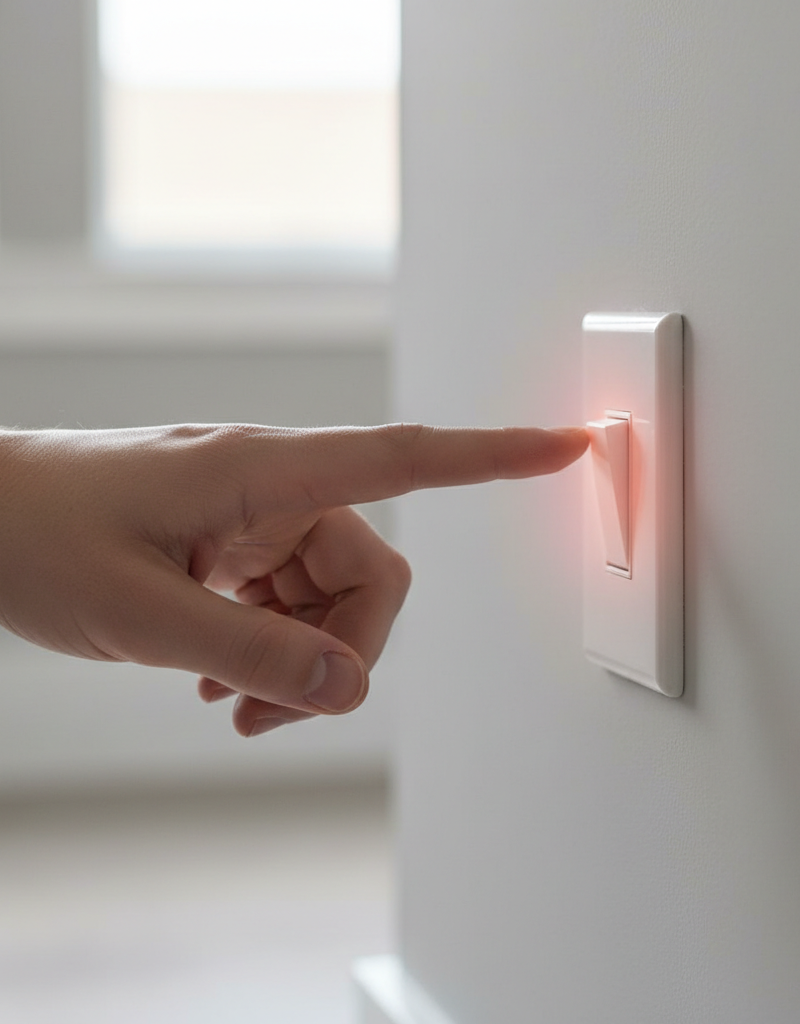
A A light switch that is hot to the touch is a serious warning sign of an underlying electrical problem that demands immediate investigation. The most common culprits are an overloaded circuit, loose wire connections within the switch box, or a defective switch itself. Less frequently, but still possible, issues like incorrect bulb wattage or even backstab wiring (a common, but problematic, installation method in older homes) can contribute to heat buildup. Ignoring a hot light switch can lead to melted wiring, arcing, and a significant fire hazard, making prompt diagnosis and repair crucial.
The Problem
Imagine reaching for a light switch only to find it uncomfortably warm, perhaps even scorching hot. This isn't just an inconvenience; it's a clear indicator that something is amiss within your home's electrical system. Electrical circuits are designed to operate within specific temperature ranges, and excessive heat is always a red flag. When a switch generates enough heat to be noticeable to the touch, it signifies a breakdown in the normal flow of electricity. This heat is often a precursor to more severe issues, such as damaged insulation, arcing faults, and ultimately, an increased risk of electrical fire. Understanding why this heat is occurring is the first step in resolving a potentially dangerous situation and ensuring the safety of your home.
How It Works
To understand why a light switch gets hot, it's essential to grasp how electricity flows through your home's wiring and specifically through a switch. An electrical circuit is a closed loop that allows current to travel from your electrical panel, through wires and devices (like light switches and bulbs), and back to the panel. A light switch acts as a gatekeeper, interrupting or completing this circuit to turn a light fixture on or off.
Inside a standard toggle or rocker switch, there are metal terminals where the electrical wires are connected, and a mechanism (often a spring-loaded contact) that physically connects or disconnects the internal conductive path. When you flip the switch to the "on" position, these contacts close, allowing current to flow to the light fixture. When you flip it "off," the contacts open, breaking the circuit.
The generation of heat in an electrical circuit is governed by the principles of electrical resistance. All electrical conductors (wires, switch contacts) have some inherent resistance. As electrical current flows through a resistant material, some of the electrical energy is converted into thermal energy – heat. This is described by Joule's Law: Power (heat) = Current (squared) x Resistance (P = I²R).
Under normal operating conditions, the resistance within a well-made switch and its connections is very low, meaning minimal heat is generated. However, several factors can drastically increase this resistance:
- Loose Connections: If a wire is not securely fastened to a terminal, the contact area between the wire and the terminal is reduced. This constricted path significantly increases resistance at that point, leading to localized heat generation.
- Overload: When a switch is controlling a load (like multiple high-wattage bulbs or a powerful motor) that draws more current than the switch is rated for, the increased current (I) through the switch's internal resistance (R) will generate much more heat (I²R). Circuit breakers protect against overall circuit overloads, but a single switch can be overloaded even if the breaker isn't tripping.
- Faulty Switch: Over time, the internal contacts of a switch can degrade due to arcing, wear, or manufacturing defects. This degradation increases the internal resistance of the switch, causing it to heat up even under normal loads.
- Incorrect Wattage: While less common for a switch itself to get hot solely from this, using bulbs with wattage significantly higher than the fixture's or circuit's rating can contribute to overall heat in the electrical box, which can radiate to the switch.
Understanding these basic principles allows homeowners to better diagnose and address a hot light switch, recognizing it as a symptom of unwanted resistance and potential energy conversion to heat.
Step-by-Step Fix
Safety First: Before beginning any electrical work, ALWAYS turn off the power to the affected circuit at your main electrical panel. Confirm the power is off using a non-contact voltage tester on the switch and any connected outlets. Work slowly and meticulously. If at any point you feel unsure or uncomfortable, stop and call a licensed electrician.
1. Test for Power – Verify the circuit is de-energized.
- Locate your electrical panel and identify the breaker controlling the affected light switch. If unsure, turn off the main breaker for your entire home (only for a short time for testing).
- Flip the breaker to the "OFF" position.
- Go back to the hot light switch and use a non-contact voltage tester to confirm there is no power. Touch the tip of the tester to the face of the switch, then carefully remove the cover plate and test the wires connected to the switch terminals. The tester should not light up or beep.
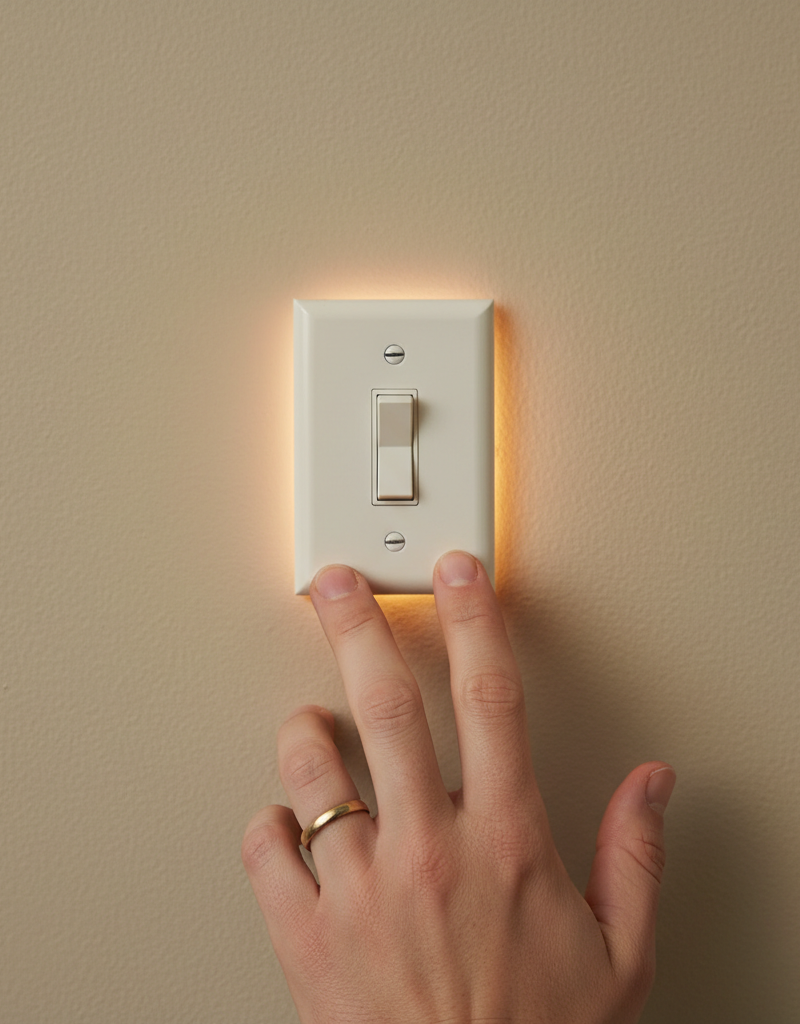
2. Remove the Switch Plate – Access the internal components.
- With the power confirmed off, use a screwdriver to carefully remove the two screws holding the cover plate in place.
- Gently pull the cover plate away and set it aside.
3. Inspect the Switch and Wires for Obvious Damage – Look for telltale signs of trouble.
- Before touching anything, visually inspect the switch and the wires within the electrical box.
- Melted or Discolored Insulation: Look for any signs of plastic or wire insulation that appears melted, charred, or discolored (often brown or black). This is a strong indicator of severe overheating.
- Frayed or Exposed Wires: Check for any wires with damaged insulation, exposing the bare copper.
- Loose Connections: Gently tug on each wire connected to the switch terminals. If any feel loose or pull out easily, this is a significant finding.
- Burn Marks: Look for any burn marks on the switch body itself, on the wires, or on the inside of the electrical box.
- Backstab Wiring: Note if the wires are inserted into small holes on the back of the switch (backstab connections) rather than wrapped around screw terminals. These connections are known to loosen over time and cause heat.
4. Tighten All Screw Terminal Connections – Eliminate a common source of heat.
- Using a Phillips or flathead screwdriver (matching the screw type), carefully tighten each screw terminal on the light switch.
- Ensure the bare copper wire is securely wrapped clockwise around the screw terminal (if using screw terminals) and that no stray wire strands are touching other terminals or the metal electrical box.
- Pro Tip: If you find backstab connections, it's highly recommended to move them to the screw terminals. Carefully release the wires from the backstab holes (often by inserting a small screwdriver into a release slot), strip about 3/4 inch of insulation, create a shepherd's hook bend, and connect them securely to the screw terminals.
5. Check for Overload or Incorrect Bulb Wattage – Assess the demands on the switch.
- Consider what the switch controls. Is it a single light, or multiple lights? Are there any high-wattage devices (e.g., a fan, a heater, or even a very bright incandescent floodlight) connected to this switch?
- Calculate the total wattage of the bulbs connected to the switch. For example, if it controls six recessed lights each with a 100-watt incandescent bulb, that's 600 watts. Most standard switches are rated for 15 amps at 120 volts, which equates to 1800 watts. While 600 watts isn't an overload for the switch itself, it can generate significant heat. If you're near the maximum rating, especially with older, less efficient incandescent bulbs, consider switching to lower-wattage LED bulbs.
- If it controls a fan or another motor, check the device's wattage rating and compare it to the switch's rating (usually printed on the switch body).
- If you suspect an overload: Reduce the load by using lower-wattage bulbs (preferably LEDs) or distributing fixtures to different circuits if possible. If the switch controls a heavy-duty appliance, ensure it is a heavy-duty rated switch.
6. Replace a Faulty Switch – When the switch itself is the culprit.
- If, after tightening connections and verifying the load, the switch still gets hot, or if you observed any melting/charring on the switch itself in Step 3, the switch is likely faulty and needs replacement.
- Before disconnecting, take a photo of the existing wiring. This will serve as a reference.
- Loosen the screw terminals and carefully disconnect all wires from the old switch.
- Connect the wires to the new switch, ensuring they are securely fastened to the correct terminals (usually identified as 'line' and 'load' or by color-coding if it's a 3-way switch).
- Gently fold the wires back into the electrical box, leaving enough space for the switch body.
- Screw the new switch into the electrical box, attach the new cover plate, and restore power.
7. Test the Repair – Confirm everything is working safely.
- Turn the circuit breaker back on.
- Carefully touch the switch. Turn the lights on and leave them on for 15-30 minutes. Periodically check the switch's temperature. It should remain cool to the touch. If it heats up again, immediately turn off the power and reassess, or call a professional.
Common Causes
- Loose Wire Connections: This is by far the most frequent cause. Over time, due to expansion and contraction, vibrations, or initial improper installation, the screw terminals connecting the wires to the switch can loosen. A loose connection creates increased electrical resistance at that point, which generates significant heat according to Joule's law (P=I²R).
- Overloaded Circuit/Switch: The switch may be controlling too many lights or high-wattage fixtures that draw more current than the switch is designed to handle. While circuit breakers protect against whole-circuit overloads, a single switch can be individually overloaded without tripping the breaker. This excessive current through the switch's normal resistance will cause it to heat up.
- Defective or Old Switch: Like any mechanical or electrical device, switches can wear out. The internal contacts can become pitted, corroded, or develop increased resistance over time, especially with frequent use or arcing across the contacts. A faulty internal mechanism will generate heat even under normal loads.
- Backstab Connections: Many older and some newer, cheaper switches use
Related Articles
Keep troubleshooting with these hand-picked guides from FixlyGuide:
- Why is Your Light Switch Hot? (The Hidden Danger Most Homeowners Miss) — A hot light switch isn't just uncomfortable; it's a critical warning sign of electrical issues that should never be ignored due to fire ris…
- Why is Your Light Switch Hot? The 3 Hidden Overload Risks Explanations — A hot light switch isn't just uncomfortable; it signals potential electrical problems like overloading, loose wiring, or a failing switch.
- The Secret Reason Half Your Wall Outlet Dies (And It's Not What You Think) — Discover why only half of your electrical outlet might be working and how to diagnose and fix the common culprit, saving you from a costly…
- Why Your Outlet Died (Even If the Breaker's On) — Discover the hidden reasons an electrical outlet stops working, even when the circuit breaker appears to be on, and learn simple diagnostic…
- Why Your Wall Switch Feels Hot: The Hidden Danger Most Homeowners Miss — A hot light switch isn't just uncomfortable; it's a critical warning sign of potential electrical hazards that demand immediate attention.
- The Hidden Reason Your GFCI Trips (It's Not Always a Faulty Outlet) — A continuously tripping GFCI outlet is a critical safety warning, often indicating moisture, a faulty appliance, or a wiring problem that r…
Frequently asked questions
How hot is too hot for a light switch?+
A light switch should not be noticeably warm to the touch. If it feels warm, hot, or especially scorching, it indicates an electrical issue. Ideally, a light switch should remain at ambient room temperature.

Discussion
Loading comments…