
Tools & materials you'll need
Affiliate linksAs an Amazon Associate FixlyGuide earns from qualifying purchases — at no extra cost to you. Prices and availability are accurate as of publication and subject to change.
'''
Quick Answer
Always clean a room from the top down and from the back to the front. This ensures that dust and debris dislodged from high surfaces fall onto lower, uncleaned areas, which you then clean sequentially. Working your way out of the room prevents you from tracking dirt over freshly cleaned floors, making your efforts more efficient and effective.
Why This Works
Have you ever spent hours cleaning, only to notice a fresh layer of dust on your gleaming coffee table the very next day? The culprit might not be a faulty HVAC filter or an open window; it might be your cleaning sequence. The most common mistake in home cleaning is ignoring a fundamental force of nature: gravity. By understanding and respecting this simple principle, you can revolutionize your cleaning routine, saving time and achieving a truly deep clean.
When you dust a ceiling fan, wipe down shelves, or clean blinds, you dislodge countless particles of dust, pet dander, pollen, and other microscopic debris. These particles don’t just vanish; they become airborne for a short time and then, thanks to gravity, settle on every single surface below. If you’ve already vacuumed your carpet or mopped your hardwood floor, you’ve just contaminated a clean surface. Wiping down your tables before dusting the light fixture above it will mean you have to clean the tables a second time. This is the definition of working backward. It’s inefficient and demoralizing.
The correct methodology—top to bottom, back to front—is a system designed to work with physics, not against it. By starting with the highest points in a room (ceiling corners, light fixtures, tops of tall furniture) and systematically working your way down, you create a controlled cascade of dirt. Each step of the process addresses debris from the level above, culminating in the final floor cleaning, which removes all the accumulated mess from the entire room in one go.
The "back to front" (or "inside-out") component is just as crucial. It’s about planning your exit. By starting your floor cleaning in the corner farthest from the door and working your way toward the exit, you ensure that you never have to step on a just-cleaned area. This is obvious when mopping a wet floor, but it’s just as relevant for vacuuming. Walking over a freshly vacuumed carpet can grind any remaining fine grit back into the fibers. By making the doorway your final destination, you leave the room in a finished state, closing the door on a job well done.
This systematic approach also minimizes cross-contamination. You use fresh tools for new areas and move dirt in a predictable, downward path, rather than just smearing it around. It transforms cleaning from a chaotic series of disconnected tasks into a logical, streamlined workflow.
What You Need
Tools:
- Extendable Duster: For reaching ceiling fans, corners, and the tops of tall furniture. A microfiber version is excellent for trapping dust.
- Microfiber Cloths (at least 5-6): Essential for dusting, wiping surfaces, and polishing. Using multiple cloths prevents cross-contamination.
- Vacuum Cleaner with Attachments: A model with a hose, crevice tool, upholstery brush, and dusting brush is critical for a thorough job.
- Mop and Bucket: Or a flat-head mop with washable microfiber pads, depending on your flooring.
- Scrub Brushes: A small grout brush or an old toothbrush for tight spots.
- Squeegee: For streak-free windows and mirrors.
- Trash Bags: For decluttering and collecting waste.
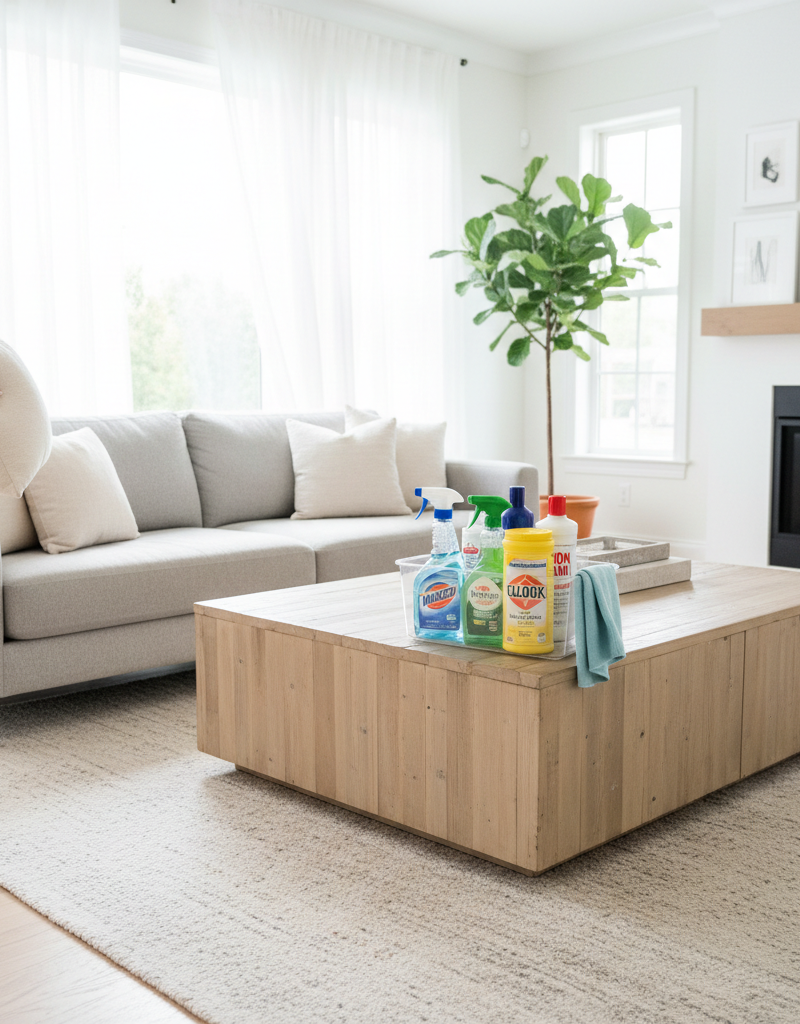
Materials:
- All-Purpose Cleaner: A spray like Mr. Clean Clean Freak works for many surfaces. For a pH-neutral option safe on natural stone, consider a dedicated granite & stone cleaner.
- Glass Cleaner: Windex Ammonia-Free is a classic choice to avoid damage to tinted windows.
- Degreaser (for kitchen): Krud Kutter Cleaner & Degreaser is effective for breaking down greasy buildup on cabinets and backsplashes.
- Wood Polish or Cleaner: Murphy Oil Soap is a gentle option for finished wood furniture and floors.
- Floor Cleaner: A product appropriate for your floor type (e.g., Bona Hardwood Floor Cleaner or a few drops of Dawn in water for vinyl).
- Upholstery Spot Cleaner: Keep Folex Instant Carpet Spot Remover on hand for fabric stains.
- Protective Gloves: Nitrile or latex gloves to protect your skin from cleaning agents.
Safety First: Always ensure good ventilation by opening windows or using a fan. Wear gloves, especially when handling potent cleaners. Never, ever mix cleaning chemicals, particularly bleach and ammonia (which creates toxic chloramine gas) or bleach and acid-based cleaners like vinegar or some glass cleaners.
Step-by-Step Method
Follow this sequence for a single room. The principle can be expanded to the whole house by starting on the top floor and working your way down, cleaning "dry" rooms (bedrooms, office) before "wet" rooms (bathrooms, kitchen).
-
Prep and Declutter — Start by doing a full sweep for anything that doesn't belong. Put away clothes, toys, and mail. Remove all items from tables, nightstands, and dressers. Group them in a single holding area (like a laundry basket) to be wiped down and returned later. Strip bedding and start a load of laundry.
-
Tackle Ceilings and High Fixtures — Look up. This is where the cleaning begins. Use your extendable duster to remove cobwebs from corners and grab dust from ceiling fans (placing an old sheet on the bed or floor below can catch the fallout). Wipe down light fixtures and recessed lighting trim. Don't just knock the dust off; use a microfiber duster that traps it.
-
Dust Walls and Clean Windows — Most people forget walls, but they collect fine dust. Do a quick pass with a long-handled duster or a dry microfiber flat mop. Next, address the windows. Spray your glass cleaner directly onto a microfiber cloth (not the glass) to prevent drips, and wipe in an "S" pattern. Use a separate clean, dry cloth to buff it dry for a streak-free shine. Wipe down the window sills, tracks, and frame.
-
Clean Curtains and Blinds — For fabric curtains, the simplest method is to use your vacuum’s upholstery attachment and go from top to bottom. For blinds (wood, vinyl, or metal), close them flat and dust one side with a microfiber cloth or a specialized blind duster, then reverse them and do the other side. A slightly damp cloth may be needed for stubborn grime.
-
Wipe High Furniture Surfaces — Now address the tops of tall pieces like bookshelves, entertainment centers, and armoires. These are often forgotten and can hold a surprising amount of dust. A damp microfiber cloth works best here to capture dust rather than just pushing it into the air.
-
Clean Mid-Level Furniture and Decor — Work your way down to eye-level and waist-level surfaces. Dust and polish coffee tables, end tables, dressers, nightstands, and desks. Pay attention to the details: wipe down photo frames, lamps, and decorative objects. Remember to clean electronics with a dry microfiber cloth, paying special attention to vents where dust accumulates.
-
Deep Clean Upholstery — It’s time to vacuum the furniture. Remove all cushions. Use your vacuum’s crevice tool to get deep into the seams where crumbs, hair, and dust hide. Then, use the upholstery brush to vacuum the cushion surfaces and the main frame of the sofa or chair. Spot-treat any visible stains with a dedicated cleaner like Folex according a to product directions, always testing in a hidden area first.
-
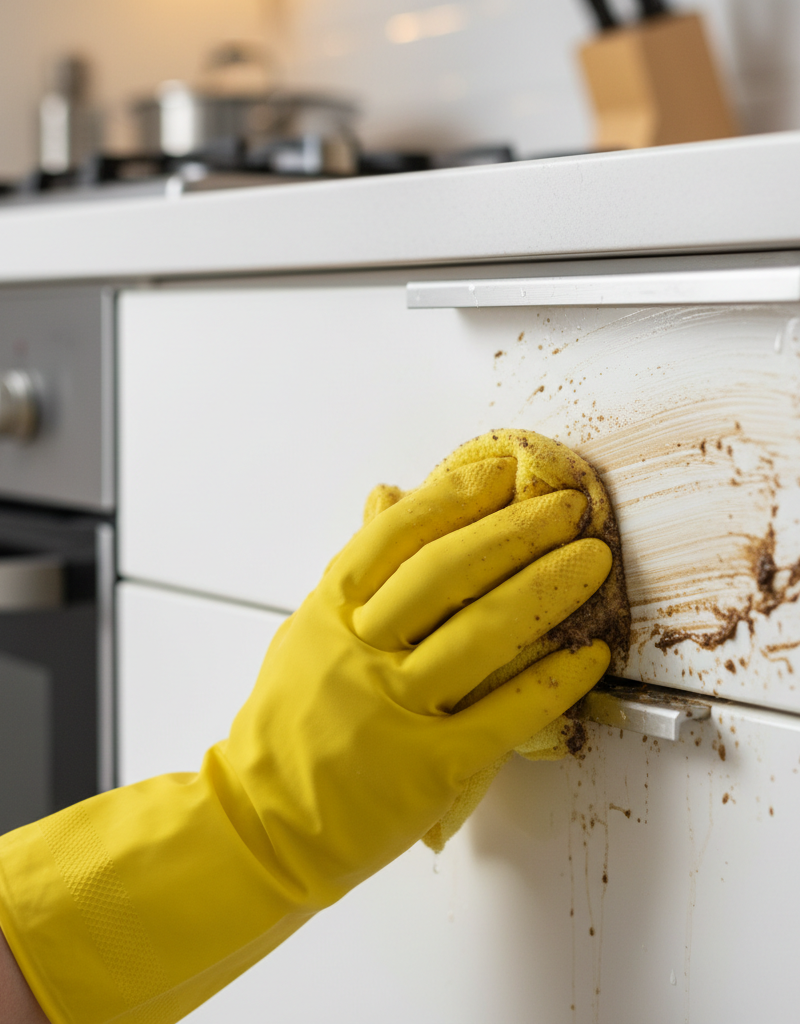
Wipe Down Vertical Surfaces — Don’t just clean the tops of furniture; wipe down the fronts and sides of cabinets, dressers, and nightstands. Pay special attention to high-touch areas around handles and knobs. In the kitchen, a degreaser like Krud Kutter may be necessary on cabinet fronts.
-
Address Baseboards, Doors, and Light Switches — Now you’re getting close to the floor. Walk the perimeter of the room, wiping down all the baseboards. A damp cloth or a magic eraser can be very effective here. Don't forget to wipe down doors, door frames, and light switch plates, which are high-touch-point areas.
-
Vacuum the Floor Thoroughly — The second-to-last step is the main event for your floors. Start at the farthest point from the door. Use your crevice tool to vacuum along the baseboards and in all corners first. Then, vacuum the main floor area, working your way backward out of the room. This ensures every bit of dust you’ve knocked down is picked up.
-
Mop Hard Surfaces — If you have hard floors, this is the final cleaning step. As with vacuuming, start in the far corner and work toward the door. Use the appropriate cleaner for your floor type to avoid damage, especially on hardwood or natural stone. Pay attention to your water; if the mop water becomes visibly dirty, dump it and refill with fresh cleaning solution to avoid just spreading dirt around.
-
Final Touches and Exit — Let the floor dry completely. Now you can return the decluttered items to their clean surfaces, make the bed with fresh linens, and put a new liner in the trash can. Grab the full trash bag and the dirty laundry basket on your way out the door.
Common Mistakes
- Floors First: The absolute most common error. All your work will be undone as you clean higher surfaces and dislodge dust downwards.
- Forgetting to Look Up: The tops of fan blades, picture frames, and high shelves are out of sight and out of mind, but they are major dust reservoirs.
- Using a Single Dirty Cloth: Moving from the toilet to the countertop with the same cloth is a sanitation nightmare. A better but still flawed approach is using one cloth for the whole room; after wiping a few surfaces, it just smears dirt around instead of removing it. Switch to a clean cloth frequently.
- Spraying Surfaces Directly: Spraying cleaner directly onto furniture or electronics can cause damage, leave drip marks, and create overspray. Spray your cloth, then wipe the surface.
- Cleaning Windows in Direct Sunlight: The heat from the sun will dry your glass cleaner almost instantly, leaving behind stubborn streaks before you can properly wipe them away. Clean windows on a cloudy day or when they are in the shade.
- Ignoring Baseboards: Clean baseboards provide a crisp, finished look to a room. Ignoring them leaves a visible line of grime that makes the entire room feel less clean.
Cost & Time Breakdown
This breakdown is for a standard 15x15 ft living room, assuming you own a vacuum and mop.
| Task | DIY Cost (Materials) | Pro Cost (Estimate) | DIY Time |
|---|---|---|---|
| Initial Declutter & Prep | $0 | Part of flat fee | 15-20 min |
| Dusting (High to Low) | $5 (Microfiber cloths) | $40 - $60 | 20-30 min |
| Windows & Glass | $5 (Glass Cleaner) | $15 - $25 per window | 10-15 min |
| Upholstery Vacuuming | $0 | Part of flat fee | 10-15 min |
| Baseboards & Trim | $3 (Magic Eraser) | Part of flat fee | 15-20 min |
| Floor Cleaning | $5 (Floor Cleaner) | $40 - $70 | 20-25 min |
| Total | ~$18 | $100 - $180 | ~1.5 - 2.5 hours |
Prevention & Maintenance
- Trap Dirt at the Door: Use high-quality doormats at every entrance to your home and enforce a "shoes-off" policy. This is the single most effective way to reduce incoming dirt.
- Change HVAC Filters Regularly: Your home's air filter is the first line of defense against airborne dust. Change it according to the manufacturer's recommendation (typically every 1-3 months).
- Tackle Spills Immediately: The longer a spill sits, the harder it is to remove. Clean up messes on floors, counters, and upholstery as soon as they happen.
- Embrace the 10-Minute Tidy: Spend ten minutes every evening putting things back in their place, wiping down kitchen counters, and sweeping high-traffic areas. This dramatically reduces the scope of your weekly deep clean.
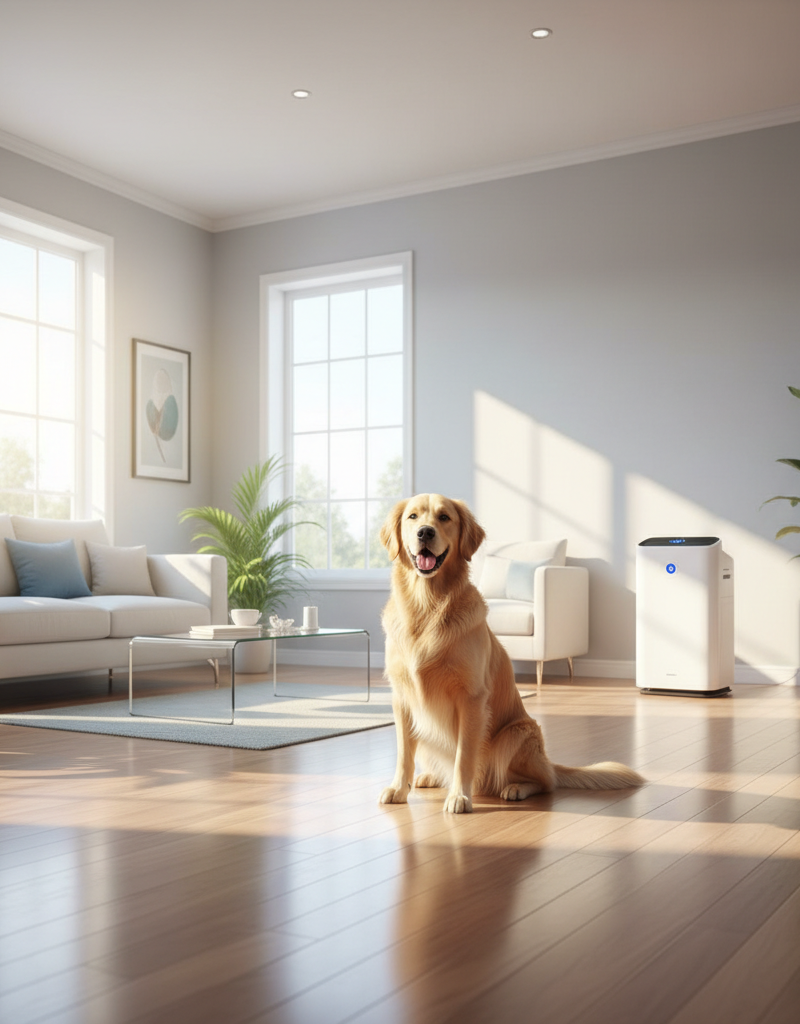
- Run an Air Purifier: A HEPA air purifier can continuously trap airborne dust, pollen, and dander, meaning less of it lands on your furniture.
- Perform Regular Dusting: A quick dusting once or twice a week with a microfiber duster prevents heavy buildup and makes deep cleaning much faster.
When to Call a Professional
While the top-to-bottom method makes routine cleaning manageable for most homeowners, certain situations warrant calling in a professional cleaning service. If you're dealing with a post-construction cleanup, the fine drywall dust is pervasive and requires specialized equipment and techniques to remove fully. Deep cleaning an entire home before a move-in or after a move-out can be an enormous task, and professionals can do it more quickly and thoroughly while you focus on the logistics of the move.
Furthermore, if you are struggling with persistent, unidentified odors, a professional may have access to ozone generators or other tools to eliminate them at the source. For homes that have been neglected for a long time and have significant buildup of grease in the kitchen or soap scum in the bathroom, the labor involved can be intense, and a pro team can tackle it in a fraction of the time. Finally, for individuals with mobility issues, severe allergies, or simply a lack of time, a recurring professional cleaning service can be a worthwhile investment in your home’s upkeep and your own well-being. '''
Get the print-ready PDF of this guide
A clean, ad-free, printable version you can keep on your phone or pin to the workshop wall. We'll also send occasional weekly tips matched to your home situation.
- Print-optimized layout
- Tools, materials & every step included
- Unsubscribe anytime
Frequently asked questions
Should you dust or vacuum first?+
You should always dust first. Dusting from the top of the room downwards dislodges dust, hair, and other particles, which then fall to the floor. Vacuuming afterward serves as the final step to collect all of this fallen debris, leaving the entire room clean.
What is the fastest way to clean a whole house?+
The fastest way is to follow a system. Start on the top floor and work your way down. In each room, follow the top-to-bottom, back-to-front principle. Clean dry rooms (bedrooms, offices) before wet rooms (bathrooms, kitchen) to prevent spreading germs and using more tools than necessary. Having all your supplies in a caddy also saves time.
How does the 'top-to-bottom' rule apply to the kitchen?+
The principle is exactly the same. Start by dusting high corners and the top of the fridge. Then, clean the exterior of upper cabinets, the microwave, and the backsplash. Move to countertops, the stove top, and lower cabinet fronts. Finally, clean the baseboards and then vacuum and mop the floor. It ensures grease and crumbs are systematically moved downward and out.
Is it better to clean one room at a time or do one task (like dusting) throughout the whole house?+
For most people, cleaning one room completely before moving to the next is more effective. This is the 'zone cleaning' method. It provides a greater sense of accomplishment and keeps all your tools in one area. Task-based cleaning (dusting every room, then vacuuming every room) can be efficient for a quick tidy-up, but for deep cleaning, room-by-room prevents you from getting sidetracked and leaving multiple rooms in a state of partial completion.
Discussion
Loading comments…