- Accumulated Dust: The primary component is dust, which is a mix of dead skin cells, fabric fibers, pet dander, and outdoor particles like pollen and soil that get tracked inside.
- Forced Air Systems: HVAC systems circulate air, but they also circulate dust, especially if filters are not changed regularly (every 1-3 months).
- Pet Dander and Hair: Pets are a major source of allergens, hair, and dander that settles on every surface, from the ceiling fan to the floor.
- High-Traffic Patterns: Entryways and main living areas naturally accumulate more dirt, dust, and grime simply from frequent use.
- Open Windows: While great for ventilation, open windows invite pollen, dust, and other airborne particulates into your home.
Published June 27, 2026Last updated August 17, 2026
Tools & materials you'll need
Affiliate links- AmazonExtendable Duster1 · For reaching ceiling fans, high corners, and tops of furniture.
- AmazonVacuum Cleaner with Attachments1 · Must have a crevice tool, brush, and upholstery attachment.
- AmazonMop and Bucket1 · Or a flat-head mop with washable microfiber pads.
- AmazonScrub Brushes1-2 · A small one for details and a larger one if needed.
- AmazonMicrofiber Cloths6-8 · Essential for trapping dust and for streak-free cleaning.
- AmazonAll-Purpose Cleaner1 spray bottle
- AmazonGlass Cleaner1 spray bottle
- AmazonFloor Cleaner1 bottle · Specific to your floor type (e.g., wood, tile, vinyl).
- AmazonGloves1 pair · Protect your hands from cleaners and grime.
As an Amazon Associate FixlyGuide earns from qualifying purchases — at no extra cost to you. Prices and availability are accurate as of publication and subject to change.
Quick Answer
Professional cleaners dramatically speed up deep cleaning by using a top-to-bottom, left-to-right strategy. This systematic approach ensures that dust and debris fall downwards onto uncleaned surfaces, preventing rework. By starting with ceiling fixtures and ending with floors, you clean each surface only once, cutting your total time by as much as 40% and ensuring a truly thorough result.
The Problem
Many homeowners tackle cleaning room by room, but without a systematic plan of attack within each space. You might wipe down the coffee table, then notice the ceiling fan is dusty, scattering debris on your just-cleaned table. Or perhaps you vacuum the floor first, only to wipe crumbs off the kitchen counters onto your clean carpet. This haphazard approach, often called "zig-zag cleaning," creates double work, wastes energy, and leads to frustration. You spend hours cleaning, yet the results feel incomplete because you're constantly re-cleaning surfaces. It’s inefficient and demoralizing, turning a satisfying task into a never-ending chore. The core issue isn't a lack of effort, but a lack of strategy. Without a top-to-bottom, left-to-right roadmap, you're fighting gravity and contaminating previously cleaned areas, which is precisely why pro deep cleaning routines seem so much faster and more effective.
How It Works
The secret behind the dramatic time savings of professional deep cleaning routines lies in two simple, gravity-respecting principles: top-to-bottom and left-to-right (or right-to-left). This methodical system ensures that you are never dirtying an area you have already cleaned. Think of a room as a three-dimensional grid. Your job is to clean every surface within that grid, and the most efficient path is one that doesn't backtrack.
Top-to-Bottom: Gravity is the most important, non-negotiable factor in cleaning. Dust, cobwebs, pet hair, and microscopic debris will always fall downward. When you start cleaning at the highest point in a room—like ceiling fans, light fixtures, and the tops of tall furniture—you are working with gravity. As you dust and wipe, all the dislodged particles fall onto the surfaces below, which are still on your "to-clean" list. This continues as you work your way down: from upper walls and window tops, to shelves and tabletops, to furniture bases, and finally, to the floor. The floor is the final receptacle for every bit of dust you've disturbed. By saving it for last, you perform one final, comprehensive cleanup with a vacuum and mop, removing all the accumulated debris from the entire room in a single pass.
Left-to-Right: This principle works in conjunction with the top-to-bottom flow. Within each "level" of the room (high, medium, low), you should proceed systematically in one direction, like reading a book. Pick a starting corner and work your way around the room, either clockwise or counter-clockwise. This creates a clear path and prevents you from missing spots or losing your place. For example, after dusting the ceiling fan (top), you would start in your chosen corner and dust all high surfaces (curtain rods, tops of picture frames), then move to the mid-level surfaces (windowsills, tables, counters) in that same section, always moving left-to-right around the room before finally tackling the baseboards and floor. This eliminates the "What should I clean next?" decision fatigue and turns the process into an assembly line of simple, repeatable actions.
By combining these two methods, you create a spiral-like cleaning path that covers every inch of the room once and only once. It’s a workflow designed for maximum efficiency, minimizing wasted movement and eliminating the need to re-clean any surface. This is the fundamental difference between amateur cleaning and a professional deep cleaning routine.
Step-by-Step Fix
Here is the professional-grade, top-to-bottom, left-to-right deep cleaning routine for a standard room like a bedroom or living room.
-
Prep the Room — Before you start, do a quick declutter. Pick up any stray items—clothes, books, toys, dishes—and put them away. Strip bedding and throw it in the wash. Move any small furniture or items that will obstruct your cleaning path to the center of the room or temporarily to another room.
-
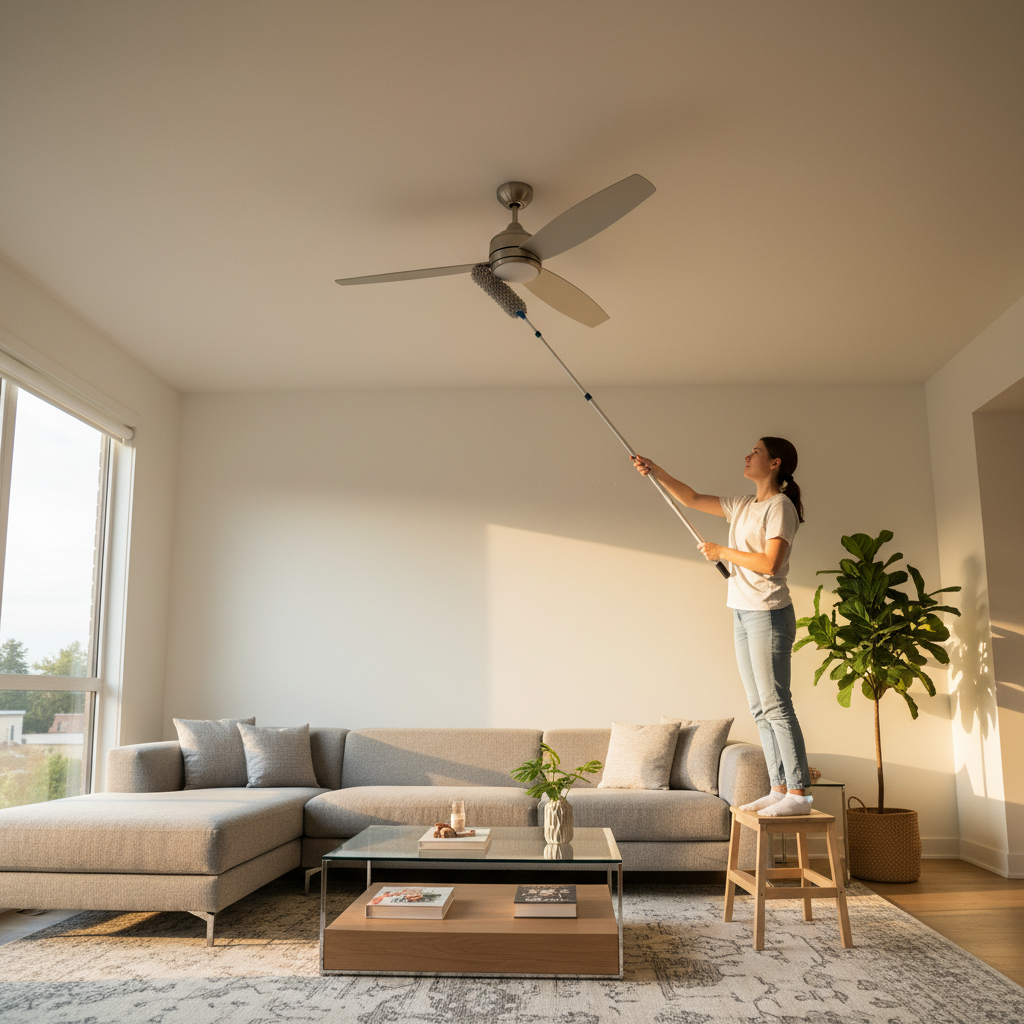
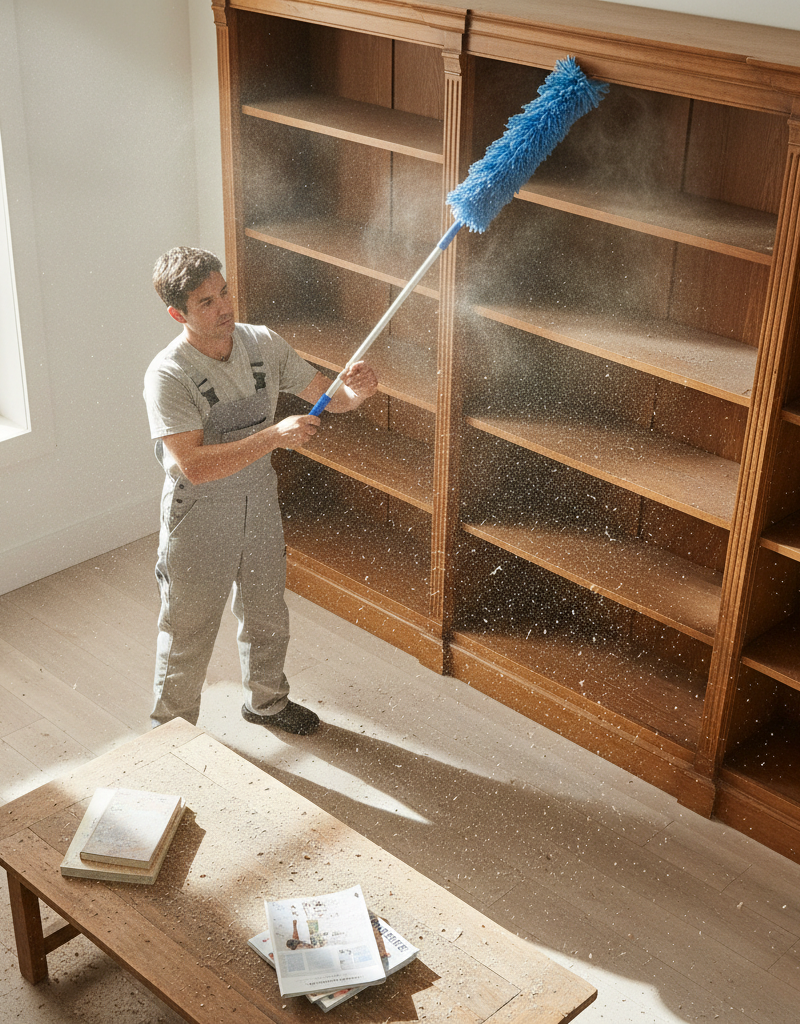
Tackle High Dusting — Start at the highest point. Use a long-handled duster or a vacuum with a brush attachment to clean ceiling corners for cobwebs, light fixtures, paddle fan blades, and the tops of any tall furniture like wardrobes or bookshelves. This is the dust that will settle everywhere else, so get it first.
-
Clean High Walls & Windows — Working from your starting corner (e.g., to the left of the door) move left-to-right around the room. Use a microfiber flat mop or a cloth on a pole to wipe down the upper sections of your walls and dust the tops of window and door frames. A simple solution of one teaspoon of dish soap in a gallon of warm water is effective for most painted walls. Safety Note: Test any cleaning solution on an inconspicuous spot first.
-
Detail Curtains and Blinds — While you're at the windows, address the treatments. For curtains, a thorough vacuuming with the upholstery attachment is usually sufficient. For blinds, close them one way and dust from top to bottom with a microfiber blind duster or a damp cloth, then close them the other way and repeat to clean the other side of the slats.
-
Wash Interior Window Glass — Now that the frames and treatments are dusted, clean the glass itself. Spray your preferred glass cleaner onto a microfiber cloth, not directly on the glass, to prevent drips that can stain woodwork. Wipe in a Z-pattern and then buff dry with a separate, clean microfiber cloth for a streak-free shine.
-
Wipe Down Mid-Level Surfaces — Continuing your left-to-right sweep, focus on all mid-height surfaces. Dust and wipe down everything: nightstands, dressers, coffee tables, end tables, bookshelves, and any electronics (use a dry cloth for screens). Pay attention to picture frames, lamps, and decorative objects. This is where you'll use your all-purpose cleaner and cloths the most.
-
Deep Clean Upholstery — Before moving lower, tend to sofas and chairs. Remove all cushions. Use a vacuum with the crevice tool to get deep into the seams and corners, where crumbs and hair hide. Then, switch to the upholstery attachment to vacuum the cushion surfaces and the main frame of the furniture.
-
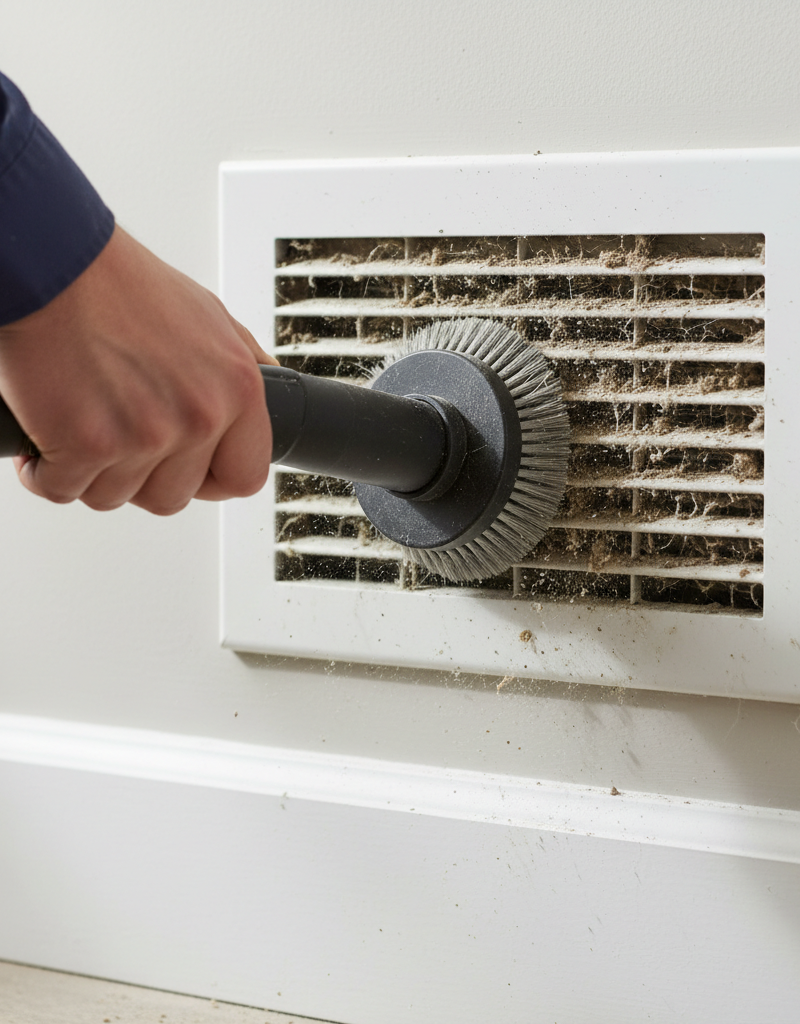
Wipe Baseboards and Lower Details — Your final pre-floor step is to address the lowest surfaces. Circle the room one last time, wiping down all the baseboards with a damp cloth. This is often a surprisingly dirty job. Also, wipe down any vent covers, lower shelves, and the legs of furniture.
-
Vacuum Everything — The moment has arrived. Using your vacuum and the appropriate attachments, start at the corner farthest from the door and vacuum your way out of the room. Go slowly to allow the brush to agitate the carpet fibers effectively. Use the crevice tool along the baseboards for a sharp finish. If you have hard floors, ensure your vacuum is set correctly (beater bar off) to prevent scratching.
-
Mop Hard Floors — For hard surfaces like wood, tile, or vinyl, mopping is the final step after vacuuming. As with vacuuming, start at the farthest corner and mop your way out of the room so you don't walk on your clean, wet floor. Use a cleaning solution appropriate for your specific flooring type. Safety Note: Ensure the room is well-ventilated to help the floor dry quickly and to disperse any cleaner fumes.
-
Final Touches — Once the floor is dry, you can move furniture back into place. Make the bed with fresh linens, fluff the pillows on the sofa, and put the decluttered items back in their designated homes. Your top-to-bottom deep clean is complete.
Common Causes
Why do rooms get so dirty they require a deep clean in the first place? Understanding the sources helps in maintaining the space later.
- Accumulated Dust: The primary component is dust, which is a mix of dead skin cells, fabric fibers, pet dander, and outdoor particles like pollen and soil that get tracked inside.
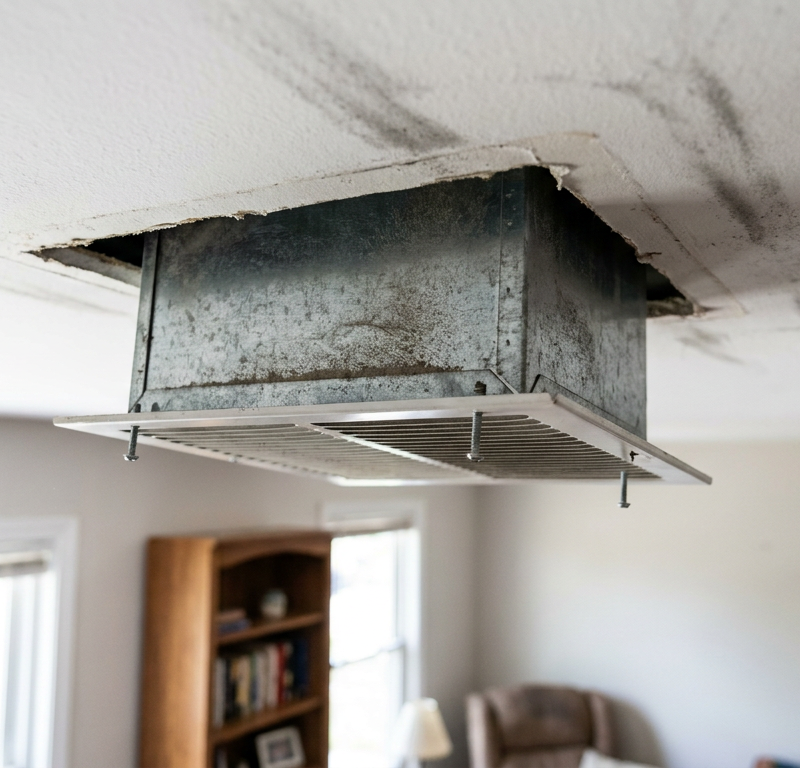
- Forced Air Systems: HVAC systems circulate air, but they also circulate dust, especially if filters are not changed regularly (every 1-3 months).
- Pet Dander and Hair: Pets are a major source of allergens, hair, and dander that settles on every surface, from the ceiling fan to the floor.
- High-Traffic Patterns: Entryways and main living areas naturally accumulate more dirt, dust, and grime simply from frequent use.
- Open Windows: While great for ventilation, open windows invite pollen, dust, and other airborne particulates into your home.
- Neglected Nooks and Crannies: Areas that are hard to reach—behind furniture, on top of cabinets, in corners—are rarely touched during routine cleaning, allowing grime to build up significantly over time.
Common Mistakes
Avoid these common errors to ensure your deep cleaning routine is as efficient as possible.
- Cleaning Floors First: The single biggest mistake. Any work you do after—dusting, wiping counters—will just re-dirty the floor, forcing you to vacuum or mop again.
- Using a Dry Feather Duster: Traditional feather dusters often just push dust around, flinging it into the air to resettle elsewhere. Use electrostatic or microfiber dusters that trap and hold dust particles.
- Spraying Cleaner Directly Onto Surfaces: This can lead to overspray, drips, and damage to surrounding materials (like wood finish or unsealed stone). Spray onto your cleaning cloth first, then wipe.
- Not Using a Vacuum's Attachments: Relying solely on the main vacuum head means you miss critical areas. The crevice tool, brush, and upholstery attachments are essential for a true deep clean.
- Forgetting to Clean the Cleaners: A dirty vacuum filter, a full vacuum bag, or a grimy mop head won't clean effectively. They may even spread more dirt. Always start with clean tools.
- Working Without a Plan: Simply "cleaning what looks dirty" leads to inefficiency. Adhering to the top-to-bottom, left-to-right methodology is non-negotiable for pro-level results.
Cost & Time Breakdown
The cost for a DIY deep clean is minimal, mostly involving consumables. A professional service charges for labor and expertise. This table assumes a 150-200 sq. ft. living room.
| Task | DIY Cost | Pro Cost | Time (DIY) |
|---|---|---|---|
| High Dusting & Walls | $2 - $5 | $30 - $50 | 30 - 45 minutes |
| Windows & Treatments | $3 - $7 | $40 - $60 | 30 - 40 minutes |
| Surface & Furniture Wipe | $2 - $5 | $25 - $40 | 25 - 35 minutes |
| Upholstery Vacuuming | $0 (equipment) | $20 - $30 | 15 - 20 minutes |
| Baseboards & Low Details | $1 - $3 | $15 - $25 | 20 - 25 minutes |
| Vacuuming & Mopping Floor | $2 - $6 | $30 - $45 | 20 - 30 minutes |
| Total | $10 - $26 | $160 - $250 | 2.5 - 3.5 hours |
Tips & Prevention
Maintain your deep clean for longer with these habits.
- Invest in Quality Doormats: Place one outside and one inside every exterior door to trap the majority of tracked-in dirt at the source.
- Change HVAC Filters Religiously: A clean filter traps more airborne dust, meaning less settles on your furniture. Check it monthly and change it at least every three months.
- Weekly Dusting: A quick 10-minute dusting of key surfaces (tables, TV stand, shelves) once a week prevents the heavy buildup that requires a deep clean.
- Address Spills Immediately: Don't let spills dry and set. Wiping them up when they happen prevents staining and stuck-on grime.
- The "One-Touch" Rule: For clutter control, adopt a rule where you put an item away immediately after using it. Don't set it down "for now."
- Use Air Purifiers: A HEPA air purifier can significantly reduce airborne dust and allergens, lightening your cleaning load.
When to Call a Professional
While this systematic approach makes DIY deep cleaning highly effective, there are situations where calling a professional cleaning service is the better choice. If you are preparing a home for sale, staging it for photos, or moving into a new property, a pro service can provide a level of immaculate detail and speed that's hard to match. Their experience and commercial-grade equipment can often restore surfaces (like grout or heavily soiled carpets) more effectively. Furthermore, if you are facing an overwhelming cleaning task due to illness, disability, or simply a lack of time and energy, hiring professionals is a worthwhile investment in your well-being. They can accomplish in a few hours what might take you an entire weekend. A good professional service will follow the same top-to-bottom principles but on a larger, more efficient scale, providing a baseline of clean that you can then more easily maintain.
What should this project cost?
Enter your project details for a realistic cost range before you call anyone.
Cost depends heavily on which system turns out to be the source.
- Regional adjustment
- National average
- Labor share (typical)
- ~$1,620
- Quotes to collect
- 3 written estimates
Educational estimate based on national averages — not a binding quote. Always confirm with written local estimates.
Get the print-ready PDF of this guide
A clean, ad-free, printable version you can keep on your phone or pin to the workshop wall. Free with a FixlyGuide account.
- Print-optimized layout
- Tools, materials & every step included
- Saved to your account
Frequently asked questions
Does the top-to-bottom cleaning method really save time?+
Yes, absolutely. The top-to-bottom method saves a significant amount of time by eliminating the need to re-clean surfaces. Because you work with gravity, dust and debris fall onto areas you haven't cleaned yet. This prevents you from, for example, dusting a fan and having the dust settle on a table you just wiped, forcing you to clean it twice.
What's more important: top-to-bottom or left-to-right?+
Top-to-bottom is the most critical principle because it works with gravity, which is a constant. The left-to-right (or right-to-left) part of the system is about efficiency and ensuring you don't miss any spots. You should always prioritize cleaning from high to low. The directional sweep is a secondary layer of organization.
How often should I perform a deep clean like this?+
A full top-to-bottom deep clean is typically recommended two to four times a year (e.g., seasonally). However, high-traffic areas like kitchens and main living rooms might benefit from a deep clean more frequently, while guest rooms might only need it once or twice a year. Regular weekly maintenance will extend the time needed between deep cleans.
Can I use this method for cleaning a kitchen or bathroom?+
Yes, this method is perfect for kitchens and bathrooms. In a kitchen, you would start with high cabinets and light fixtures, then wipe down upper cabinets, backsplash, and counters (working left-to-right), clean appliances, and finish with the baseboards and floor. In a bathroom, start with vents and light fixtures, then the shower walls, mirror, and vanity, then the toilet, and finally, the floor.
Discussion
Loading comments…