
Tools & materials you'll need
Affiliate linksAs an Amazon Associate FixlyGuide earns from qualifying purchases — at no extra cost to you. Prices and availability are accurate as of publication and subject to change.
Quick Answer
Garage wall storage systems are the unsung heroes of home organization, offering a modular and adaptable approach to reclaiming your garage floor and workbench. By leveraging vertical wall space, these systems keep everything from hand tools to garden equipment neatly organized, easily accessible, and safely stored, fundamentally changing how you interact with your workspace.
The Problem
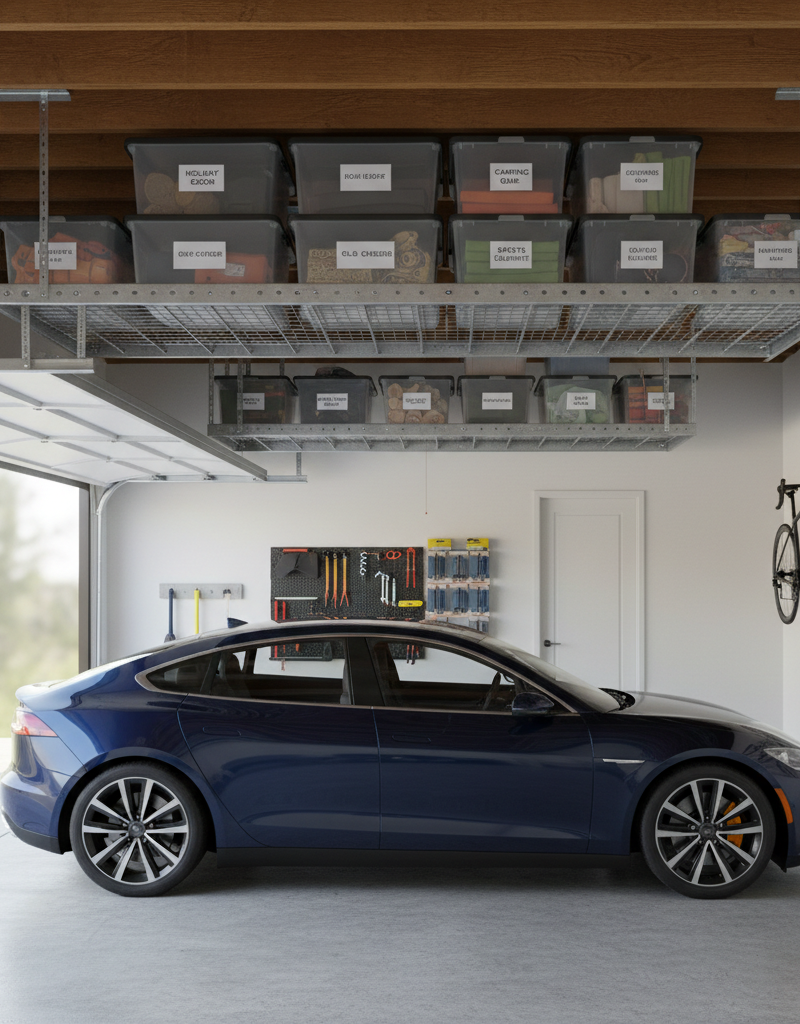
Walk into most garages, and you're likely to find a familiar scene: tools scattered across workbenches, bicycles leaning precariously against walls, garden hoses coiled haphazardly on the floor, and a general sense of chaos. This common scenario isn't just an aesthetic issue; it's a functional nightmare. Hunting for the right wrench becomes a frustrating scavenger hunt, valuable floor space is consumed, and the risk of tripping over misplaced items increases. Traditional storage methods, like overflowing toolboxes or simple shelving, often fail to address the core problem: an inefficient use of available space and a lack of flexible organization that can adapt to changing needs. This clutter leads to lost time, damaged tools, and an overall less enjoyable and productive DIY environment.
How It Works
Modern garage wall storage systems operate on a simple yet ingenious principle: modularity and vertical integration. Imagine your garage wall as a blank canvas. These systems typically begin with a foundational element – either horizontal tracks, slatwall panels, or pegboard sheets – securely mounted to the wall studs. These foundational elements are designed with a standardized grid or channel that allows for the attachment of a wide array of accessories.
Once the primary tracks or panels are in place, the real magic begins with the accessories. These can include various types of hooks (J-hooks for rakes, L-hooks for ladders, specialized hooks for bikes), shelves (both solid and wire, often adjustable), bins (for small parts, hardware, or craft supplies), magnetic tool holders, and even specialized caddies for power tool batteries or charging stations. The beauty of these systems lies in their reconfigurability. You're not stuck with a static layout; you can move, add, or remove accessories as your storage needs evolve, without drilling new holes or disassembling the entire system.
Installation typically involves locating wall studs with a stud finder to ensure secure mounting, as the system will bear significant weight. The tracks or panels are then screwed directly into these studs. Once the base is secure, accessories usually snap, lock, or slide into place. Some systems incorporate a cam-lock or spring-loaded mechanism for added security, preventing accessories from accidentally dislodging. This design transforms an otherwise underutilized wall into a highly efficient, customizable storage solution, making every tool and piece of equipment easily identifiable and accessible.
Step-by-Step Fix
1. Plan Your Layout – A crucial first step to maximize efficiency.
Before you even touch a drill, take stock of everything you need to store. Group similar items (gardening tools, power tools, sports equipment). Consider zones: a workbench area, a garden tool area, a sports equipment zone. Measure your wall space and sketch out a rough plan, indicating where tracks or panels will go and what types of items will hang in each section. Leave adequate space around large items like bicycles or wheelbarrows.
- Tip: Use painter's tape on the wall to visualize different layouts before committing.
- If this doesn't work: If your garage is unusually small, focus on storing only the most frequently used items on the wall and consider overhead or rolling storage for less common items.
2. Gather Your Tools and Materials – Safety first, efficiency always.
Ensure you have all the necessary tools and the specific wall storage components. Read the manufacturer's instructions for your chosen system thoroughly. For safety, always wear eye protection when drilling.
- Safety Note: Always wear appropriate eye protection when drilling or cutting.
3. Locate Wall Studs – The foundation of a strong system.
Use a reliable stud finder to locate and mark the center of the wall studs where you plan to install your tracks or panels. Mark the stud locations with a pencil. Most garage walls have studs spaced 16 or 24 inches on center. This is critical for securely mounting the system, as drywall alone cannot support significant weight.
- Tip: If your stud finder has a deep scan mode, use it to confirm.
4. Mark and Level Your First Track/Panel – Precision prevents sag.
Hold the first track or panel against the wall at your desired height. Use a level to ensure it's perfectly horizontal. Mark the pilot hole locations through the pre-drilled holes in the track/panel, making sure they align with the stud center marks. For multiple tracks, ensure they are spaced correctly according to your plan and the system's design, maintaining consistent vertical alignment.
- Important: Even a slight deviation in level can make subsequent components look crooked.
5. Drill Pilot Holes – Prepare for secure fastening.
Using a drill bit slightly smaller than your mounting screws, drill pilot holes at each marked location through the wall studs. This prevents wood splitting and makes driving the screws much easier and more secure.
- Gauge: Refer to your system's instructions for the recommended drill bit size.
6. Mount the Tracks/Panels – The core of your storage system.
Align the track or panel with the pilot holes and secure it to the wall studs using the recommended screws provided with your system. Use a drill/driver with the appropriate bit, ensuring screws are driven snugly but not overtightened, which can strip the wood. Repeat this process for all remaining tracks or panels.
- Check: After mounting, give each track a firm tug to ensure it's securely fastened.
7. Install Accessories – Customize for your tools.
Once all tracks/panels are firmly in place, begin attaching your chosen hooks, shelves, bins, and other accessories. Most systems have a simple locking or snapping mechanism. Arrange them according to your plan, placing frequently used tools at eye level and heavier items closer to the ground for easier access and stability. Experiment with different configurations until you achieve optimal organization.
- Flexibility: Don't be afraid to adjust accessory placement as you start loading items; the system is designed to be reconfigurable.
8. Load and Test Your System – Ensure everything is secure.
Begin loading your tools and equipment onto the newly installed accessories. Distribute weight evenly across the system. After loading, visually inspect all connections and give individual hooks and shelves a gentle tug to confirm they are securely in place. Adjust as necessary. Step back and admire your newly organized space!
- Maintenance: Periodically check screws for tightness, especially if storing very heavy items.
Common Causes
- Lack of Vertical Utilization: Many homeowners primarily use floor space and horizontal surfaces (benches, shelves), leaving valuable wall space completely unaddressed. Wall storage systems directly counteract this by forcing organization upwards.
- Accumulation of Tools and Equipment: Over time, as more tools, gardening equipment, sports gear, and seasonal items are acquired, storage needs grow, often outstripping existing solutions. This often leads to haphazard piling.
- Inefficient Storage Solutions: Traditional methods like simply stacking items or using basic, non-adjustable shelves don't provide the flexibility or accessibility needed for a diverse range of garage items. This makes finding and putting away tools a chore.
- Absence of Designated Homes: When every item doesn't have a specific, easily accessible 'home,' it's far more likely to end up on the floor or workbench, contributing to general clutter.
- **Ignoring the
Related Articles
Keep troubleshooting with these hand-picked guides from FixlyGuide:
- The Secret to Lush Raised Beds? It's Not Just About How You Water — Smart irrigation for raised garden beds isn't just about automation; it's about delivering the right amount of water precisely when your pl…
- The 4 Critical Dimensions of a Bluebird House (Most DIYers Miss One) — Discover the four often-overlooked dimensions crucial for a successful bluebird house, ensuring your avian residents thrive season after se…
- The 4-Hour — Transform your garden into a self-sufficient oasis with smart strategies for watering, weeding, and pest control, minimizing your effort.
- The 6-Minute Secret to a Sparkling Bathroom (It’s Not What You Think) — Unleash the hidden power of your cordless drill to tackle stubborn household grime, from tile grout to dryer vents, with specialized attach…
- The Hidden Reason Your GFCI Trips (It’s Not Always a Bad Outlet) — A tripping GFCI outlet is a safety mechanism doing its job, often indicating a problem like moisture, a faulty appliance, or a wiring issue…
- The 3 Hidden Reasons Your Floating Shelf Sags (and the Easy Fix) — Discover the real reasons your floating shelves sag and learn the simple, effective fixes to ensure they stay level and secure in drywall.
This article was independently written by FixlyGuide based on the source topic.
Frequently asked questions
How much weight can a garage wall storage system hold?+
Most well-installed garage wall storage systems, when anchored into wall studs, can hold significant weight, often hundreds of pounds per linear foot for tracks or panels. Individual hooks and shelves typically have weight ratings from 25 to 75 pounds, depending on their size and construction. Always refer to the manufacturer's specifications for exact weight limits.
Can I install a garage wall storage system by myself?+
Yes, installing most garage wall storage systems is a moderate DIY project that a homeowner can complete. The primary skills required are using a stud finder, a drill, and a level. However, some larger or more complex systems might benefit from an extra set of hands, particularly for holding long tracks or panels during installation.
What kind of tools can I store on a wall system?+
You can store a vast array of tools and equipment on a wall system, including hand tools (wrenches, screwdrivers, hammers), power tools (drills, circular saws, grinders), garden tools (rakes, shovels, hoes), sports equipment (bikes, helmets, balls), and even larger items like ladders or extension cords with the appropriate heavy-duty hooks.

Discussion
Loading comments…