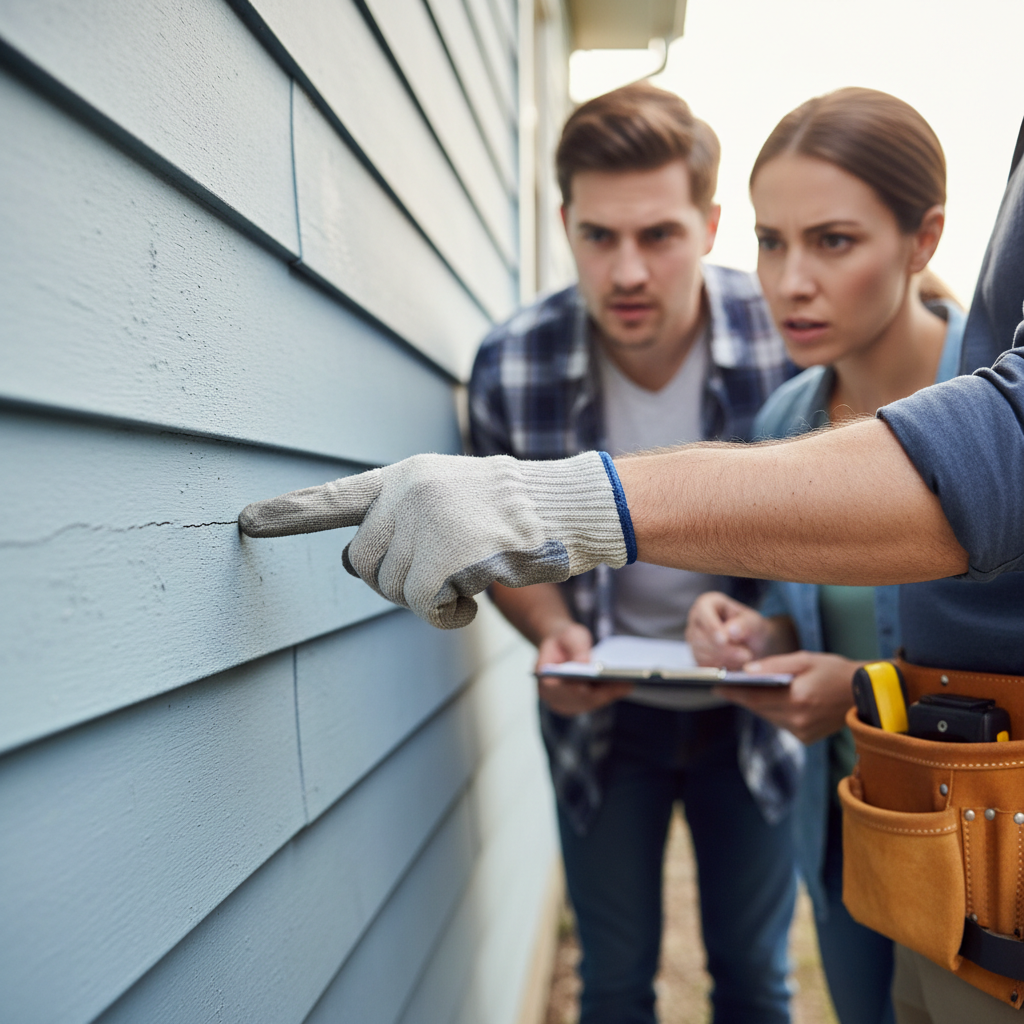
- Skipping the Inspection: In a competitive market, some buyers waive the inspection contingency to make their offer more attractive. This is an enormous gamble that can lead to financial ruin if significant hidden problems exist.
- Not Attending the Inspection: As mentioned, being present is invaluable. The written report lacks the context and nuance you gain from walking through the property with the inspector.
- Sweating the Small Stuff: Panicking over minor cosmetic issues or routine maintenance items noted in the report. A good inspector documents everything, but you need to focus on the material defects.
- Believing the Inspection is a Guarantee: No inspection can see inside walls or predict the future. It’s an assessment of the home's condition on the day of the inspection, not a warranty against future failures.
Foundation · Cracks or settlement
| Project category | Foundation |
|---|---|
| Problem type | Cracks or settlement |
| Trade required | Foundation repair |
| Urgency | Soon — within weeks |
| Safety risk | High safety risk |
| DIY suitability | Licensed pro only |
| Cost category | Major investment |
| Typical timeline | Engineer report first; work typically several days |
| Contractor type | Foundation repair company with a structural engineer report |
Repair option
Drainage correction and targeted pier installation where movement is measured.
Replacement option
Full underpinning when settlement is widespread.
Common causes
- Expansive clay soil cycling wet and dry
- Poor drainage or downspouts dumping at the slab
- Plumbing leak washing out soil under the foundation
Relevant tools:compare quotesproject cost estimator
Published August 7, 2026Last updated August 17, 2026
Tools & materials you'll need
Affiliate links- AmazonMoisture MeterUsed by inspectors to detect moisture in walls and ceilings.
- AmazonGFCI Outlet TesterA small device inspectors use to check if safety outlets are wired correctly.
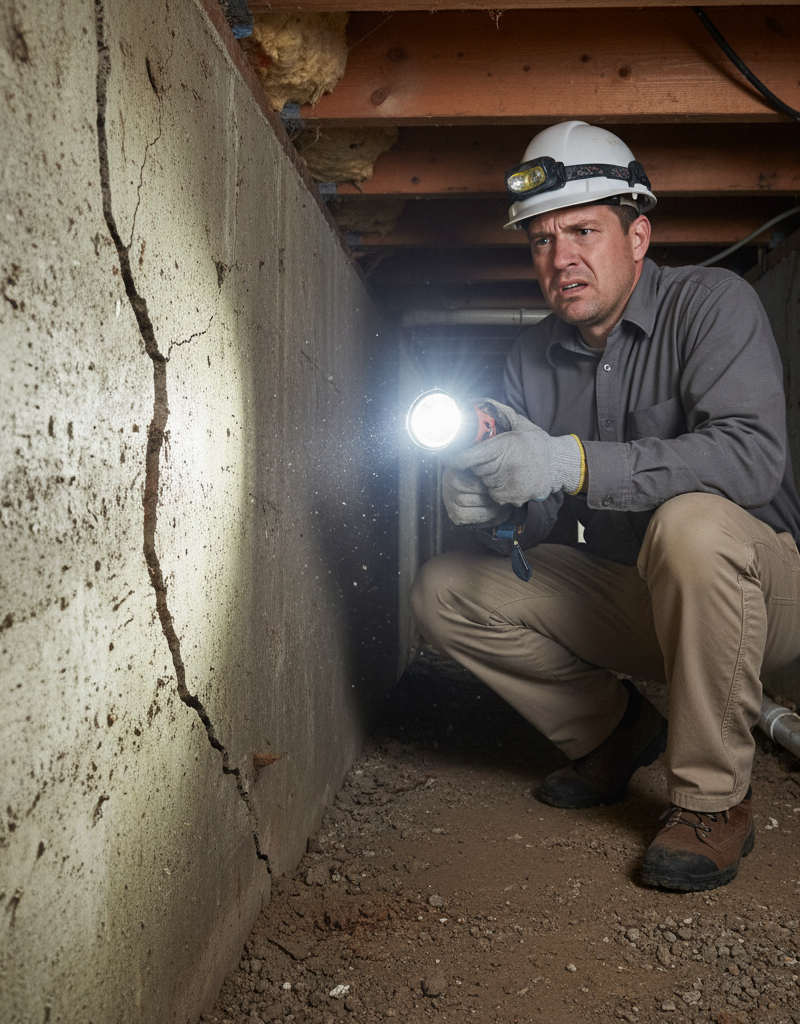
- AmazonHigh-Powered FlashlightEssential for inspecting dark areas like crawlspaces and attics.
- AmazonInfrared CameraOptional but powerful tool to identify hidden water leaks or insulation gaps.
As an Amazon Associate FixlyGuide earns from qualifying purchases — at no extra cost to you. Prices and availability are accurate as of publication and subject to change.
Quick Answer
In 2026, expect to pay between $400 and $600 for a standard home inspection on a typical 2,000-square-foot house. This fee covers a 2-4 hour visual examination of the home's major systems, including the roof, foundation, plumbing, electrical, and HVAC, culminating in a detailed report.
The Problem
For most prospective homebuyers, the home inspection is a mysterious but mandatory-feeling step. You write a check for a significant amount, a stranger spends a few hours in the house you hope to buy, and you get a lengthy report filled with jargon and photos of things you don't understand. The core problem is a lack of clarity. What are you actually paying for? Does the standard home inspection cost guarantee a flawless house? (Spoiler: it doesn’t.) Many buyers mistakenly believe an inspection is a warranty, an appraisal, or a guarantee against any future problems. They see the fee as a simple pass/fail test for the house. This misunderstanding can lead to immense frustration and unexpected expenses down the road when a post-move-in issue arises that wasn't in the report. The truth is, a home inspection is a snapshot in time—a non-invasive, visual assessment of the home's condition on a specific day. The inspector's job is to identify material defects visible to the naked eye, not to predict the future or uncover every hidden flaw. Understanding the scope and, more importantly, the limitations of what your money buys is crucial to leveraging the inspection report effectively and protecting your investment.
How It Works
A home inspection is a professional service designed to provide a comprehensive, objective assessment of a property's physical condition. The process begins when a potential buyer (or sometimes a seller, for a pre-listing inspection) hires a licensed and certified home inspector. On the scheduled day, the inspector conducts a thorough visual survey of the entire property, a process that typically takes 2 to 4 hours, depending on the home's size, age, and complexity. This is a non-invasive process, meaning the inspector will not open up walls, dig up landscaping, or perform any destructive testing. They use their training, experience, and specialized tools—like moisture meters, electrical testers, and high-powered flashlights—to evaluate the home's primary structures and systems.
The inspector methodically works through a checklist covering hundreds of items. Key areas of focus include the roofing system (shingles, flashing, gutters), the foundation and structural components (beams, joists, visible framing), the exterior (siding, windows, drainage), and all major interior systems. This includes turning on faucets and flushing toilets to check the plumbing, testing accessible outlets and examining the electrical panel, and operating the heating and air conditioning (HVAC) systems. They will also enter accessible spaces like attics and crawlspaces to look for signs of leaks, pests, inadequate insulation, or structural concerns. Throughout this process, the inspector documents their findings with notes and digital photographs. Within 24-48 hours after the inspection, you receive a detailed digital report. This report, often 50 pages or more, outlines the home's condition, highlights any identified material defects, and provides recommendations, distinguishing between major necessary repairs and minor maintenance items. This document is the tangible product your home inspection cost covers and becomes a critical tool for negotiation or for your future home maintenance plan.
Step-by-Step Fix
While a home inspection itself isn't a "fix," navigating the process to your advantage involves several key steps. Here’s how to maximize the value of your inspection fee.
-
Find the Right Inspector — Don't just go with the first name your agent suggests. Research inspectors online, check for certifications from organizations like ASHI (American Society of Home Inspectors) or InterNACHI (International Association of Certified Home Inspectors), and read client reviews. Ask for a sample report to see their level of detail.
-
Schedule Strategically — Once you're under contract, schedule the inspection immediately, as your contingency period is typically short (7-14 days). Ensure all utilities (water, gas, electric) are on, and confirm the inspector will have access to all areas, including the attic, crawlspace, and any outbuildings.
-
Attend the Inspection — This is critical. While the inspector works, you should be there, at least for the final hour or summary. This allows you to see issues firsthand and ask questions. It’s much easier to understand a "double-tapped breaker" when you're looking at it with an expert.
-
Review the Report Thoroughly — The report will be long. Don't just skim it. Read every section. Pay close attention to the summary, but also delve into the details. The report will categorize findings by severity (e.g., "Major Defect," "Safety Hazard," "Repair/Replace," "Monitor").
-
Clarify and Research — If you don't understand something in the report, call the inspector and ask for clarification. For significant issues flagged, like a potential foundation problem or an aging HVAC system, get a follow-up evaluation from a specialist—a structural engineer, a licensed plumber, or an HVAC technician.
-
Identify Your "Asks" — You can't ask the seller to fix every little thing. Focus on the major defects, safety hazards, and systems that are not functioning as intended. Cosmetic issues or items noted as being at the end of their normal service life are typically not negotiation points.
-
Formulate a Repair Request — Work with your real estate agent to create a formal repair addendum or request. You have three main options: ask the seller to perform the repairs before closing, request a credit from the seller to cover the home inspection cost of repairs, or ask for a reduction in the purchase price.
-
Negotiate with the Seller — The seller can agree to all, some, or none of your requests. This is a negotiation. Having specialist quotes to back up your requested credit amount can be very powerful. Be prepared to compromise.
-
Verify Repairs — If the seller agrees to make repairs, insist on a final walk-through before closing to ensure the work was done correctly. Ask for receipts and any warranties from the contractors who performed the work.
-
Use the Report as a Homeowner Manual — Even if the seller fixes the major issues, the report is your new home's first owner's manual. Use it to budget for future replacements (like that 15-year-old water heater) and to create a seasonal maintenance checklist.
Common Causes
The most common issues uncovered during a home inspection often stem from a few root causes. Understanding these can help you anticipate what might appear on your report.
- Deferred Maintenance: This is the #1 cause of inspection findings. Homeowners often neglect small issues, which then cascade into larger problems. A clogged gutter (ignored) leads to water backing up under the shingles, causing sheathing rot (a major repair).
- Water Intrusion: From roof leaks and faulty flashing to negative grading and foundation cracks, water is a home's worst enemy. Inspectors are highly trained to spot evidence of past or present water damage, such as stains, efflorescence on foundation walls, and elevated moisture readings.
- Improper DIY Repairs: Well-intentioned but incorrectly executed repairs are a huge red flag. This is especially common in plumbing (using the wrong fittings, creating S-traps) and electrical work (un-grounded outlets, overloaded circuits, unsafe wiring in junction boxes).
- Aging Components: Every part of a house has a finite lifespan. A 25-year-old roof or a 20-year-old furnace might still be working, but an inspector will flag them as being at or near the end of their service life, representing a significant upcoming expense for the buyer.
- Building Code Changes: A house built in 1980 was built to the code of that era. An inspector will point out areas that don’t meet modern safety standards—such as a lack of GFCI outlets near water sources or insufficient attic insulation—even if they were compliant when built.
- Pest Damage: From termites and carpenter ants to rodents in the attic, pests can cause significant structural and system damage. Inspectors look for signs like termite shelter tubes, frass (insect droppings), and damaged wood.
Common Mistakes
Buyers often make critical errors in judgment regarding the home inspection, which can undermine its value.
- Price Shopping for Inspectors: Choosing the cheapest inspector is a classic mistake. A low home inspection cost often correlates with a rushed, inexperienced, or less thorough inspection. A quality inspection that costs $150 more could save you $15,000 in unforeseen repairs.
- Skipping the Inspection: In a competitive market, some buyers waive the inspection contingency to make their offer more attractive. This is an enormous gamble that can lead to financial ruin if significant hidden problems exist.
- Not Attending the Inspection: As mentioned, being present is invaluable. The written report lacks the context and nuance you gain from walking through the property with the inspector.
- Sweating the Small Stuff: Panicking over minor cosmetic issues or routine maintenance items noted in the report. A good inspector documents everything, but you need to focus on the material defects.
- Not Hiring Specialists for Major Issues: An inspector will flag a suspected major issue (e.g., "evidence of possible foundation movement"). They are not engineers or licensed tradespeople. You must hire a specialist to determine the exact problem and cost to remedy.
- Believing the Inspection is a Guarantee: No inspection can see inside walls or predict the future. It’s an assessment of the home's condition on the day of the inspection, not a warranty against future failures.
Cost & Time Breakdown
Projecting to 2026, the home inspection cost is expected to see a slight increase due to inflation, higher insurance costs for inspectors, and more sophisticated reporting software. The table below provides an estimated breakdown for a standard 2,000 sq. ft. home.
| Task / Service | DIY Cost | Pro Cost (2026 Estimate) | Time Required |
|---|---|---|---|
| Standard Home Inspection | N/A | $400 - $600 | 2 - 4 hours |
| Radon Test Add-on | $25-50 (kit) | $150 - $225 | 48-72 hours (testing) |
| Wood-Destroying Insect (WDI) Test | N/A | $100 - $175 | 30 - 60 minutes |
| Sewer Scope Add-on | N/A | $250 - $450 | 45 - 75 minutes |
| Well & Septic Inspection Add-on | N/A | $400 - $700 | 2 - 3 hours |
| Structural Engineer Evaluation | N/A | $500 - $1,000 | 2 - 3 hours (on-site) |
Tips & Prevention
To get the most out of your home inspection experience and protect your investment:
- Budget for Ancillary Inspections: Don't let the base home inspection cost be your only budget item. For older homes or properties with specific risks (like a large number of trees), a sewer scope is almost always a wise investment. The same goes for radon testing, which is crucial for health and safety.
- Read the Inspector's Agreement: Before the inspection, you'll sign a pre-inspection agreement that outlines the scope of the work, its limitations, and the standards they follow. Read it carefully so you know exactly what is and isn't covered.
- Ask About Their Tools: Ask a potential inspector if they use tools like an infrared (IR) thermal camera or a drone. An IR camera can help detect hidden moisture or insulation voids, while a drone can safely inspect steep or inaccessible roofs.
- Don't Interrupt, but Do Ask: Let the inspector follow their methodical process without constant interruption. Save your questions for specific checkpoints or for the final summary walkthrough. They need to concentrate to do a thorough job.
- Focus on the Big Five: While the whole report matters, pay special attention to the "big five" expensive systems: Roof, Foundation, Electrical, Plumbing, and HVAC. Problems in these areas are often the most costly to fix.
- Get a "Re-Inspection": If the seller agrees to perform significant repairs, it can be worth paying your inspector a small fee (e.g., $100-$150) to come back and verify the work was done properly before you close.
When to Call a Professional
The home inspection itself is a professional service. The key is knowing when to bring in other professionals based on the inspection report. The standard home inspector is a generalist, not a specialist. Their role is to identify potential problems, not to provide definitive diagnoses or binding cost estimates for repair. You should immediately call a specialized professional when the inspector's report includes phrases like:
- "Further evaluation by a qualified/licensed professional is recommended."
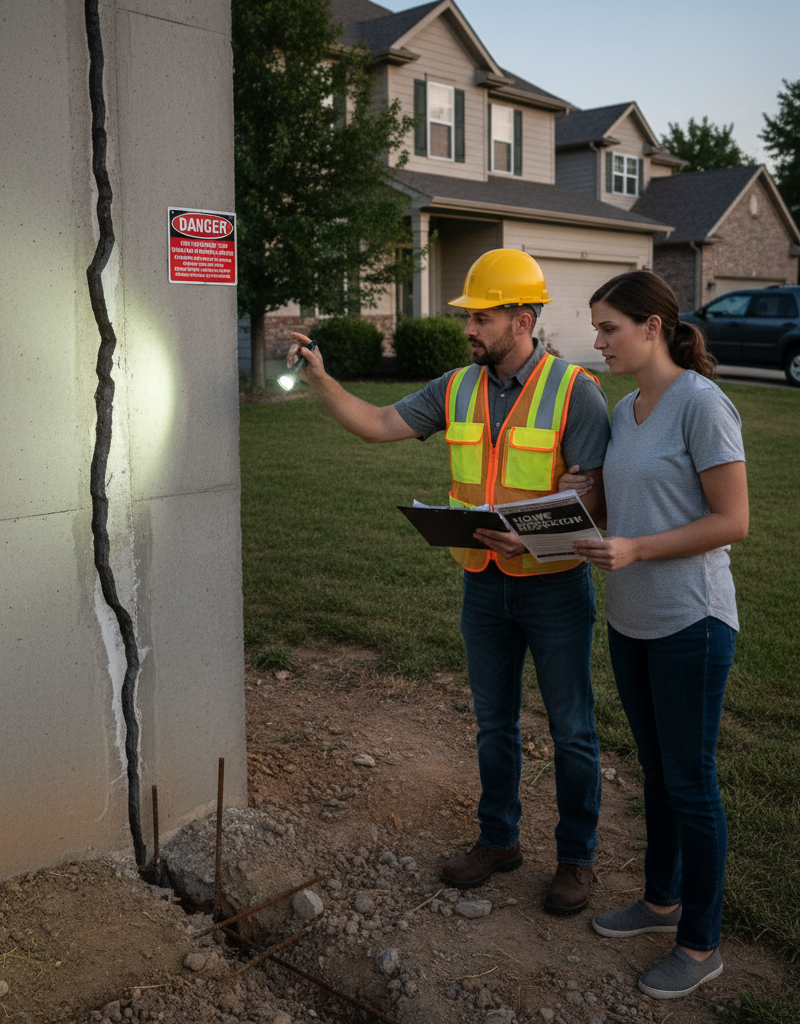
- "Evidence of potential structural movement..." (Call a Structural Engineer).
- "The furnace is showing signs of a cracked heat exchanger..." (Call a licensed HVAC technician IMMEDIATELY, this is a serious safety issue).
- "Double-tapped breakers observed in the main panel..." (Call a licensed Electrician).
- "Active knob-and-tube wiring was observed..." (Call a licensed Electrician for an estimate on rewiring).
- "Slope and blockages observed during the sewer line camera scan..." (Call a licensed Plumber or Drain Specialist).
Think of the home inspection cost as paying for a primary care physician's diagnosis. They can tell you that you have a heart murmur, but you need to see a cardiologist (the specialist) to understand the severity and the treatment plan. Acting swiftly to get these specialist opinions within your inspection contingency period is absolutely essential for making an informed decision about your purchase.
Questions to ask before you sign
Ask every contractor the same questions and the cheapest bid stops looking cheapest. Check them off as you go — your progress is saved on this device.
Free, no signup. Bring this to every walkthrough so you compare bids on the same terms.
What should this project cost?
Enter your project details for a realistic cost range before you call anyone.
Cost depends heavily on which system turns out to be the source.
- Regional adjustment
- National average
- Labor share (typical)
- ~$1,620
- Quotes to collect
- 3 written estimates
Educational estimate based on national averages — not a binding quote. Always confirm with written local estimates.
Check these numbers against your project
National averages are a starting point. These tools narrow it to your scope and ZIP.
- Estimate this projectGet a cost range for your scope and ZIP before you call anyone.Open
- Get local estimatesSend one request and compare written estimates from vetted pros.Open
Free, no signup required. Estimates are educational guidance, not a quote or an inspection.
Get the print-ready PDF of this guide
A clean, ad-free, printable version you can keep on your phone or pin to the workshop wall. Free with a FixlyGuide account.
- Print-optimized layout
- Tools, materials & every step included
- Saved to your account
Frequently asked questions
Does the seller pay for the home inspection?+
No, the buyer is almost always responsible for paying the home inspection cost. It is considered part of the buyer's due diligence in a real estate transaction.
What fails a home inspection?+
A home inspection is not a pass/fail test. It's an objective assessment of the home's condition. While certain issues like major structural defects, a failed septic system, or serious safety hazards (like a cracked heat exchanger) might lead a buyer to back out of a deal, there is no official 'failing' grade.
How long does a home inspection take?+
For an average-sized house (1,500-2,500 sq. ft.), a thorough home inspection typically takes between 2.5 and 4 hours. Larger, older, or more complex properties can take longer.
Is a home inspection required to get a mortgage?+
Generally, no. Most lenders do not require a home inspection to approve a mortgage. They require a home *appraisal* to ensure the property is sufficient collateral for the loan. However, a home inspection is highly recommended to protect the buyer's own financial interests.
Can I negotiate the price after a home inspection?+
Yes, the inspection report is a primary negotiation tool. If it uncovers significant defects, the buyer can request that the seller makes repairs, provide a closing cost credit, or lower the purchase price. The seller is not obligated to agree, but it is a common part of the process.

Discussion
Loading comments…