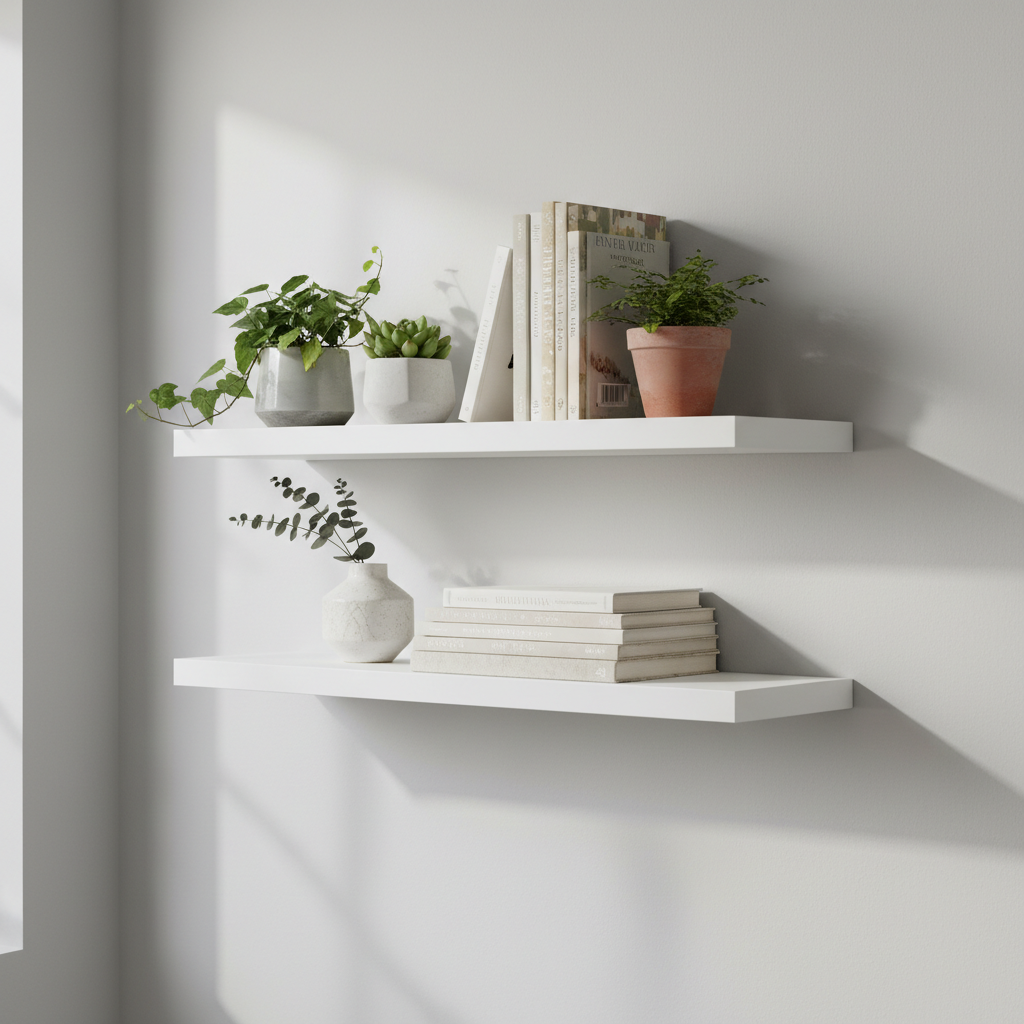
- Using Undersized Anchors: Choosing cheap, small-diameter plastic anchors instead of heavy-duty toggle or molly bolts. This is the 1 cause of failure. Always buy anchors rated for at least 50 lbs each, preferably more.
- Ignoring Shelf & Bracket Weight: Forgetting to include the weight of the shelf itself (which can be substantial for solid wood or MDF) and the bracket when calculating total load.
- Trusting Your Eye: Foregoing a laser level or long spirit level and "eyeballing" the placement. Even a 1/16-inch discrepancy can be glaringly obvious on a floating shelf.
- Drilling the Wrong Size Hole: Using a drill bit that is too small makes inserting the anchor impossible, while a bit that is too large will not allow the anchor to grip properly and will lead to failure.
- Over-tightening Bolts: Cranking down on the bracket bolts with excessive force can crush the drywall, compromising the anchor's hold and weakening the entire installation.
General remodeling · Renovation planning
| Project category | General remodeling |
|---|---|
| Problem type | Renovation planning |
| Trade required | General contracting |
| Urgency | Planned project |
| Safety risk | Low safety risk |
| DIY suitability | Pro recommended |
| Cost category | Major investment |
| Typical timeline | Design and permitting often 2–4 months before work starts |
| Contractor type | General contractor |
Repair option
Phase the work and fix the building envelope first.
Replacement option
Full renovation with permits, design, and a general contractor.
Common causes
- Space no longer fits how the household lives
- Resale preparation
- Deferred maintenance stacking up
Relevant tools:project cost estimatorcompare quoteshome improvement material prices
Published June 20, 2026Last updated August 17, 2026
Tools & materials you'll need
Affiliate links- AmazonPower Drill1 · A standard drill/driver is sufficient.
- AmazonDrill Bit Set1 · Must include the specific size required by your anchors (often 1/2").
- AmazonLaser Level1 · Crucial for a perfectly level installation.
- Amazon4-Foot Spirit Level1 · For checking the final shelf installation.
- AmazonTorpedo Level1 · For leveling the smaller bracket itself.
- AmazonTape Measure1
- AmazonStud Finder1 · Ironically, used to confirm you are NOT over a stud.
- AmazonNon-Contact Voltage Tester1 · Safety check for electrical wires before drilling.
As an Amazon Associate FixlyGuide earns from qualifying purchases — at no extra cost to you. Prices and availability are accurate as of publication and subject to change.
Quick Answer
Yes, you can securely install floating shelves on drywall without studs by using heavy-duty toggle bolt anchors. These anchors deploy wings behind the drywall, providing a strong anchor point for a hidden bracket, capable of supporting 50 pounds or more per anchor when installed correctly. The key is to match the anchor's weight rating to your shelf and its intended load, ensuring a safe and surprisingly strong installation for that clean, modern aesthetic.
The Problem
You envision a clean, minimalist wall with a series of floating shelves displaying your favorite books, plants, and photos. You unbox the new shelves, grab your stud finder, and... nothing. The perfect spot on your wall, the one that ties the whole room together, is a complete dead zone between studs. Standard screws and plastic anchors won't come close to providing the strength needed, and you're left wondering if your design dream is impossible without tearing open the wall to install blocking. The challenge is clear: how do you anchor a cantilevered load—which is what a floating shelf is—to a hollow sheet of drywall and trust it to hold dozens of pounds without ripping out and crashing down?
How It Works
The magic behind stud-free floating shelf installation lies in understanding how modern drywall anchors and hidden brackets work together to distribute weight. Unlike a standard screw that just bites into the brittle gypsum core of drywall, a heavy-duty toggle anchor provides a vast increase in strength by bracing against the back of the drywall panel.
We're specifically talking about toggle bolts, like SNAPTOGGLE or Toggler Alligator anchors. When you insert one into a pre-drilled hole, a metal channel or plastic wing mechanism is pushed through. Once clear of the drywall, this mechanism expands or flips open. As you tighten the bolt from the room-side, it pulls the bracket tight against the wall surface, while the deployed "wing" pulls tight against the back of the wall. This creates a powerful clamping force, distributing the load over a much larger surface area than the diameter of the bolt itself. This prevents the anchor from pulling straight through the wall. A single high-quality toggle anchor can have a tension pull-out rating of over 200 pounds in 1/2-inch drywall.
The second piece of the puzzle is the hidden bracket. The most common type for this application is a "rod-style" bracket. This is a flat steel plate with two or more solid steel rods welded to it, projecting outwards. The plate is what you mount to the wall using the toggle anchors. The rods are what slide into precisely drilled holes in the back of your shelf. The shelf itself becomes a lever, and the load (your books, etc.) exerts a downward and outward force. The top toggle bolts are under tension (pulling out), while the bottom bolts are under shear (pulling down). By using multiple, high-capacity toggle anchors, you create a robust mounting system that can safely support a significant load, far exceeding what's possible with any other stud-free method.
Step-by-Step
SAFETY NOTE: Always wear safety glasses when drilling. Before drilling any holes in your wall, use a non-contact voltage tester to check for hidden electrical wires. Do not overload shelves beyond the manufacturer or anchor's stated weight limits.
1. Plan Your Layout & Load — Before you drill a single hole, decide exactly what you will place on the shelf and weigh it. A stack of hardcover books can easily weigh 20-30 pounds. Add the weight of the shelf itself (a 36-inch solid wood shelf can be 10-15 pounds) to your items' weight. This total is your minimum required load capacity. Divide this by the number of anchors you will use on your bracket to determine the required strength for each anchor.
2. Mark Your Centerline — Decide on the final height of your shelf. Measure from the floor and make a small pencil mark. Place your laser level on a tripod or stool, and align the horizontal beam with this mark. This laser line represents the top (or bottom, your choice) of your shelf. Use a tape measure and make small tick marks along the laser line where you want the shelf to begin and end.
3. Position the Bracket — Take your hidden bracket and center it between your start and end marks, aligning its top edge with the laser line. Using a sharp pencil or awl, press firmly through the mounting holes in the bracket to transfer their exact locations onto the drywall. These marks are your drilling targets. Set the bracket aside.
4. Drill the Anchor Holes — Check the packaging for your toggle anchors; it will specify the exact drill bit size required. It's often a surprisingly large hole, perhaps 1/2-inch or more, which can be intimidating but is necessary. Attach the correct bit to your drill. Take a deep breath and drill your holes on the pencil marks. The drill should plunge through the drywall and into the hollow cavity behind it.
5. Install the Toggle Anchors — Follow the specific instructions for your anchor type. For a SNAPTOGGLE, for example, you'll pinch the metal channel's plastic straps together, insert it into the hole, and then pull the straps to seat the metal channel vertically behind the drywall. Then, you slide the plastic cap down the straps until it's flush with the wall and snap off the excess straps. This leaves you with a perfectly threaded hole waiting for its bolt.
6. Mount the Bracket — Hold the steel bracket up to the wall, aligning its holes with the now-installed anchor points. Insert the bolts that came with the anchors through the bracket's holes and into the anchor receivers in the wall. Partially tighten each bolt by hand or with a screwdriver, just enough to hold the bracket in place.
7. The Two-Way Level Check — Place a small torpedo level on the top edge of the bracket. Adjust the bracket slightly until the bubble is perfectly centered, then snug up the bolts a little more. Now, place the level on one of the protruding rods. It should also be perfectly level, extending at a 90-degree angle from the wall. If it sags, it indicates a problem with the bracket or wall. If all is well, proceed to fully tighten all bracket bolts until they are completely snug. Do not over-tighten and crush the drywall.
8. Test Fit the Shelf — Carefully slide your floating shelf onto the support rods. It should be a snug fit. Push it all the way back until the back edge of the shelf is flush with the wall. If it's too tight, you may need to slightly ream the holes in the shelf, but do so with extreme caution to avoid making them loose.
9. The Final Level Check — Place your long 4-foot level across the top of the installed shelf. The bubble should be dead center. If it's not, one side of your bracket is likely slightly higher than the other. You may need to loosen the bolts, adjust, and re-tighten. This is the most critical step for achieving a professional, perfectly-level look.
10. Secure the Shelf — Most hidden bracket systems have small screw holes on the underside of the rods or the plate. From underneath the shelf, drive the small included set screws through the shelf material and into these holes. This locks the shelf onto the bracket, preventing it from sliding off. This step is non-negotiable for safety.
Common Mistakes
- Using Undersized Anchors: Choosing cheap, small-diameter plastic anchors instead of heavy-duty toggle or molly bolts. This is the #1 cause of failure. Always buy anchors rated for at least 50 lbs each, preferably more.
- Ignoring Shelf & Bracket Weight: Forgetting to include the weight of the shelf itself (which can be substantial for solid wood or MDF) and the bracket when calculating total load.
- Trusting Your Eye: Foregoing a laser level or long spirit level and "eyeballing" the placement. Even a 1/16-inch discrepancy can be glaringly obvious on a floating shelf.
- Drilling the Wrong Size Hole: Using a drill bit that is too small makes inserting the anchor impossible, while a bit that is too large will not allow the anchor to grip properly and will lead to failure.
- Over-tightening Bolts: Cranking down on the bracket bolts with excessive force can crush the drywall, compromising the anchor's hold and weakening the entire installation.
- Skipping the Set Screws: Forgetting or neglecting to install the small screws that lock the shelf to the bracket from underneath. This is a major safety hazard as it allows the shelf to slide off.
Cost & Time Breakdown
| Task | DIY Cost | Pro Cost | Time | Notes |
|---|---|---|---|---|
| Materials Acquisition | $60 - $150 | (included in total) | 1-2 hours | Cost depends heavility on shelf size and material (MDF vs. solid wood). |
| Wall Prep & Layout | $0 | $50 - $75 | 30 minutes | Includes measuring, marking, and laser level setup. |
| Anchor & Bracket Installation | $0 | $100 - $150 | 1 hour | The core labor task requiring precision drilling and leveling. |
| Shelf Mounting & Finishing | $0 | $40 - $60 | 30 minutes | Includes sliding on the shelf, final leveling, and securing. |
| Cleanup | $0 | $20 - $30 | 15 minutes | Disposing of packaging and vacuuming drywall dust. |
| TOTAL | $60 - $150 | $210 - $315+ | ~2.5 hours | Pro costs are for labor only and do not include the cost of the shelf itself. |
Tips & Prevention
- Paint First: If you are using an unfinished or raw wood shelf that you plan to paint or stain, do so and let it fully cure for several days before you install it. It's much easier than trying to paint it on the wall.
- Create a Template: For a more foolproof installation, place your bracket on a piece of cardboard and poke holes where the screws go. You can then tape this template to the wall and level the template, which is lighter and easier to handle than the steel bracket.
- Buy Extra Anchors: It's always wise to buy one or two extra toggle anchors. If you make a mistake or one proves to be defective, you'll have a spare on hand and won't have to stop the project for a trip to the hardware store.
- Account for Wall Texture: If you have heavily textured walls, the bracket plate may not sit perfectly flat. You might need to gently scrape or sand away the high points of the texture where the bracket will sit to ensure a flush, stable mount.
- Check for Bowing: Old walls are rarely perfectly flat. Before you begin, hold a long, straight edge against the wall where you plan to install the shelf. If there are significant dips or bows, you may need to shim the bracket to ensure the rods are perfectly straight.
When to Call a Professional
While installing floating shelves without studs is a manageable DIY project, there are several scenarios where calling a professional handyman or contractor is the smarter choice. If the shelf is intended to hold extremely valuable or very heavy items (such as a full set of encyclopedias, large kitchen serving dishes, or electronic components), a pro can assess the wall structure and may recommend opening the wall to add solid wood blocking between the studs for absolute maximum support.
Furthermore, if you are working with old plaster and lath walls instead of modern drywall, the installation becomes much more complex and unpredictable. Plaster can be brittle and crumbly, and toggle bolts may not hold as reliably. A professional will have experience with the appropriate fasteners and techniques for these surfaces. Finally, if you lack the necessary tools like a quality laser level and drill, or if you simply don't feel confident in your ability to measure and drill with the high degree of precision required, hiring a pro will save you time, frustration, and the potential cost of repairing a failed installation and damaged wall. A pro guarantees a level and secure result.
What should this project cost?
Enter your project details for a realistic cost range before you call anyone.
Cost depends heavily on which system turns out to be the source.
- Regional adjustment
- National average
- Labor share (typical)
- ~$1,620
- Quotes to collect
- 3 written estimates
Educational estimate based on national averages — not a binding quote. Always confirm with written local estimates.
Recommended for DIYers & woodworkers
Sponsored
The Top 20 Tools for Workshops of Any Budget
No stationary machines or power tools required — plus 3 fundamental tools that can't be bought at any price.
Get the free guide
Ted's Woodworking — The #1 Woodworking Resource
Detailed instructions, dimensioned drawings, materials & cutting lists, and 3D schematics for every skill level.
See the plansSponsored: links above are affiliate links. FixlyGuide may earn a commission on qualifying purchases — at no extra cost to you.
Frequently asked questions
How much weight can a floating shelf hold without studs?+
When installed correctly with heavy-duty toggle anchors (like SNAPTOGGLEs), a floating shelf can typically hold 40-50 pounds per anchor. A 3-foot shelf with a bracket using two anchors could therefore safely hold 80-100 pounds, including the weight of the shelf itself.
What is the best anchor for floating shelves in drywall?+
The best anchors are heavy-duty, strap-style toggle bolts. They distribute weight over a large area behind the drywall, providing far more strength than traditional plastic plugs or self-drilling anchors, which are not suitable for this purpose.
Can you put floating shelves on a plaster wall without studs?+
It is much riskier and generally not recommended for a DIYer. Plaster can be brittle and may not support toggle anchors as reliably as drywall. It is best to consult a professional who can assess the wall's condition and use specialized fasteners if possible.
Do I need a special drill bit for installing drywall anchors?+
No special type is needed, but the size is critical. You must use the exact size of drill bit specified in the anchor's instructions, which may be 1/2-inch or larger. A standard twist-bit in a power drill is sufficient.

Discussion
Loading comments…