Tools & materials you'll need
Affiliate linksAs an Amazon Associate FixlyGuide earns from qualifying purchases — at no extra cost to you. Prices and availability are accurate as of publication and subject to change.
Quick Answer
Floating shelves often sag due to brackets that are too short, not secured into wall studs, or are made of weak material. To hold over 50 pounds, you need a heavy-duty, solid steel blind shelf bracket at least 10 inches long with a 3/4-inch or 1-inch backplate, screwed directly into wall studs spaced 16 inches apart. The shelf itself should be a solid wood or a torsion box construction, at least 2 inches thick and no more than 12 inches deep, to prevent the wood from bowing under load.
The Problem
You installed them to get that clean, minimalist look. But now, your once-stylish floating shelves are drooping, tilting downwards in a sad imitation of their former glory. This isn't just a cosmetic issue; it's a structural failure waiting to happen. The sagging shelf puts constant stress on its mounting points, threatening to pull away from the wall entirely, sending your books, photos, and treasured ceramics crashing to the floor. The tell-tale sign is a noticeable gap appearing between the top edge of the shelf and the wall. You might also notice that objects placed on the shelf tend to slide forward. This sagging shelf problem is incredibly common because the physics of a floating shelf are deceptive. It appears simple, but creating a strong, cantilevered surface requires precise engineering and materials that can counteract the significant leverage forces at play. A 10-inch deep shelf loaded with 50 pounds exerts a surprising amount of rotational force on its hidden brackets, and most off-the-shelf kits just aren't designed to handle it.
How It Works
A truly strong floating shelf system works by turning the shelf and its bracket into a single, rigid lever that is securely anchored deep inside the wall's structural frame. The secret isn't just the bracket, but the combination of four key elements: the bracket, the fasteners, the wall studs, and the shelf itself. The hero of this system is the heavy-duty blind shelf bracket. Unlike the flimsy, two-piece stamped metal brackets found in many kits, a heavy-duty bracket is made from a single piece of welded, solid steel. It features a long, flat back bar (at least 3/4" tall) that sits flush against the studs and two or more solid steel rods that project outwards. These rods, typically 6 inches or longer, are what the shelf slides onto.
The magic happens at the connection point. Heavy-duty lag screws, at least 2.5 inches long, are driven through the bracket’s back bar and deep into the center of the wooden wall studs. This creates an incredibly rigid connection, transferring the load from the shelf directly into the building’s frame. This is critically different from using drywall anchors, which are only gripping the much weaker wallboard. The a 2x4 stud provides the immense shear and pull-out resistance needed. The shelf itself plays a structural role. It must be thick enough (at least 2 inches) and constructed in a way (either solid wood or a torsion box) that it won’t bend or deform around the support rods. When the shelf slides over the rods, the fit must be snug. This tight tolerance, combined with the rigidity of the steel rods and the secure stud connection, effectively cancels out the downward rotational force that causes sagging.
Step-by-Step Fix
1. Remove the Sagging Shelf — Carefully take all items off the shelf. Then, lift up on the front edge of the shelf while pulling it away from the wall. Most blind shelves are designed to slide off their brackets. If it’s stuck, it may have a small set screw on the underside that needs to be loosened first. Once the shelf is off, unscrew the old, inadequate brackets from the wall.
2. Locate and Mark Your Studs — Use a high-quality electronic stud finder to locate the vertical wooden studs inside your wall. Run the finder horizontally across the wall where you plan to install the shelf. Mark the left and right edges of each stud with a pencil. To confirm, use a small trim nail to drive into the wall in an inconspicuous spot where the stud should be; you should feel firm resistance. Standard stud spacing is 16 inches on center, a critical measurement for our heavy-duty brackets.
3. Choose Your Bracket Position — For maximum strength, your heavy-duty bracket must span at least two studs. The ideal bracket will have pre-drilled holes that align with 16-inch stud spacing. Hold the bracket up to the wall, aligning the holes with the centerlines of your marked studs. Use a 24-inch level to ensure the bracket is perfectly horizontal, then mark the screw hole locations on the wall with a pencil.
4. Drill Pilot Holes — This step is critical to prevent the studs from splitting and to make driving the lag screws easier. Select a drill bit that is slightly smaller in diameter than the shaft of your lag screws (not the threads). For a 1/4" lag screw, a 3/16" drill bit is typically appropriate. Drill straight, perpendicular holes into the wall at each of your pencil marks, going at least 2 inches deep into the stud.
5. Mount the Heavy-Duty Bracket — Position the bracket over your pilot holes. Using a socket wrench with a socket that matches an appropriate lag screw head, drive the lag screws through the bracket and into the studs. Begin by hand-tightening both screws to ensure they are not cross-threaded. Then, use the wrench to tighten them down. The back of the bracket should sit completely flush against the drywall with no gaps. Do not overtighten, as this can crush the drywall and weaken the connection.
6. Prepare Your Shelf — Your new bracket requires appropriately sized holes in the back of your shelf. Measure the diameter and spacing of the rods on your new bracket. Transfer these measurements to the back edge of your shelf and mark the drilling locations. Use a drill press or a drill with a guide to ensure you drill perfectly straight holes. The holes should be about 1/16" larger than the rod diameter and 1/4" deeper than the rod length to allow for easy installation.
7. Test Fit the Shelf — Before final finishing, slide the shelf onto the newly mounted bracket. It should be a snug fit. Check for levelness both front-to-back and side-to-side. If the shelf is not level, you may need to slightly adjust the bracket or use very thin shims, though a properly installed bracket should not require this. Remove the shelf.
8. Patch and Paint — Use a small amount of spackling to fill the old screw holes from the previous bracket and any exploratory nail holes. Once dry, sand the patches smooth and touch up the area with matching wall paint. This ensures a clean, professional finish with no evidence of the previous, failed installation.
9. Install the Shelf Permanently — Once the paint is dry, slide the shelf onto the bracket for the final time. Push it all the way back until it is flush with the wall. Some heavy-duty systems include a small hole on the underside to drive a set screw, which locks the shelf to the bracket and prevents it from sliding. If included, install this now.
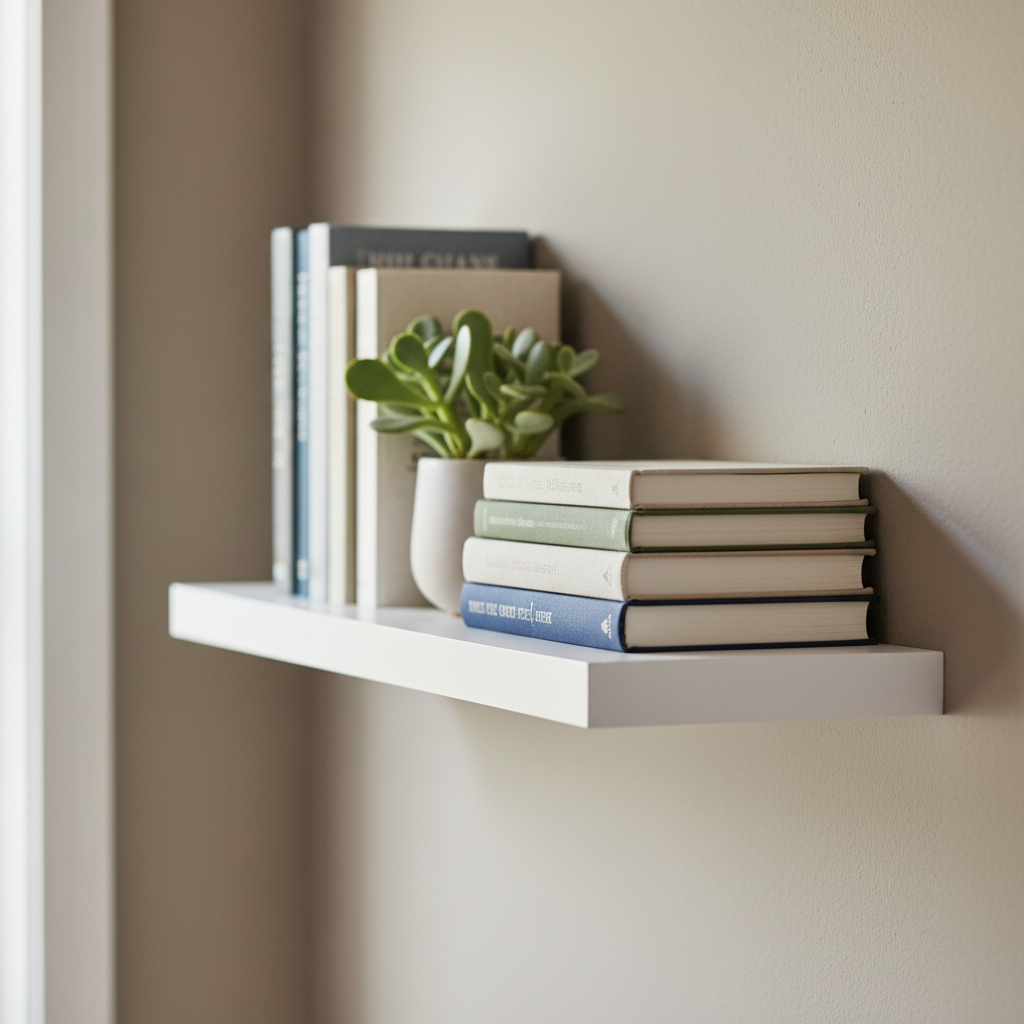
10. Load It Up (Confidently) — With the shelf securely mounted to the studs with a heavy-duty bracket, you can now load it with books, plants, and other decor. Distribute the weight evenly, placing heavier items closer to the wall. Your new shelf system can now realistically support 50-75 pounds per stud it is attached to.
Common Causes
- Brackets Not in Studs: The number one cause of sagging. Drywall anchors (even heavy-duty ones) are not designed to resist the constant downward, rotational pull of a loaded shelf.
- Inadequate Brackets: Most DIY store kits come with brackets made from thin, stamped steel with short support rods. These rods bend easily under load.
- Shelf Depth vs. Bracket Length: The shelf is a lever. The deeper the shelf (e.g., 12 inches), the more leverage it exerts on the bracket. A rule of thumb is that the bracket’s support rods should extend for at least 70% of the shelf’s depth.
- Thin Shelf Material: A shelf made of 1/2" or 3/4" MDF or particleboard is prone to bowing between the support rods, even if the bracket itself is strong.
- Overloading: Every shelf has a weight limit. Exceeding the manufacturer's recommendation, especially with cheap kits, guarantees sagging.
- Incorrect Fasteners: Using drywall screws instead of structural screws or lag bolts is a common mistake. Drywall screws are brittle and can snap under the shear stress created by a shelf.
Common Mistakes
- Trusting Drywall Anchors: Believing that a "100-pound" rated drywall anchor can hold a 100-pound floating shelf. This rating is for shear force (hanging a picture), not the cantilevered load of a shelf.
- Ignoring Stud Spacing: Buying a bracket without first checking your wall's stud locations. This forces compromises, like only hitting one stud and using an anchor on the other side.
- Drilling Angled Holes: When drilling the holes in the back of the shelf, not drilling perfectly straight. This will cause the shelf to sit crooked on the bracket rods.
- Eyeballing Levelness: Not using a level during bracket installation. A slightly un-level bracket becomes a very noticeable tilt on a 10-inch deep shelf.
- Using a Hollow-Core Shelf: Attempting to mount a cheap, hollow-core shelf (often made with cardboard honeycomb inside) on heavy-duty brackets. There is no internal material to support the rods, rendering the system useless.
Cost & Time Breakdown
| Task | DIY Cost | Pro Cost | Time |
|---|---|---|---|
| Purchase Heavy-Duty Bracket (32") | $40 - $70 | (Included) | 30 mins |
| Purchase Solid Wood Shelf Blank | $50 - $100 | (Included) | 30 mins |
| Installation & Mounting | $10 (for lag screws) | $150 - $250 | 1-2 hours |
| Patch & Paint Repair | $15 (spackle/paint) | $75 - $150 | 1 hour + dry time |
| Total | $115 - $195 | $225 - $400 | 2-3 hours |
Tips & Prevention
- Buy a System: For guaranteed results, purchase a complete system (shelf and bracket) from a reputable company specializing in floating shelves. They engineer the components to work together.
- The 70% Rule: Always ensure your support rods are at least 70% of the total shelf depth. For a 10-inch shelf, you want at least a 7-inch rod.
- Go Thicker: When in doubt, choose a thicker shelf. A 2.5-inch or 3-inch thick shelf provides immense rigidity and looks substantial.
- Torsion Box Construction: If you are building the shelf yourself, consider a torsion box design. This creates a lightweight but incredibly strong and stiff hollow shelf, perfect for floating applications.
- Check for Plumb and Level: Before drilling, use a level to ensure your walls are plumb (perfectly vertical). An out-of-plumb wall can complicate the installation and require shimming.
When to Call a Professional
While this is a manageable DIY project for someone comfortable with locating studs and using a drill, there are times when calling a professional handyman or carpenter is the wise choice. If you have steel studs in your walls (common in commercial buildings and some modern condos), the mounting process is different and requires specialized fasteners. If your wall is plaster and lath instead of drywall, locating solid anchoring points can be very tricky and is best left to someone with experience. Additionally, if the shelf you want to install is exceptionally long (over 6 feet), heavy (solid stone or concrete), or if you are creating an entire wall of complex shelving, a professional can ensure the structural integrity and aesthetic perfection of the final installation. Their experience and specialized tools can overcome unforeseen challenges and guarantee a rock-solid result that you can trust for years to come.
Recommended for DIYers & woodworkers
Sponsored
The Top 20 Tools for Workshops of Any Budget
No stationary machines or power tools required — plus 3 fundamental tools that can't be bought at any price.
Get the free guide
Ted's Woodworking — The #1 Woodworking Resource
Detailed instructions, dimensioned drawings, materials & cutting lists, and 3D schematics for every skill level.
See the plansSponsored: links above are affiliate links. FixlyGuide may earn a commission on qualifying purchases — at no extra cost to you.
Frequently asked questions
How much weight can a floating shelf hold without studs?+
Without being attached to studs, a floating shelf installed with even the best drywall anchors can reliably hold only about 15-20 pounds. The cantilevered force will eventually cause the anchors to fail. For anything heavier, you must anchor to studs.
Can I fix a sagging floating shelf without removing it?+
No. A permanent fix for a sagging floating shelf requires removing it to address the core problem, which is almost always an inadequate bracket or improper mounting. Adding an external L-bracket below the shelf is a functional but not aesthetically pleasing workaround that defeats the 'floating' look.
What is the best material for a heavy-duty floating shelf?+
For the shelf itself, solid hardwood (like oak, maple, or walnut) is excellent. A less expensive but equally effective option is to build a torsion box shelf, which is a hollow but internally braced structure made from plywood and MDF. Both provide the necessary rigidity to prevent the shelf from bowing.
How deep can a floating shelf be?+
For optimal strength and stability, a floating shelf should not be more than 12 inches deep. The deeper the shelf, the greater the leverage and the higher the chance of sagging. If you need deeper storage, consider a traditional bookcase or shelving with visible supports.


Discussion
Loading comments…