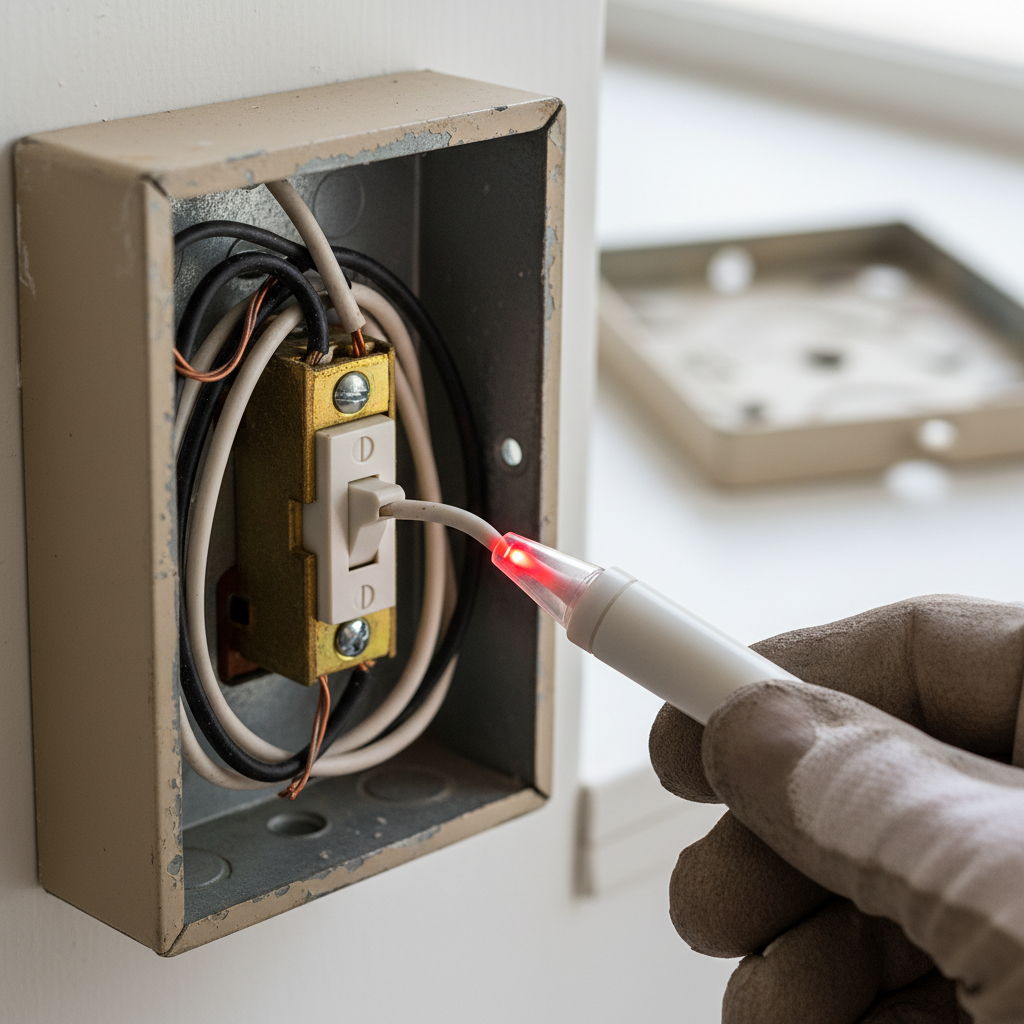
- Remove the Old Switch Plate — Carefully unscrew and remove the cover plate. Set it aside in a safe place.
- Pro Tip: If you see a white wire connected to a switch terminal, especially with only a two-wire cable entering the box (plus ground), it's highly likely to be an old switch loop.
- CRITICAL SAFETY NOTE: Do NOT touch any bare wires during this step. If any wire shows voltage after turning the breaker off, you've either identified the wrong breaker or there's a more complex wiring scenario requiring a professional.
- Important: This re-identification is crucial for future safety and compliance with modern electrical codes (specifically NEC 200.7(C)(1)).
- Mount and Test — Carefully fold wires back into the box. Mount the new switch, attach the new faceplate, and then turn the power back on at the breaker. Test the switch to ensure it operates the light correctly.
Published May 22, 2026Last updated August 17, 2026
Tools & materials you'll need
Affiliate linksAs an Amazon Associate FixlyGuide earns from qualifying purchases — at no extra cost to you. Prices and availability are accurate as of publication and subject to change.
Quick Answer
In numerous homes built before the 2000s, what appears to be a neutral white wire connected to a light switch might actually be carrying live, ungrounded (hot) power. This 'switch loop' wiring method, while permissible at the time of installation, clashes with current safety standards and common homeowner assumptions, presenting a significant electrical shock risk if not identified and properly handled during any electrical work.
The Problem
You're tackling a seemingly simple home improvement: replacing an old, dingy light switch with a smart dimmer or a fresh decorative plate. You confidently shut off the breaker, open the switch box, and immediately notice something unsettling. Instead of the familiar black 'hot' and white 'neutral' scheme, you see a white wire connected to one of the switch terminals, looking suspiciously like it's part of the live circuit. This isn't a mistake; it's a relic of older electrical practices known as a 'switch loop,' and it's a widespread problem that frequently shocks unsuspecting DIYers. The danger lies in the assumption that a white wire is always neutral (or 'common') and therefore safe to handle once the power is off. In these older switch loops, the white wire is, in fact, the live feed to the switch, carrying 120 volts, and can be energized even if other wires in the box appear dead. Failing to identify this non-standard wiring can lead to severe electrical shocks, short circuits, or even house fires if not properly insulated or rewired.
How It Works
To grasp the hazard, it helps to understand how a typical light circuit functions. Power, usually 120 volts, enters a junction box (often at the light fixture itself) from the main electrical panel via a two-wire-with-ground cable (black, white, bare copper). The black wire is the 'hot' conductor, carrying the live current. The white wire is the 'neutral' conductor, providing the return path for the current, and the bare copper is the ground for safety.
In a traditional switch loop, especially common with two-wire cables (black, white, bare ground), the power source (hot and neutral) reaches the light fixture box first. Instead of bringing the hot wire directly to the switch and then returning to the light, the hot wire (black) is often spliced directly to the black wire going down to the switch box. Crucially, the white wire from the two-wire cable running down to the switch is then used to carry the ungrounded (hot) power to the switch. From the switch, the now-switched power returns up to the fixture via the black wire in that same cable, connecting to the light fixture itself. The neutral from the main power source connects directly to the light fixture's neutral terminal, bypassing the switch entirely.
The critical takeaway is the white wire descending to the switch – it's acting as the unswitched hot feed. When the switch closes, power travels through it to the black wire, and then back up to the fixture. This means that a seemingly innocent white wire in the switch box could be continuously live until the circuit breaker is explicitly turned off for that specific circuit. Modern electrical codes (NEC 2011 and later for many jurisdictions) require the white wire in such a configuration to be reidentified (e.g., marked with black or red electrical tape) to indicate it's not a neutral, but older installations lack this crucial visual cue.
Step-by-Step Fix
Safety First — Before touching any wiring, always confirm the power is off. Use a non-contact voltage tester (NCVT) to verify no current is present. If you're unsure or uncomfortable, stop and call a licensed electrician.
- Identify the Circuit Breaker — Locate the correct breaker for the light switch. Turn off the main power if you cannot isolate the specific circuit. Test the switch and the light fixture to ensure both are completely dead. Use your NCVT on the switch faceplate before removing it.
- Remove the Old Switch Plate — Carefully unscrew and remove the cover plate. Set it aside in a safe place.
- Inspect the Wiring — Observe the wire connections. Identify which wires are connected to the switch terminals. Look for patterns: a black wire and a white wire connected directly to the switch, with other wires potentially spliced together in the back of the box.
- Pro Tip: If you see a white wire connected to a switch terminal, especially with only a two-wire cable entering the box (plus ground), it's highly likely to be an old switch loop.
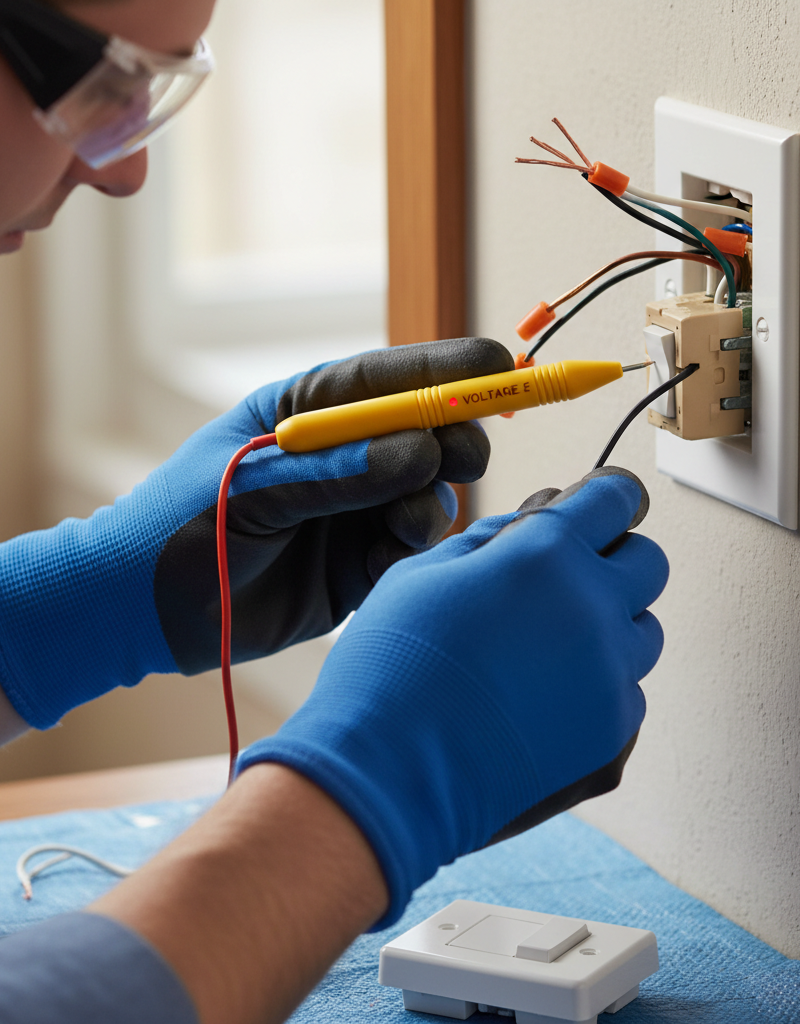
- Confirm Voltage (with caution) — Using an NCVT, carefully test each wire. After verifying the breaker is off, gently separate the switch from the box (but keep wires connected for now) if needed. Before disconnecting anything, quickly flip the breaker ON and use your NCVT to find which wire shows voltage (the 'hot' wire). Immediately turn the breaker OFF again. This helps confirm which white wire (if present) is truly the line-side hot.
- CRITICAL SAFETY NOTE: Do NOT touch any bare wires during this step. If any wire shows voltage after turning the breaker off, you've either identified the wrong breaker or there's a more complex wiring scenario requiring a professional.
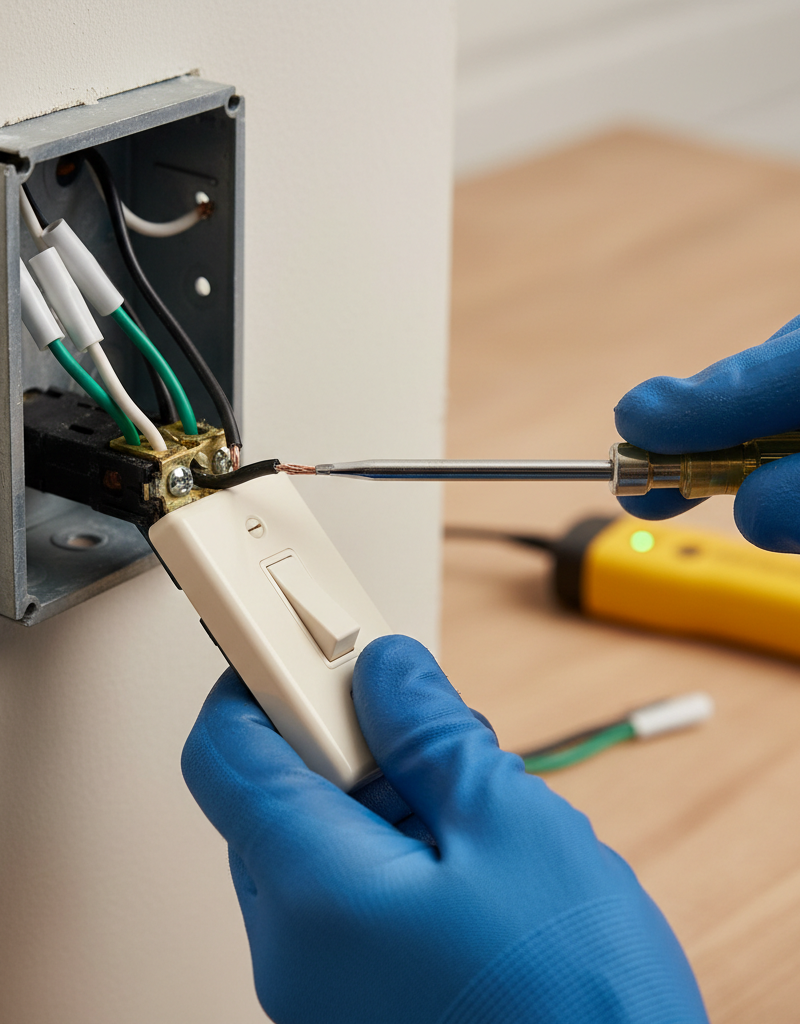
- Disconnect Wires Safely — Loosen the terminal screws or release the push-in connectors. Carefully remove the wires from the old switch. Pay close attention to which wire was connected to which terminal. If wires aren't already marked, consider using small pieces of electrical tape (black or red for the line-side hot, white for the switched leg) to label them based on your observations in step 4.
- Re-Identify the Hot White Wire — If you confirmed a white wire is acting as the unswitched hot feed. Use a permanent marker or a wrap of black or red electrical tape (at least 1 inch long) on the insulation near the exposed end of the white wire that carries continuous power. This visually marks it as a hot conductor, preventing future confusion.
- Important: This re-identification is crucial for future safety and compliance with modern electrical codes (specifically NEC 200.7(C)(1)).
- Connect the New Switch — Wire the new switch according to its instructions. Typically, the re-identified black or taped white wire (the unswitched hot) connects to the 'line' or 'input' terminal. The remaining wire (the 'switched leg' that goes to the light fixture) connects to the 'load' or 'output' terminal. If the new switch requires a neutral wire (common for smart switches), and your box does not contain one, you may need professional help to run a new cable.
- Grounding (If Applicable) — Connect the bare copper ground wire. If your switch box is metallic and grounded, or if your new switch has a green ground screw, connect the bare copper ground wire(s) to it. This is a critical safety connection.
- Mount and Test — Carefully fold wires back into the box. Mount the new switch, attach the new faceplate, and then turn the power back on at the breaker. Test the switch to ensure it operates the light correctly.
Common Causes
- Historical Code Acceptance: Prior to significant updates in the National Electrical Code (NEC), specifically around 2011, using the white wire in a two-wire switch loop as an ungrounded (hot) conductor was permissible without mandatory re-identification. Electricians followed the practices of their time.
- Cost and Simplicity: Using a single two-wire cable (black, white, ground) was often the most economical and straightforward way to bring power down to a switch from a light fixture box where the primary power feed entered.
- Absence of Neutral Requirement: Traditional simple toggle switches do not require a neutral wire to operate, only a hot feed and a switched leg. This made the two-wire switch loop a practical solution.
Common Mistakes
- Assuming White is Always Neutral: The most dangerous mistake. Always test every wire, especially white ones, before assuming they are neutral/safe.
- Not Re-identifying the Hot White Wire: Even after fixing, failing to mark the white wire as hot perpetuates the hazard for the next person working on the circuit.
- Ignoring Grounding: Not connecting the ground wire (if available) to the switch or metal box. Grounding is a critical safety feature that protects against shock.
- Over-tightening or Under-tightening Terminal Screws: Loose connections can cause arcing and fire; overly tight can damage the wire. Follow manufacturer torque specifications if provided, or tighten until snug, then give a quarter-turn more.
- Improper Wire Splicing: Leaving exposed wire or using inadequate wire nuts that could unravel, leading to short circuits or shocks.
- Not Using an NCVT: Relying solely on the breaker switch. Breakers can be mislabeled, or there might be another power source. An NCVT is your essential first line of defense.
Cost & Time Breakdown
| Task | DIY cost | Pro cost | Time |
|---|---|---|---|
| Basic Switch Replacement | $5–$25 | $75–$150 | 15–30 minutes |
| Smart Switch/Dimmer Install | $25–$80 | $100–$250 | 30–60 minutes |
| Re-identifying White Wire | $0–$2 (tape) | Included above | 5 minutes |
| Troubleshooting Complex Wiring | — | $150–$400+ | 1–3 hours |
| Adding Neutral (pro only) | — | $200–$500+ | 2–4 hours |
Tips & Prevention
- Always Test, Never Assume: Before beginning any electrical work, always use a non-contact voltage tester (NCVT) on every wire you intend to touch, even after flipping the breaker. Test both the switch and the fixture it controls.
- Mark Wires Clearly: When you identify a white wire serving as a hot conductor, immediately mark it with black or red electrical tape at both ends (if accessible, e.g., in the fixture box too). This creates a clear visual cue for future work.
- Document Wiring: Take photos of existing wiring before disconnecting anything. This serves as a valuable reference if you get confused during reassembly or need to troubleshoot.
- Upgrade to Modern Wiring: If you're undertaking major renovations, consider having an electrician upgrade older switch loop wiring to modern standards, including dedicated neutrals in switch boxes. This not only improves safety but also allows for the installation of smart home devices that often require a neutral wire.
- Regular Electrical Inspections: For older homes, consider a periodic electrical inspection by a licensed professional. They can identify outdated or hazardous wiring practices, including problematic switch loops, before they become a danger.
When to Call a Professional
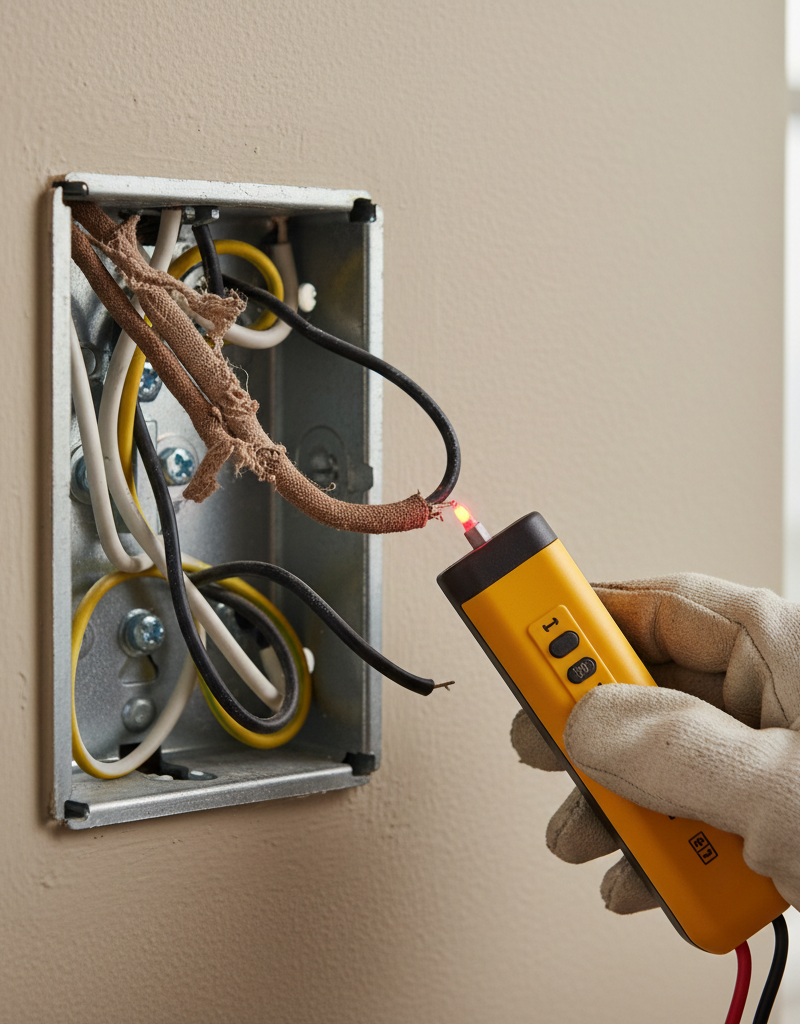
While identifying and re-identifying a white hot wire in a basic switch loop is often a DIY task, there are clear instances where a professional electrician is not just recommended, but essential. You should immediately call a licensed electrician if you find more than two cables entering the switch box, if the wiring appears excessively old (e.g., knob-and-tube or fabric-wrapped wires), or if you discover any exposed, frayed, or burnt insulation. Furthermore, if your new smart switch requires a neutral wire and your existing switch loop solely uses the white wire as a hot conductor without a true neutral present in the box, an electrician will be needed to run a new cable that provides the necessary neutral connection. Any uncertainty about wire identification, persistent voltage readings after switching off the breaker, or a desire to upgrade the circuit to modern standards for future smart home compatibility are also excellent reasons to bring in a pro. Never take chances with your home's electrical system.
Related Articles
Keep troubleshooting with these hand-picked guides from FixlyGuide:
- The Secret Power Tool Hiding in Your Garage for a Speedier Clean — Unlock the hidden potential of your cordless drill to tackle stubborn household grime, soap scum, and dirt with specialized cleaning attach…
- The Hidden Reason Your AC Isn't Cooling (And 7 Fixes Homeowners Miss) — If your central AC isn't cooling your home, the culprit often lies in an overlooked issue that's simple to fix, preventing costly professio…
- The Hidden Culprit Behind Your AC Not Cooling (and How to Find It) — If your central AC isn't cooling your home, the issue often stems from a surprisingly simple problem that's easy to overlook. Learn how to…
- The Hidden Reason Your AC Isn't Cooling (And Why Most Homeowners Get It Wrong) — When your central AC unit isn't cooling, the culprit often isn't what you think, leading to frustration and unnecessary repair calls.
- 7 Hidden Equity Drains Costing You Thousands Annually — Your home is an asset, but silent problems like minor leaks, poor insulation, and deferred maintenance can drain its value. Discover the se…
- Why Your Wall Switch Feels Hot: The Hidden Danger Most Homeowners Miss — A hot light switch isn't just uncomfortable; it's a critical warning sign of potential electrical hazards that demand immediate attention.
What should this project cost?
Enter your project details for a realistic cost range before you call anyone.
Outlet and switch work usually $150–$400; panel upgrades commonly $1,800–$4,200.
- Regional adjustment
- National average
- Labor share (typical)
- ~$709
- Quotes to collect
- 3 written estimates
Educational estimate based on national averages — not a binding quote. Always confirm with written local estimates.
Fixly Project Decision Box
- DIY difficulty
- Professional Recommended
- Estimated time
- Diagnosis 1–2 hours
- Cost level
- Moderate
Main tools / materials
- Non-contact voltage tester
- Outlet tester
- Flashlight
When to stop and call a pro
- Burning smell, scorch marks, or a warm outlet or switch plate
- A breaker that trips again right after being reset
- Any work inside the service panel
- Aluminum wiring or cloth-insulated wiring
Need professional help?
Talk to a Licensed ElectricianGet the print-ready PDF of this guide
A clean, ad-free, printable version you can keep on your phone or pin to the workshop wall. Free with a FixlyGuide account.
- Print-optimized layout
- Tools, materials & every step included
- Saved to your account
This article was independently written by FixlyGuide based on the source topic.
Frequently asked questions
Why do white wires carry power in old switch loops?+
In older electrical installations, it was common practice to use a two-wire cable where the black wire carried switched power back to the light and the white wire carried unswitched hot power down to the switch. This method was code-compliant at the time due to the lack of a neutral wire requirement for basic switches, but it can be confusing and dangerous today.
How can I tell if a white wire in my switch box is hot?+
The safest way is to use a non-contact voltage tester (NCVT). After turning off the breaker, remove the switch plate. Briefly turn the breaker back on (with extreme caution, not touching any bare wires) and use the NCVT to see if any white wires show a voltage reading. Immediately turn the breaker off again. A professional can also confirm with a multimeter.
Is it safe to re-identify a white wire as hot myself?+
Yes, if you have confidently identified the white wire as the unswitched hot conductor, it is safe and recommended to re-identify it. Use black or red electrical tape to wrap around the insulation of the white wire closest to its exposed end. This brings it into compliance with modern code practices for visual identification.
Can I install a smart switch with old switch loop wiring?+
Many smart switches require a neutral wire to function, which is often missing in older switch loop configurations where the white wire acts as a hot. If your switch box does not contain a true neutral wire (a white wire that returns directly to the main panel's neutral bus), you will likely need an electrician to run a new cable to provide the necessary neutral connection for a smart switch.
Discussion
Loading comments…