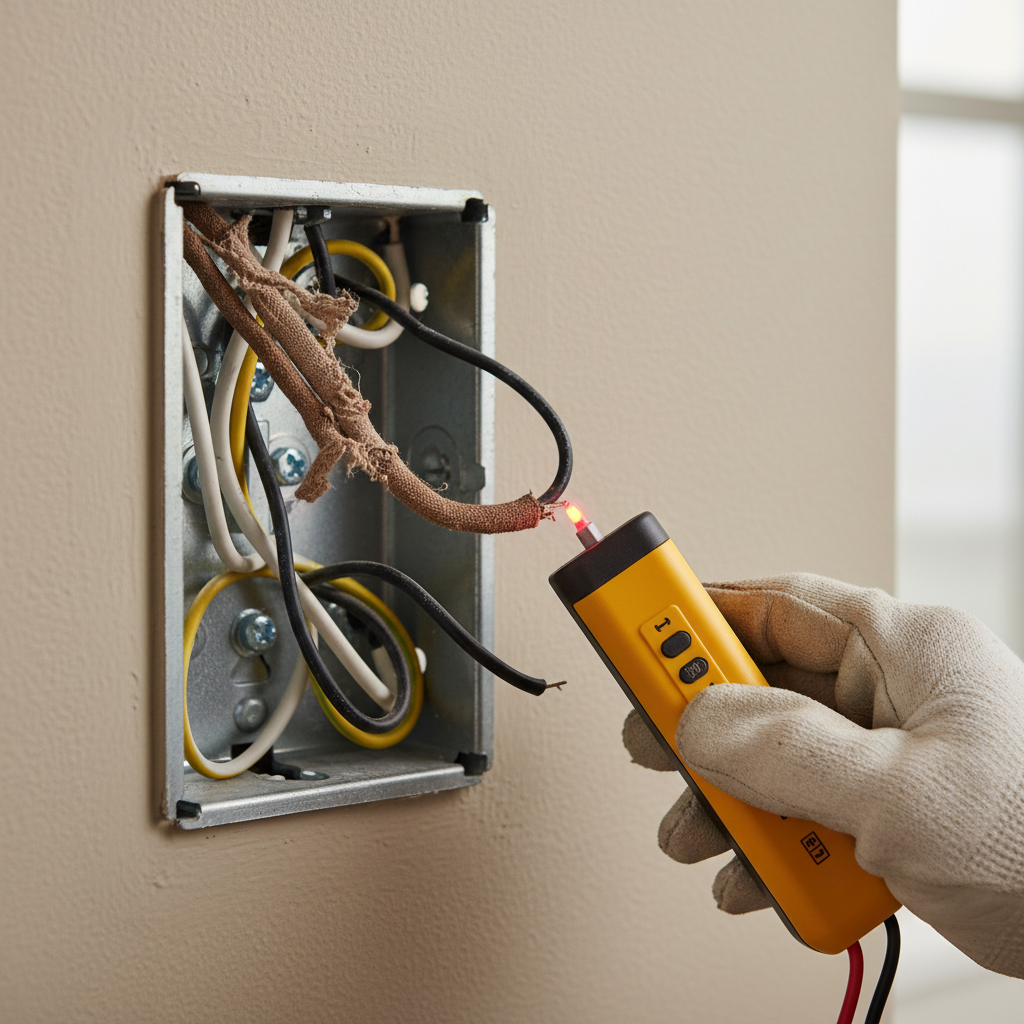
- Re-connect the New Switch – Hook the wires up the way the switch instructions call for.
- Connect the incoming hot (line) wire to one brass screw terminal (or the "LINE" terminal if it’s marked).
- Connect the switched hot (load) wire to the other brass screw terminal (or the "LOAD" terminal).
Electrical · Panel or service upgrade
| Project category | Electrical |
|---|---|
| Problem type | Panel or service upgrade |
| Trade required | Electrical |
| Urgency | Planned project |
| Safety risk | High safety risk |
| DIY suitability | Licensed pro only |
| Cost category | High cost |
| Typical timeline | Permit plus utility scheduling, commonly 2–6 weeks |
| Contractor type | Licensed electrician |
Repair option
Add a subpanel when the main service is adequate.
Replacement option
Full service upgrade with utility coordination and permits.
Common causes
- Obsolete or recalled panel brands
- Service capacity too small for added loads
- No room for required AFCI/GFCI breakers
Relevant tools:project cost estimatorcompare quotes
Published August 29, 2026Last updated August 29, 2026
Tools & materials you'll need
Affiliate linksAs an Amazon Associate FixlyGuide earns from qualifying purchases — at no extra cost to you. Prices and availability are accurate as of publication and subject to change.
Quick Answer
Swapping out a light switch ought to be simple, right? Flip a few wires over, snug it back in, and call it a day. But if the new switch’s dead as a doornail, don’t jump straight to blaming the switch. Nine times out of ten, it’s a wiring issue — especially in an older house. Bad wire ID, a loose connection, a tripped breaker. That’s the usual mess. You can chase it down without losing your mind, but you do need to work it step by step. And yeah, kill the power first. Every time.
The Problem
I’ve heard this one a hundred times: "I just replaced the light switch, and now the light won't come on. The old one worked sometimes, but this new one? Nothing." Classic DIY head-scratcher. You’ve got a shiny new switch, you followed the directions, maybe even matched the wire colors, and still — dark room, no dice. Frustrating? You bet.
A lot of folks figure they missed something obvious. Sometimes they did. But a lot of the time, the “obvious” part is buried in the way older homes were wired, and that can make a simple swap feel like a puzzle box. I pulled a switch in a 1960s bungalow in Frisco last month that had exactly this kind of setup — looked normal at first glance, until the white wire turned out to be hot. Sneaky stuff. You’re not just replacing a part; you’re stepping into an old system that’s picked up a few bad habits over the years.
How It Works
If you want to figure out why a new light switch isn’t working, you’ve gotta know what that switch is actually doing — and what it isn’t. A switch is just a break in the “hot” wire feeding the light. Flip it on, and the circuit closes so electricity can run from the panel, through the switch, to the fixture, then back on the neutral. Flip it off, and the circuit opens. That’s all it is.
Most newer homes use a standard color setup: black for hot, white for neutral, green or bare copper for ground. Simple enough. But older wiring can get weird fast. Before the 1970s, it wasn’t unusual to see white wires used as hot conductors, sometimes marked with black tape. That’s a switch loop, or dead-end switch setup, and it trips people up all the time. In that arrangement, power usually hits the light fixture first, then a two-wire cable drops down to the switch. Both wires in that cable can be hot in their own way — one feeds the switch, the other brings switched power back. So if you’re staring at the switch box looking for a neutral, you may not find one. It’s up at the fixture instead.
That’s where folks get crossed up. They see a white wire and assume neutral. Nope. Not always. If you wire a new switch like that and the box doesn’t actually have a neutral, the thing won’t work right — or at all. Ground, if you’ve got it, is just there for safety. It gives stray current a path away from you and the metal box. Without understanding the path of the power, especially in a switch loop, you’re basically guessing with live wiring. And that’s no way to do it.
Step-by-Step Fix
Alright, you’ve got a new switch and a dead light. Let’s sort it out. First rule: safety first. Shut off the breaker before you touch anything. Don’t trust the wall switch. Don’t. I’ve seen guys get bit by 120V because they assumed the box was dead, and that’ll wake you up in a hurry. Use a non-contact voltage tester before you start loosening screws.
-
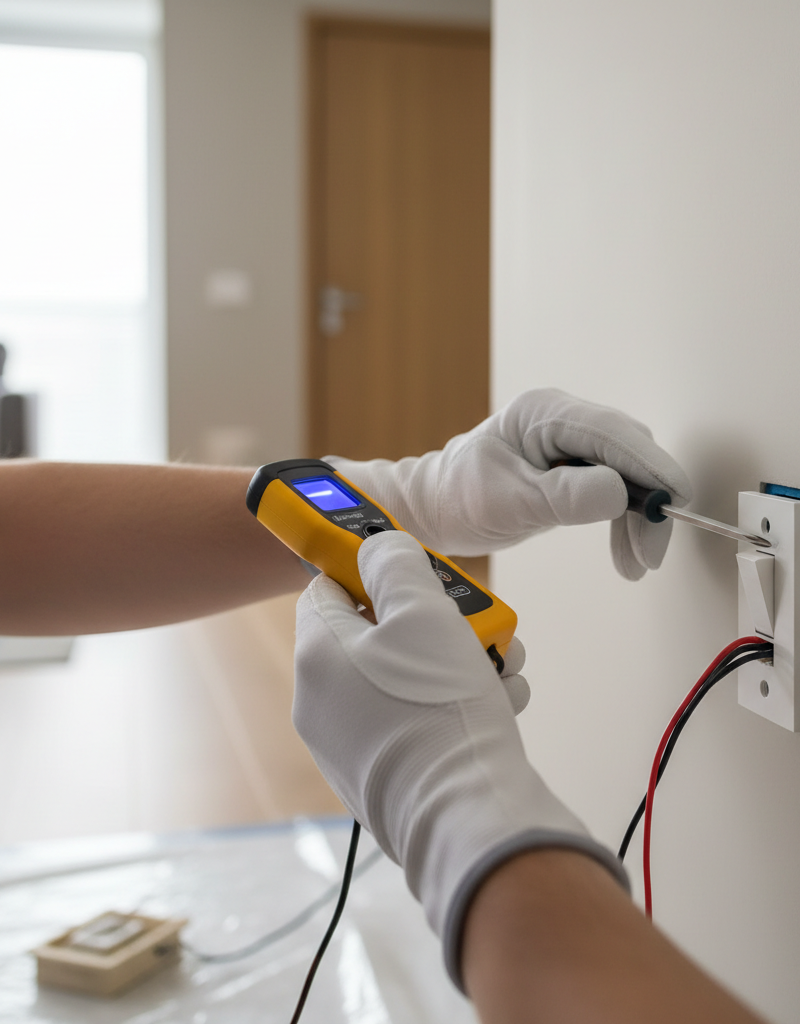
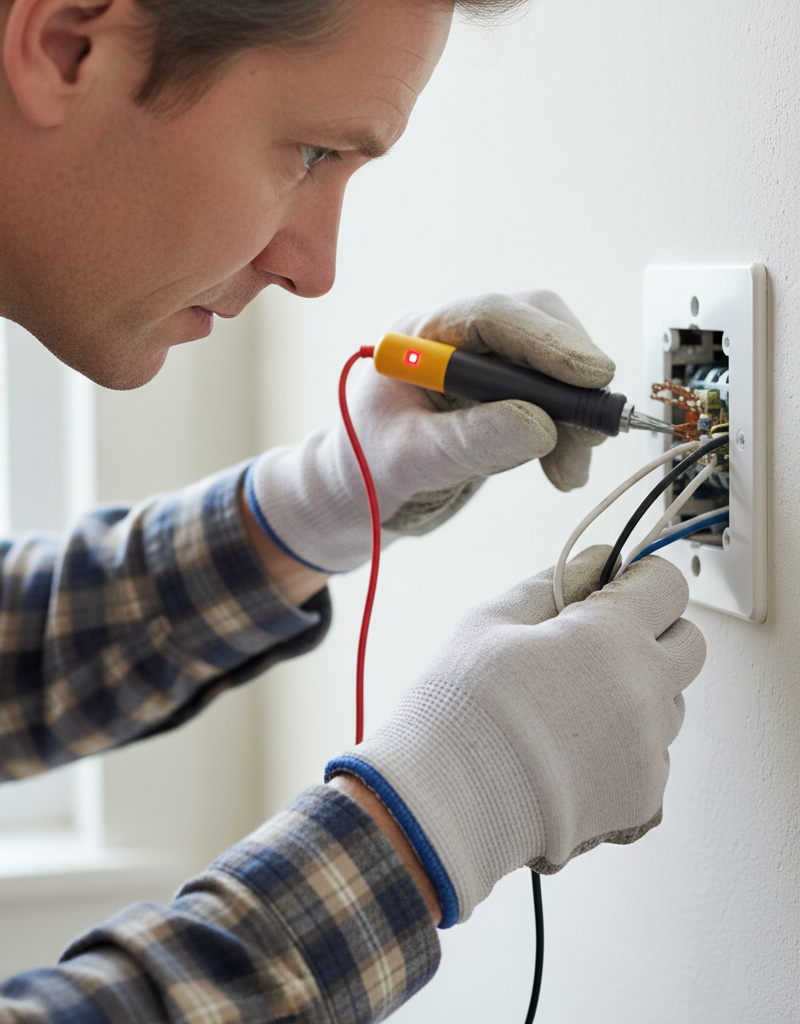
Kill the Power – Find the right breaker and shut it off. This part isn’t optional. Don’t just flip the wall switch and hope for the best. Go to the main panel. That light might share a circuit with a few other things, so make sure you’ve got the right breaker. Test the wires with your non-contact voltage tester before you touch the switch.
-
Examine the Old Setup – Pull the old switch out carefully and look at how it was wired. Snap a picture with your phone. Seriously, it helps more than folks think. Check the wire colors and where each one landed. Two wires? Three? Ground present? That’s your roadmap. If one wire was backstabbed into the rear and another was on a screw, note that too.
-
Identify Wire Functions – Figure out which wire is line, which is load, and whether you’ve got a neutral. This is the key step, especially in older homes. If you only see two wires plus ground in the box and this switch controls a single light, odds are you’ve got a switch loop.
- Hot (Line) Wire: This brings constant power to the switch. In a standard setup, it’s usually black. In a switch loop, the power may come to the fixture first, then travel down to the switch. In that case, the white wire in the cable is often the hot feed at the switch, and it should be marked with black tape.
- Switched Hot (Load) Wire: This carries power from the switch to the light when the switch is on. Usually black in a standard setup. In a switch loop, this is the return leg going back up to the fixture.
- Neutral (Return) Wire: This finishes the circuit. If you don’t see a bundle of white wires tied together in the box, you probably don’t have a neutral there. A lot of smart switches need one. Regular toggle switches usually don’t.
-
Check for Voltage Anomalies – Use your non-contact tester and multimeter. Even with the breaker off, the tester’s still handy for a sanity check. Once you know nothing’s live, and only if you’re comfortable, you can briefly turn the power back on to confirm which wire is hot if the old setup didn’t make it obvious. Be careful here — no hero moves. Set your multimeter to AC voltage (V~). Put one probe on the bare conductor and the other on a known ground, like the metal box if it’s grounded or a bare ground wire. A hot wire should show around 120V. Shut it back off as soon as you’ve got your answer.
-
Inspect Connections – Make sure every connection is tight. Loose wires are trouble. A wire nut that isn’t twisted down right, or a screw terminal that’s barely hanging on, can kill the circuit. I chased a dead ceiling fan in Maplewood once for almost an hour — turned out a neutral wire nut had loosened up just enough to stop the whole thing. Tiny problem. Big headache. Give each wire a gentle tug after you install it.
-
Verify Switch Type – Make sure the switch matches the job. A standard single-pole switch has two brass screws and a ground. A 3-way switch has three screw terminals plus ground. A 4-way has four. If you put the wrong type in the box, it won’t behave. Compare the number of wires you’ve got to the terminals on the new switch.
-
Check for Ground Faults – Look for stray copper touching the box or another wire. When you cram everything back into the box, one little whisker of wire can land where it shouldn’t. That can short the circuit or keep it from working at all. If the breaker pops right away, I’d be looking here first.
-
Re-connect the New Switch – Hook the wires up the way the switch instructions call for.
- Connect the incoming hot (line) wire to one brass screw terminal (or the "LINE" terminal if it’s marked).
- Connect the switched hot (load) wire to the other brass screw terminal (or the "LOAD" terminal).
- Connect the ground wire (bare copper or green) to the green screw terminal on the switch. If you’ve got a metal box and no ground wire in the cable, the box itself might be grounded — but don’t just assume that. If there’s a ground pigtail from the box, tie your switch ground into that.
-
Test the Breaker – Make sure the breaker is fully set. A breaker can half-trip and sit in the middle, which fools people all the time. Push it all the way to off, then firmly back to on. If it trips again right away, you’ve got a short somewhere and need to back up to step 7.
-
Test the Light – Turn the power back on and give it a shot. Cross your fingers, maybe mutter a little prayer, and flip that switch. If the light comes on, you’re in business. If not, go back and check the connections again, especially the screw terminals. A wire can slip loose while you’re stuffing the switch back into the box.
Common Causes
- Misidentified Wires: This is the big one, especially in older homes where white wires might actually be hot. If you don’t know line from load, the switch won’t do a thing.
- Loose Connections: Wire nuts back off, screws aren’t tight, and the whole circuit goes sideways. Happens all the time.
- No Neutral Wire: A lot of smart switches need a neutral. If your old setup used a switch loop, you probably don’t have one in the box.
- Tripped Breaker: A short during the install or just too much load can trip it. Check the panel before you chase anything else.
- Faulty New Switch: It’s not common, but yeah, sometimes the new switch is junk right out of the package. Swap it out or test it if everything else checks out.
- Incorrect Switch Type: A 3-way in a single-pole spot, or the other way around, won’t work right. The wiring has to match the switch.
Common Mistakes
- Not Shutting Off Power: Worst mistake on the list. Don’t assume the wall switch kills everything in the box. Go to the breaker and test it. I watched a new apprentice once assume a box was dead because the light was off. He got a nasty surprise when he touched the hot wire. Could’ve been a lot uglier.
- Not Taking a "Before" Picture: Once the wires come out, they can look like a rat’s nest. A quick photo saves a pile of grief later.
- Assuming White is Neutral: In old switch loops, white is often hot. Hook it up wrong and you’ll get no joy, or you’ll trip the breaker.
- Not Tightening Connections Enough: The wire’s got to be snug. Tug each one and make sure it’s actually clamped down.
- Ignoring Grounding: Leaving the bare copper or green wire off the green screw isn’t just sloppy — it’s unsafe.
- Pushing Wires Back Carelessly: Jam them in too fast and you can loosen a connection or nick the insulation. Fold them in neat and slow.
Cost & Time Breakdown
Here
Related Articles
Keep troubleshooting with these hand-picked guides from FixlyGuide:
- The #1 Mistake Homeowners Make When a Gas Burner Won't Light (And the Easy Fix) — Before you call a technician, discover the most common, overlooked reason your gas stove burner isn't lighting and how to fix it yourself i…
- The #1 Mistake Homeowners Make Replacing a Light Switch (And How to Avoid It) — Avoid a common wiring mistake when replacing a light switch to ensure safety and proper function in your home's electrical system.
- Why Your Wall Switch Feels Hot: The Hidden Danger Most Homeowners Miss — A hot light switch isn't just uncomfortable; it's a critical warning sign of potential electrical hazards that demand immediate attention.
- The 3 Hidden Reasons Your Gas Burner Won't Light (Beyond a Clogged Pilot) — Before you call a technician, learn the common culprits behind a gas stove burner that refuses to light, from simple clogs to ignition comp…
- The 3 Hidden Reasons Your Gas Burner Won't Light (Beyond a Clog) — Before you call a technician, discover the most common culprits behind a gas stove burner that refuses to ignite and learn how to fix them…
- The #1 Mistake Homeowners Make When Their AC Won't Turn On (And the Easy Fix) — Learn the most common reason your AC isn't turning on and how to fix it with simple troubleshooting steps, potentially saving a costly serv…
What should this project cost?
Enter your project details for a realistic cost range before you call anyone.
Outlet and switch work usually $150–$400; panel upgrades commonly $1,800–$4,200.
- Regional adjustment
- National average
- Labor share (typical)
- ~$709
- Quotes to collect
- 3 written estimates
Educational estimate based on national averages — not a binding quote. Always confirm with written local estimates.
Fixly Project Decision Box
- DIY difficulty
- Professional Recommended
- Estimated time
- Diagnosis 1–2 hours
- Cost level
- Moderate
Main tools / materials
- Non-contact voltage tester
- Outlet tester
- Flashlight
When to stop and call a pro
- Burning smell, scorch marks, or a warm outlet or switch plate
- A breaker that trips again right after being reset
- Any work inside the service panel
- Aluminum wiring or cloth-insulated wiring
Need professional help?
Talk to a Licensed ElectricianGet the print-ready PDF of this guide
A clean, ad-free, printable version you can keep on your phone or pin to the workshop wall. Free with a FixlyGuide account.
- Print-optimized layout
- Tools, materials & every step included
- Saved to your account
Frequently asked questions
Why would a brand new light switch not work?+
A brand new light switch often fails to work due to incorrect wiring, particularly in older homes with switch loops where a white wire might be hot. Other common causes include a tripped circuit breaker, loose connections, or occasionally, a faulty new switch right out of the box.
Discussion
Loading comments…