Tools & materials you'll need
Affiliate linksAs an Amazon Associate FixlyGuide earns from qualifying purchases — at no extra cost to you. Prices and availability are accurate as of publication and subject to change.
The Problem
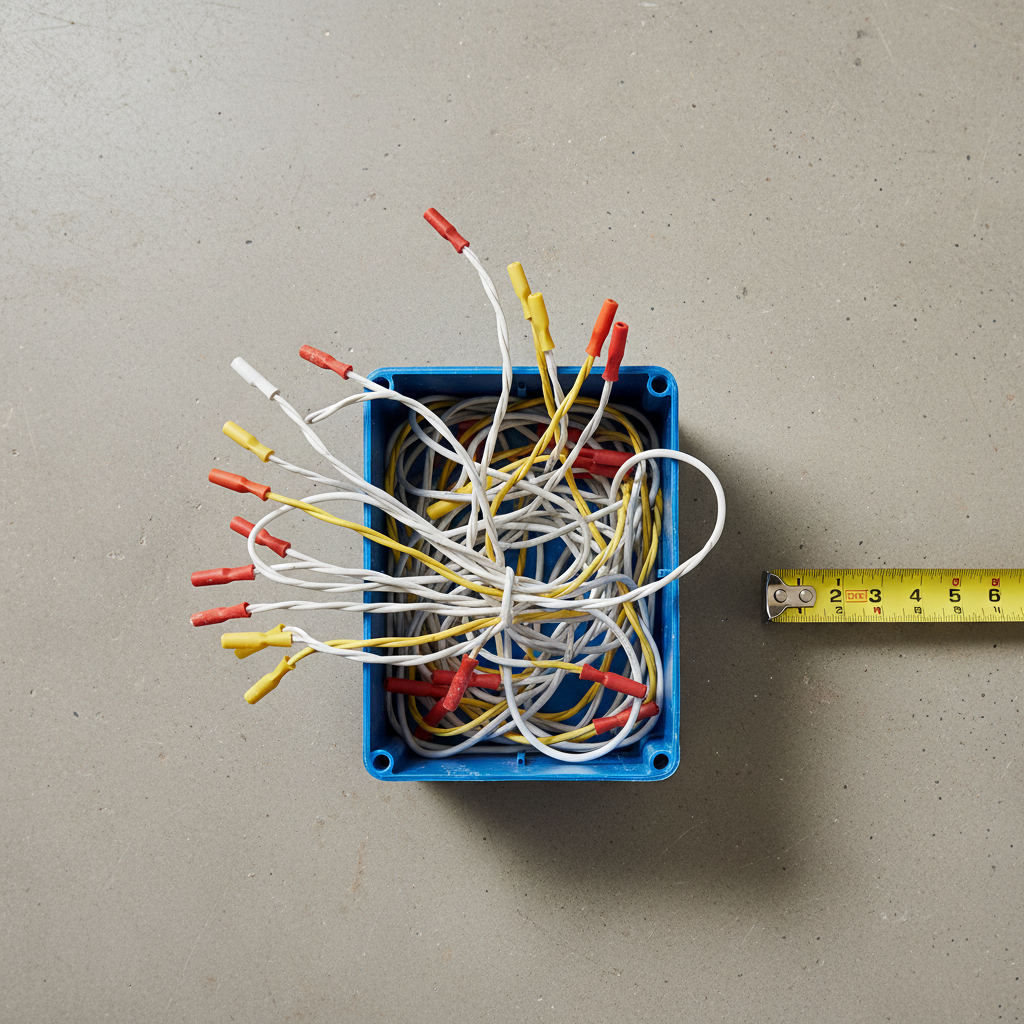
It’s a tempting shortcut: you need to add another outlet or splice a few more wires, and the existing junction box is right there. It looks like there’s a little room left, so you cram the new wires in, wrestle the device into place, and tighten the cover. The light turns on, the outlet works—problem solved, right? Wrong. This common DIY practice, known as "box cramming," is one of the most overlooked yet dangerous electrical mistakes. It quietly turns a simple metal or plastic box into a potential fire starter. Every electrical box has a finite volume, and the National Electrical Code (NEC) has strict rules about how much can safely go inside. When you overstuff a box, you create a hazardous environment where heat cannot dissipate, wire insulation can be damaged, and connections can loosen over time. These conditions are the perfect storm for arcing, short circuits, and ultimately, a fire hidden within your walls.
How It Works
The science behind an overstuffed junction box becoming a fire hazard is straightforward and relates to heat and physical damage. Electrical wires generate a small amount of heat as current flows through them. This is a normal byproduct of electrical resistance. Electrical boxes are designed to contain this heat and allow it to dissipate safely into the surrounding air. However, when you pack too many wires into a box, you eliminate the free air space that is critical for this cooling process. The wires become a dense, insulated mass. The heat generated by the conductors gets trapped, and the internal temperature of the box can rise to dangerous levels. This sustained, excessive heat causes the plastic insulation on the wires (like THHN or Romex sheathing) to degrade. It can become brittle, crack, or even melt away entirely, exposing the bare copper conductor.
Furthermore, the physical act of cramming wires and devices into a box that is too small puts immense mechanical stress on the conductors and connections. When you force a receptacle or switch into an overfilled box, you might be unknowingly scraping, nicking, or pinching the wire insulation against the sharp edges of the box, screws, or other wires. This creates an immediate path for a short circuit. The pressure can also loosen the critical screw-terminal connections on the device or wire nuts. A loose connection is a point of high resistance, and high resistance creates intense localized heat—a phenomenon known as "glowing contact" or "arcing"—which is a leading cause of electrical fires. The NEC’s box-fill calculation (found in NEC Article 314.16) is designed to prevent these exact scenarios by ensuring adequate free air space for heat dissipation and to prevent physical damage to conductors and devices during installation.
Step-by-Step Fix
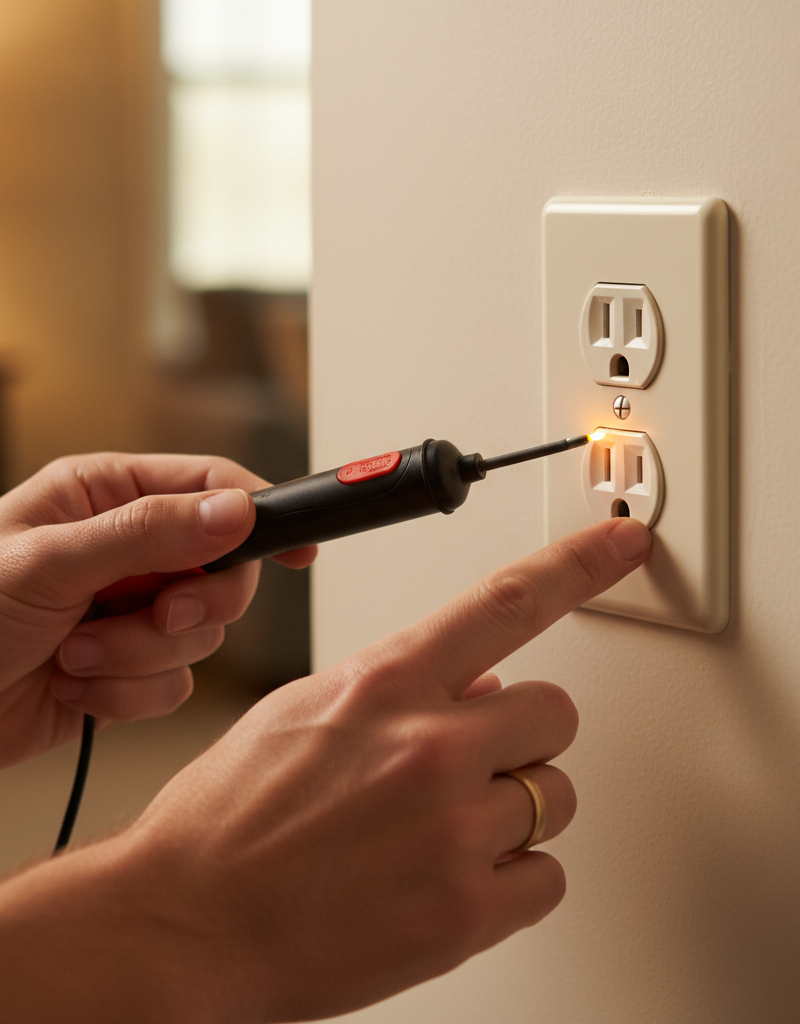
SAFETY FIRST: Before beginning any work, locate the correct circuit in your main electrical panel and turn the breaker OFF. Use a non-contact voltage tester to confirm there is no power at the box you are working on. Verify the tester on a known live circuit first.
-
Expose and Inspect the Box — Carefully remove the faceplate and then the screws holding the device (receptacle or switch) in the box. Gently pull the device and its attached wires out of the box as far as possible. Do a quick visual inspection. Do the wires look tightly packed? Is it difficult to push the device back in? These are initial signs of an overfilled box.
-
Identify the Box Volume — Look for a volume marking stamped or molded on the inside of the box. It will be in cubic inches (e.g., "21.0 CU IN" or "18.0"). If you cannot find a marking, you will need to measure the interior height, width, and depth in inches and multiply them together to get the volume in cubic inches (in³). For metal boxes, NEC Table 314.16(A) provides standard volumes for common box sizes.
-
Count the Conductors — This is the core of the calculation. Count every current-carrying conductor (hot, neutral) that enters the box. All grounds count as a single conductor, no matter how many there are. A pigtail (a short wire used to connect a device that stays entirely within the box) does not count.
-
Account for Devices — Each device yoke (the metal strap of a switch or receptacle) counts as two conductors. So, one receptacle counts as two conductors.
-
Account for Clamps — If there are internal cable clamps inside the box (common in older metal boxes), they count as a single conductor total, no matter how many clamps there are. Clamps that are external to the box do not count.
-
Sum Your Conductor Count — Add up the numbers from the previous steps: (Total wires) + (All grounds count as 1) + (Device yokes x 2) + (Internal clamps count as 1) = Total Conductor Count.
-
Determine the Required Volume — Now, use NEC Table 314.16(B) to find the volume required for your conductors. The calculation depends on the wire gauge you are using:
- For 14-gauge wire, multiply your Total Conductor Count by 2.00 cubic inches.
- For 12-gauge wire, multiply your Total Conductor Count by 2.25 cubic inches.
- For 10-gauge wire, multiply your Total Conductor Count by 2.50 cubic inches.
-
Compare and Remediate — Compare the a'''Required Volume''' you just calculated to the box's actual stamped volume. If your required volume is GREATER than the box's volume, the box is overfilled. You have two primary solutions:
- Install a Deeper Box: Replace the existing box with a deeper one of the same width and height. A "deep" or "extra-deep" box can often provide the necessary additional cubic inches.
- Add an Extension Ring: If the box is flush with the wall surface, you can add a box extension ring. This metal or plastic ring screws onto the existing box and provides extra depth and volume. You will need a new, longer faceplate screw to accommodate the added thickness.
-
Reinstall and Organize — Once you have a code-compliant box, neatly fold the wires back into the box in an accordion or "S" shape. Do not just jam them in. Ensure the ground wires are pushed to the back. Gently push the device into place, secure it with the screws, and attach the faceplate.
-
Power Up and Test — Turn the breaker back on. Use an outlet tester to ensure the receptacle is wired correctly and functions properly.
Common Causes
- Unplanned Additions: The most frequent cause is adding another cable (e.g., for a new outlet downstream) to a box that was only sized for the original wiring.
- Replacing Devices: Swapping a simple switch for a bulky GFCI receptacle, smart switch, or dimmer without considering the larger device body.
- Ignoring Wire Gauge: Using a box sized for 14-gauge wire on a 20-amp circuit that legally requires thicker 12-gauge wire, which takes up more space per conductor.
- Misunderstanding the Code: Many DIYers simply aren't aware the NEC box-fill calculation exists and assume if the wires fit, it's acceptable.
- Using the Wrong Box Type: Installing a shallow "pancake" or "handy" box in a location where multiple cables need to come together.
Common Mistakes
- Forgetting to Count Grounds: A common error is ignoring the ground wires. The code is clear: all equipment grounding conductors in the box count as a single conductor volume allowance.
- Ignoring Clamps and Devices: Failing to add the volume allowances for internal cable clamps and the device yoke (which counts as two conductors) is a frequent oversight that leads to an inaccurate calculation.
- Guesstimating Box Volume: Not using the stamped volume on the box or, if unmarked, failing to measure it accurately. Assuming a "standard" size can be misleading.
- Mixing Wire Gauges: If you have both 14-gauge and 12-gauge wires in the same box, you must use the larger volume allowance (2.25 cu. in. for 12 AWG) for ALL conductors in the calculation, as per NEC 314.16(B).
- Using an Extension Ring Improperly: Simply adding an extension ring isn't enough if the box is set back deep into the wall. The front edge of the extension must be flush with or protrude from the finished wall surface.
- Not Leaving Enough Wire Length: Cutting wires too short (less than 6 inches from the face of the box, with at least 3 inches extending past the opening) makes them difficult to work with and can lead to cramming and strained connections.
Cost & Time Breakdown
This project is more about knowledge and time than expensive materials. The cost comes from the corrective action needed.
| Task | DIY Cost | Pro Cost | Time |
|---|---|---|---|
| Inspection & Calculation | $0 (plus tools you own) | $75 - $150 (part of service call) | 30 minutes |
| Replacing a Single-Gang Box | $3 - $8 (for new box) | $125 - $250 | 1-2 hours |
| Installing an Extension Ring | $2 - $6 (for ring) | $100 - $200 | 30-60 minutes |
| Upgrading Breaker (if needed) | $10 - $30 | $150 - $300 | 30 minutes |
| Drywall Patch/Repair | $15 - $25 (for kit) | Included in labor | 1-3 hours (incl. dry time) |
Tips & Prevention
- Always Choose a Bigger Box: When in doubt, always install a larger box than you think you need. The cost difference between a standard and a deep box is minimal (often less than a dollar) and provides valuable future-proofing.
- Use a Box-Fill Calculator App: There are many free smartphone apps and online calculators that perform the NEC box-fill calculation for you. They are a great way to double-check your math.
- Plan Your Wiring Runs: Before starting a project, map out where your wires will go. Try to minimize the number of cables that need to terminate in a single box.
- Embrace Pigtails: Use short pigtail wires to connect devices. This allows you to make the main splices (wire nut connections) and fold them neatly into the back of the box, leaving more room for the device itself.
- Read the Box: Get in the habit of always checking for the cubic inch capacity stamped on any electrical box you purchase or work on.
When to Call a Professional
While performing the box-fill calculation and even swapping a box are within the reach of a knowledgeable DIYer, there are clear times when you should call a licensed electrician. If you open a box and find aluminum wiring, fabric-insulated wires ("knob and tube"), or signs of previous overheating like melted insulation or scorched surfaces, stop immediately. Do not touch anything and call a professional. If the project requires running new circuits back to the main panel, or if you are in any way unsure about identifying circuits or working safely with electricity, it is always best to hire an electrician. They can not only correct the immediate problem but also assess the overall health of your home's electrical system. An electrician can quickly and safely replace a box set in plaster or lath, which can be a difficult task for a homeowner. For a few hundred dollars, you are buying peace of mind and ensuring the work is done to code, protecting your home and family from fire hazards.
Get the print-ready PDF of this guide
A clean, ad-free, printable version you can keep on your phone or pin to the workshop wall. We'll also send occasional weekly tips matched to your home situation.
- Print-optimized layout
- Tools, materials & every step included
- Unsubscribe anytime
Frequently asked questions
What is the NEC box-fill calculation?+
It is a formula defined in NEC Article 314.16 that determines the maximum number of conductors, devices, and fittings allowed in an electrical box of a specific size. It ensures there is enough free air space to dissipate heat and prevent damage to wires.
How much does a device like a receptacle count for in the calculation?+
A standard device mounted on a yoke, such as a switch or outlet, counts as two conductors based on the gauge of the wires connected to it.
Do ground wires count in a box-fill calculation?+
Yes. All of the equipment grounding conductors combined count as a single conductor volume allowance.
What happens if a junction box is too full?+
An overfilled junction box traps heat, which can degrade wire insulation. It also leads to physical stress on wires and connections, creating the risk of short circuits, arcing, and electrical fires.
How do I fix an overfilled electrical box?+
The two main solutions are to replace the existing box with a deeper one of the same type, or to add a metallic or nonmetallic box extension ring to the current box. Both methods increase the total cubic inch volume.


Discussion
Loading comments…