
Tools & materials you'll need
Affiliate linksAs an Amazon Associate FixlyGuide earns from qualifying purchases — at no extra cost to you. Prices and availability are accurate as of publication and subject to change.
Quick Answer
A 20-amp breaker on a circuit with 14-gauge wires (rated for 15 amps) is a severe fire hazard. The breaker won't trip during a sustained 16-20 amp draw, allowing the thinner wires to dangerously overheat, melt their insulation, and ignite surrounding materials. This guide will help you identify this critical wiring mismatch in your kitchen and detail the steps to a safe resolution.
The Problem
You're in the middle of preparing a holiday dinner. The mixer is churning, the coffee maker is brewing, and you plug in the new air fryer to get some appetizers going. Suddenly, the power to your kitchen countertop outlets cuts out. Annoyed, you head to the basement to reset the tripped circuit breaker. You notice it's a 15-amp breaker. This happens every time you have a lot going on in the kitchen. A friend suggests a 'simple' fix: "Just swap that 15-amp breaker for a 20-amp one. It'll handle the load, no problem."
This seemingly logical piece of advice is the seed of a dangerous, hidden problem. This is the 15 amp vs 20 amp circuit mistake that countless homeowners make. The new 20-amp breaker doesn't trip anymore. Problem solved, right? Wrong. In reality, you've just disabled the most critical safety feature of the circuit. You've created a fire hazard that is quietly waiting to happen. The real issue isn't the breaker—it's the wires inside your walls. Those wires, designed for a 15-amp load, are now being asked to carry up to 20 amps of current. The result is a slow, silent overheating process that can lead to disaster. You might first notice a faint burning smell near an outlet, see scorch marks on the wall plate, or feel that an outlet is warm to the touch. By the time you notice these signs, the damage has already begun. The wire's insulation could be melted, exposing the live conductor and dramatically increasing the risk of an electrical fire within your walls.
How It Works
To understand why a 20-amp breaker on 15-amp wiring is so dangerous, you need to understand the fundamental relationship between three things: the circuit breaker, the wire gauge, and the electrical load. Think of your home's wiring like a water pipe. The amperage (amps) is the volume of water flowing through the pipe, the voltage is the water pressure, and the wire is the pipe itself. A wider pipe can carry more water, just as a thicker wire can carry more electrical current safely.
The Circuit Breaker's True Job: The circuit breaker is not there to protect your expensive blender or microwave. It has only one job: to protect the wires in your walls. It's a safety device that automatically shuts off the power when the current flowing through a circuit exceeds a specific limit. A 15-amp breaker will trip if the current goes above 15 amps for a certain period. A 20-amp breaker will wait until the current exceeds 20 amps.
Wire Gauge (AWG): The thickness of a wire is measured by the American Wire Gauge (AWG) system. The lower the gauge number, the thicker the wire. For residential wiring:
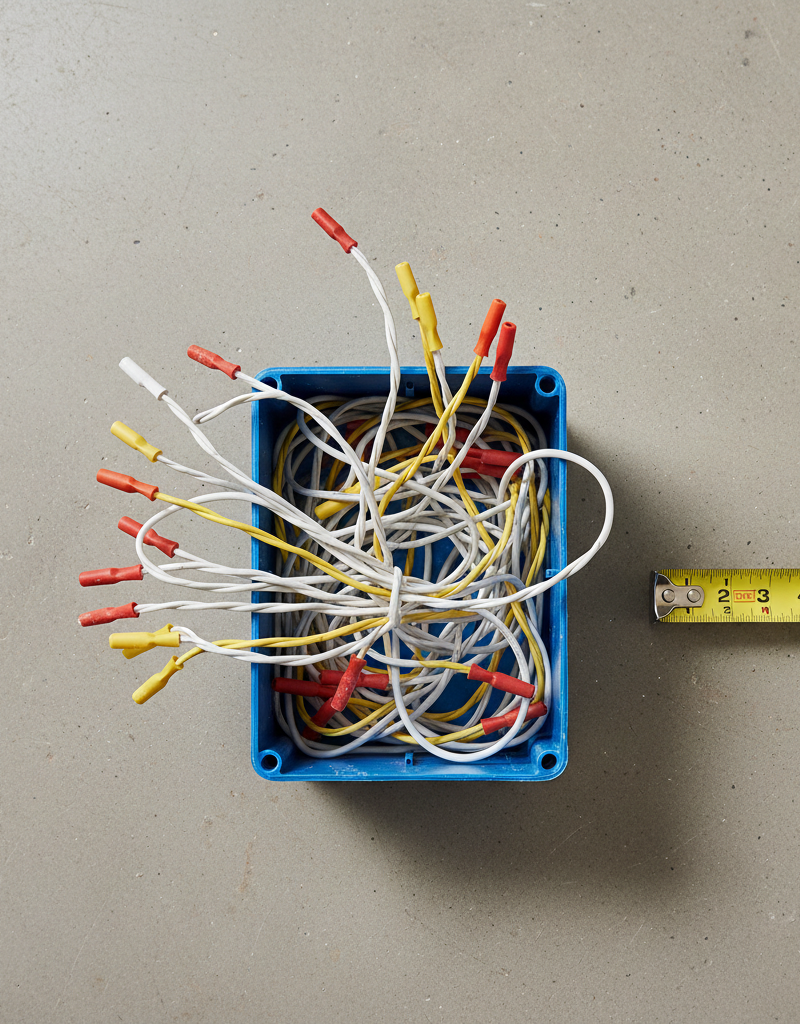
- 14-gauge wire (AWG 14) has a diameter of about 1.63 mm. It is rated to safely carry a maximum of 15 amps. It is typically sheathed in a white plastic jacket in modern NM-B (non-metallic) cable.
- 12-gauge wire (AWG 12) has a diameter of about 2.05 mm. It is rated to safely carry a maximum of 20 amps. It is typically sheathed in a yellow plastic jacket in modern NM-B cable.
The Physics of Overheating: When current flows through a wire, it encounters resistance, which generates heat. The amount of heat generated is proportional to the square of the current (P = I²R). When you put a 20-amp breaker on a circuit with 14-gauge wire, you create a scenario where the wire can be forced to carry, for instance, 18 amps of current. The 20-amp breaker won't trip—it's operating within its design limits. But the 14-gauge wire is only rated for 15 amps. The extra 3 amps (or more) will cause the wire to heat up beyond its safe operating temperature. Standard NM-B cable insulation is rated for 90°C (194°F), but the National Electrical Code (NEC) requires that its ampacity be based on the 60°C column, meaning the wire should never get that hot in normal use. Pushing 18, 19, or 20 amps through it will cause temperatures to surge, leading to the thermoplastic insulation softening, melting, and potentially igniting nearby flammable materials like wood studs and insulation.
This mismatch essentially removes all protection from the circuit wiring, turning a simple overloaded circuit into a major fire risk.
Step-by-Step Fix
Identifying and correcting this issue is critical. While inspection is something a cautious homeowner can do, replacing a circuit breaker is a task best left to a professional.
SAFETY FIRST: Before you begin, turn off the main circuit breaker to de-energize the entire electrical panel. Post a sign on the panel to prevent anyone from turning it back on while you are working. Always verify the circuit you are inspecting is completely de-energized using a non-contact voltage tester.
1. Identify the Suspect Breaker — At your main electrical panel, locate the circuit breaker for your kitchen outlets. The amperage rating is always printed on the end of the switch. Look for any breakers marked "20".
2. Check for Power — Use a non-contact voltage tester to confirm that there is no power at the outlets connected to the circuit you are inspecting. Test the tester on a known live circuit first to ensure it's working properly.
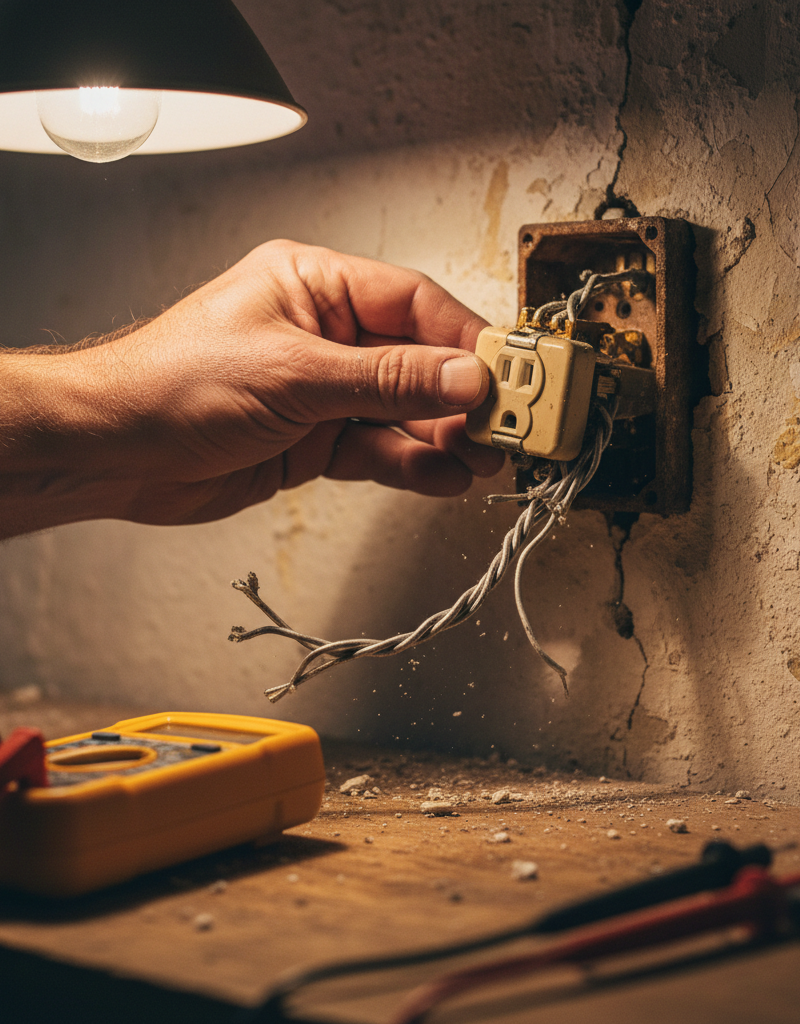
3. Inspect the Wiring — This crucial step reveals the truth. Go to one of the outlets on the suspect circuit. With the power confirmed off, unscrew and carefully pull the outlet from the electrical box. You don't need to disconnect it. Examine the sheathing of the electrical cable coming into the box. * Look for markings: Modern NM-B cable is printed with its specifications along the length of the sheathing. You are looking for "14/2" or "14/3" (for 15-amp circuits) or "12/2" or "12/3" (for 20-amp circuits). * Check the color: If the markings are not visible, the color of the sheathing is a reliable indicator for modern wiring. A white jacket means 14-gauge wire. A yellow jacket means 12-gauge wire.
4. Confirm the Mismatch — You have a mismatch if you found a 20-amp breaker in the panel but the wiring in the wall is 14-gauge (white sheathing). This is a fire hazard that must be corrected immediately.
5. Correct the Mismatch: Replace the Breaker — The standard and correct fix is to replace the oversized 20-amp breaker with a 15-amp breaker that is the correct type for your panel (e.g., Square D QO, Eaton CH, etc.). PRO-CALLOUT: We strongly advise hiring a licensed electrician for this step. Opening a main panel exposes you to live components that can cause serious injury or death. An electrician can do this job safely in under an hour.
6. Inspect for Existing Damage — While the outlet is out of the wall, look for any signs of overheating. This includes melted plastic on the outlet, scorch marks or discoloration on the wires or inside the electrical box, or brittle and cracked wire insulation. If you see any of this, replace the outlet with a new one. All damaged components must be replaced.
7. Check Receptacle Type — Ensure the receptacle itself is appropriate for the circuit. A 15-amp circuit must have 15-amp receptacles (which have two parallel slots). A 20-amp circuit can have 15-amp or 20-amp receptacles (a 20-amp receptacle has a T-shaped slot for the neutral prong). A 20A receptacle on a 15A circuit is a code violation.
8. Rewire If A 20-Amp Circuit is Needed — If you genuinely need a 20-amp circuit in that location for a high-powered appliance, the only safe solution is to have an electrician run a new dedicated circuit from the panel using 12-gauge wire. This is a much larger project but is the only way to safely get more power to that location.
9. Reassemble and Test — Carefully fold the wires back into the box, screw the outlet back in place, and attach the faceplate. Turn the main power back on, then the individual breaker. Plug in a device to ensure the outlet is working.
Common Causes
This dangerous modification doesn't happen by itself. It's usually the result of human error or ignorance.
- Misguided DIY: The most common cause is a well-intentioned but uninformed homeowner trying to solve nuisance tripping.
- Unlicensed Handyman: An inexperienced handyman or a cost-cutting contractor may not understand the critical link between breaker size and wire gauge.
- Ignoring Code: Deliberately ignoring the National Electrical Code (NEC) to save time or money during a renovation.
- Appliance Upgrades: Homeowners purchase new, powerful kitchen gadgets without considering if their existing circuits can handle the increased load.
Common Mistakes
When dealing with this issue, avoid these common but dangerous mistakes:
- The "Bigger is Better" Fallacy: Never assume a larger breaker is an upgrade. It’s a fire hazard if the wiring doesn’t match.
- Resetting a Tripping Breaker Repeatedly: A breaker that trips frequently is a sign of a problem—either a persistent overload or a dangerous fault. Don't ignore it.
- Relying on Adapters: Using a cheater plug to fit a 20A appliance plug into a 15A outlet and then upsizing the breaker is a recipe for disaster.
- Panel Work Without Experience: The main electrical panel contains live-bussed bars with lethal voltage. Never attempt to replace a breaker yourself without proper training, safety equipment, and a deep respect for electricity.
- Ignoring Signs of Trouble: A warm outlet, a faint buzzing, or a slight burning odor are all red flags. These demand immediate investigation.
Cost & Time Breakdown
| Task | DIY Cost | Pro Cost | Time |
|---|---|---|---|
| Circuit Inspection & Diagnosis | $10-$20 (tester) | $75 - $150 | 30-60 minutes |
| Replace a Circuit Breaker | $10-$25 (breaker) | $125 - $250 | 1 hour |
| Replace an Electrical Outlet | $3-$15 (outlet) | $80 - $165 | 20 minutes |
| Run a New 20A Dedicated Circuit | $150-$400 (materials) | $500 - $1,500+ | 4-8 hours |
| Full Home Electrical Inspection | N/A | $200 - $500 | 2-4 hours |
Tips & Prevention
- Label Your Panel: Take an hour to map and accurately label every circuit in your breaker panel. This is invaluable for troubleshooting.
- Pre-Purchase Inspection: When buying a new home, always insist on a home inspection that includes a detailed look at the electrical system.
- Read the Manual: Know the amperage draw of your appliances. High-draw devices (over 1,500 watts or 12.5 amps) should ideally be on a dedicated 20-amp circuit.
- Embrace the Trip: If a breaker trips, it's doing its job. Unplug some devices on that circuit before resetting it.
- Hire Certified Pros: For any electrical work beyond changing a lightbulb, hire a licensed and insured electrician. Check their references.
- Look for the Signs: Periodically check outlets in high-use areas like the kitchen for warmth or discoloration.
When to Call a Professional
While this guide helps you identify the 15 amp vs 20 amp circuit problem, fixing it, in this case, is not a DIY project. You MUST call a licensed electrician if you discover a breaker and wire mismatch. The risk of fatal shock or causing a fire by improperly working inside a main electrical panel is extremely high. The main lugs in a panel are always live, even when the main breaker is off. An electrician will have the proper training, tools (including insulated ones), and personal protective equipment (PPE) to perform a breaker swap safely. Furthermore, they can correctly assess the condition of your wiring, ensure the new breaker is compatible with your panel brand, and confirm the repair meets all local electrical codes. If you ever smell burning plastic, see scorch marks on your breaker panel, or hear sizzling or buzzing sounds from it, do not touch it. Call an electrician for an emergency service immediately.
Frequently asked questions
Can I use a 15-amp plug in a 20-amp outlet?+
Yes, this is perfectly safe. 20-amp receptacles (the ones with a T-shaped neutral slot) are designed to accept both standard 15-amp plugs and 20-amp plugs.
What's the color code for electrical wire sheathing?+
For modern non-metallic (NM-B) cable, the color of the outer jacket is a reliable guide: white sheathing indicates 14-gauge wire (for 15-amp circuits), yellow sheathing indicates 12-gauge wire (for 20-amp circuits), and orange sheathing indicates 10-gauge wire (for 30-amp circuits).
My 15A breaker keeps tripping. Can I just put in a 20A breaker?+
Absolutely not. A tripping breaker is a sign that the circuit is overloaded. Unless you can verify that the entire circuit is wired with 12-gauge wire, replacing the 15-amp breaker with a 20-amp one will create a serious fire hazard by allowing the wires to overheat. You must first resolve the overload issue.
Are 'cheater' plugs or adapters safe to use for high-power appliances?+
No. Adapters that allow a 20-amp plug to fit into a 15-amp outlet do not magically upgrade the circuit's capacity. Using one with a high-draw appliance will still overload the 15-amp circuit, leading to a tripped breaker or, if the breaker has been improperly upsized, a dangerous overheating situation.

Discussion
Loading comments…