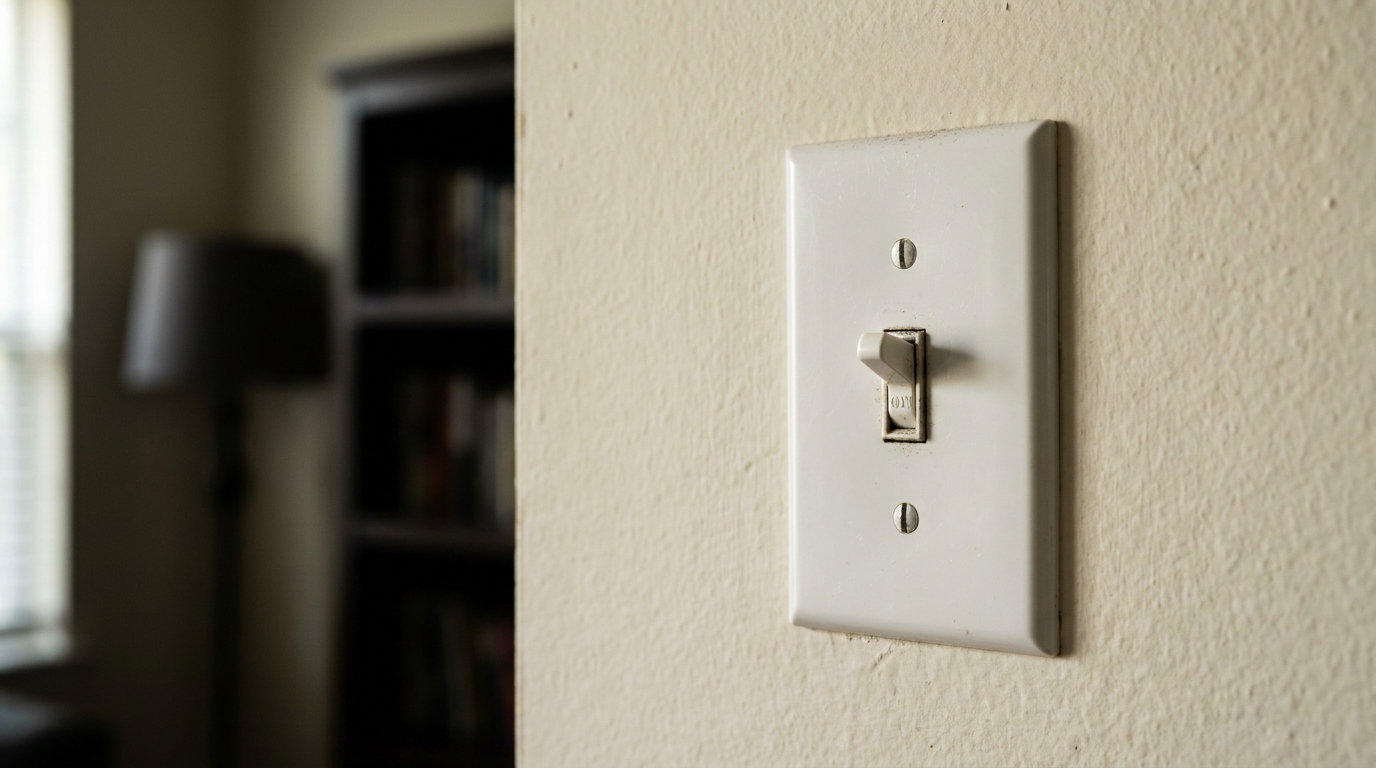
- Burned-Out Bulb: This is the big one. By a mile. Incandescent and halogen filaments are fragile and don’t last forever. Even LEDs, which usually go a lot longer, have driver parts inside that can fail without much warning.
- Tripped Circuit Breaker: Too much load on one circuit, or a short in the wiring or an appliance, will trip the breaker as a safety move. That cuts power to the whole circuit, switch included.
- Faulty Light Fixture: Sometimes the switch isn’t the problem at all. The wiring inside the fixture can come loose, a wire nut can fail, or the socket holding the bulb can corrode or crack.
- GFCI Outlet Trip: In bathrooms and kitchens, a light fixture can be wired "downstream" from a GFCI outlet. If that GFCI trips, it’ll shut off everything on that circuit, lights included. Check nearby GFCI outlets and hit the "RESET" button.
Electrical · Panel or service upgrade
| Project category | Electrical |
|---|---|
| Problem type | Panel or service upgrade |
| Trade required | Electrical |
| Urgency | Planned project |
| Safety risk | High safety risk |
| DIY suitability | Licensed pro only |
| Cost category | High cost |
| Typical timeline | Permit plus utility scheduling, commonly 2–6 weeks |
| Contractor type | Licensed electrician |
Repair option
Add a subpanel when the main service is adequate.
Replacement option
Full service upgrade with utility coordination and permits.
Common causes
- Obsolete or recalled panel brands
- Service capacity too small for added loads
- No room for required AFCI/GFCI breakers
Relevant tools:project cost estimatorcompare quotes
Published October 10, 2026Last updated October 10, 2026
Tools & materials you'll need
Affiliate linksAs an Amazon Associate FixlyGuide earns from qualifying purchases — at no extra cost to you. Prices and availability are accurate as of publication and subject to change.
Quick Answer
First thing I’d check is the easy stuff: make sure the light bulb hasn’t burned out and take a look at your electrical panel for a tripped breaker. If the bulb’s good and the breaker’s on, odds are the trouble’s in the switch itself or the wiring feeding it. Could be a loose wire, a tired switch mechanism, or a bad fixture. You’ll need to shut off the power at the breaker and use a voltage tester to safely poke around inside the switch box.
The Problem
You flip the switch and… nothing. Room stays dark. That’s one of the most common electrical hiccups I see in a house. It’s aggravating, sure, but it doesn’t always mean you’ve got some major disaster hiding in the walls. Half the time, it’s something simple you can track down yourself if you work through it step by step.
The real trick is figuring out where the break is. Is it the bulb? The breaker? The switch on the wall? Or the fixture it’s feeding? If you start guessing and swapping parts at random, you’ll burn time and money for no reason. And if you start sticking tools into an electrical box without knowing what’s hot and what isn’t, well—that’s asking for a bad day. I’m going to walk you through it the same way I’d do it on a job: simplest checks first, then the deeper stuff, so you can find the problem without making it worse.
How It Works
A basic light switch is about as simple as electrical parts get. I tell folks to think of it like a drawbridge for electricity. Flip it to the "ON" position and you’re lowering the bridge, which completes the circuit and lets current flow from your home’s wiring, through the switch, and up to the light fixture. That current is what makes the bulb light.
Inside that little plastic toggle is a mechanical contact. When you flip the switch, it physically pushes two metal contacts together or pulls them apart. After thousands of flips, those contacts wear out, the spring can fail, or the screw terminals holding the wires can loosen up. When the switch is in the "OFF" position, the bridge is up, so the electricity can’t cross. End of story.
Power comes from your main electrical panel on a "hot" wire (usually black), runs through the switch, and heads to the light fixture. After it powers the bulb, it returns to the panel on a "neutral" wire (usually white) to finish the circuit. A ground wire (bare copper or green) is there for safety, giving electricity somewhere to go if something goes sideways. Panel to switch to fixture and back—that’s the path you’re tracing.
Step-by-Step Fix
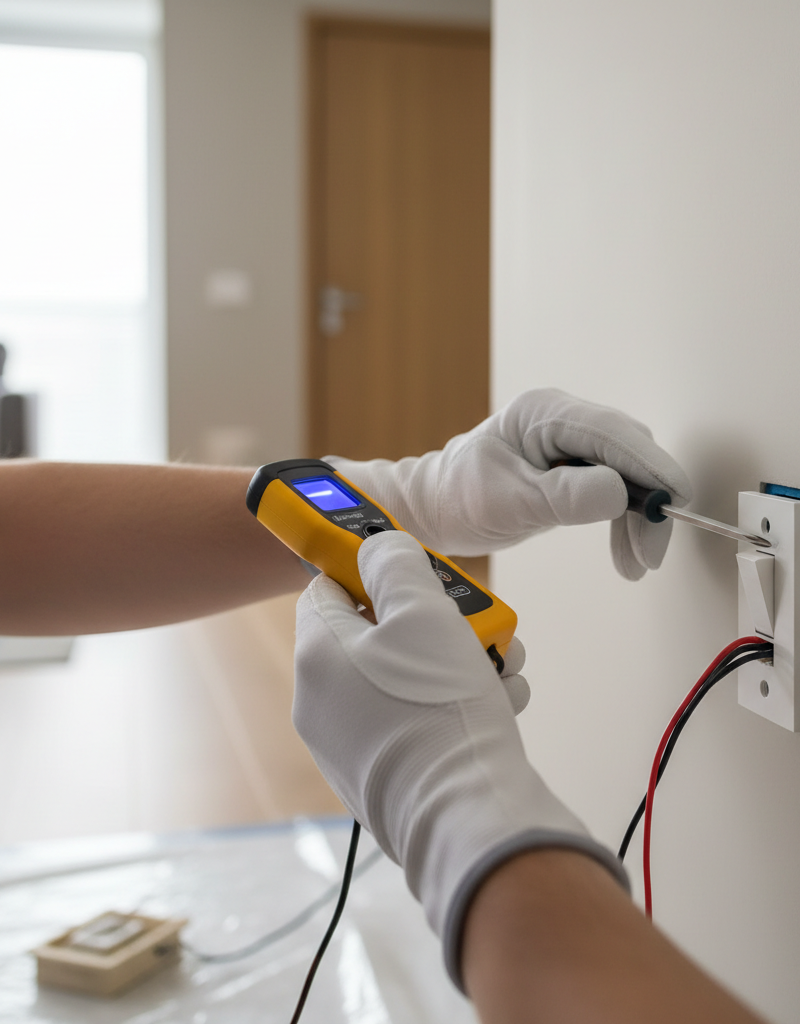
Safety First: Before you touch any wires, you MUST turn off the power. Go to your main electrical panel and flip the correct circuit breaker to the "OFF" position. If your breakers aren’t labeled, you may have to flip them one at a time until the lights in that area go out. And don’t trust your eyes alone—double-check with a non-contact voltage tester so you know, not guess, that the power’s dead.
-
Check the Obvious: The Bulb.
- I know, I know. Too simple, right? Still, start here. Unscrew the bulb and test it in a lamp you know works, or just pop in a brand-new bulb. If the light comes on, there’s your answer. Call it a day.
-
Inspect the Circuit Breaker.
- Head to the main panel. Look for a breaker sitting in the middle or in the "tripped" position. Push it firmly all the way to "OFF," then back to "ON." If it stays put, go try the switch again. If it pops right back off, you’ve got a short circuit—stop here and call an electrician.
-
Confirm the Power is Off.
- With the breaker off, go back to the switch. Use your non-contact voltage tester and hold the tip near the switch, then near the screws holding it in. No light, no beep. If the tester screams at you, you flipped the wrong breaker. Head back to the panel and try again.
-
Open the Switch Box.
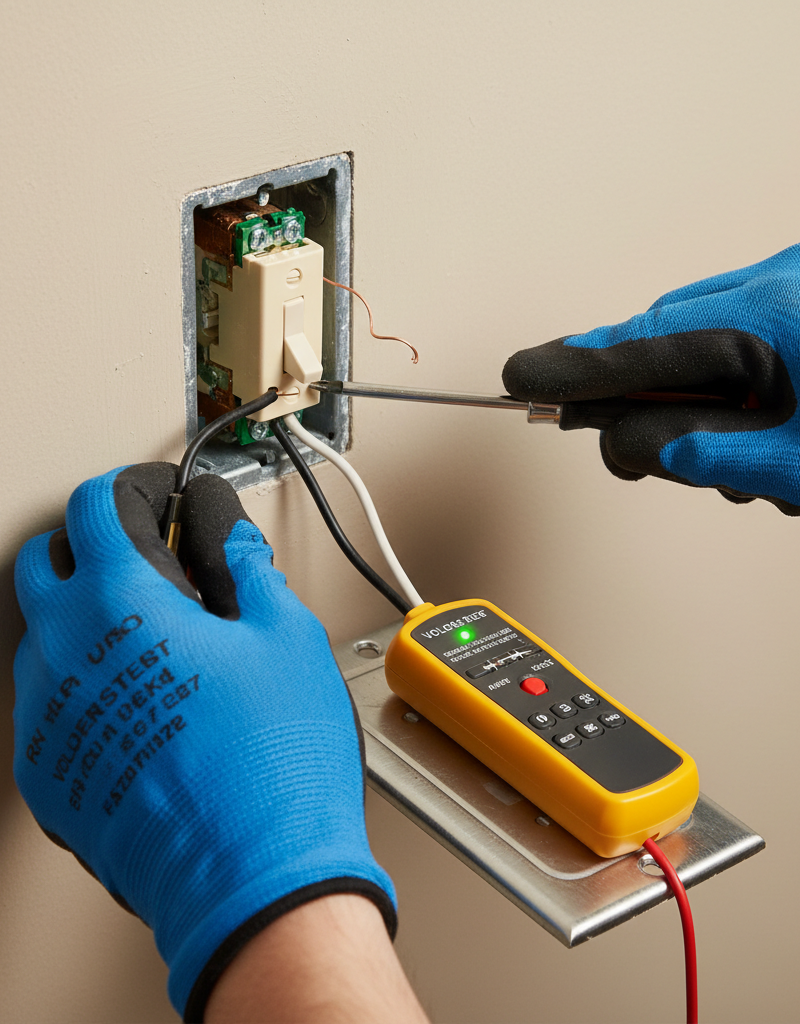
- Use a flathead or Phillips screwdriver to remove the two little screws holding the switch plate cover on. Then back out the two screws at the top and bottom of the switch itself that hold it in the box. Pull the switch out gently. Don’t yank it—those wires aren’t long.
-
Visually Inspect the Wires.
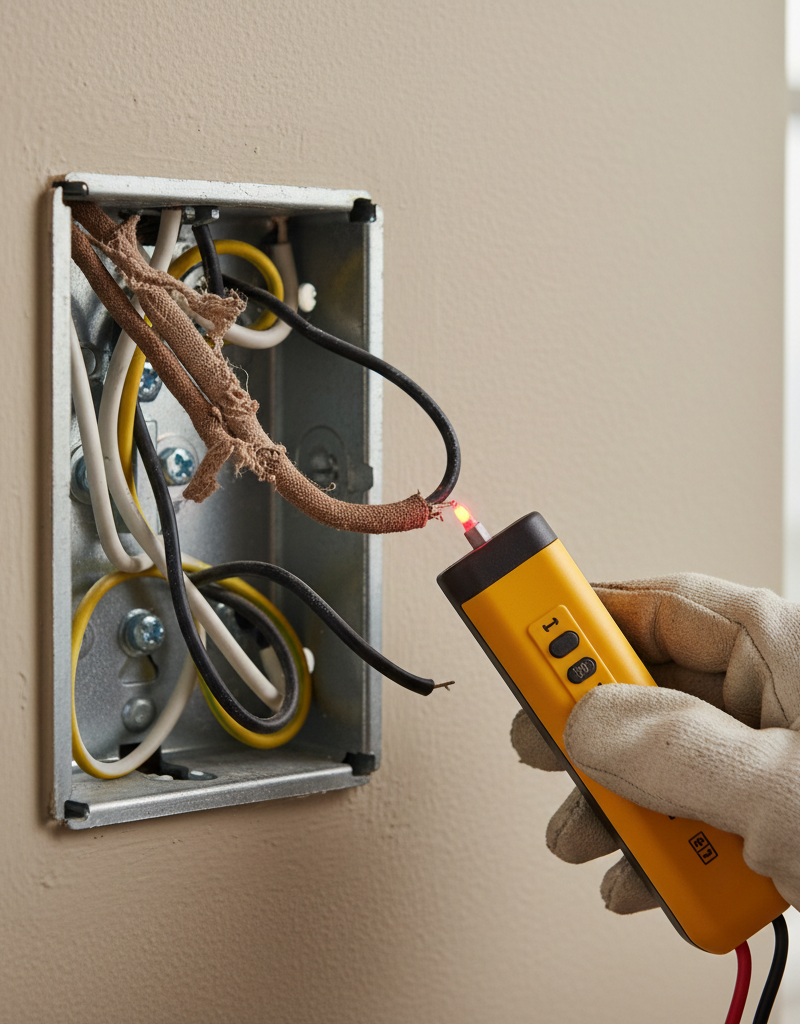
- Look close at the connections. Any loose wires? Give each one a gentle tug where it lands on a screw terminal. If one pulls free, that’s likely your problem right there. Also check for heat damage—melted insulation, black marks, that burnt-plastic look. If it’s scorched up good, the switch and maybe the wiring are toast, and a quick fix isn’t gonna cut it.
- I pulled a switch in Frisco last month that looked fine from the outside, but one backstab wire had barely been hanging on. Light was dead one minute, working the next, then dead again. That thing was about one sneeze away from failing completely.
-
Test the Switch Itself (The "Bypass" Test).
- This tells you whether the switch has failed internally. With the power OFF and confirmed with your tester, carefully remove the two "hot" wires (usually black) from the switch. Hold the bare ends of those two wires together using insulated pliers—don’t touch the copper with your fingers. Have a helper briefly turn the breaker back on. If the light comes on, the switch is bad. If it doesn’t, the problem is farther down the line, probably in the fixture itself.
- Crucial Safety: This bypass test is for diagnosis only. Turn the breaker off immediately after the test and before moving on.
-
Replace the Faulty Switch.
- If the bypass test proved the switch is the problem, it’s replacement time. Buy a new switch that matches the old one (for example, a standard single-pole switch). Hook the wires to the new switch exactly like they were on the old one. The black (hot) wires go to the brass-colored screws. The ground wire (bare copper) goes to the green screw. A little electrical tape on the connections doesn’t hurt.
-
Re-install and Test.
- Fold the wires back into the box neatly. Screw the new switch in place, put the cover plate back on, and turn the breaker back on. Flip the switch—your light should be working again.
Common Causes
So what usually kills a light switch? Nine times out of ten, it’s one of a few usual suspects.
- Burned-Out Bulb: This is the big one. By a mile. Incandescent and halogen filaments are fragile and don’t last forever. Even LEDs, which usually go a lot longer, have driver parts inside that can fail without much warning.
- Tripped Circuit Breaker: Too much load on one circuit, or a short in the wiring or an appliance, will trip the breaker as a safety move. That cuts power to the whole circuit, switch included.
- Loose Wiring: I see this all the time. Vibration in the wall and normal expansion and contraction can loosen screw terminals over time. A loose wire gives you a lousy connection, which can kill the power path or, worse, build heat and become a fire hazard.
- Worn-Out Switch: The guts inside a switch aren’t meant to last forever. They’re usually rated for tens of thousands of flips, but a heavily used switch—bathroom, hallway, kids’ room—can wear out in 10-15 years. The spring breaks, the contacts corrode, and that’s that.
- Faulty Light Fixture: Sometimes the switch isn’t the problem at all. The wiring inside the fixture can come loose, a wire nut can fail, or the socket holding the bulb can corrode or crack.
- GFCI Outlet Trip: In bathrooms and kitchens, a light fixture can be wired "downstream" from a GFCI outlet. If that GFCI trips, it’ll shut off everything on that circuit, lights included. Check nearby GFCI outlets and hit the "RESET" button.
Common Mistakes
DIY electrical work is pretty straightforward if you’re careful, but it’s easy to make a mistake that’s either unsafe or just plain useless.
- Forgetting to Test for Power: This is the number one mistake. Don’t trust a label on the breaker. Always check the wires with a non-contact voltage tester right before you touch them. Assuming the power’s off can get ugly fast.
- Replacing the Wrong Part: Don’t just buy a new switch and hope for the best. Ten minutes spent testing the bulb and breaker can save you a pointless trip to the store. And that bypass test? It’ll tell you if the switch is actually the bad actor before you spend a dime.
- Buying the Wrong Type of Switch: A standard switch is a "single-pole." But if two switches control one light—top and bottom of stairs, for example—you need a "three-way" switch. They look similar but they’re wired differently. Snap a picture of the old switch and the wiring before you head to the hardware store.
- Leaving Wires Too Loose (or Too Tight): When you hook wires to the new switch, the screw should be snug. Too loose and you’ve got a bad connection. Too tight and you can strip the screw or crack the switch body. Give the wire a gentle tug; it shouldn’t move.
- Messy Wiring in the Box: Don’t cram the switch back in like you’re stuffing a sleeping bag. Fold the wires neatly in an accordion or S-shape. A pinched or nicked wire can short out when you push the switch into the metal box.
Cost & Time Breakdown
Fixing a light switch is one of the cheaper repairs you can tackle yourself. The real swing is labor if you call in a pro.
| Task | DIY Cost | Pro Cost | Time (DIY) |
|---|---|---|---|
| Replace a Light Bulb | $2–$10 | $75–$125 (service call) | < 5 minutes |
| Reset a Circuit Breaker | $0 | $75–$125 (service call) | < 5 minutes |
| Replace a Standard Switch | $3–$15 | $100–$200 | 20–30 minutes |
| Replace a Three-Way Switch | $5–$20 | $125–$225 | 30–45 minutes |
| Troubleshoot an Unknown Fault | $15 (for tester) | $150–$300+ | 1-2 hours |
Tips & Prevention
A little prevention goes a long way. Keep your switches and lights humming along with these habits.
- Annual "Wiggle" Test: Once a year, give your light switches a gentle wiggle. If one feels mushy, loose, or makes a crackling sound, the inside’s probably going south. Replace it before it quits on you.
- Don't Ignore a Tripped Breaker: If a breaker trips once, maybe it was a fluke. If it keeps tripping, that’s a warning sign of a short or overload. Don’t keep resetting it over and over; track down the cause or call an electrician.
- Upgrade to Quality Switches: When you replace a switch, spend the extra two dollars on a "commercial grade" or "spec grade" switch. The internals are beefier, and they hold up a lot better than the cheap builder-grade stuff.
- Check Wire Connections During Other Projects: If you’re already painting a room and the switch plates are off, take a second to check that the terminal screws are still snug—just make sure the power’s off first.
- Listen for Buzzing: A light switch ought to be quiet. If you hear buzzing, humming, or crackling coming from it, that’s arcing inside. Serious fire hazard. Kill the power and replace the switch right away.
When to Call a Professional
You can handle plenty of switch problems yourself, but some situations are a hard stop. Put the tools down and call a licensed electrician if you run into any of these:
- You smell burning plastic or ozone around the switch or in the room.
- You see significant scorch marks, blackening, or melted plastic on the switch, wires, or inside the electrical box.
- The circuit breaker trips immediately every time you reset it.
- The wiring in the box is old aluminum wiring (dull gray instead of coppery), which is brittle and requires special handling.
- The problem isn't the bulb or the switch. If you’ve tested both and the light still doesn’t work, the trouble’s in the fixture or the house wiring, and that’s a bigger job.
- You're just not comfortable. No shame in that. If you crack the box open and feel overwhelmed, a pro can handle it safely and fast. Electrical work isn’t the place to wing it.
Related Articles
Keep troubleshooting with these hand-picked guides from FixlyGuide:
- The Flickering Light Switch Fix Plumbers Don't Want You to Know (Because They Can't Help) — Don't live with flickering lights or a switch that feels loose. I'll walk you through diagnosing and replacing a faulty light switch safely…
- The 3 Hidden Reasons Your Gas Burner Won't Light (Beyond a Clog) — Before you call a technician, discover the most common culprits behind a gas stove burner that refuses to ignite and learn how to fix them…
- The 3 Hidden Reasons Your Gas Burner Won't Light (Beyond a Clogged Pilot) — Before you call a technician, learn the common culprits behind a gas stove burner that refuses to light, from simple clogs to ignition comp…
- The Surprising Culprit Behind Your Wobbling Ceiling Fan (It's Not Always Loose Screws) — A wobbling ceiling fan is annoying and potentially dangerous. Learn how to diagnose and fix the most common causes, from imbalanced blades…
- Why One Room Has No Power (But the Breaker Isn't Tripped) — Discover why a whole room might suddenly lose power even when your circuit breaker stays stubbornly on, and learn how to safely troubleshoo…
- AC Not Turning On? 9 Things to Check Before You Call a Pro — Your air conditioner won't turn on, and it's getting hot inside. Here are the 9 most common reasons—and the simple checks you can do yourse…
What should this project cost?
Enter your project details for a realistic cost range before you call anyone.
Outlet and switch work usually $150–$400; panel upgrades commonly $1,800–$4,200.
- Regional adjustment
- National average
- Labor share (typical)
- ~$709
- Quotes to collect
- 3 written estimates
Educational estimate based on national averages — not a binding quote. Always confirm with written local estimates.
Fixly Project Decision Box
- DIY difficulty
- Professional Recommended
- Estimated time
- Diagnosis 1–2 hours
- Cost level
- Moderate
Main tools / materials
- Non-contact voltage tester
- Outlet tester
- Flashlight
When to stop and call a pro
- Burning smell, scorch marks, or a warm outlet or switch plate
- A breaker that trips again right after being reset
- Any work inside the service panel
- Aluminum wiring or cloth-insulated wiring
Need professional help?
Talk to a Licensed ElectricianGet the print-ready PDF of this guide
A clean, ad-free, printable version you can keep on your phone or pin to the workshop wall. Free with a FixlyGuide account.
- Print-optimized layout
- Tools, materials & every step included
- Saved to your account
Frequently asked questions
Why would a light switch suddenly stop working?+
The most common reasons are a burned-out lightbulb or a tripped circuit breaker. If you've checked both of those, the switch itself may have worn out from use, or a wire may have come loose from its connection terminal inside the electrical box.
Is a light switch not working a fire hazard?+
It can be. If the failure is due to a loose wire or internal arcing, it can generate heat and pose a significant fire risk. If you hear any buzzing or smell burning plastic, turn off the circuit breaker and call an electrician immediately.
How do you know if a light switch is bad?+
After turning off the power, you can perform a 'bypass test' by connecting the two hot wires that were attached to the switch. If the light turns on, the switch is bad. A simpler sign is a switch that feels mushy, makes a noise, or is hot to the touch.
Can one bad outlet affect a light switch?+
Yes, especially in kitchens, bathrooms, and garages. Light fixtures are often wired on the same circuit as a GFCI outlet. If that GFCI outlet trips, it will cut power to everything downstream, including the light switch, so always check for and reset any nearby GFCI outlets.
Why does my light switch work sometimes and not others?+
An intermittent problem is almost always caused by a loose connection. Either a wire on the switch isn't screwed down tightly, or a wire nut connecting wires in the back of the box is failing. This is a fire hazard that should be addressed right away.
How much does it cost to have an electrician fix a light switch?+
Most electricians have a minimum service call fee, which is typically between $100 and $200. The total cost to diagnose and replace a single faulty switch usually falls in this range, as the part itself is inexpensive.
What's the difference between a single-pole and a three-way switch?+
A single-pole switch has two screws (plus a ground screw) and controls a light from one location. A three-way switch has three screws (plus ground) and is used in pairs to control a light from two different locations, like the top and bottom of a staircase.
How long do light switches last?+
The life of a light switch depends on its quality and how often it's used. A standard builder-grade switch might last 10-15 years in a high-traffic area. A higher-quality 'spec-grade' switch can last for decades.
Discussion
Loading comments…