- Tripped Circuit Breaker: The 1 reason an AC won't start. Usually happens after a power surge or when the unit's working hard on a scorching day.
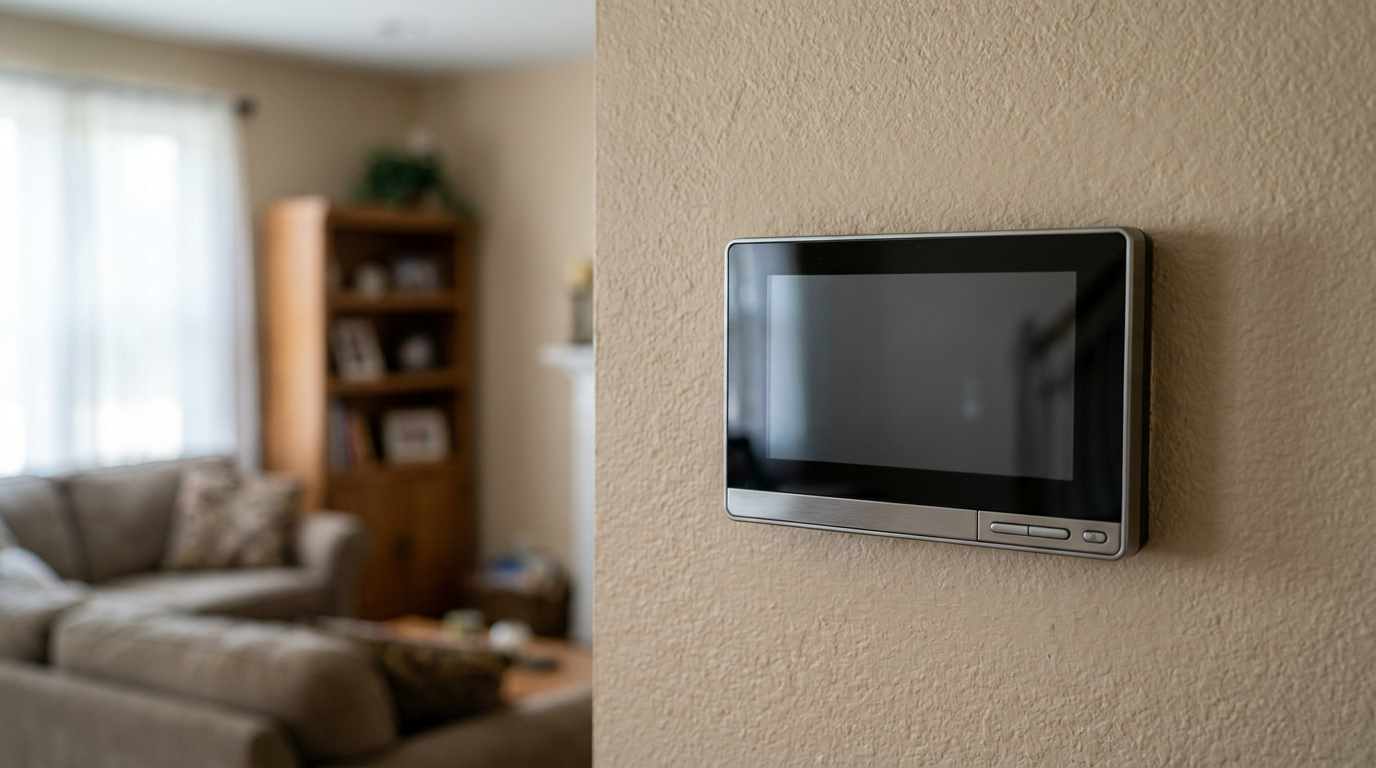
- Thermostat Set Incorrectly: Happens all the time. Wrong mode, dead batteries, or the set temp is too high.
- Clogged Condensate Drain: Common in humid climates. Algae and sludge build up in the drain line, water backs up, and the overflow switch trips.
- Dirty Air Filter: Chokes airflow, leads to overheating or freeze-ups, and the system shuts itself down to protect the equipment.
- Outdoor Disconnect is Off: A tech may have shut it off on a previous service call and forgot to turn it back on, or a homeowner did it for yard work and blanked on it.
HVAC · High energy usage
| Project category | HVAC |
|---|---|
| Problem type | High energy usage |
| Trade required | HVAC |
| Urgency | Planned project |
| Safety risk | Low safety risk |
| DIY suitability | DIY for experienced homeowners |
| Cost category | High cost |
| Typical timeline | Assessment within weeks; replacement planned off-season |
| Contractor type | Licensed HVAC technician |
Repair option
Duct sealing, insulation, and a tune-up before touching the equipment.
Replacement option
High-efficiency replacement sized by a load calculation, not a rule of thumb.
Common causes
- Aging, low-efficiency equipment
- Leaking ducts losing conditioned air
- Insufficient attic insulation
- Oversized system short-cycling
Relevant tools:project cost estimatorrepair or replace
Published October 5, 2026Last updated October 5, 2026
Tools & materials you'll need
Affiliate linksAs an Amazon Associate FixlyGuide earns from qualifying purchases — at no extra cost to you. Prices and availability are accurate as of publication and subject to change.
Quick Answer
When your AC won't power up at all, don't panic. Nine times out of ten, it's something simple, and you don't need to drag a tech out right away. Start with the thermostat — make sure it's set to "Cool" and the target temp is at least 3-5°F below the room temp. Then check your main panel for a tripped breaker marked "AC" or "Air Conditioner." After that, head outside and look at the condenser unit's disconnect switch, usually in a little metal box on the wall nearby; make sure it's in the "On" position. Those three checks knock out most of the "won't start" calls I see.
The Problem
You walk up to the thermostat on a hot day, expecting that little click and the rush of cold air. Instead... dead quiet. Nothing from the indoor unit, nothing from the condenser outside. The thermostat screen might be blank, or it might look totally fine, but the system's just sitting there. That's a lousy feeling, especially once the Texas heat starts pushing into the house. I've been on jobs where folks swore the whole system was toast, and all it took was a tripped breaker and a dead thermostat battery. Go figure.
How It Works
Your home's central air conditioning is a "split system," which just means it has two main parts: one inside and one outside.
-
Indoor Unit (Air Handler/Furnace): This is usually in the attic, a closet, or the garage. It has a blower fan that pulls warm indoor air through a filter. That air passes over a cold set of coils called the evaporator coil. Then the chilled air gets blown back through the ductwork. This unit also has a drip pan underneath to catch condensation from the evaporator coil. A small pipe, the condensate line, drains that water away.
-
Outdoor Unit (Condenser): This is the noisy metal box outside. Inside you've got a compressor, another set of coils (condenser coils), and a big fan. Its job is to dump the heat it pulled out of your house. Refrigerant, moving in a closed loop of copper tubing, carries that heat from the indoor evaporator coil to the outdoor condenser coil. The compressor squeezes the refrigerant, which concentrates the heat, and the fan blows it off into the outdoor air.
The thermostat is the brains of the outfit. When the room temp climbs above the set point, it sends a low-voltage (24V) signal to the air handler to start the blower and to the condenser to fire up the compressor and fan. If anything breaks in that chain — power, control signal, or a safety switch — the whole system just sits there and refuses to start.
Step-by-Step Fix
Let's run through the checks from easiest to a little more involved. You won't need special tools for most of this.
-
Check the Thermostat
- Tools: None
- Safety: None
- Instructions: First, make sure the thermostat is set to COOL. Sounds basic, but folks bump it to "Off" or "Heat" all the time. Second, drop the set temperature at least 5°F below the current room temperature. An AC won't kick on if the set temp is higher than the room temp. If you've got a digital thermostat and the screen's blank, you may just need fresh batteries. Pull the thermostat body off the wall plate; the AA or AAA batteries are usually right there.
-
Check the Circuit Breakers
- Tools: None
- Safety: Always be cautious when opening an electrical panel.
- Instructions: Go to your main electrical panel. You're looking for two breakers. One is a single-pole (120V) breaker for the indoor air handler/furnace. The other is a double-pole (240V) breaker for the outdoor condenser unit. It'll be twice as wide as a regular breaker, and the two handles are often tied together. See if either one is in the middle or "off" spot. Flip it all the way off, then firmly back on. Breakers can look like they're on when they've actually tripped. Sneaky little things.
-
Check the Outdoor Shutoff Switch
- Tools: None
- Safety: The switch box contains high voltage.
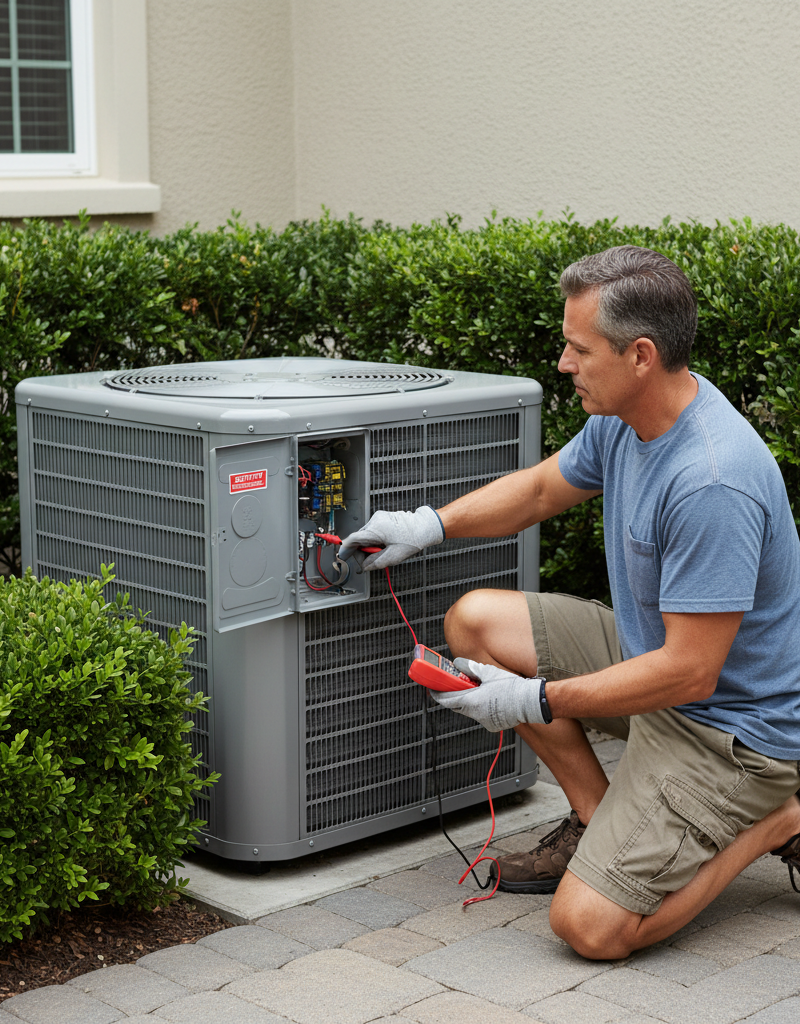
- Instructions: Look for a small metal or plastic box on the outside wall of your house, usually within a few feet of the condenser unit. That's the disconnect or service switch. Open the cover. Some have a simple switch; make sure it's "On". Others have a pull-out block. If it has a pull-out, it may have been slid in upside down, which cuts the power. The handle usually has "On" and "Off" printed on opposite sides. Make sure it's inserted with the "On" side visible.
-
Check the Air Filter
- Tools: None
- Safety: None
- Instructions: A really clogged air filter can choke airflow so bad that the evaporator coil freezes. A lot of modern systems have a sensor that'll shut things down to keep that from happening. Your filter is usually in a slot on the indoor air handler or in a big return vent in a wall or ceiling. Pull the old one out. If it's loaded with dust and you can't see light through it, it's way overdue. The system may not restart until the frozen coil thaws, and that can take several hours. No shortcuts there.
-
Check the Condensate Overflow Switch
- Tools: None
- Safety: None
- Instructions: Find the indoor air handler. Look for the PVC pipe coming out of the side near the bottom; that's the primary condensate drain. You should see a drip pan under the unit. If there's standing water in that pan, your drain line's clogged. Most systems have a safety switch, called a float switch, either in the pan or in a special fitting on the drain line itself. It looks like a small cylinder with wires coming out of it. If the water level rises, this switch trips and cuts power to the thermostat's control circuit, shutting the AC off to keep water from wrecking the place. If you've got water in there, the immediate fix is to clear the clog, usually with a wet/dry shop vac on the end of the drainpipe outside.
-
Inspect the Outdoor Unit
- Tools: None
- Safety: Make sure the breaker is off before touching the unit.
- Instructions: Look at the condenser. Is it packed with leaves, grass clippings, or cottonwood fluff? A nasty layer of gunk can make the unit overheat and trip a thermal overload switch. Then it won't restart until it cools off. Give it a gentle cleaning with a garden hose — don't use a pressure washer, because you'll bend those soft aluminum fins in a hurry.
-
Reset the System
- Tools: None
- Safety: None
- Instructions: If you've gone through the checks above, try a full system reset. Turn the thermostat to "Off." Head to your electrical panel and flip the breakers for both the indoor and outdoor units to "Off." Leave them off for at least 15 minutes. That gives the internal control boards and overload switches a chance to reset. Then turn both breakers back on and set the thermostat to "Cool" again. Wait 5-10 minutes, since some units build in a delay to protect the compressor. I pulled a water heater in Frisco last month that had exactly this kind of stubborn shutdown — different equipment, same old story: power, reset, wait, and see what wakes up.
-
Check the Thermostat Wires
- Tools: Small screwdriver
- Safety: Low voltage (24V) is generally safe, but it's always best to turn off the power at the breaker first.
- Instructions: If you're comfortable doing it, pop the thermostat off its wall plate. Check that the small colored wires are screwed down tight in their terminals (R, G, Y, C, etc.). Give them a light tug. A loose wire, especially the "R" (power) or "C" (common) wire, can make the thermostat lose power and stop talking to the AC.
Common Causes
- Tripped Circuit Breaker: The #1 reason an AC won't start. Usually happens after a power surge or when the unit's working hard on a scorching day.
- Thermostat Set Incorrectly: Happens all the time. Wrong mode, dead batteries, or the set temp is too high.
- Clogged Condensate Drain: Common in humid climates. Algae and sludge build up in the drain line, water backs up, and the overflow switch trips.
- Dirty Air Filter: Chokes airflow, leads to overheating or freeze-ups, and the system shuts itself down to protect the equipment.
- Outdoor Disconnect is Off: A tech may have shut it off on a previous service call and forgot to turn it back on, or a homeowner did it for yard work and blanked on it.
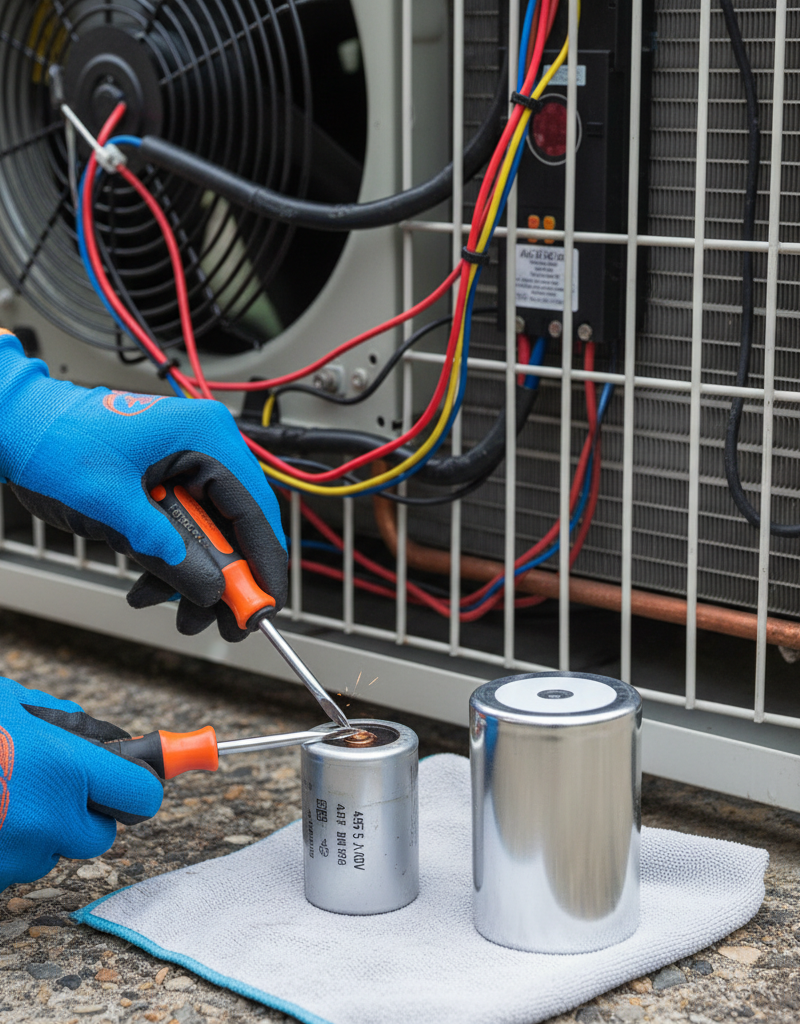
- Failed Capacitor: The run or start capacitor gives the compressor and fan motors the electrical jolt they need to start. When it fails, you might hear the unit hum or buzz for a moment before shutting off, or it may do absolutely nothing.
Common Mistakes
- Flipping the breaker repeatedly: If the breaker trips again right after you reset it, you've got a dead short or a failing part. Don't keep forcing it. You're flirting with a fire or major equipment damage. Call a pro.
- Ignoring a buzzing or humming sound: If the unit makes noise but the fan doesn't spin, it's likely a bad capacitor or a seized motor. Shut the power off right away to avoid cooking the compressor.
- Using the wrong size fuse or breaker: Never swap in a breaker with a higher amperage rating. The breaker is there to protect the wiring and the equipment. Wrong size, wrong idea, bad news.
- Adding refrigerant yourself: These systems are charged to a precise level. "Topping it off" with a DIY kit from an auto parts store is a fast way to hurt the system. Low refrigerant means there's a leak, and that leak needs to be found and fixed by a pro.
Cost & Time Breakdown
| Task | DIY Cost | Pro Cost | Time |
|---|---|---|---|
| Replace Thermostat Batteries | $5–$10 | N/A | 5 minutes |
| Replace Air Filter | $5–$30 | $75–$150 | 5 minutes |
| Clear Condensate Drain Line | $0 (with shop vac) | $125–$250 | 30-60 minutes |
| Replace Capacitor | $15–$40 (part only) | $175–$450 | 1 hour (Pro) |
| Reset Breaker / Switch | $0 | $100–$200 (for a service call) | 10 minutes |
| Replace Thermostat | $50–$300 | $250–$600 | 1 hour |
Tips & Prevention
- Change your filter regularly. In North Texas, during peak summer, you should check it every 30 days. A clean filter is the cheapest, best maintenance you can do.
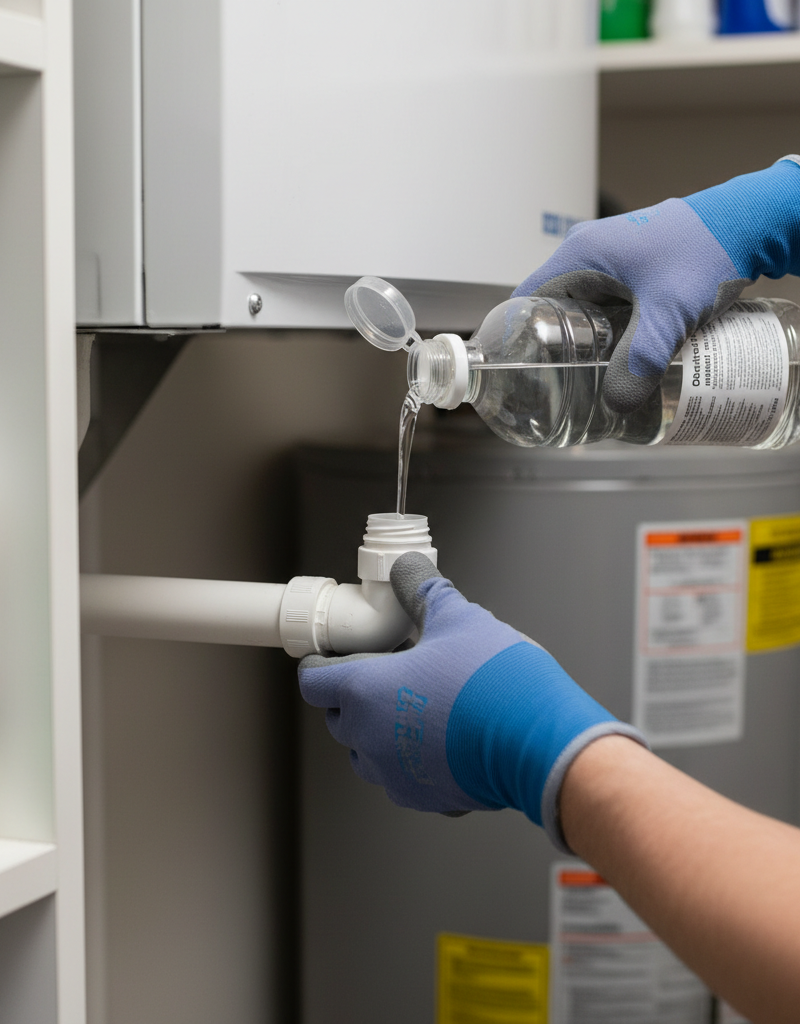
- Clear the condensate line. Once every spring, pour a cup of distilled vinegar down the condensate line access port near the indoor unit. It helps kill algae and sludge before it turns into a clog.
- Keep the outdoor unit clean. Hose down the condenser fins a few times a year. Make sure there's at least two feet of clearance around the unit so it can breathe.
- Schedule an annual tune-up. Have a pro check the system each spring before cooling season. They'll clean the coils, check refrigerant levels, test capacitors, and tighten electrical connections, which prevents a lot of surprise breakdowns.
- Install a programmable thermostat. It saves energy and wear-and-tear by adjusting the temperature automatically when you're away or asleep.
When to Call a Professional
Stop troubleshooting and call a licensed HVAC technician if you run into any of these:
- The circuit breaker trips immediately after you reset it.
- You hear a loud buzzing, humming, or grinding from the outdoor unit, but the fan isn't moving.
- You smell burning plastic or a "rotten egg" smell (for gas furnaces) near your equipment.
- You see ice on the refrigerant lines (the copper pipes connecting the indoor and outdoor units) even after changing the filter and letting it thaw.
- You suspect a refrigerant leak (often accompanied by a hissing sound and poor cooling).
Messing with high-voltage electrical components like capacitors or dealing with refrigerant isn't a DIY job. One mistake can put you in the hospital or cost you thousands in damage to the system.
Related Articles
Keep troubleshooting with these hand-picked guides from FixlyGuide:
- Why Your AC Is Blowing Warm Air (When It Was Fine Last Year) — Discover the surprising reasons your air conditioner might be blowing warm air even after a smooth season, and how you can troubleshoot and…
- Thermostat Won't Connect to Wi-Fi? 9 Reasons and What to Check First — A smart thermostat that can't connect to Wi-Fi is just a thermostat. Here are the 9 most common reasons yours keeps dropping offline and th…
- The $0 Trick to Revive Your Frozen AC Fan (Before You Call a Pro) — Before you spend money on an AC repair, try this simple, no-cost trick to get your condenser fan spinning again and cool your home.
- Why Your Heat Pump Auxiliary Heat Won't Turn Off — Discover why your heat pump's auxiliary heat keeps running, driving up your energy bills. Learn to troubleshoot common issues and know when…
- The Hidden Reason Your AC Freezes — And Why Most Homeowners Get It Wrong — Discover the surprising truth behind why your outdoor AC unit is freezing and learn the most common mistake homeowners make when trying to…
- The 3 Hidden Reasons Your Gas Burner Won't Light (Beyond a Clog) — Before you call a technician, discover the most common culprits behind a gas stove burner that refuses to ignite and learn how to fix them…
Should you do this yourself?
Answer five quick questions before you start. Safety outranks savings every time.
Your experience with work like this
How high do you have to work?
Does the job involve any of these?
Will it need a permit?
Specialty tools
Free and instant. Educational guidance only — not a quote, inspection, or professional diagnosis.
Estimate your own project cost
National averages are a starting point. Enter your details for a range that fits your house.
HVAC replacement cost
- Equipment$2,200 – $3,800
- Installation labor$1,200 – $2,500
Always insist on a Manual J load calculation — sq-ft sizing is only a rough check. Federal heat-pump rebates may reduce cost significantly.
Educational estimate only — always confirm with written local bids.
What should this project cost?
Enter your project details for a realistic cost range before you call anyone.
Service calls and common repairs run $150–$900; full system replacement typically $6,000–$12,000.
- Regional adjustment
- National average
- Labor share (typical)
- ~$1,935
- Quotes to collect
- 3 written estimates
Educational estimate based on national averages — not a binding quote. Always confirm with written local estimates.
Fixly Project Decision Box
- DIY difficulty
- Advanced
- Estimated time
- Homeowner checks 20–30 minutes
- Cost level
- Moderate
Main tools / materials
- Clean air filter
- Garden hose for condenser coils
- Shop vac for the condensate line
When to stop and call a pro
- Burning smell, smoke, or a tripping breaker
- Refrigerant lines iced over or hissing
- Any work inside the sealed refrigerant circuit (EPA-licensed only)
- Gas smell near a furnace — leave and call the utility
Need professional help?
Find an HVAC Pro Near YouBefore you start
Check the difficulty, permits, and safety risk — then decide whether to call a pro.
Free, no signup required. Estimates are educational guidance, not a quote or an inspection.
Get the print-ready PDF of this guide
A clean, ad-free, printable version you can keep on your phone or pin to the workshop wall. Free with a FixlyGuide account.
- Print-optimized layout
- Tools, materials & every step included
- Saved to your account
Frequently asked questions
Why is my AC not turning on but the thermostat is working?+
If your thermostat has power but the AC isn't starting, the issue lies elsewhere. Common culprits include a tripped breaker for the outdoor unit, a clogged condensate drain that has tripped an overflow switch, or a safety switch on the air handler door that's not engaged.
How do I reset my air conditioning unit?+
To perform a hard reset, turn the thermostat to the 'Off' position. Then, go to your home's main electrical panel and turn off the circuit breakers for both your indoor air handler and your outdoor condenser. Wait at least 15 minutes before switching the breakers back on and restarting your thermostat.
Could a dirty filter really stop my AC from turning on?+
Yes, absolutely. A severely clogged filter can reduce airflow so much that the indoor coil freezes over. Many modern AC units have sensors that will shut the entire system down to prevent damage when this happens. It won't restart until the coil thaws and airflow is restored.
My outside AC unit is not turning on, but inside is. What's wrong?+
This usually points to a problem specific to the outdoor condenser. It could be a tripped breaker for the outdoor unit (it often has a separate, larger breaker), a failed capacitor that's needed to start the compressor and fan, or a bad contactor. You should check the breaker and the outdoor disconnect switch first.
What does it mean if my AC clicks but doesn't turn on?+
A single click from the thermostat is normal. If you hear repeated clicking or a buzzing/humming sound from the outdoor unit that then stops, you likely have a bad start capacitor or a seized motor. The click is the contactor trying to engage, but the capacitor isn't providing the necessary power to start the compressor.
How long should I wait to turn on my AC after a power outage?+
It's a good practice to wait at least 15-30 minutes after power is restored before turning on your AC. This allows the utility grid to stabilize and protects your AC's compressor from potential damage from rapid on-off cycles or voltage fluctuations.
Why is my thermostat screen blank?+
A blank thermostat screen is most often caused by dead batteries. If it's a hardwired model, it could be a tripped breaker, a disconnected 'C' wire, or a safety switch (like the condensate overflow) that has cut power to the thermostat. Always check for simple batteries first.
How much does it cost to fix an AC that won't turn on?+
The cost can range from $0 if it's just a tripped breaker to over $1,000 for a major repair. A service call typically costs $100-$200. A simple fix like replacing a capacitor might be $175-$450, while replacing a failed compressor motor can cost $1,500 or more.
Discussion
Loading comments…