- Tripped Circuit Breaker: The most common offender. An AC unit pulls a lot of power, and a surge or heavy use over time can trip the breaker as a safety move. Sometimes the breaker’s weak, too, especially if it keeps tripping.
- Thermostat Issues: Wrong settings, dead batteries, or a bad thermostat can stop the cooling call before it ever reaches the unit.
- Blown Capacitor: These parts give the compressor and fan motor that first electrical "kick." If one fails, the motors won’t start even if power’s there.
- Clogged Condensate Drain Line: Water backs up into the drain pan, which trips a safety float switch and shuts the whole system down to keep water where it belongs.
- Faulty Contactor: This is basically a heavy-duty relay that switches power to the compressor and fan. If it’s sticking, burnt, or not getting the low-voltage signal, the outdoor unit won’t start.
HVAC · High energy usage
| Project category | HVAC |
|---|---|
| Problem type | High energy usage |
| Trade required | HVAC |
| Urgency | Planned project |
| Safety risk | Low safety risk |
| DIY suitability | DIY for experienced homeowners |
| Cost category | High cost |
| Typical timeline | Assessment within weeks; replacement planned off-season |
| Contractor type | Licensed HVAC technician |
Repair option
Duct sealing, insulation, and a tune-up before touching the equipment.
Replacement option
High-efficiency replacement sized by a load calculation, not a rule of thumb.
Common causes
- Aging, low-efficiency equipment
- Leaking ducts losing conditioned air
- Insufficient attic insulation
- Oversized system short-cycling
Relevant tools:project cost estimatorrepair or replace
Published July 28, 2026Last updated August 17, 2026
Tools & materials you'll need
Affiliate linksAs an Amazon Associate FixlyGuide earns from qualifying purchases — at no extra cost to you. Prices and availability are accurate as of publication and subject to change.
Quick Answer
When your AC unit won’t kick on, I usually look at a short list of usual suspects: a tripped breaker, thermostat settings that aren’t right, or a hiccup in the power supply. I’ve rolled up on plenty of calls where the fix was as simple as flipping a switch. Don’t go straight to worst-case mode and assume the whole system’s toast. Most times, a little methodical checking gets you back in business.
The Problem
There’s nothing worse than a hot summer day and your AC just sitting there, dead quiet. You set the thermostat to "cool," crank it down to 68°F, and…nothing. No hum, no cold air, no nothing. That’s frustrating, and in the summer heat, it can turn into a real problem fast. This article walks through the troubleshooting steps I use all the time to figure out why an AC isn’t turning on, starting with the easy stuff and working toward the point where you need to call in the cavalry.
How It Works
Knowing how your AC system starts up can save you a pile of headaches. When you set your thermostat to "cool," it’s basically a smart switch telling the indoor air handler and the outdoor condenser to get to work. That cooling call runs through low-voltage wiring (usually 24 volts AC) from the thermostat to a control board inside. That board then sends power to the blower fan so air keeps moving, and to the outdoor condenser so the refrigeration cycle can start.
Out at the condenser, you’ve got a compressor pressurizing refrigerant, a condenser coil dumping heat, and a fan pulling air across that coil. The contactor is the big player here—a heavy-duty relay that gets the signal from the control board and sends the high-voltage (240V) power to the compressor and fan motor. If that contactor won’t pull in, or if the run capacitor is weak and can’t give the compressor and fan that first kick, the outdoor unit isn’t doing a thing. No dice.
Then there’s the indoor unit. That’s where the evaporator coil lives, soaking heat out of your house air. The indoor blower motor pushes air over that coil and then through the ducts. If the blower isn’t getting power or it’s acting up, you won’t feel airflow even if the outdoor unit is humming away. And those safety switches matter, too. If the condensate pan fills up because the drain line’s clogged, the float switch cuts power to the whole system so you don’t end up with water damage. Pretty slick setup when it’s healthy, but there are a bunch of places where things can go sideways.
Step-by-Step Fix
1. Check the Thermostat — Your first stop should always be the brains of the operation.
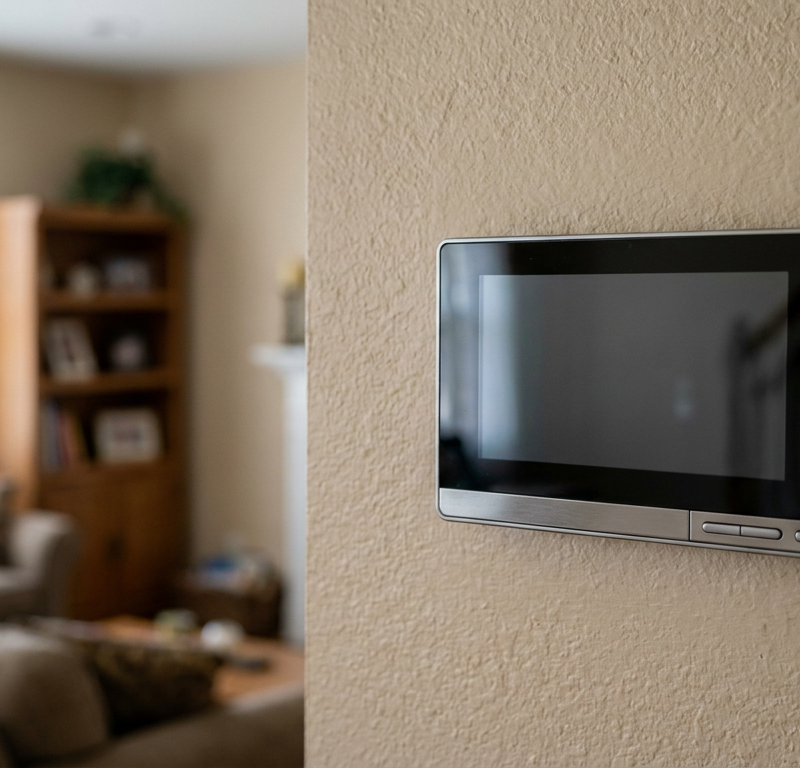
Make sure your thermostat is set to "cool" and the temperature is at least 5-10 degrees below the room temp. You’d be surprised how often somebody bumps it to "heat" or "fan only" without realizing it. If it’s a digital stat, swap the batteries. I’ve been out on more calls than I can count where the whole problem was dead batteries, especially in older homes in places like Roswell. Sounds silly, I know—but it happens all the time.
2. Inspect Circuit Breakers — The most common culprit for a dead AC.
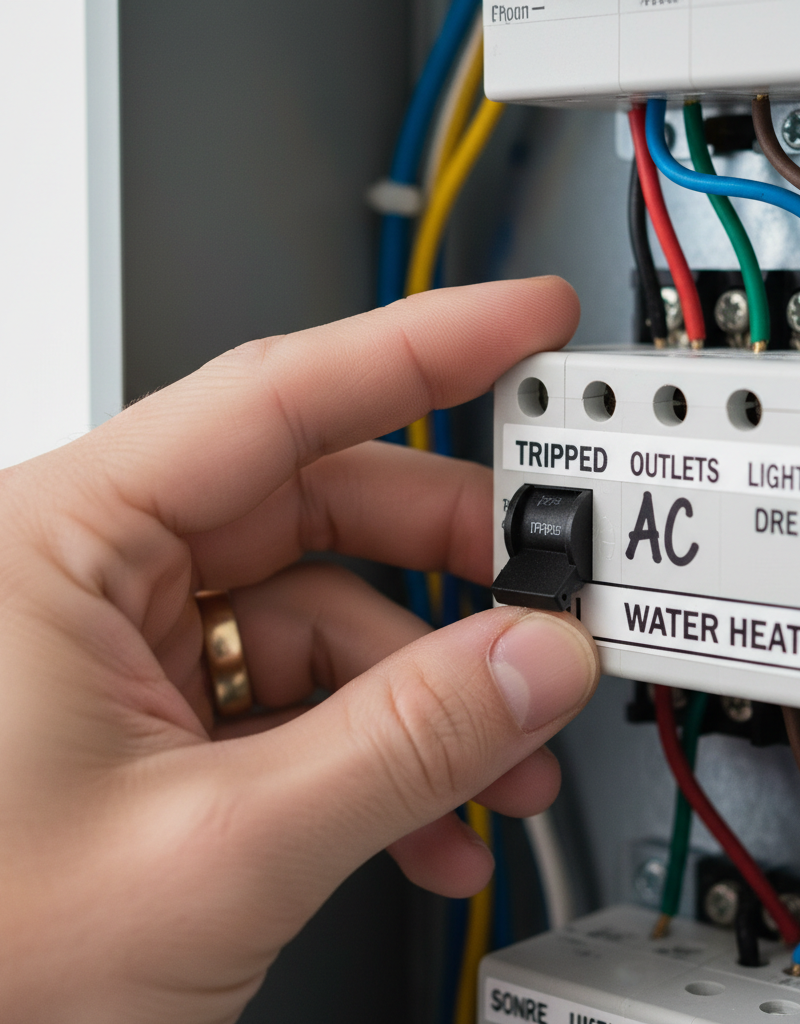
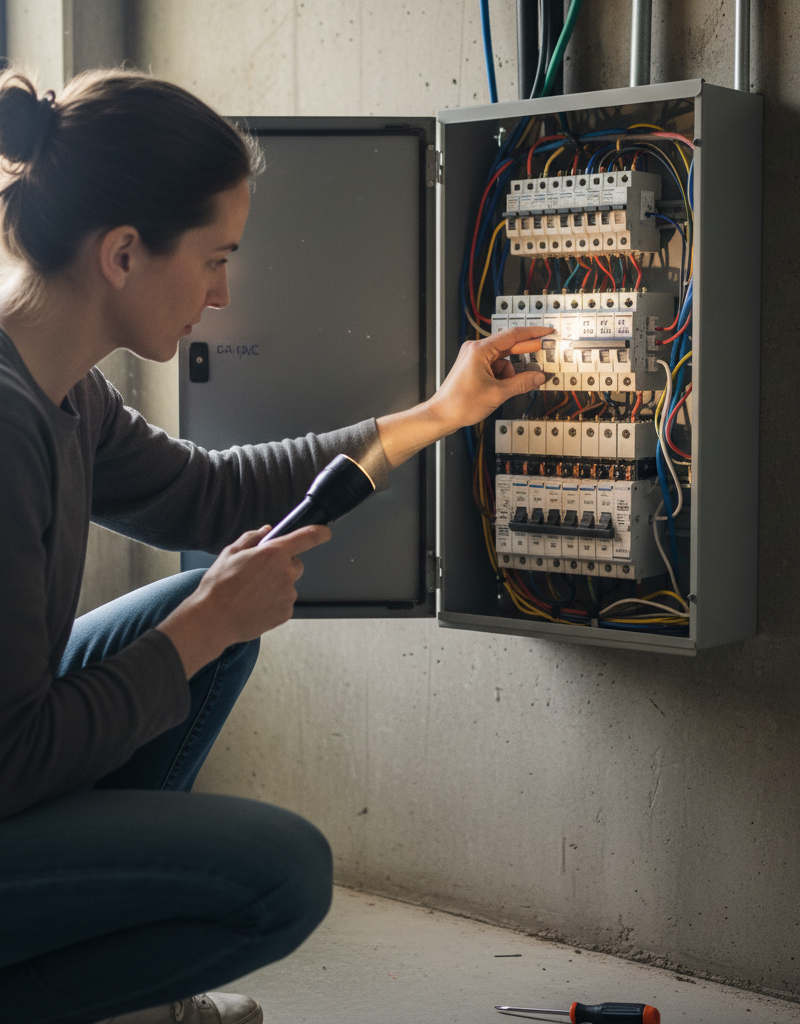
Go to your electrical panel and look for a tripped breaker—it’ll sit right in the middle, between "on" and "off." You may have one marked "AC," "Furnace," or "Air Handler" for the indoor side, and another for the "Condenser" or "AC Outdoor Unit." Flip any tripped breaker all the way off, wait 30 seconds, then push it back to the "on" position with a firm hand. If it trips again right away, do not keep resetting it. That’s telling you there’s a short or a serious overload, and you need a pro. Also check the outdoor unit’s disconnect switch—the little box near the condenser—and make sure that thing’s on, too.
3. Verify Outdoor Unit Power — Confirming the big box is getting juice.
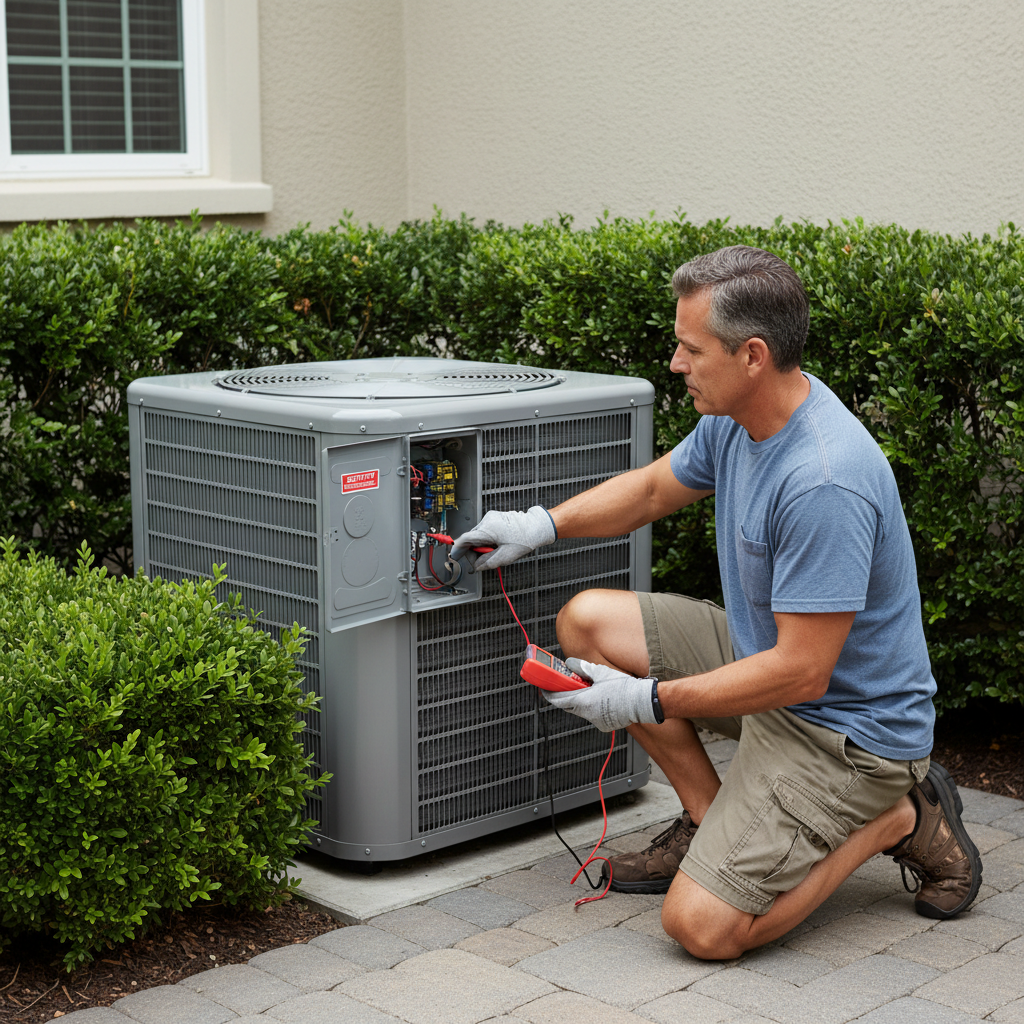
Head outside to the AC unit. First, make sure the disconnect switch right next to it is firmly in the "on" position. These things get bumped off more than you’d think. Then, carefully remove the cover that protects the electrical compartment, usually with a couple screws. Before you do anything else, use a non-contact voltage tester to confirm there’s no live power. Once you know it’s off, look over the wiring for burnt spots, loose connections, or anything chewed up. If you’re not comfortable with this, skip it and call a pro. If you see a burnt wire or a squirrel’s been nesting in there and gnawed something apart, well, there’s your culprit.
4. Listen to the Outdoor Unit — Detecting capacitor issues.
Stand near the outdoor condenser and have someone set the thermostat down to call for cooling. If you hear a low hum but the fan won’t spin and the compressor won’t start, that’s often a bad start or run capacitor talking. That part stores and releases an electrical charge to give the motors the shove they need. If it’s blown, the motors never get that kick. This is a job for a pro for most homeowners, since capacitors can hold a nasty charge even after the power’s off. I’ve seen them pop like a firecracker when they let go. Not fun.
5. Check the Indoor Unit's Drain Pan — A common, overlooked safety switch.
Find your indoor air handler or furnace. Most units have a safety float switch in the condensate drain pan. If that pan fills with water because the drain line is clogged, the float switch trips and shuts the whole system down to stop water damage. Clear the clog if you find one. You can often knock out a small clog by hooking a shop vac to the end of the drain line outside, if it ends somewhere accessible, or by carefully pouring a cup of distilled vinegar down the access port on the line near the air handler.
6. Examine the Contactor (Outdoor Unit) — The main switch for the unit.
With power still OFF at the breaker and the disconnect switch, carefully find the contactor inside the outdoor unit’s electrical compartment. It’s a small rectangular block with heavy-gauge wires running to it and usually a plunger in the center. Have someone turn the thermostat back to "cool" and listen. You should hear a solid "clunk" as the plunger pulls in. If it’s humming but not engaging, or if it looks pitted or burnt, it’s probably on its way out. Replacing a contactor involves high voltage and is best left to an HVAC technician if you’re not comfortable with electrical work.
7. Look for Physical Damage — A visual inspection can reveal a lot.
Walk around both the indoor and outdoor units. Do you see anything obvious? Dented coils, chewed wires, or something blocking the outdoor fan? Critters love AC units. I found a kid’s frisbee jammed right into a fan blade in Sandy Springs once, and the whole unit couldn’t spin for love or money. Pulling out the blockage can be the easiest fix in the world.
8. Consider the Emergency Shut-Off Switch — Uncommon, but it happens.
On some systems, especially older ones, there may be an emergency shut-off switch near the indoor air handler that looks just like a light switch. Double-check that nobody flipped it off by mistake. It’s rare, but I’ve been fooled by that one more than once.
Common Causes
- Tripped Circuit Breaker: The most common offender. An AC unit pulls a lot of power, and a surge or heavy use over time can trip the breaker as a safety move. Sometimes the breaker’s weak, too, especially if it keeps tripping.
- Thermostat Issues: Wrong settings, dead batteries, or a bad thermostat can stop the cooling call before it ever reaches the unit.
- Blown Capacitor: These parts give the compressor and fan motor that first electrical "kick." If one fails, the motors won’t start even if power’s there.
- Clogged Condensate Drain Line: Water backs up into the drain pan, which trips a safety float switch and shuts the whole system down to keep water where it belongs.
- Faulty Contactor: This is basically a heavy-duty relay that switches power to the compressor and fan. If it’s sticking, burnt, or not getting the low-voltage signal, the outdoor unit won’t start.
- Low Refrigerant Pressure: This doesn’t always cause a full "won’t turn on" situation, but really low pressure can trip a low-pressure switch and stop the unit from running so the compressor stays protected. That always means there’s a leak, and you’ll need a pro.
Common Mistakes
- Ignoring the Circuit Breaker: A lot of homeowners jump straight to thinking the AC is "broken" without checking the simplest fix first.
- Repeatedly Resetting a Tripped Breaker: If a breaker trips again right after you reset it, you’ve got a real electrical problem like a short. Keep doing it and you’re asking for fire damage or a wrecked unit.
- Forgetting to Check Thermostat Batteries: You’d be amazed how many service calls come down to dead batteries. Always check that before you tear into the bigger stuff.
- Assuming a DIY Capacitor Replacement: It looks simple enough, sure, but capacitors can hold a dangerous charge even when the power’s off. That’s a fast way to get shocked if you don’t know what you’re doing.
- Not Clearing the Area Around the Outdoor Unit: Bad airflow from overgrown bushes or junk piled nearby makes the unit work harder, and that can lead to breaker trips or early part failure. I tell homeowners to leave at least 2 feet of open space all the way around it.
Cost & Time Breakdown
| Task | DIY cost | Pro cost | Time |
|---|---|---|---|
| Thermostat Battery Replacement | $5–$15 | $0 (if part of service call) | 5 minutes |
| Reset Circuit Breaker | $0 | $0 (if part of service call) | 5 minutes |
| Clear Condensate Drain Clog | $0–$10 | $100–$250 | 30–60 minutes |
| Capacitor Replacement | $20–$50 | $150–$400 | 1–2 hours |
| Contactor Replacement | $30–$80 | $200–$500 | 1–2 hours |
| Diagnosing Complex Electrical | N/A | $75–$150 (diagnostic fee) | 1–3 hours |
Tips & Prevention
- Regular Filter Changes: A dirty air filter chokes off airflow, makes the unit work harder, and can lead to overloads and early part failure. I like to tell folks every 1-3 months, depending on how much you run it and whether you’ve got pets.
- Keep Outdoor Unit Clear: Trim back bushes or plants around the condenser. Keep leaves, grass clippings, and junk away from it. Good airflow isn’t a luxury—it’s how the thing runs right.
- Check Condensate Drain Annually: Pour a cup of distilled vinegar down the drain line access point once a year, usually in the spring, to help keep algae and clogs from setting up shop.
- Consider a Smart Thermostat: A lot of smart thermostats can ping you about problems or remind you about maintenance, and some don’t even need batteries.
- Listen for Unusual Noises: Pay attention to any new or odd sounds from your AC, especially knocking, grinding, or a loud hum. Those can be early warning signs that a part’s about to quit. A dying capacitor, for example, might give off a faint groan before it finally gives up.
When to Call a Professional
Call an HVAC pro if, after you’ve checked the thermostat and circuit breakers, your AC still won’t turn on—especially if the breaker trips again right away. Any signs of burnt wiring, a steady hum from the outdoor unit with no fan or compressor movement, or just not feeling comfortable around high-voltage electricity are all good reasons to step back. Seriously, electricity isn’t something to play around with if you’re not trained. If you think you’ve got a refrigerant leak—ice on the lines, hissing sounds, that sort of thing—that’s a licensed-tech job, plain and simple. Don’t try to add refrigerant yourself. It’s a more complicated process than most folks realize, and you can do more harm than good.
FAQ
Q: Why would my AC breaker keep tripping?
A: A breaker that keeps tripping usually means an electrical overload or a short somewhere in the AC unit or its wiring. It could be a failing motor, a shorted wire, or even a weak breaker. Either way, it’s a safety issue that needs professional diagnosis.
Q: My outdoor unit hums but the fan doesn't spin. What's wrong?
A: That’s almost always a failing run capacitor in the outdoor unit. The capacitor gives the fan motor and compressor the electrical boost they need to start. Without it, the motor tries to start—hence the hum—but it can’t get moving.
Q: Can a dirty air filter prevent my AC from turning on?
A: Indirectly, yes. A really dirty filter restricts airflow, which makes the unit work harder. That can freeze up the evaporator coil, and sometimes that trips a safety switch and shuts the system down. It can also make the unit overheat and trip a breaker.
Q: How often should I change my AC filter?
A: For most homes, I recommend changing the filter every 1 to 3 months. If you’ve got pets, allergies, or you run the system a lot, monthly might be better. A clean filter is cheap insurance for the whole HVAC setup.
Q: My thermostat is blank. Is it broken?
A: Not always. First thing I’d do is check whether it runs on batteries and replace them if needed. If it’s hardwired, check the breaker for the indoor unit or furnace; a tripped breaker can kill power to the thermostat.
Q: What's the emergency shut-off switch for my AC, and where is it?
A: The emergency shut-off switch is usually a red light-switch style toggle near your indoor air handler or furnace. It’s there for quick power shutoff in an emergency, or sometimes just to make life easier for techs during maintenance.
Q: Can low refrigerant cause my AC not to turn on?
A: Yes, it can. Most modern AC units have low-pressure safety switches that stop the compressor from running if the refrigerant charge gets too low. That protects the compressor, but it also means the unit won’t cool until a pro finds and repairs the leak.
Q: How much does it cost to have a professional diagnose an AC unit that won't turn on?
A: Professional diagnostic fees usually run from $75 to $150. That usually covers the tech’s time to inspect the system, figure out what’s wrong, and give you a quote for the repair. Some companies will waive that fee if you go ahead with the repair they recommend.
Related Articles
Keep troubleshooting with these hand-picked guides from FixlyGuide:
- The #1 Reason Your AC Blows Warm Air (And It's Not What You Think) — A dirty air filter is often the overlooked culprit behind an air conditioner blowing warm air, hindering its ability to cool your home effi…
- The #1 Mistake Homeowners Make When Heat Pumps Stop Heating in Winter — Discover the crucial mistake most homeowners make when their heat pump struggles in cold weather and how to fix it, potentially saving hund…
- The Secret Reason Your AC Isn't Drying Your Air (And What to Check First) — Your AC should cool and dehumidify, but if your house feels muggy, there's a specific, often overlooked culprit preventing it from doing it…
- The #1 Mistake Homeowners Make When Their AC Won't Turn On (And the Easy Fix) — Learn the most common oversight homeowners make when their AC won't turn on and how to troubleshoot basic issues to restore cooling.
- The #1 Mistake Homeowners Make With Their AC (and the $50 Fix) — Discover the most common and costly mistake homeowners make with their AC system and how a simple, affordable fix can prevent expensive rep…
- The Hidden Reason Your AC Isn't Cooling (And Why Most Homeowners Get It Wrong) — Is your central AC blowing warm air or struggling to cool your home? The culprit is often a silent but serious issue many homeowners overlo…
What should this project cost?
Enter your project details for a realistic cost range before you call anyone.
Service calls and common repairs run $150–$900; full system replacement typically $6,000–$12,000.
- Regional adjustment
- National average
- Labor share (typical)
- ~$1,935
- Quotes to collect
- 3 written estimates
Educational estimate based on national averages — not a binding quote. Always confirm with written local estimates.
Fixly Project Decision Box
- DIY difficulty
- Advanced
- Estimated time
- Homeowner checks 20–30 minutes
- Cost level
- Moderate
Main tools / materials
- Clean air filter
- Garden hose for condenser coils
- Shop vac for the condensate line
When to stop and call a pro
- Burning smell, smoke, or a tripping breaker
- Refrigerant lines iced over or hissing
- Any work inside the sealed refrigerant circuit (EPA-licensed only)
- Gas smell near a furnace — leave and call the utility
Need professional help?
Find an HVAC Pro Near YouFrequently asked questions
Why would my AC breaker keep tripping?+
A breaker that repeatedly trips usually indicates an electrical overload or a short circuit within the AC unit or its wiring. It could be a failing motor, a shorted wire, or even a weak breaker itself. It's a serious safety issue that needs professional diagnosis.
My outdoor unit hums but the fan doesn't spin. What's wrong?+
That's almost always a sign of a failing run capacitor in the outdoor unit. The capacitor provides the necessary electrical boost to start the fan motor and compressor. Without it, the motor tries to start (hence the hum) but can't get going.
Can a dirty air filter prevent my AC from turning on?+
Indirectly, yes. A severely dirty filter restricts airflow, causing the unit to work harder. This can lead to the evaporator coil freezing up, which sometimes triggers a safety switch to shut down the system. It can also cause the unit to overheat and trip a breaker.
How often should I change my AC filter?+
For most homes, I recommend changing your filter every 1 to 3 months. If you have pets, allergies, or run your system frequently, you might need to change it monthly. A clean filter is cheap insurance for your entire HVAC system.
My thermostat is blank. Is it broken?+
Not necessarily. First, check if your thermostat runs on batteries and replace them if needed. If it's a hardwired thermostat, check the circuit breaker for your indoor unit or furnace; a tripped breaker can cut power to the thermostat.
What's the emergency shut-off switch for my AC, and where is it?+
The emergency shut-off switch is typically a red light-switch style toggle located near your indoor air handler or furnace. It's meant for quick power disconnection in an emergency, or sometimes just as a convenience switch for technicians during maintenance.
Can low refrigerant cause my AC not to turn on?+
Yes, it can. Most modern AC units have low-pressure safety switches that will prevent the compressor from running if the refrigerant charge drops too low. This protects the compressor from damage, but it also means your unit won't cool until the leak is found and repaired by a professional.
How much does it cost to have a professional diagnose an AC unit that won't turn on?+
Professional diagnostic fees typically range from $75 to $150. This fee usually covers the technician's time to inspect the system, identify the problem, and provide you with a quote for the necessary repairs. Some companies will waive the diagnostic fee if you proceed with their recommended repair.
Discussion
Loading comments…