- The 1 Reason Your AC Fan Won't Spin (And the 20-Minute Fix) — Diagnose and fix a non-spinning AC condenser fan with our step-by-step guide, saving you money and restoring your home's cool air.
- The 1 Dryer Heating Culprit Homeowners Miss (And the Cheap Fix) — Your dryer's not heating? Often, the culprit is a hidden component that's easy and inexpensive to replace if you know where to look.
- The 1 Reason Your AC Blows Warm Air (And It's Not What You Think) — A dirty air filter is often the overlooked culprit behind an air conditioner blowing warm air, hindering its ability to cool your home effi…
- The 1 Mistake Homeowners Make Installing a Smart Thermostat (and How to Fix It) — Avoid the most common pitfall when installing a smart thermostat yourself and ensure a smooth, energy-efficient setup.
- The $5 Trick to Fix a Frozen AC Fan (and Why It Stops Spinning) — A non-spinning AC condenser fan can lead to system overheating and no cold air. Often, a simple, inexpensive fix can restore function.
HVAC · High energy usage
| Project category | HVAC |
|---|---|
| Problem type | High energy usage |
| Trade required | HVAC |
| Urgency | Planned project |
| Safety risk | Low safety risk |
| DIY suitability | DIY for experienced homeowners |
| Cost category | High cost |
| Typical timeline | Assessment within weeks; replacement planned off-season |
| Contractor type | Licensed HVAC technician |
Repair option
Duct sealing, insulation, and a tune-up before touching the equipment.
Replacement option
High-efficiency replacement sized by a load calculation, not a rule of thumb.
Common causes
- Aging, low-efficiency equipment
- Leaking ducts losing conditioned air
- Insufficient attic insulation
- Oversized system short-cycling
Relevant tools:project cost estimatorrepair or replace
Published July 29, 2026Last updated August 17, 2026
Tools & materials you'll need
Affiliate links- AmazonScrewdriver setPhillips and flathead, insulated handle preferred
- AmazonNut driver set1/4-inch and 5/16-inch common for panel screws and clamps
- AmazonNeedle-nose pliers
- AmazonMultimeter (optional)To confirm capacitor failure or discharge status
- AmazonSmall stiff brush or air compressorFor cleaning coils after repair
As an Amazon Associate FixlyGuide earns from qualifying purchases — at no extra cost to you. Prices and availability are accurate as of publication and subject to change.
Quick Answer
When your AC unit just won't turn on, or it tries to start and then just hums, sometimes loudly, before shutting off, there’s a real good chance it’s a bad capacitor. That little cylinder you’ll usually find in the outdoor condenser is basically a battery with a job to give the compressor and fan motor the hard electrical shove they need to get moving. If it’s shot, they can’t start, and your AC just sits there like it’s waiting for somebody else to do the work. Swapping one out is usually a pretty simple job for a handy homeowner, but you’ve got to respect electricity. It’ll bite you fast.
The Problem
I’ve seen it a hundred times over. A homeowner calls me and says, “My AC’s dead! It just quit cooling in the middle of a heatwave!” I roll out there, pop the condenser open, and nine times out of ten, it’s that dang capacitor. It’s probably the most common part to fail in an outdoor AC unit, right up there with dirty coils and clogged drains. That thing takes a beating. Constant charging, constant discharging, and in hot weather it gets worked even harder every time the system cycles on.
When it goes bad, it can’t hold a charge anymore, or it won’t dump that charge the way it should. Either way, the compressor and fan don’t start. You might hear a humming sound from the outside unit, which is the motor trying to get going but not getting enough juice. Or you might hear nothing at all. Then the house starts warming up, and you’re standing there sweating bullets. No fun.
How It Works
Think of the capacitor like a little starter tank for your AC’s motors. Air conditioners, especially the older split systems, use strong induction motors for the compressor and the outdoor fan. Those motors need a big burst of electricity—way more than the usual 240-volt line is doing on its own—to break inertia and start spinning. That’s where the capacitor earns its keep.
Most residential outdoor units use a “dual-run” capacitor. One canister, two jobs. Sometimes three. One side helps the compressor, the other side helps the fan motor. Each section has its own terminal: “Herm” for the compressor, “Fan” for the outdoor fan, and a common terminal labeled “C” that ties back to the main power supply. When your thermostat calls for cooling, it sends a low-voltage signal—usually 24V—to the contactor out by the unit. The contactor closes, 240V shows up at the capacitor and motors, and the capacitor charges up fast before dumping that charge into the motor windings. That creates the magnetic field needed to get everything turning.
Once the motor’s up and running, it doesn’t need that big kick anymore. The capacitor keeps doing a smaller job after that, helping the motor run efficiently by keeping the phase shift where it ought to be. If the capacitor’s bulged, leaking, or tests bad, it can’t do any of that. Then the motors stall out and your house doesn’t get cool air. Modern variable-speed systems may use different hardware, sure, but a traditional split-system AC almost always depends on this little guy.
Step-by-Step Fix
1. Safety First — Kill the power, seriously.
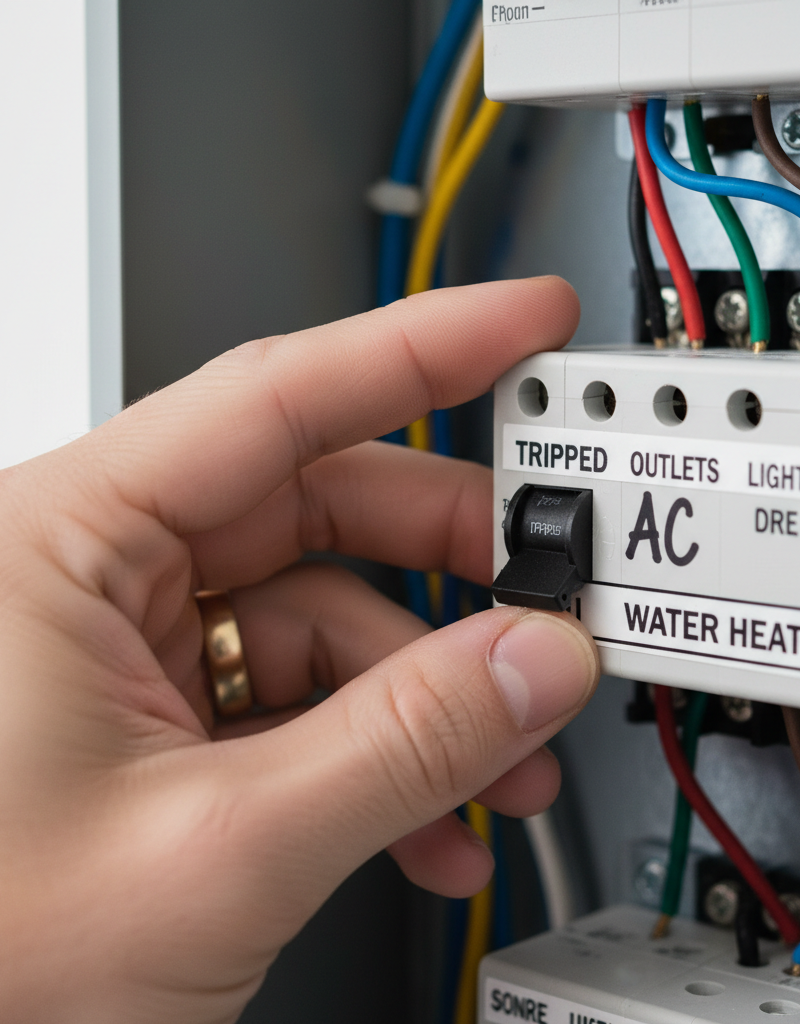
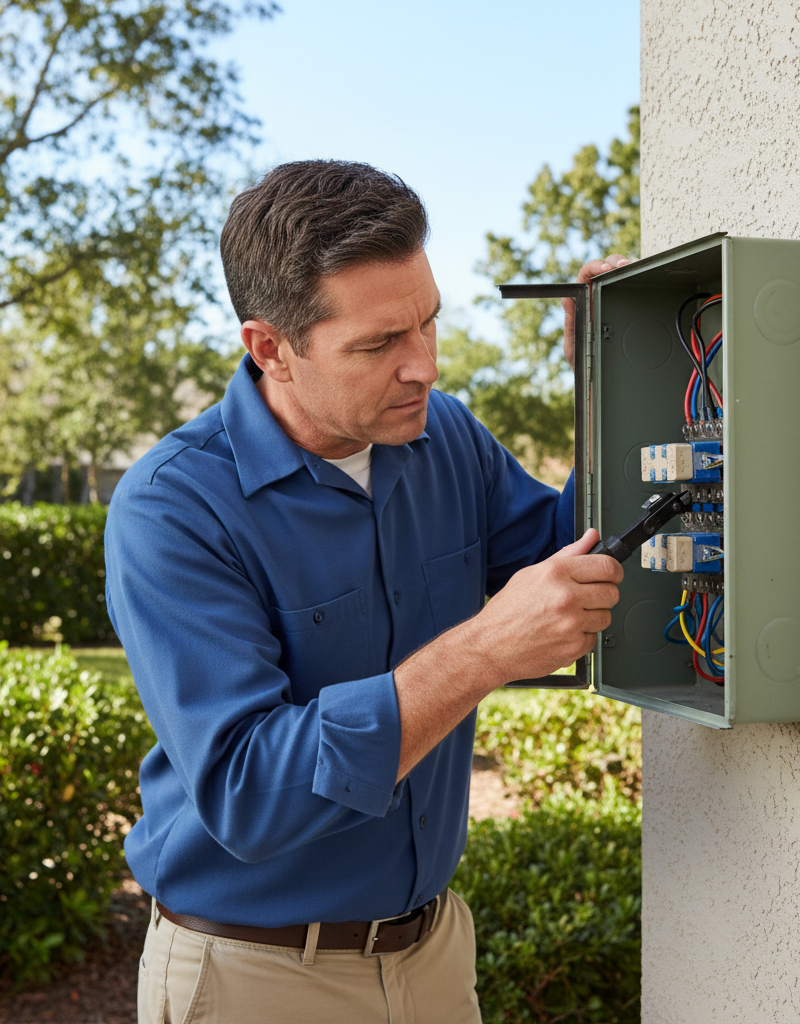
Before you touch anything inside your outdoor AC unit, you must shut off all power to it. Start at the thermostat and set the system from “Cool” to “Off.” Then head to the main electrical panel. Find the double-pole breaker labeled “AC” or “Furnace” — it’ll usually be a 30A or 40A breaker, and yes, it’s 240V — and flip it off. After that, go to the outdoor unit itself. There should be a shut-off switch or a pull-out disconnect box near the wall by the unit. Pull that sucker out.
Don’t skip this. Capacitors can hold a charge even after the power’s off, and that charge can flat-out ruin your day. I once knew a guy who ignored this and got hit so hard it threw him off a ladder in a house in Chandler, Arizona. Not a joke. Not worth it.
2. Pop the Hood — Expose the guts of the unit.
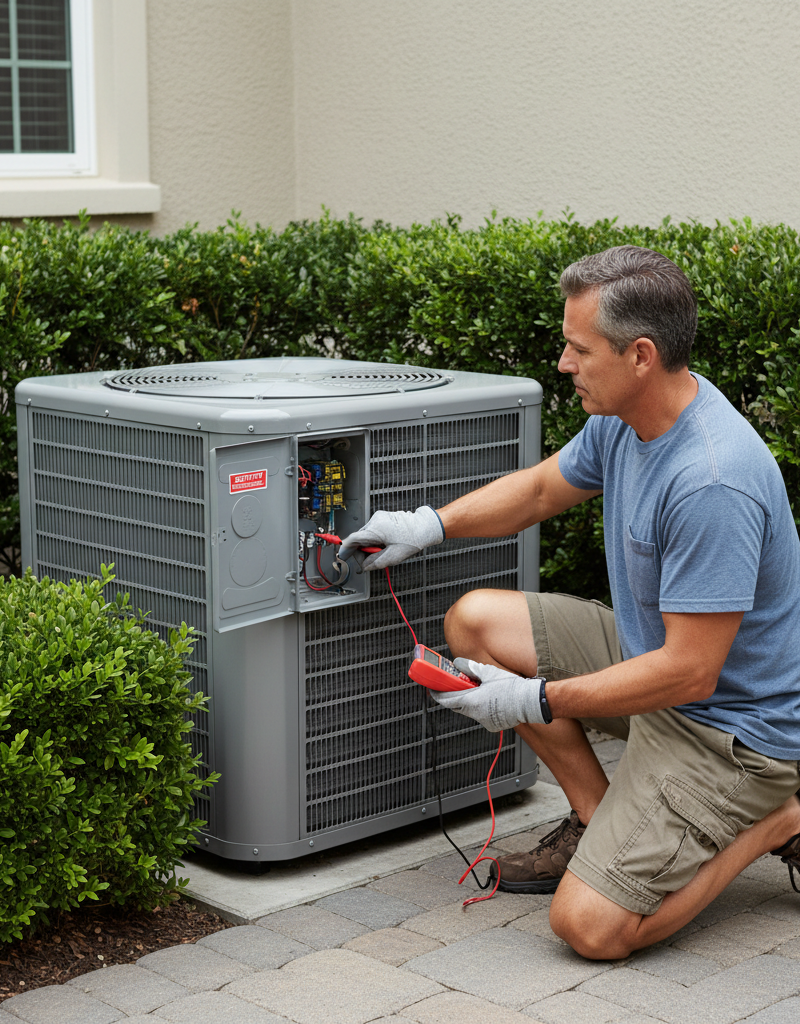
Most outdoor AC units have a service panel held on with a few 1/4-inch hex-head screws. Back those out and carefully pull the panel off so you can get into the wiring compartment. Take your time here. Sheet metal edges are sharp, and they don’t care how nice you are.
3. Locate the Capacitor — Find the cylindrical culprit.
You’re looking for a cylindrical part, usually silver or black, about the size of a soda can or beer can. It’ll have 2-4 terminals on top with wires hooked to them. That’s your capacitor. Sometimes it’ll be swollen on top, almost domed, or you might see greasy-looking residue around the terminals. Those are dead giveaways.
If it looks perfect, that still doesn’t mean it’s good, but if it’s bulged or leaking, well, that thing’s toast.
4. Discharge the Capacitor — Drain that dangerous stored energy.
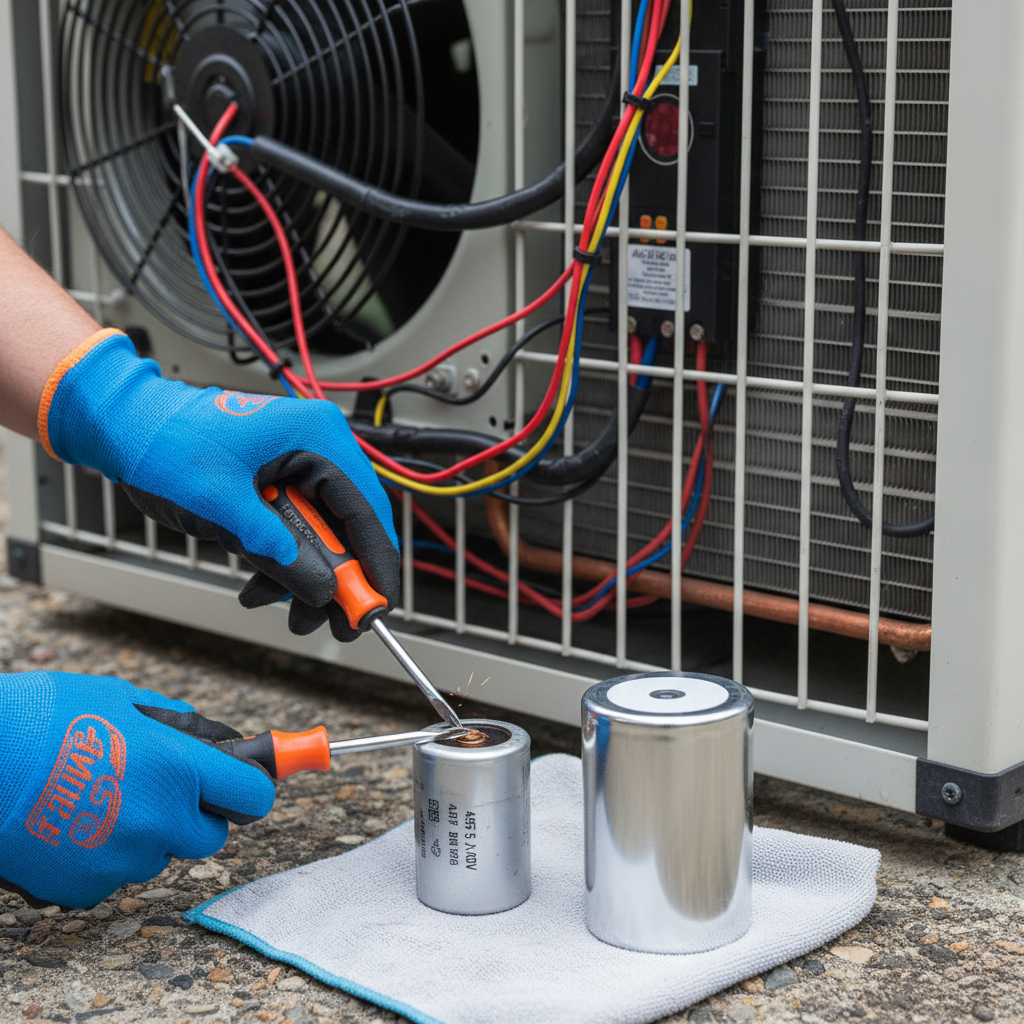
This step is critical for your safety. Even with the power off, a capacitor can hold enough charge to give you a nasty shock. Use a screwdriver with an insulated handle. Touch the metal shaft to the “Herm” (or “H”) terminal and the “C” terminal at the same time. You might see a small spark. That’s normal. It means you’re bleeding it off. Hold it there for a few seconds.
Do the same between the “Fan” terminal and the “C” terminal. For good measure, touch any remaining terminals to “C.” If you’ve got a ceramic resistor, 10,000 to 20,000 ohm, 2 to 5 watt, that’s the cleaner way to do it because it bleeds the charge down slowly. But a screwdriver works in a pinch.
5. Snap a Photo, Label Wires — Avoid wiring headaches.
Before you pull anything off, take a clear picture with your phone of exactly how the wires sit on the capacitor terminals. Seriously. Do it now, not later. I’ve seen too many homeowners, and a few apprentices back when I was running crews, skip this and then stand there scratching their heads for an hour.
If your capacitor has three terminals, they’re usually marked “C” for common, “Herm” for compressor, and “Fan” for the fan motor. Some only have two terminals, and those are usually fan-only units, which you don’t see as often in outdoor systems. If the photo isn’t great, use masking tape and label each wire with where it came from. Makes life a whole lot easier.
6. Disconnect and Remove — Carefully take out the old one.
Use needle-nose pliers or a nut driver and pull each wire straight up off the terminal. Don’t yank on the wire itself. Pull the connector, not the insulation. Once the wires are off, see how the capacitor’s held in place. Could be a strap, a clamp, or just sitting in a tray. Remove whatever’s holding it, then lift it out.
I pulled a water heater in Frisco last month that had exactly this kind of half-baked wiring mess nearby — not the same repair, but same old story. Somebody had been in there before me and left the wires looking like a bowl of spaghetti. No dice.
7. Match It Up — Get the right replacement.
Capacitors have two main ratings you need to match: microfarads (µF or MFD) and voltage (VAC). The microfarad rating tells you the capacity. On a dual-run capacitor, you’ll usually see two numbers, like “40/5 MFD,” which means 40 µF for the compressor and 5 µF for the fan. The voltage rating, like “370 VAC” or “440 VAC,” tells you the maximum voltage it can handle safely.
You must match the microfarad rating exactly. For voltage, you can use the exact rating or higher — so a 440 VAC can replace a 370 VAC, but not the other way around. Get that wrong and you’ll be back out there replacing another blown capacitor. Take the old one to an HVAC supply house or match it online. Make sure you’re buying a proper run capacitor, not a start capacitor. They’re not the same animal. A decent local supply house, like Johnstone Supply, usually has what you need.
8. Install the New Capacitor — Reverse the process.
Set the new capacitor in the same spot as the old one and secure it the same way. Then reconnect the wires using your photo or labels. “C” goes to C, “Herm” goes to Herm, and “Fan” goes to Fan. Make sure every connector is snug. No loose wiggle. No half-seated terminals. That’s asking for trouble later.
9. Button It Up & Test — Restore power and cross your fingers.
Put the service panel back on and tighten the screws. Reinsert the disconnect pull-out at the outdoor unit, then go back to the main panel and turn the breaker back on. Head inside and set the thermostat to “Cool,” then drop the temperature a few degrees below the room temp.
Listen to the outdoor unit. You should hear the fan start first, then the compressor kick in with a lower hum shortly after. Feel the bigger copper line going into the unit — after a few minutes, it ought to start getting cold. That’s your sign it’s working right.
Common Causes
- Heat & Age: Capacitors wear out over time, especially in hot climates. They just do. Expected lifespan is usually 10-15 years, but I
Related Articles
Keep troubleshooting with these hand-picked guides from FixlyGuide:
- The #1 Reason Your AC Fan Won't Spin (And the 20-Minute Fix) — Diagnose and fix a non-spinning AC condenser fan with our step-by-step guide, saving you money and restoring your home's cool air.
- The #1 Dryer Heating Culprit Homeowners Miss (And the Cheap Fix) — Your dryer's not heating? Often, the culprit is a hidden component that's easy and inexpensive to replace if you know where to look.
- The #1 Reason Your AC Blows Warm Air (And It's Not What You Think) — A dirty air filter is often the overlooked culprit behind an air conditioner blowing warm air, hindering its ability to cool your home effi…
- The #1 Mistake Homeowners Make Installing a Smart Thermostat (and How to Fix It) — Avoid the most common pitfall when installing a smart thermostat yourself and ensure a smooth, energy-efficient setup.
- The $5 Trick to Fix a Frozen AC Fan (and Why It Stops Spinning) — A non-spinning AC condenser fan can lead to system overheating and no cold air. Often, a simple, inexpensive fix can restore function.
- The Single Most Common Reason Half Your Outlet Dies (and How to Fix It in 15 Minutes) — Before you call an electrician for a half-dead outlet, check this common culprit that's often a simple DIY fix.
Should you do this yourself?
Answer five quick questions before you start. Safety outranks savings every time.
Your experience with work like this
How high do you have to work?
Does the job involve any of these?
Will it need a permit?
Specialty tools
Free and instant. Educational guidance only — not a quote, inspection, or professional diagnosis.
Estimate your own project cost
National averages are a starting point. Enter your details for a range that fits your house.
HVAC replacement cost
- Equipment$2,200 – $3,800
- Installation labor$1,200 – $2,500
Always insist on a Manual J load calculation — sq-ft sizing is only a rough check. Federal heat-pump rebates may reduce cost significantly.
Educational estimate only — always confirm with written local bids.
What should this project cost?
Enter your project details for a realistic cost range before you call anyone.
Service calls and common repairs run $150–$900; full system replacement typically $6,000–$12,000.
- Regional adjustment
- National average
- Labor share (typical)
- ~$1,935
- Quotes to collect
- 3 written estimates
Educational estimate based on national averages — not a binding quote. Always confirm with written local estimates.
Fixly Project Decision Box
- DIY difficulty
- Advanced
- Estimated time
- Homeowner checks 20–30 minutes
- Cost level
- Moderate
Main tools / materials
- Clean air filter
- Garden hose for condenser coils
- Shop vac for the condensate line
When to stop and call a pro
- Burning smell, smoke, or a tripping breaker
- Refrigerant lines iced over or hissing
- Any work inside the sealed refrigerant circuit (EPA-licensed only)
- Gas smell near a furnace — leave and call the utility
Need professional help?
Find an HVAC Pro Near YouBefore you start
Check the difficulty, permits, and safety risk — then decide whether to call a pro.
Free, no signup required. Estimates are educational guidance, not a quote or an inspection.
Frequently asked questions
What does a bad AC capacitor sound like?+
A bad capacitor often causes the outdoor unit to hum loudly for a few seconds when trying to start, but the fan won't spin and the compressor won't engage. It might then shut off, or continue to hum quietly without doing anything.
Can I replace an AC capacitor myself?+
Yes, if you're comfortable working with electricity and follow safety precautions, replacing an AC capacitor is a common DIY fix. Make sure to discharge the old capacitor safely and match the microfarad and voltage ratings precisely for the new one.
How do I know what size capacitor to get?+
You need to match the microfarad (µF or MFD) and voltage (VAC) ratings printed on your old capacitor exactly. For example, if it says '40/5 MFD 370 VAC', get a new one with those exact numbers. You can use a higher voltage rating (e.g., 440 VAC instead of 370 VAC) but never a lower one.
How long does an AC capacitor last?+
Typically, an AC capacitor lasts between 10 to 15 years, but extreme heat, frequent cycling, power surges, and unit age can shorten its lifespan significantly. It's often the first major electrical component to fail in an outdoor unit.
What happens if I use the wrong capacitor?+
Using the wrong capacitor, especially one with incorrect microfarad ratings or a lower voltage rating, can damage your AC motors, cause inefficient operation, or lead to premature failure of the new capacitor. Always match the specifications.
Why does my AC hum but not start?+
A humming noise without the fan or compressor starting is a classic symptom of a failed run capacitor. The motors are receiving power but lack the initial electrical surge from the capacitor to begin spinning.
Can I temporarily jump-start my AC fan without a capacitor?+
While technically possible to
Discussion
Loading comments…