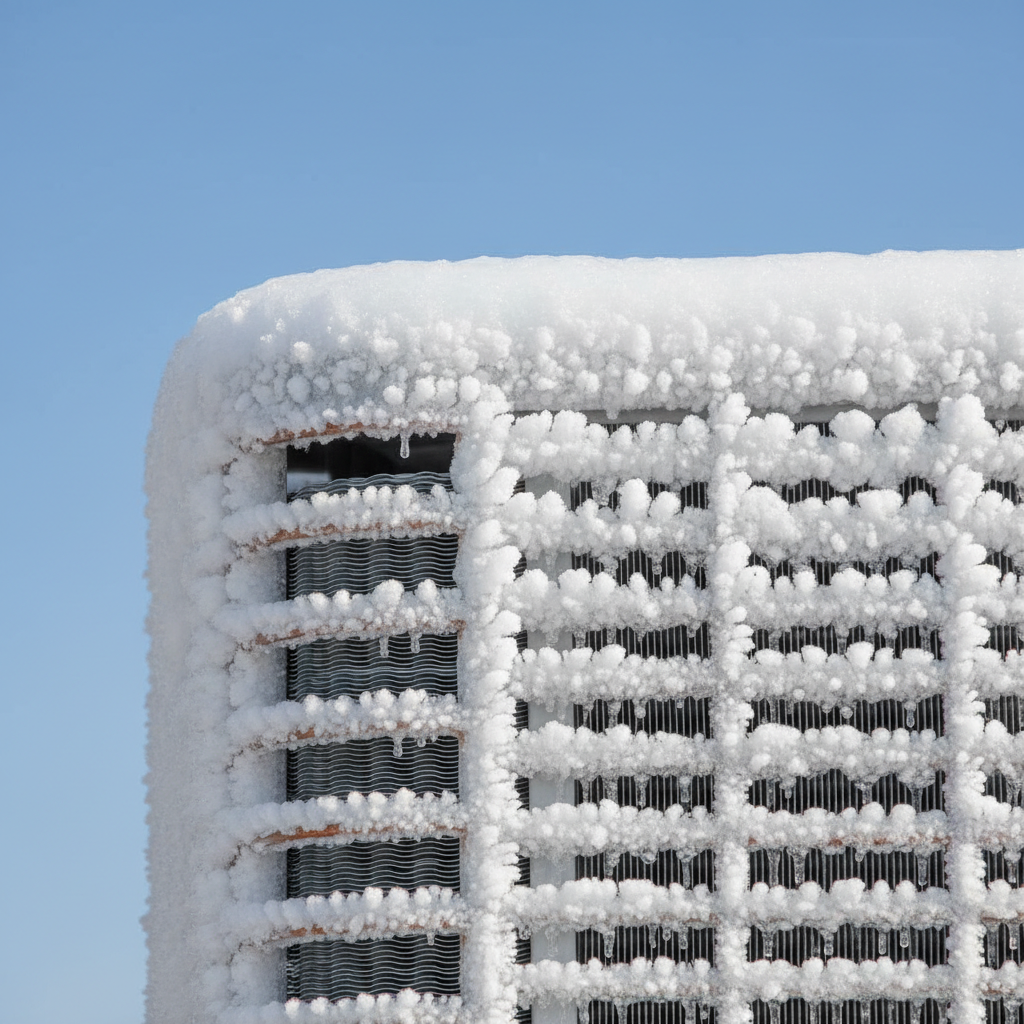
- Thaw the Unit — The crucial first step
- If this doesn't work: If the ice isn't melting after an hour or two, ensure the outdoor disconnect switch is truly off. Do not try to chip away the ice; you could damage the delicate coils.
- Inspect and Replace Air Filter — The most common culprit
- Tools needed: New air filter of the correct size and MERV rating.
- Check for Blocked Return Vents — Another airflow obstruction
HVAC · High energy usage
| Project category | HVAC |
|---|---|
| Problem type | High energy usage |
| Trade required | HVAC |
| Urgency | Planned project |
| Safety risk | Low safety risk |
| DIY suitability | DIY for experienced homeowners |
| Cost category | High cost |
| Typical timeline | Assessment within weeks; replacement planned off-season |
| Contractor type | Licensed HVAC technician |
Repair option
Duct sealing, insulation, and a tune-up before touching the equipment.
Replacement option
High-efficiency replacement sized by a load calculation, not a rule of thumb.
Common causes
- Aging, low-efficiency equipment
- Leaking ducts losing conditioned air
- Insufficient attic insulation
- Oversized system short-cycling
Relevant tools:project cost estimatorrepair or replace
Published July 24, 2026Last updated August 18, 2026
Tools & materials you'll need
Affiliate linksAs an Amazon Associate FixlyGuide earns from qualifying purchases — at no extra cost to you. Prices and availability are accurate as of publication and subject to change.
Quick Answer
Your outdoor AC unit is freezing because of a fundamental issue with heat exchange, primarily either restricted airflow over the evaporator coil (inside your home) or low refrigerant levels. When the heat exchange is insufficient, the refrigerant temperature drops too low, causing moisture in the air to condense and freeze on the coil. The most frequent culprit is a dirty air filter, which chokes the system's ability to pull in warm air, leading to a cascade effect that results in ice formation on both indoor and outdoor coils.
The Problem
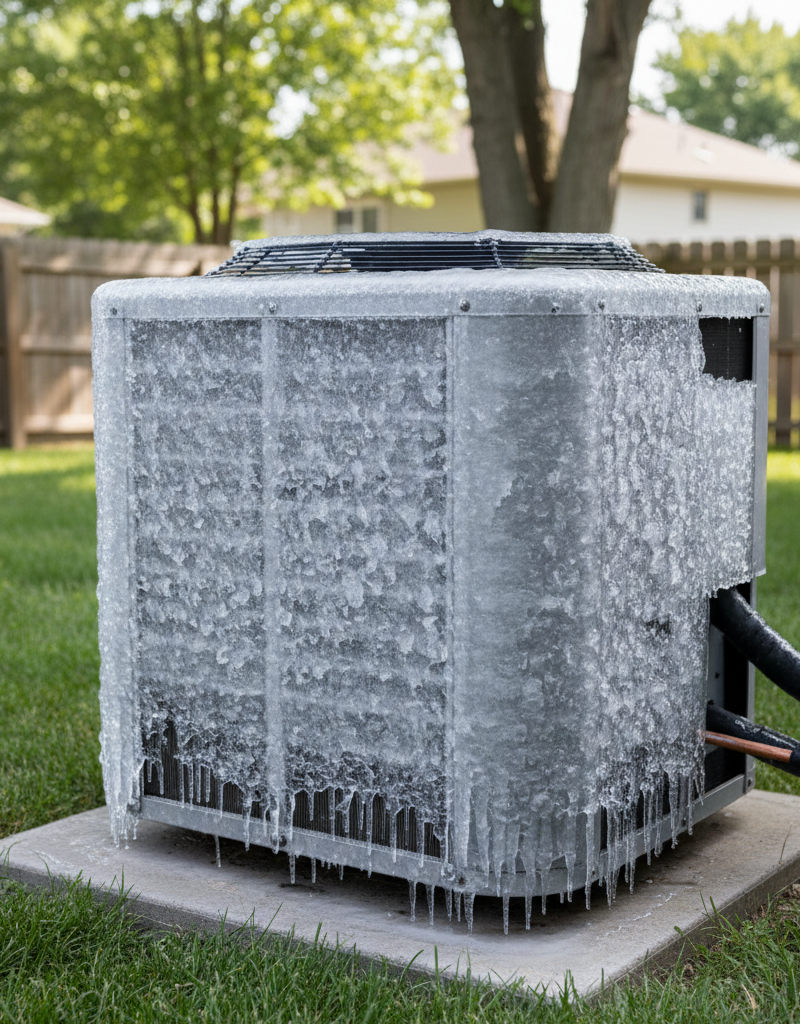
There's a chilly mystery unfolding in your backyard: your outdoor air conditioner unit, instead of efficiently cooling your home, is encased in a layer of ice. This isn't just a cosmetic issue; an iced-up AC unit is a clear signal that your system is struggling, leading to reduced cooling performance, increased energy bills, and potential damage to expensive components like the compressor. You might notice your house isn't getting as cool as it should, or perhaps the unit is running constantly without making much difference. Ignoring this problem won't make it go away; in fact, it can turn a relatively simple fix into a costly repair.
The ice formation usually starts on the evaporator coil inside your home and can then migrate to the outdoor condenser unit's lines and coil because the entire system is interconnected. The presence of ice indicates that the coil temperature has dropped below freezing (32°F or 0°C) when it shouldn't, typically due to an imbalance in the refrigerant cycle.
How It Works
To understand why your AC freezes, it helps to know how an air conditioning system normally operates. Your AC works by moving heat, not by generating cold. It uses a chemical compound called refrigerant, which changes between a liquid and a gas state, to absorb heat from inside your home and release it outside.
- Evaporator Coil (Indoor Unit): Warm air from your home is drawn into the return vents and flows over the evaporator coil. The liquid refrigerant inside this coil absorbs the heat from the air, causing the refrigerant to turn into a low-pressure gas. This process cools the air, which is then blown back into your living space. As the air passes over the cold coil, moisture in the air condenses on the coil's surface, just like water droplets form on a cold glass. This condensate normally drips into a drain pan and is expelled.
- Compressor (Outdoor Unit): The now-gaseous, low-pressure refrigerant travels to the compressor in the outdoor unit. The compressor increases the pressure and temperature of the refrigerant.
- Condenser Coil (Outdoor Unit): The hot, high-pressure refrigerant gas then flows into the condenser coil. Here, outdoor air is drawn over the coil by the condenser fan, absorbing heat from the refrigerant. As the refrigerant loses heat, it condenses back into a high-pressure liquid.
- Expansion Valve/Metering Device: The liquid refrigerant travels back towards the indoor unit, passing through an expansion valve or metering device. This valve rapidly reduces the pressure of the refrigerant, causing it to cool down significantly just before it enters the evaporator coil, ready to absorb more heat.
The freezing occurs when the evaporator coil gets too cold. Normally, the coil temperature stays above freezing (around 40-45°F) because it's constantly absorbing heat from the indoor air. If the airflow over the coil is restricted, or if there isn't enough refrigerant to absorb the heat efficiently, the coil's temperature plummets. When the coil gets below 32°F, the moisture in the air that normally just condenses turns into ice, building up on the coil and, eventually, restricting airflow even further, creating a vicious cycle. This ice can then spread to the refrigerant lines and even the outdoor coil because the entire refrigerant loop is compromised.
Step-by-Step Fix
Always turn off your AC unit at the thermostat and the outdoor disconnect switch before performing any work. Electrical shock can be fatal.
- Thaw the Unit — The crucial first step
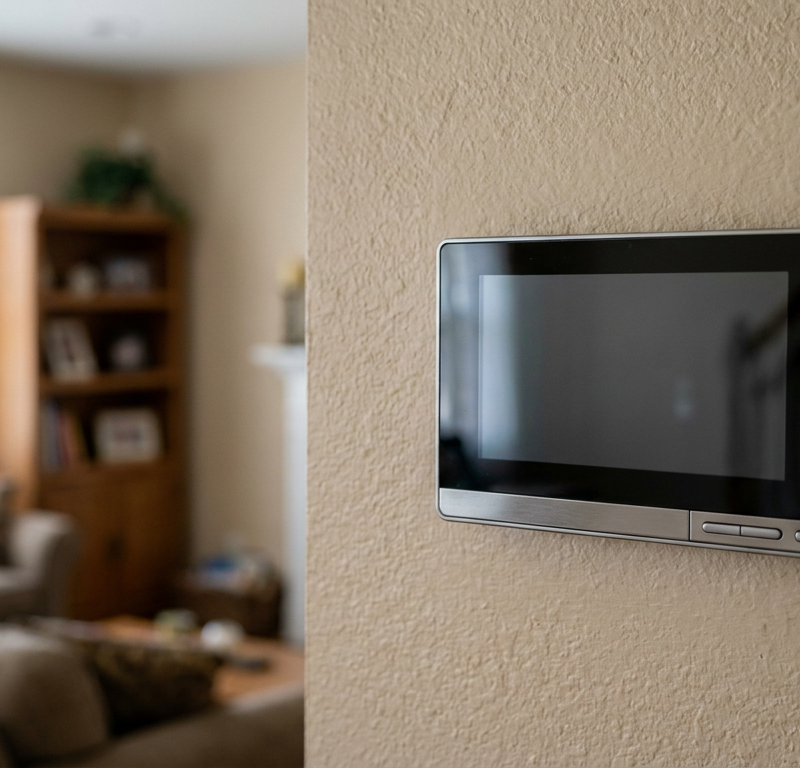
- Turn off your AC system completely at the thermostat. Set it to 'Off' or 'Heat' (with the fan set to 'On' to help melt the ice faster). If your outdoor unit is heavily iced, you might also consider turning off the breaker to the outdoor unit for extra safety, though it's usually sufficient to just turn off the AC at the thermostat. Running the fan indoors with the cooling off will help circulate warmer air over the indoor coil, speeding up the thaw. Allow several hours for all the ice to melt completely, sometimes even overnight, depending on the extent of the freeze. You may want to place towels around the indoor unit's drain pan to catch any overflow.
- If this doesn't work: If the ice isn't melting after an hour or two, ensure the outdoor disconnect switch is truly off. Do not try to chip away the ice; you could damage the delicate coils.
- Inspect and Replace Air Filter — The most common culprit
- Locate your air filter, typically in the return air duct or within the indoor air handler/furnace. Pull it out and examine it. Is it clogged with dust, pet hair, or debris? A dirty filter severely restricts airflow, forcing the system to work harder and often leading to freezing. Replace it with a new, clean filter matching the MERV rating recommended by your system manufacturer (usually MERV 8-11). Change your air filter every 1-3 months, especially during peak use or if you have pets.
- Tools needed: New air filter of the correct size and MERV rating.
- Check for Blocked Return Vents — Another airflow obstruction
- Walk around your home and ensure that all return air vents (the large grilles where air is pulled into the system) are open and unobstructed by furniture, curtains, or rugs. Even partially blocked vents reduce the amount of warm air reaching the evaporator coil, contributing to freezing.
- Clean Evaporator Coil (DIY Light Clean) — Addressing internal dirt buildup
- After the unit is thawed and safely powered off, carefully open the access panel to your indoor air handler or furnace where the evaporator coil is located. You will likely need a screwdriver for this. Use a soft brush and a coil cleaner (available at most hardware stores, specifically designed for HVAC coils) to gently clean visible dirt and debris from the coil fins. Follow the product instructions. Be very careful not to bend the delicate fins. A shop vac can also be used to carefully vacuum loose debris.
- Safety Note: Wear gloves and eye protection when using coil cleaner. Avoid getting water or cleaner on electrical components.
- Tools needed: Screwdriver, soft brush, HVAC coil cleaner, shop vac (optional), safety glasses, gloves.
- Clean Outdoor Condenser Coil — Ensuring proper heat dissipation
- With the outdoor unit still powered off, remove any leaves, grass clippings, or debris from around the condenser unit. Use a garden hose (at low pressure, without a nozzle or a spray pattern that's too powerful) to gently rinse the condenser coil from the inside out if possible. This pushes dirt away from the fins. Be careful not to bend the delicate aluminum fins. Avoid spraying directly into electrical components.
- Tools needed: Garden hose, screwdriver (if removing the top grille).
- If this doesn't work: If the fins are heavily bent or severely clogged, a professional cleaning might be necessary.
- Verify Blower Fan Operation — Ensuring indoor air circulation
- Once the system is thawed, with power restored, set your thermostat to 'Fan On' (not 'Cool'). Listen for the blower fan within your indoor air handler. It should be moving air strongly out of your supply vents. Weak airflow from your vents could indicate a problem with the blower fan itself, a clogged blower wheel, or severely leaky ductwork, all of which contribute to freezing.
- Pro Callout: If the blower fan isn't running or is making unusual noises, turn off the system immediately and call an HVAC professional.
- Check for Minor Refrigerant Leaks (Visual) — Early detection for a major issue
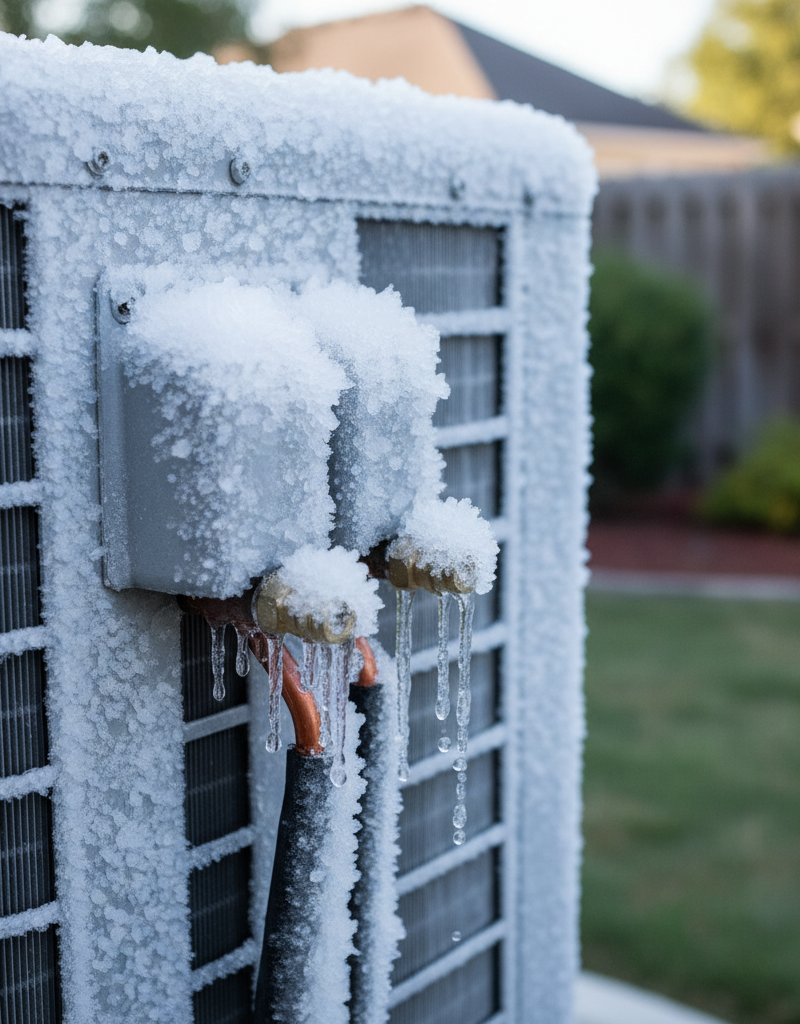
- While you should NEVER try to add refrigerant yourself, you can visually inspect the refrigerant lines connecting your indoor and outdoor units for signs of ice. Even after the system thaws, look for oily residue around the joints or connections of the copper lines; this can indicate a refrigerant leak. A significant amount of ice on just the larger, insulated refrigerant line (the suction line) after the system has been running for a while is a strong indicator of low refrigerant.
- Safety Note: Refrigerant is a hazardous chemical. Do not attempt to handle it or open any refrigerant lines. If you suspect a leak, contact a licensed HVAC technician immediately.
Common Causes
- Dirty Air Filter: The single most common cause. A clogged filter restricts the return airflow to the evaporator coil, preventing it from absorbing enough heat and causing it to get too cold and freeze. While the ice appears outside, the root cause is often inside.
- Low Refrigerant (Refrigerant Leak): Leaks reduce the pressure in the system, causing the evaporator coil temperature to drop excessively. This is a serious issue that requires professional attention, as refrigerant should never 'run out' like fuel; it only depletes if there's a leak.
- Blocked Evaporator Coil: Even with a clean filter, the evaporator coil itself can become caked with dirt, dust, and mold over time. This acts like a 'dirty filter' directly on the coil, impeding heat transfer.
- Dirty Outdoor Condenser Coil: While less directly a cause of freezing, a heavily soiled outdoor coil hinders the system's ability to dissipate heat. This makes the entire system work harder, reducing efficiency and potentially leading to other issues.
- Blower Motor Issues: A malfunctioning or weak indoor blower motor can't move enough air across the evaporator coil, leading to restricted airflow and freezing, similar to a dirty filter.
- Closed or Blocked Vents/Ductwork: If too many supply or return vents are closed or obstructed, the overall airflow through the system is reduced, leading to insufficient heat exchange at the evaporator coil.
- Faulty Thermostat: A miscalibrated or broken thermostat might not be calling for cooling correctly, leading to short cycling or prolonged run times that stress the system and contribute to freezing.
- Undersized or Oversized Ductwork: Incorrectly sized ductwork can perpetually restrict or move too much air, leading to pressure imbalances that cause coils to operate outside their optimal temperature range.
Common Mistakes
- Ignoring the Thaw: Trying to chip ice off the coils or restarting the unit immediately without fully thawing it can cause irreversible damage to the delicate fins and internal components. Patience is key.
- Only Looking Outside: Many homeowners see ice on the outdoor unit and assume the problem originated there. In most cases, the root cause starts indoors (dirty filter, evaporator coil, low airflow) and manifests outside.
- Adding Refrigerant Yourself: Refrigerant is not a DIY top-off supply. If your system is low, there's a leak. Adding refrigerant without fixing the leak is a temporary, harmful solution that violates environmental regulations.
- Using High-Pressure Water on Coils: While rinsing the condenser coil is good, using a powerful pressure washer can easily bend the delicate aluminum fins, further restricting airflow and making the problem worse.
- Forgetting Return Vents: Often, homeowners focus on supply vents but overlook the importance of clear, open return air vents for proper system circulation.
- Not Changing the Air Filter Regularly: This is the most preventable mistake. A $10 filter changed monthly or bi-monthly can save you hundreds, if not thousands, in potential repair costs.
Cost & Time Breakdown
| Task | DIY Cost | Pro Cost | Time (DIY) |
|---|---|---|---|
| Thaw AC unit | $0 | $0 | 2–8 hours |
| Replace air filter | $10–$30 | Included with service | 1–2 minutes |
| Coil cleaning (DIY light) | $15–$25 | $150–$400 | 30–60 minutes |
| Clear vents/ducts | $0 | $0 | 5–10 minutes |
| Blower fan/motor repair | Not recommended | $250–$800 | Not recommended |
| Refrigerant leak detection/fix | Not recommended | $200–$1,500+ | Not recommended |
| Professional tune-up | N/A | $80–$250 | N/A |
Tips & Prevention
- Regular Filter Changes: This cannot be stressed enough. Change your air filter at least every 1-3 months. During peak cooling seasons or if you have pets, check it monthly and change as needed.
- Seasonal Professional Tune-Ups: Schedule an annual or bi-annual HVAC inspection and tune-up. A professional can clean coils thoroughly, check refrigerant levels, inspect electrical components, and identify potential issues before they lead to breakdowns.
- Keep Coils Clean: Periodically (e.g., once a year in spring) gently rinse your outdoor condenser coil with a garden hose. Inspect your indoor evaporator coil during filter changes for excessive dust buildup.
- Ensure Good Airflow: Keep all supply and return vents open and clear of obstructions. Avoid closing off vents in unused rooms, as this can create pressure imbalances in your ductwork.
- Monitor Refrigerant Lines: After thawing and restarting your AC, periodically check the larger, insulated copper line running between your indoor and outdoor units. It should feel cold to the touch but not be covered in ice. If it's icing up again, especially if your filter is clean and airflow is good, suspect a refrigerant issue and call a pro.
- Check Condensate Drain: Ensure the condensate drain line (usually a PVC pipe) from your indoor unit isn't clogged. A clogged drain can cause water to back up, potentially leading to freezing in the drain pan and on the coil. Periodically pour a cup of distilled vinegar down the drain line to prevent mold and algae growth.
When to Call a Professional
While many common causes of AC freezing can be addressed by a homeowner, there are definitive signs and situations where professional intervention is not just recommended, but essential. If, after following the troubleshooting steps and ensuring good airflow (clean filter, open vents), your AC unit continues to freeze, especially if you notice ice reforming within hours of thawing, it's a strong indicator of a deeper, more technical problem. The most critical reason to call a professional is if you suspect a refrigerant leak. Refrigerant is a hazardous chemical, and its handling, recovery, and recharging require specialized tools, training, and EPA certification. You should also call a pro if your indoor blower fan isn't operating correctly, if you notice significant damage to the coils, or if you're uncomfortable performing any of the DIY steps involving access to internal components. An HVAC technician can safely diagnose and repair complex issues like faulty compressors, expansion valves, or serious electrical problems that are beyond the scope of a typical homeowner.
Related Articles
Keep troubleshooting with these hand-picked guides from FixlyGuide:
- The Hidden Reason Your AC Freezes — And Why Most Homeowners Get It Wrong — Your outdoor AC unit freezing solid is a common, frustrating problem often caused by airflow issues or low refrigerant, leading to system i…
- The #1 Reason Your AC Freezes Solid (It's Not What You Think) — A frozen AC unit often points to poor airflow, which can be a simple fix if you know where to look.
- The #1 Mistake Homeowners Make When Their AC Won't Turn On (And the Easy Fix) — Learn the most common reason your AC isn't turning on and how to fix it with simple troubleshooting steps, potentially saving a costly serv…
- The #1 Gutter Mistake That Leads to $10,000 Roof Damage — Learn the most common gutter-cleaning mistake homeowners make and how to properly maintain your gutters to prevent expensive roof damage.
- The #1 Mistake Homeowners Make When Their Heat Pump Stops Heating in Winter — Discover the most common reason your heat pump struggles in cold weather and how a simple homeowner fix can restore warmth to your home.
- The Hidden Reason Your AC Isn't Cooling (And Why Most Homeowners Get It Wrong) — When your central AC unit isn't cooling, the culprit often isn't what you think, leading to frustration and unnecessary repair calls.
What should this project cost?
Enter your project details for a realistic cost range before you call anyone.
Service calls and common repairs run $150–$900; full system replacement typically $6,000–$12,000.
- Regional adjustment
- National average
- Labor share (typical)
- ~$1,935
- Quotes to collect
- 3 written estimates
Educational estimate based on national averages — not a binding quote. Always confirm with written local estimates.
Fixly Project Decision Box
- DIY difficulty
- Advanced
- Estimated time
- Homeowner checks 20–30 minutes
- Cost level
- Moderate
Main tools / materials
- Clean air filter
- Garden hose for condenser coils
- Shop vac for the condensate line
When to stop and call a pro
- Burning smell, smoke, or a tripping breaker
- Refrigerant lines iced over or hissing
- Any work inside the sealed refrigerant circuit (EPA-licensed only)
- Gas smell near a furnace — leave and call the utility
Need professional help?
Find an HVAC Pro Near YouGet the print-ready PDF of this guide
A clean, ad-free, printable version you can keep on your phone or pin to the workshop wall. Free with a FixlyGuide account.
- Print-optimized layout
- Tools, materials & every step included
- Saved to your account
Frequently asked questions
How long does it take an AC unit to thaw?+
It can take anywhere from 2 to 8 hours for an AC unit to completely thaw, depending on how much ice has accumulated and ambient temperatures. Running the indoor fan with the cooling off can speed up the process by circulating warmer air over the indoor coil.
Can a dirty air filter cause the AC to freeze?+
Yes, a dirty air filter is the most common cause of an AC unit freezing. It restricts airflow over the evaporator coil, preventing proper heat absorption and causing the coil temperature to drop below freezing, leading to ice buildup.
What are the signs of low refrigerant?+
Signs of low refrigerant include reduced cooling capacity, unusually high energy bills, a hissing or bubbling sound from the refrigerant lines, and ice forming on the larger, insulated refrigerant line connecting the indoor and outdoor units. A professional should always diagnose and fix refrigerant issues.
Should I pour hot water on a frozen AC unit?+
No, you should never pour hot water on a frozen AC unit. This can warp or damage the delicate aluminum fins and potentially crack components due to sudden temperature changes. The safest method is to turn off the unit and allow it to thaw naturally.
Can I run my AC with a frozen coil?+
No, you should never run your AC with a frozen coil. This forces the system to work harder, can lead to compressor damage (an expensive repair), and won't effectively cool your home. Always thaw the unit completely before restarting it.
Discussion
Loading comments…