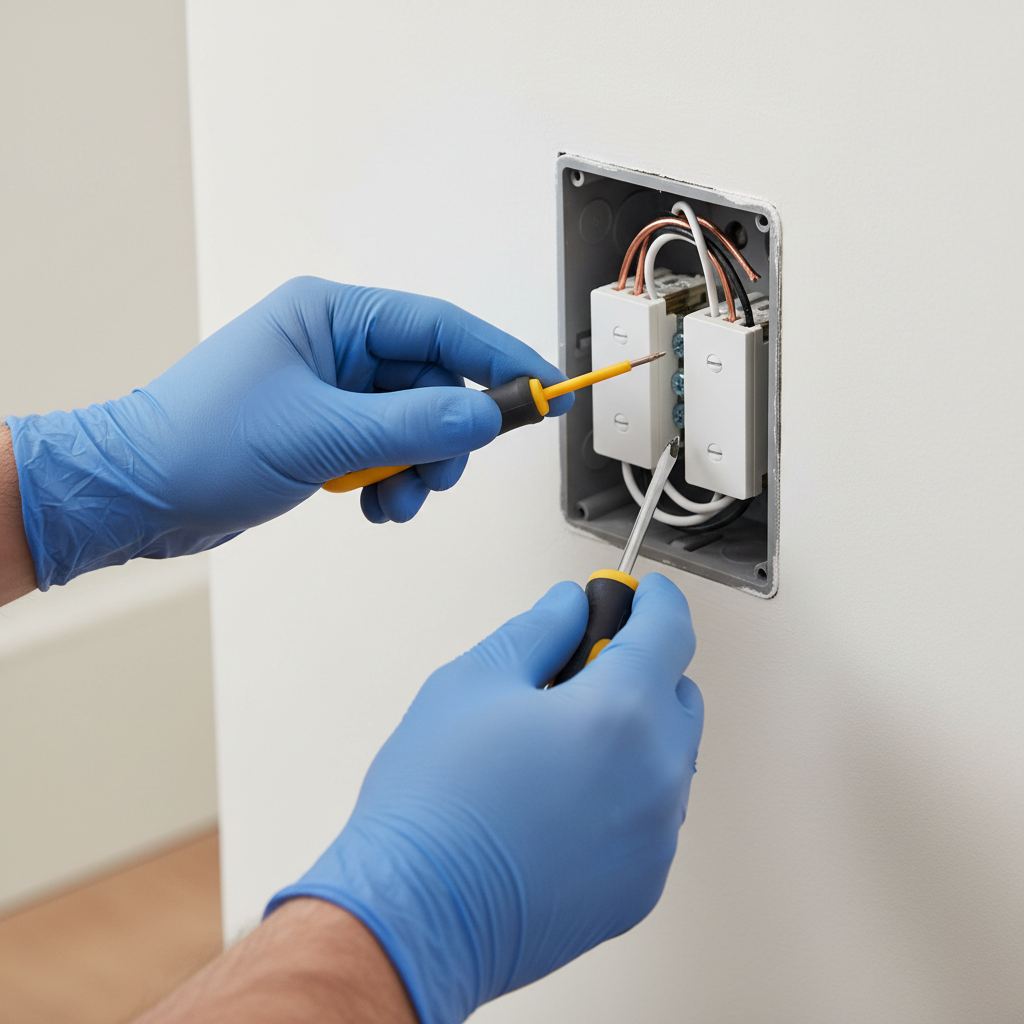
- Loose Wire Connections: Over time, wires can loosen from terminal screws due to vibrations or repeated use, leading to intermittent power, flickering, or complete failure. This is often the primary culprit for an older switch acting up.
- Worn-Out Switch Mechanism: Internal components within the switch, such as springs or contacts, can wear out or corrode after years of use, preventing the switch from making a reliable connection.
- Overloading: Connecting a switch to a circuit with too many high-amperage devices can cause the switch to overheat and fail prematurely. While circuit breakers usually trip first, repeated overloads stress the switch.
- Faulty Switch: Occasionally, a new switch can be defective right out of the box, though this is less common with reputable brands.
Electrical · Panel or service upgrade
| Project category | Electrical |
|---|---|
| Problem type | Panel or service upgrade |
| Trade required | Electrical |
| Urgency | Planned project |
| Safety risk | High safety risk |
| DIY suitability | Licensed pro only |
| Cost category | High cost |
| Typical timeline | Permit plus utility scheduling, commonly 2–6 weeks |
| Contractor type | Licensed electrician |
Repair option
Add a subpanel when the main service is adequate.
Replacement option
Full service upgrade with utility coordination and permits.
Common causes
- Obsolete or recalled panel brands
- Service capacity too small for added loads
- No room for required AFCI/GFCI breakers
Relevant tools:project cost estimatorcompare quotes
Published July 18, 2026Last updated August 17, 2026
Tools & materials you'll need
Affiliate linksAs an Amazon Associate FixlyGuide earns from qualifying purchases — at no extra cost to you. Prices and availability are accurate as of publication and subject to change.
Quick Answer
Many homeowners overlook a crucial safety step when replacing a light switch: verifying the power is truly off at the switch location. It's not enough to flip a breaker; you must use a non-contact voltage tester directly in the switch box to ensure no current is present. Beyond safety, incorrect wiring – especially neglecting to properly secure connections or match the switch type (single-pole, three-way, dimmer) – often leads to frustrating issues like flickering lights, non-functional switches, or even dangerous short circuits. This guide will walk you through the correct, safe procedures to avoid these common pitfalls.
The Problem
You've got a light switch that's stopped working, flickers, or perhaps you're just looking to upgrade to a newer style or smart switch. The process seems straightforward: unscrew the old, screw in the new. However, electricity is unforgiving. Improperly disconnecting power can lead to severe shocks or electrocution. Rushing through the wiring, failing to understand the different types of switches, or making loose connections can result in frustrating intermittent problems, tripped breakers, or even house fires. These aren't just minor inconveniences; they pose real safety risks and can damage your home's electrical system. Understanding the underlying principles and meticulously following safety measures are paramount to a successful and safe light switch replacement.
How It Works
At its core, a light switch is a simple device designed to break or complete an electrical circuit, controlling the flow of power to a light fixture or outlet. In a typical home setup, electricity flows from your service panel (breaker box) through a hot wire (usually black or red) to the switch. When the switch is in the "off" position, it creates a gap in this circuit, preventing electricity from reaching the light. When you flip the switch "on," it closes this gap, allowing current to flow from the hot wire, through the switch, along another wire (often called the 'switch leg' or 'switched hot') to the light fixture, and then back to the service panel via the neutral wire (white) and ground wire (bare copper or green). This continuous loop is essential for electricity to do work.
There are several common types of switches: A single-pole switch is the most basic, controlling one light fixture or outlet from a single location. It has two terminal screws (one for incoming power, one for the switched leg) and a ground screw. A three-way switch is used when you need to control a light from two different locations (e.g., at the top and bottom of a staircase). These switches are always installed in pairs and have three terminal screws (one common, two travelers) plus a ground. A four-way switch (always used in conjunction with two three-way switches) allows you to control a light from three or more locations. It has four terminal screws and a ground. Dimmer switches vary the amount of power to a light, requiring specific wiring and compatibility with your light bulbs (LED, incandescent, CFL). Understanding which type of switch you're dealing with is crucial for correct replacement, as the wiring configurations differ significantly. Incorrectly wiring a three-way switch as a single-pole, for instance, will lead to complete malfunction and potential short circuits. Always observe the existing wiring before disconnecting anything.
Step-by-Step Fix
1. Prioritize Safety – Kill the Power — This is the most critical step. Go to your electrical panel and locate the circuit breaker that controls the light switch you're working on. Flip it to the "OFF" position. If your panel isn't clearly labeled, you might need to flip breakers one by one while someone else verifies the light goes out. Once off, tape over the breaker or place a note on the panel to prevent anyone from accidentally turning it back on.
- Safety Note: Never work on live electrical circuits. Always assume wires are live until you've tested them.
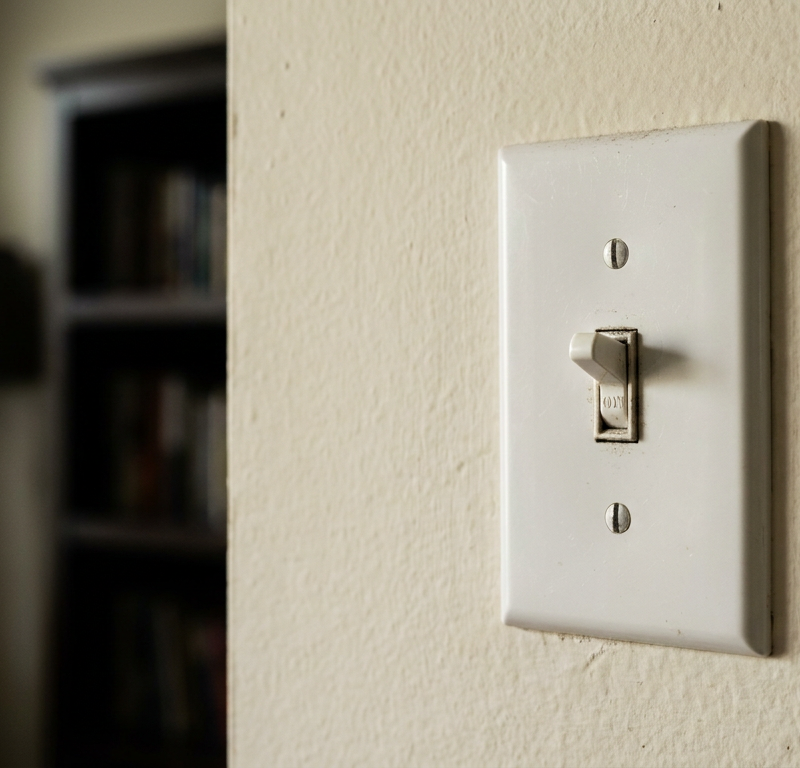
2. Confirm Power is OFF — Return to the light switch. Unscrew the faceplate and remove it. Gently pull the switch out from the electrical box. Using a non-contact voltage tester, touch the tip of the tester to each wire in the box, as well as the switch terminals. The tester should remain silent and dark. If it beeps or lights up, the power is still on. Go back to the breaker box and find the correct breaker. Do not proceed until the tester indicates no power.
- Tools: Non-contact voltage tester.
3. Document Existing Wiring — Before disconnecting anything, take photos or draw a diagram of how the wires are connected to the old switch. Pay close attention to wire colors (black, white, red, bare copper/green) and which terminal they're attached to. Note if screws are brass (hot/switched) or silver (neutral, less common on basic switches) or green (ground). For three-way and four-way switches, identify the common screw – it's often a different color (black or darker brass) or labeled "common." This documentation is invaluable for proper reinstallation.
- Tip: If you see any black wires connected to silver screws, this is often a “switch loop” configuration where a white wire is used as an ungrounded (hot) conductor. This is permissible but must be marked with black electrical tape to indicate it is not a neutral wire.
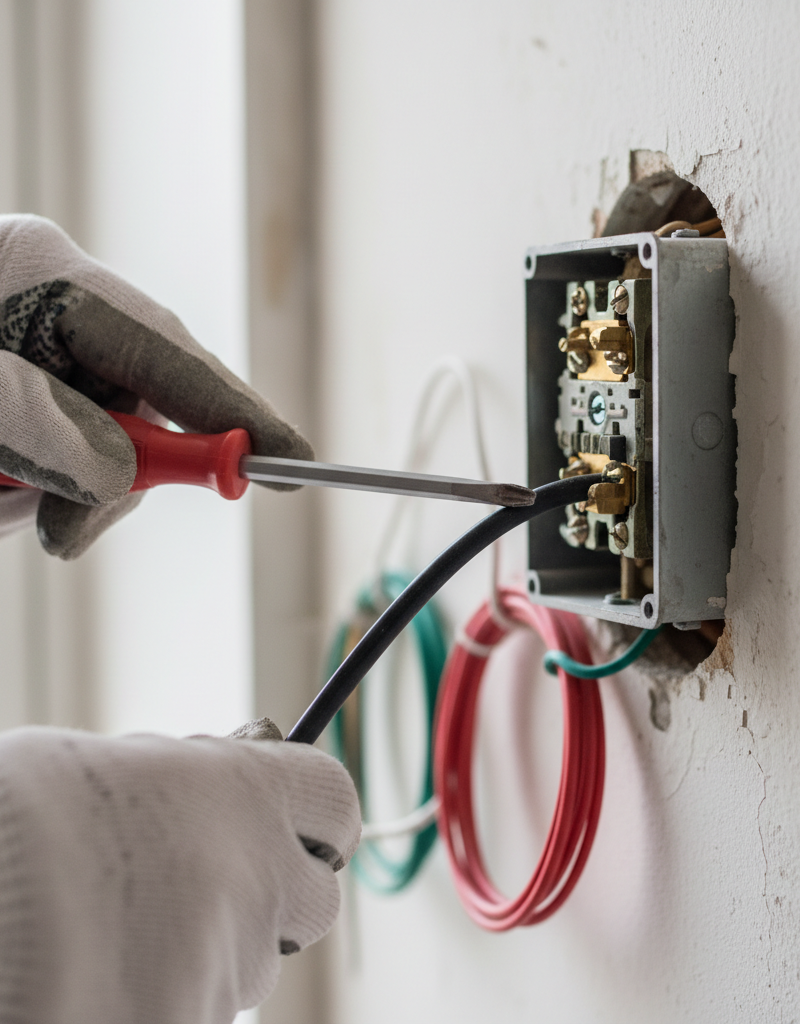
4. Disconnect the Old Switch — Loosen the terminal screws on the old switch and carefully remove each wire. If there are wire nuts connecting multiple wires, leave those intact for now, focusing only on the wires directly connected to the switch terminals. Pay attention to how the wires were looped around the screws – usually in a clockwise direction to tighten when the screw is turned clockwise.
5. Assess Wires and Box — Inspect the electrical box and the wires. Look for any frayed insulation, corrosion, or signs of overheating. If you find damaged insulation, you may need to strip a small amount of the wire back to expose fresh copper or use electrical tape to repair minor nicks. Ensure the electrical box is securely mounted.
- If you find severe wire damage, crumbling insulation, or signs of burning, call a licensed electrician. This indicates a potentially serious underlying electrical issue.
6. Prepare Wires for New Switch — If necessary, use wire strippers to trim off any damaged wire ends, leaving about 3/4 inch of insulation-free copper. If using screw terminals, create a small hook at the end of each wire with needle-nose pliers, ensuring it curves clockwise to match the tightening direction of the screw.
- Tools: Wire strippers, needle-nose pliers.
7. Connect the Ground Wire First — The bare copper or green-insulated ground wire should be connected to the green ground screw on the new switch. If the box is metal and grounded, there might also be a ground wire connected to the box itself. Ensure all ground wires are pigtail-connected together and to the ground screw on the switch for proper safety.
- Safety: The ground wire provides a safe path for electricity in case of a fault, preventing shock.
8. Connect the Line (Hot) and Load Wires — For a single-pole switch, connect the incoming hot wire (usually black, the one with constant power when the circuit is on) to one of the brass terminal screws. Connect the switch leg wire (usually black, leading to the light fixture) to the other brass terminal screw. If using push-in terminals (back-stab connections), avoid them if possible; screw terminals provide a more secure connection. When using screw terminals, ensure the wire hook fully encircles the screw and is tightened securely.
- For 3-way/4-way switches: Refer to your diagram! Connect the 'common' wire to the unique black or darker brass screw. The 'traveler' wires (usually red or black) connect to the remaining two brass screws.
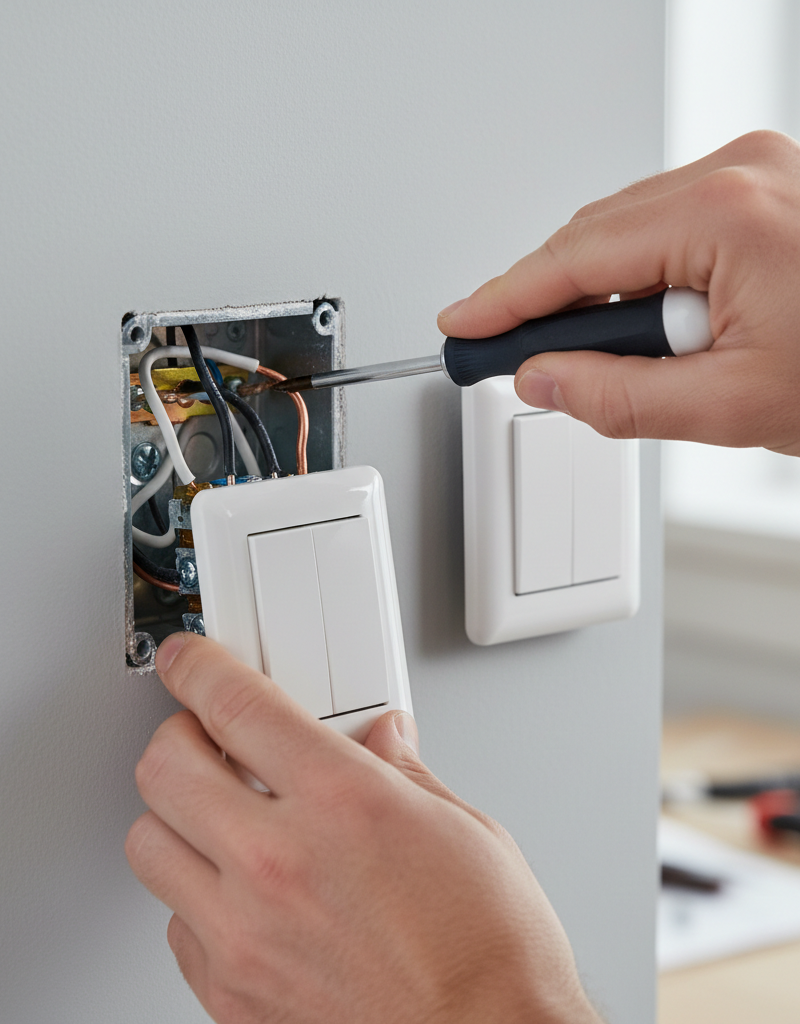
9. Secure the Switch in the Box — Carefully fold the wires back into the electrical box, leaving enough room for the switch to sit flush. Push the switch into the box and secure it with the mounting screws provided, ensuring it's level. Do not overtighten, as this can crack the box or switch.
10. Attach the Faceplate — Once the switch is secure, screw on the new faceplate. Again, don't overtighten.
11. Restore Power and Test — Go back to your electrical panel, remove any tape or notes, and flip the breaker back to the "ON" position. Return to the switch and test its operation. Switch it on and off multiple times to ensure the light responds correctly. Listen for any buzzing and watch for flickering. If there are any issues, immediately turn off the power and re-inspect your connections.
Common Causes
- Loose Wire Connections: Over time, wires can loosen from terminal screws due to vibrations or repeated use, leading to intermittent power, flickering, or complete failure. This is often the primary culprit for an older switch acting up.
- Worn-Out Switch Mechanism: Internal components within the switch, such as springs or contacts, can wear out or corrode after years of use, preventing the switch from making a reliable connection.
- Overloading: Connecting a switch to a circuit with too many high-amperage devices can cause the switch to overheat and fail prematurely. While circuit breakers usually trip first, repeated overloads stress the switch.
- Improper Installation: Mistakes during the initial installation, such as crimped wires, insufficient wire-to-terminal contact, or incorrect switch type for the application (e.g., using a single-pole where a three-way is needed), can lead to immediate or eventual failure.
- Faulty Switch: Occasionally, a new switch can be defective right out of the box, though this is less common with reputable brands.
Common Mistakes
- Forgetting to Test for Power: The absolute cardinal rule of electrical work. Never trust that a breaker label is accurate. Always use a non-contact voltage tester to confirm power is off at the switch box.
- Ignoring Wire Types for 3-Way/4-Way Switches: Attempting to wire a multi-location switch (3-way or 4-way) like a single-pole switch. These require understanding common and traveler terminals, which are unique. Always document the original wiring carefully.
- Loose or Improper Wire Connections: Wires not fully wrapped around screw terminals, or screws not tightened sufficiently, can cause arcing, overheating, and dangerous short circuits. Avoid using back-stab (push-in) connections; they are less reliable than screw terminals.
- Over-Stripping or Under-Stripping Wires: Too much bare wire exposed can lead to accidental contact within the box and short circuits. Too little exposed wire results in poor contact with the terminal, causing resistance and heat buildup.
- Using the Wrong Switch Amperage: Replacing a switch with one rated for lower amperage than the circuit it controls can cause it to fail and potentially overheat. Most residential switches are 15A or 20A; ensure your replacement matches the original or exceeds it.
- Neglecting the Ground Wire: Failing to connect the ground wire to the switch and the box (if metal and grounded) compromises a vital safety feature that protects against shock in case of an electrical fault.
Cost & Time Breakdown
| Task | DIY Cost | Pro Cost | Time |
|---|---|---|---|
| Basic Single-Pole Switch | $5–$15 | $100–$250 | 20–30 min |
| 3-Way/4-Way Switch | $10–$30 | $150–$350 | 30–60 min |
| Dimmer Switch | $20–$50 | $175–$400 | 30–60 min |
| Smart Switch (Wi-Fi) | $30–$80 | $200–$450 | 45–90 min |
| Tools & Materials | $20–$50 | N/A | N/A |
Tips & Prevention
- Periodic Tightening: If you experience flickering lights, it's often due to a loose connection. With the power off, removing the faceplate and gently tightening the terminal screws on your switches (and outlets) can resolve many issues.
- Match Switch Type: Always replace a switch with the same type (single-pole, 3-way, 4-way, dimmer) unless you are intentionally modifying the circuit and have the electrical expertise to do so safely and correctly.
- Check Wattage Ratings: For dimmer switches, ensure the total wattage of the bulbs connected does not exceed the dimmer's maximum rating. Also, use dimmable LED bulbs with LED-compatible dimmers.
- Upgrade Old Switches: If you have very old, brittle-feeling switches, consider replacing them proactively, especially if they are frequently used. Modern switches often offer better reliability and safety features.
- Organize Your Breaker Panel: Clearly label your circuit breakers. This not only makes future electrical work safer but also helps in quickly isolating issues.
- Avoid Overloading Circuits: Be mindful of what you plug into outlets downstream from a switch, or the total wattage of bulbs on a switched circuit. If a breaker trips frequently, it indicates an overload that needs to be addressed by reducing the load or consulting an electrician.
When to Call a Professional
While replacing a standard light switch is a common DIY task, there are specific situations where calling a licensed electrician is not just recommended, but essential for safety and code compliance. If you encounter aluminum wiring (silvery, not copper) in your switch box, stop immediately. Aluminum wiring requires special connectors and handling to prevent fire hazards and should only be worked on by a professional. Similarly, if your electrical box is old, damaged, or appears to be undersized for the new switch, an electrician can assess and safely replace it. Any signs of burnt wires, a persistent burning smell, frequently tripping breakers after a switch replacement, or if you're attempting to add a new switch or modify existing wiring (beyond a like-for-like replacement) demands professional expertise. Finally, if you feel at all uncomfortable or unsure at any point during the process, do not hesitate to call a licensed professional. Your safety and the integrity of your home's electrical system are paramount.
Related Articles
Keep troubleshooting with these hand-picked guides from FixlyGuide:
- The Single Most Common Reason Half Your Outlet Dies (and How to Fix It in 15 Minutes) — Before you call an electrician for a half-dead outlet, check this common culprit that's often a simple DIY fix.
- The #1 Mistake Homeowners Make Replacing a Light Switch (And How to Avoid It) — Avoid the most common — and dangerous — DIY light switch replacement mistake with this step-by-step guide.
- Why is Your Light Switch Hot? (The Hidden Danger Most Homeowners Miss) — A hot light switch isn't just uncomfortable; it's a critical warning sign of electrical issues that should never be ignored due to fire ris…
- The Secret Reason Half Your Wall Outlet Dies (And It's Not What You Think) — Discover why only half of your electrical outlet might be working and how to diagnose and fix the common culprit, saving you from a costly…
- Why Your Outlet Died (Even If the Breaker's On) — Discover the hidden reasons an electrical outlet stops working, even when the circuit breaker appears to be on, and learn simple diagnostic…
- The #1 Hidden Culprit Behind Your Whole-House Low Water Pressure (It's Not Your City!) — Discover the most common, often overlooked cause of low water pressure throughout your entire home and how to fix it yourself.
Repair or replace this system?
Plug in four numbers and see which choice holds up financially.
Free and instant. Educational guidance only — not a quote, inspection, or professional diagnosis.
Questions to ask before you sign
Ask every contractor the same questions and the cheapest bid stops looking cheapest. Check them off as you go — your progress is saved on this device.
Free, no signup. Bring this to every walkthrough so you compare bids on the same terms.
What should this project cost?
Enter your project details for a realistic cost range before you call anyone.
Outlet and switch work usually $150–$400; panel upgrades commonly $1,800–$4,200.
- Regional adjustment
- National average
- Labor share (typical)
- ~$709
- Quotes to collect
- 3 written estimates
Educational estimate based on national averages — not a binding quote. Always confirm with written local estimates.
Fixly Project Decision Box
- DIY difficulty
- Professional Recommended
- Estimated time
- Diagnosis 1–2 hours
- Cost level
- Moderate
Main tools / materials
- Non-contact voltage tester
- Outlet tester
- Flashlight
When to stop and call a pro
- Burning smell, scorch marks, or a warm outlet or switch plate
- A breaker that trips again right after being reset
- Any work inside the service panel
- Aluminum wiring or cloth-insulated wiring
Need professional help?
Talk to a Licensed ElectricianRepair or replace?
Run the age, cost ratio, and repair history through the calculator before you commit.
- Estimate this projectGet a cost range for your scope and ZIP before you call anyone.Open
- Get local estimatesSend one request and compare written estimates from vetted pros.Open
Free, no signup required. Estimates are educational guidance, not a quote or an inspection.
Frequently asked questions
How do I know if my light switch is bad?+
Signs of a bad light switch include intermittent operation (sometimes works, sometimes doesn't), lights flickering when the switch is engaged, difficulty getting the switch to stay in the 'on' or 'off' position, or a burning smell coming from the switch. If the switch feels loose or unusually hot, it's also a strong indicator of a problem.
Can I replace a 3-way switch with a single-pole switch?+
No, you cannot directly replace a 3-way switch with a single-pole switch. A 3-way switch is part of a pair controlling a light from two locations and has a different wiring configuration (common and traveler terminals). Attempting to replace it with a single-pole switch will not work and could create wiring issues unless you completely reconfigure the circuit, which normally requires a professional electrician.
Why is my new light switch not working after I installed it?+
If your new light switch isn't working, immediately turn off the power. Common reasons include: power not fully off when tested (a different breaker); loose wire connections at the terminals; incorrect wiring (especially for 3-way or dimmer switches); a faulty new switch; or an issue with the light fixture or bulb itself. Double-check all connections against your reference photos/diagram and re-test for power before troubleshooting further.
Do I need to turn off the main power to replace a light switch?+
You do not typically need to turn off the main power to your entire house, but you ABSOLUTELY must turn off the specific circuit breaker that supplies power to the light switch you are working on. Always confirm with a non-contact voltage tester that the power is off at the switch box before beginning any work.
Discussion
Loading comments…