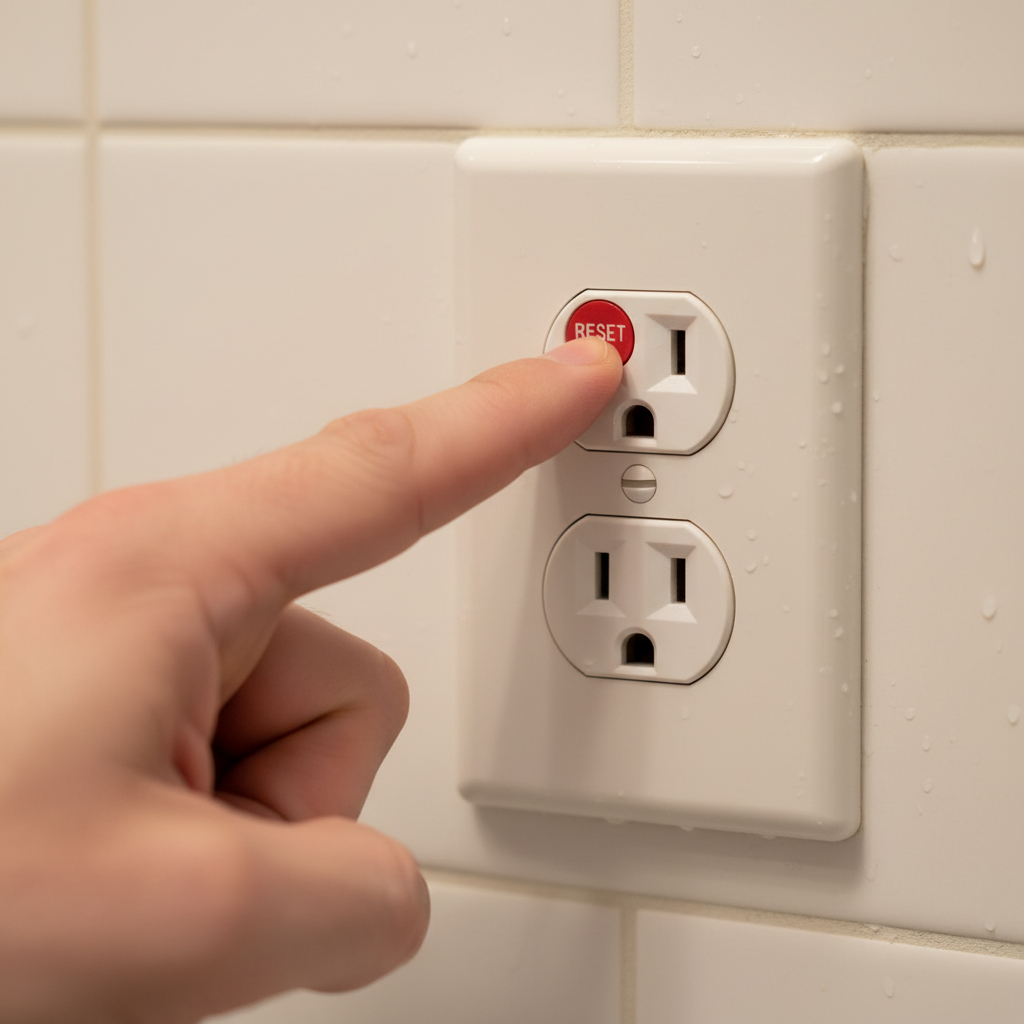
- Forgetting a Hidden GFCI: Not checking the garage, basement, crawl space, or exterior outlets for a tripped GFCI. These are often forgotten but are frequently tied to other interior circuits.
- Reusing Backstab Holes: After finding a loose wire, simply pushing it back into the same weak, unreliable backstab hole. This doesn't solve the underlying problem and is asking for a repeat failure.
- Replacing a GFCI with a Standard Outlet: If the failed outlet is a GFCI, it MUST be replaced with another GFCI to maintain code-required safety protection for that location and any downstream outlets.
- Working on a Live Circuit: Assuming the power is off without verifying it with a voltage tester. This is extremely dangerous and can result in severe shock or electrocution.
- Wrapping Terminal Wires Counter-Clockwise: This causes the wire to push away from the screw as you tighten it, resulting in a loose, insecure connection.
Electrical · Outlet or lights not working
| Project category | Electrical |
|---|---|
| Problem type | Outlet or lights not working |
| Trade required | Electrical |
| Urgency | Soon — within weeks |
| Safety risk | Moderate safety risk |
| DIY suitability | DIY for experienced homeowners |
| Cost category | Low cost |
| Typical timeline | Often under an hour once the cause is found |
| Contractor type | Licensed electrician |
Repair option
Reset the upstream GFCI first, then replace the failed device.
Replacement option
Rewire the circuit when connections are failing in multiple boxes.
Common causes
- Tripped GFCI upstream on the same circuit
- Loose neutral in a daisy-chained run
- Failed switch or receptacle
Relevant tools:diy difficultydiy or hire a pro
Published July 7, 2026Last updated August 17, 2026
Tools & materials you'll need
Affiliate linksAs an Amazon Associate FixlyGuide earns from qualifying purchases — at no extra cost to you. Prices and availability are accurate as of publication and subject to change.
Quick Answer
If a single outlet stopped working but the breaker is on, the problem is almost always localized to the outlet itself or one "upstream" from it. The top three causes are a tripped GFCI outlet elsewhere in the house that needs resetting, a loose "backstab" wire in the back of the outlet, or a failed/burned-out receptacle that must be replaced. The fix usually involves locating and resetting the controlling GFCI, or turning off the power to inspect the outlet, secure loose connections, and replace the component if it's damaged.
The Problem
You plug in the vacuum, and nothing happens. You try a lamp, and it's still dark. A single electrical outlet has suddenly stopped working. You march to the basement, open the electrical panel, and find that not a single breaker has tripped. To make matters more confusing, the outlet right next to it—or other lights and outlets in the same room—are working just fine. This isn't a house-wide power outage; it's a specific, localized failure that has you scratching your head. A dead outlet when the breaker is still on points to an issue within the circuit's wiring, not the panel itself. The electricity is flowing from the panel, but it's being interrupted before it can power your device.
How It Works
To understand why one outlet can fail while its neighbors work, you need to understand how most homes are wired. Electricians typically wire a series of outlets in a "daisy-chain" configuration. Power flows from the circuit breaker to the first outlet in the series, then a second set of wires carries that power from the first outlet to the second, from the second to the third, and so on. This is efficient, but it creates a dependency: a problem at one outlet can cut power to all subsequent outlets in the chain.
The most common reason for this interruption is a Ground Fault Circuit Interrupter, or GFCI. A GFCI is a special type of outlet with "TEST" and "RESET" buttons, designed to instantly cut power when it detects a ground fault, preventing electric shock. Building codes require GFCIs in areas with water (kitchens, bathrooms, garages, basements, outdoor outlets). Crucially, a single GFCI outlet is designed to protect itself and all the standard outlets wired "downstream" from it. So, a GFCI in your master bathroom could be protecting a standard, non-GFCI outlet in your bedroom. If that bathroom GFCI trips, the bedroom outlet will go dead, even though its breaker is on and the outlet itself looks normal. This is, by far, the most frequent cause for a single, mysteriously dead outlet.
The other two common culprits happen inside the electrical box: loose wires or a failed receptacle. Many modern homes were wired using "backstabbing," where wires are simply pushed into spring-loaded holes on the back of the outlet. Over time, these springs can weaken, causing the wire to become loose. A loose wire creates an intermittent connection, which generates heat, and can eventually stop conducting power altogether—or worse, create a fire hazard. Finally, the outlet receptacle itself can simply burn out from age, defects, or from being consistently overloaded by high-draw appliances like space heaters.
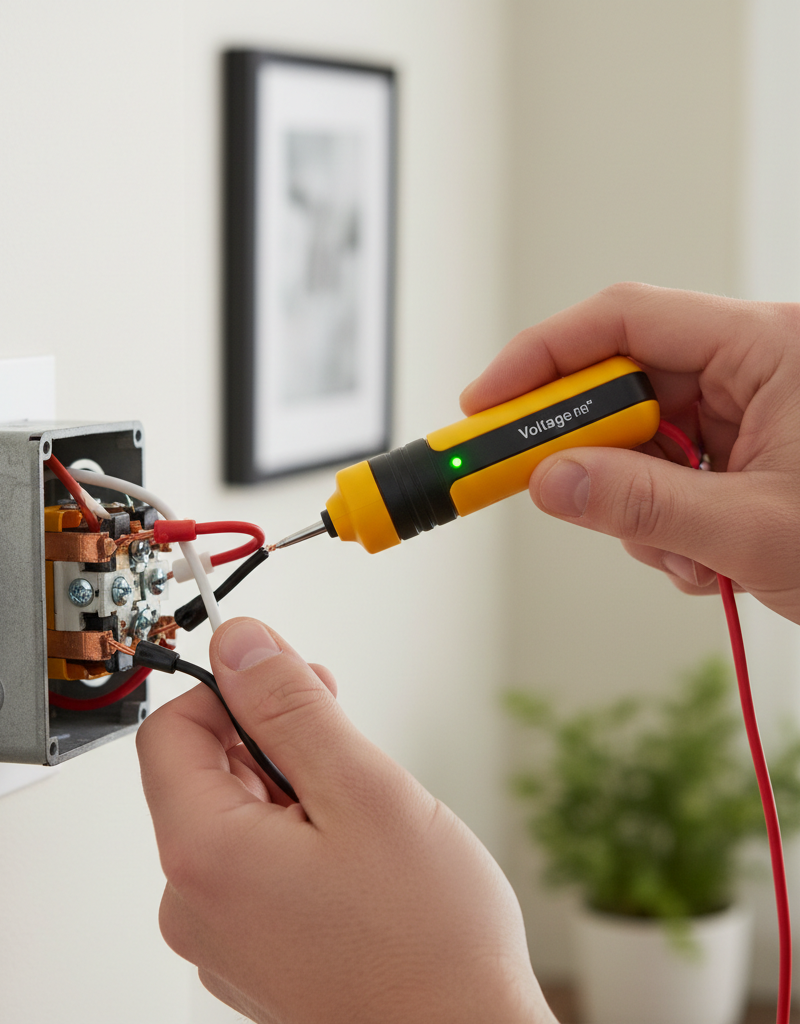
SAFETY NOTE: Before performing any work on an electrical outlet, you MUST turn off the power at the circuit breaker that controls it. Use a non-contact voltage tester to confirm there is no power at the outlet before you touch any wires. Always wear safety glasses and, if you have them, insulated gloves.
Step-by-Step Fix
1. The Great GFCI Hunt — Before you touch a single tool, your first job is to become a detective. Your mission is to find the tripped GFCI that's secretly controlling your dead outlet. Systematically go to every GFCI outlet in your home—check all bathrooms, the kitchen (especially near the sink), the garage, the basement, and any outdoor outlets. Look for one where the "RESET" button is popped out or a small indicator light (usually green or red) is off. Firmly press the "RESET" button on each one. If you hear a click and the light comes on, you've likely found the culprit. Go back to your dead outlet and test it. If it works, you're done.
2. Verify and Isolate the Power — If resetting GFCIs didn't work, you must now prepare for a hands-on inspection. Go to your electrical panel and shut off the specific breaker that powers the dead outlet. If you're unsure which breaker it is, it's safest to turn off the main breaker for the entire house. Return to the outlet and confirm the power is off. The best way is with a non-contact voltage tester, which will beep or light up if it detects any current. For an extra layer of certainty, plug in a lamp you know works to see that it doesn't turn on.
3. Open for Inspection — With the power verifiably off, use a flathead or Phillips screwdriver to remove the single screw holding the faceplate on the outlet. Next, unscrew the two longer screws at the top and bottom holding the receptacle itself in its metal tabs. Gently pull the entire receptacle out from the wall box. The wires should still be attached, allowing it to hang freely. Take a picture with your phone at this stage; it's an invaluable reference.
4. Diagnose the Connections — Look closely at how the wires are connected. Are they pushed into small holes in the back? This is backstabbing. Gently tug on each of these wires. It's very common for one to pull out with little effort, revealing your problem. Next, inspect the screw terminals on the sides. Look for any wires that have come loose. Finally, examine the outlet itself. Do you see any black scorch marks around the screws or wire insertion points? Does any of the plastic look melted or warped? Is there a distinct acrid, fishy, or burning smell? These are all definitive signs that the receptacle has failed and must be replaced.
5. Fix the Loose Backstab — If you found a loose backstabbed wire and the outlet shows no signs of heat damage or melting, you can fix it. Do NOT simply push it back in. Use needle-nose pliers to release the wire (you may need to insert a tiny screwdriver into a release slot). Strip about 3/4 inch of insulation off the wire, and use the pliers to bend the exposed copper into a C-shaped hook. Loosen the corresponding screw terminal on the side of the outlet (black/hot wire to the brass screw, white/neutral wire to the silver screw). Hook the wire clockwise around the screw and tighten it down firmly. A clockwise wrap ensures the wire pulls tighter as you turn the screw.
6. Replace the Burned Receptacle — If the outlet is scorched, melted, or smells burnt, it is no longer safe and must be replaced. Purchase a new receptacle of the same rating (most are 15-amp). Carefully disconnect the wires from the old outlet, noting where each color goes (black to brass, white to silver, bare copper to green). Use the much more secure screw terminals on the new outlet, creating clockwise hooks on the wires as described in the previous step. If the original outlet was a GFCI, you must replace it with another GFCI to maintain protection.
7. Create Secure Pigtails (Pro-Level Fix) — For the most reliable and safe connection, especially if you have multiple wires coming into the box, create pigtails. Cut three 6-inch pieces of new wire (one black, one white, one bare copper) of the same gauge as the house wiring. Using a wire nut, connect all the black wires in the box plus your new black pigtail wire. Do the same for all the white wires with your white pigtail, and the ground wires with your copper pigtail. Now, you have a single wire of each color to connect to your receptacle's screw terminals. This isolates the outlet from the rest of the circuit, meaning a future failure won't affect anything downstream.
8. Reassemble Carefully — Once all connections are tight, gently fold the wires back into the electrical box in an accordion or S-shape. Don't just jam them in, as this can loosen connections. Screw the receptacle back onto the box, ensuring it's straight. Re-install the faceplate. Don't overtighten the screws, as this can crack the plastic.
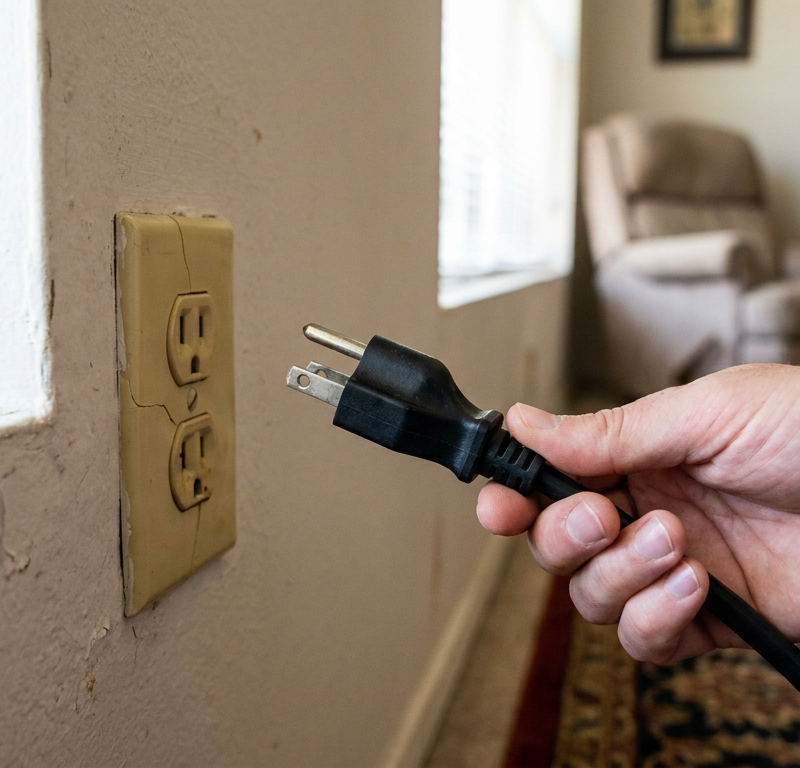
9. Power Up and Test — Go back to the breaker panel and turn the power back on. Return to the outlet and test it. The best tool is an inexpensive plug-in outlet tester, which has indicator lights to confirm the outlet is not only powered but also wired correctly (hot, neutral, and ground are in the right places). If you don't have one, a working lamp or phone charger will suffice.
Common Causes
- Upstream Tripped GFCI: This is the #1 cause. A GFCI in a completely different room can be wired to protect your dead outlet, and you simply need to find it and press "RESET".
- Loose Backstabbed Wires: The spring clips in push-in wire connections lose tension over time due to heat cycles and vibration, causing the wire to work its way loose and break the circuit. This is a very common point of failure in homes built in the last 40 years.
- Failed or Burned-Out Receptacle: A loose wire connection causes arcing, which generates intense heat that can melt the plastic housing and destroy the internal components of the outlet. Overloading the circuit with high-power devices like space heaters can also cause it to overheat and fail prematurely.
- Loose Screw Terminal Connection: Less common than backstab failures, but the screws on the side terminals can also work themselves loose over the years, creating a poor connection that leads to failure.
Common Mistakes
- Forgetting a Hidden GFCI: Not checking the garage, basement, crawl space, or exterior outlets for a tripped GFCI. These are often forgotten but are frequently tied to other interior circuits.
- Reusing Backstab Holes: After finding a loose wire, simply pushing it back into the same weak, unreliable backstab hole. This doesn't solve the underlying problem and is asking for a repeat failure.
- Replacing a GFCI with a Standard Outlet: If the failed outlet is a GFCI, it MUST be replaced with another GFCI to maintain code-required safety protection for that location and any downstream outlets.
- Working on a Live Circuit: Assuming the power is off without verifying it with a voltage tester. This is extremely dangerous and can result in severe shock or electrocution.
- Wrapping Terminal Wires Counter-Clockwise: This causes the wire to push away from the screw as you tighten it, resulting in a loose, insecure connection.
- Ignoring a Badly Burned Outlet: If an outlet is severely blackened, melted, or has damaged the surrounding drywall, it may indicate a more serious problem. Simply replacing it without understanding the cause could be dangerous.
Cost & Time Breakdown
| Task | DIY Cost | Pro Cost | Time |
|---|---|---|---|
| Resetting a GFCI | $0 | $100 - $150 (trip charge) | 5 minutes |
| Replacing a Standard Outlet | $3 - $5 | $125 - $225 | 20-30 mins |
| Replacing a GFCI Outlet | $15 - $25 | $150 - $250 | 20-30 mins |
| Diagnosing Unknown Cause | $10 (for tester) | $150 - $250 (first hour) | 1-2 hours |
| Creating Pigtail Connections | $1 (for wire/nuts) | Included in replacement | 15 mins extra |
Tips & Prevention
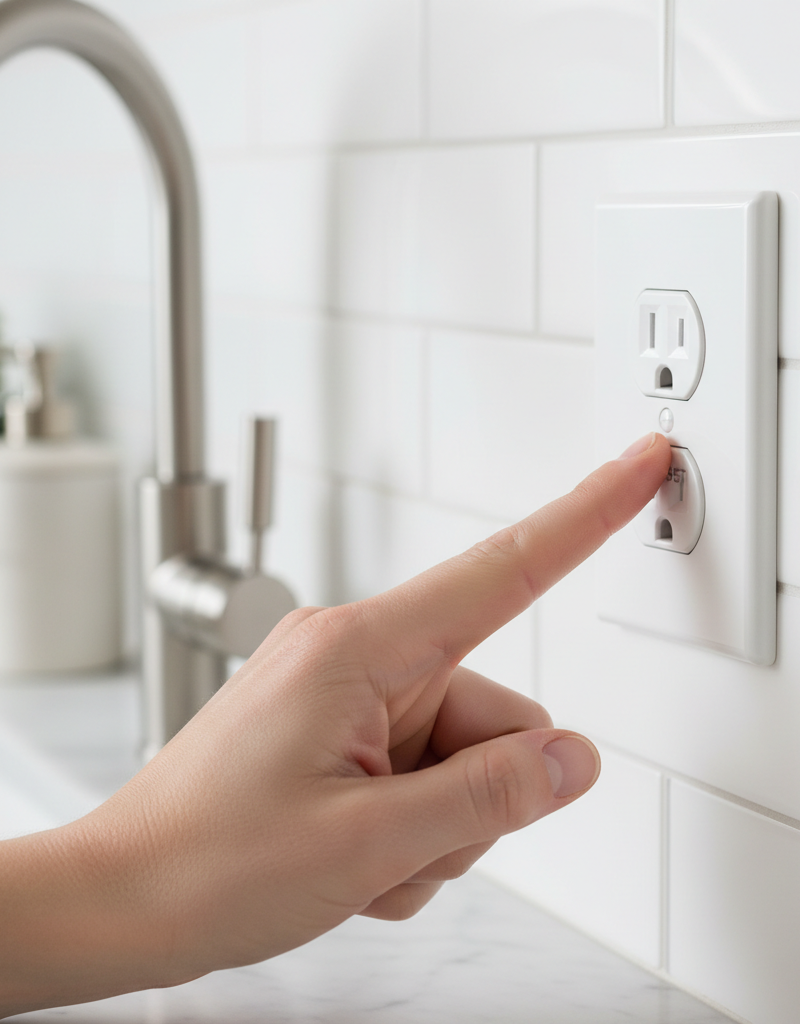
- Monthly GFCI Test: Once a month, press the "TEST" button on all your GFCI outlets. The "RESET" should pop out. Then press "RESET" to restore power. This ensures the safety mechanism is working.
- Avoid Backstabs: On any new electrical work or replacements, always use the more secure screw terminals on receptacles and switches. Never use the push-in holes.
- Don't Overload Outlets: Avoid plugging multiple high-power appliances (heaters, hair dryers, air conditioners) into a single outlet or circuit. Use a dedicated circuit for major appliances.
- Buy a Voltage Tester: A non-contact voltage tester is a $10-$20 tool that is indispensable for any electrical DIY. It's the only way to be 100% sure the power is off.
- Invest in an Outlet Tester: For under $10, a simple plug-in tester with three lights can tell you if an outlet is powered, and if it's wired correctly, which is crucial after a replacement.
When to Call a Professional
While replacing an outlet is a manageable DIY job for many, certain red flags mean you should immediately stop and call a licensed electrician. If you notice extensive scorching or melting that goes beyond the outlet itself and has damaged the electrical box or surrounding drywall, that's a sign of a significant heat event that needs expert diagnosis. If you open the box and find thick, solid aluminum wires instead of copper, do not touch them—aluminum wiring requires special handling to prevent fire hazards. Any buzzing, crackling, or sizzling sounds from an outlet or within the wall are signs of dangerous electrical arcing. Finally, if you perform the fixes and the outlet still doesn't work, or the breaker now trips immediately, there is a more complex issue like a short circuit in the wall that requires professional tools and knowledge to trace and repair.
What should this project cost?
Enter your project details for a realistic cost range before you call anyone.
Outlet and switch work usually $150–$400; panel upgrades commonly $1,800–$4,200.
- Regional adjustment
- National average
- Labor share (typical)
- ~$709
- Quotes to collect
- 3 written estimates
Educational estimate based on national averages — not a binding quote. Always confirm with written local estimates.
Fixly Project Decision Box
- DIY difficulty
- Professional Recommended
- Estimated time
- Diagnosis 1–2 hours
- Cost level
- Moderate
Main tools / materials
- Non-contact voltage tester
- Outlet tester
- Flashlight
When to stop and call a pro
- Burning smell, scorch marks, or a warm outlet or switch plate
- A breaker that trips again right after being reset
- Any work inside the service panel
- Aluminum wiring or cloth-insulated wiring
Need professional help?
Talk to a Licensed ElectricianFrequently asked questions
Can one bad outlet really make other outlets stop working?+
Absolutely. In most modern homes, outlets are wired in series, like a string of Christmas lights. Power flows from one outlet to the next. If a wire comes loose or the receptacle fails in outlet #2, it breaks the connection, and outlets #3, #4, and #5 downstream will all go dead.
What's the burning smell coming from my outlet?+
A burning smell, often described as fishy or acrid plastic, is a serious danger sign. It's almost always caused by arcing—electricity jumping across a loose connection. This generates extreme heat that melts the outlet's plastic housing. If you smell this, shut off the breaker to that circuit immediately and do not use the outlet until it has been replaced.
How do I know which GFCI outlet controls the dead outlet?+
Unfortunately, there's no magic map. It's a process of elimination. Start with the GFCIs in the nearest bathroom or kitchen, as circuits are often shared by room. If that fails, check the garage, basement, and outdoor outlets. Press the 'RESET' button firmly on every GFCI you find. It's good practice to label your breakers and GFCI outlets after you've figured them out.
Why do those 'backstab' wires come loose so often?+
Backstab connections rely on a small metal spring clip to hold the wire in place. Over time, the flow of electricity causes the wire to heat up and cool down. This constant thermal expansion and contraction, combined with vibrations in the wall, can weaken the spring's tension, allowing the wire to work its way loose and cause a failure.
Discussion
Loading comments…