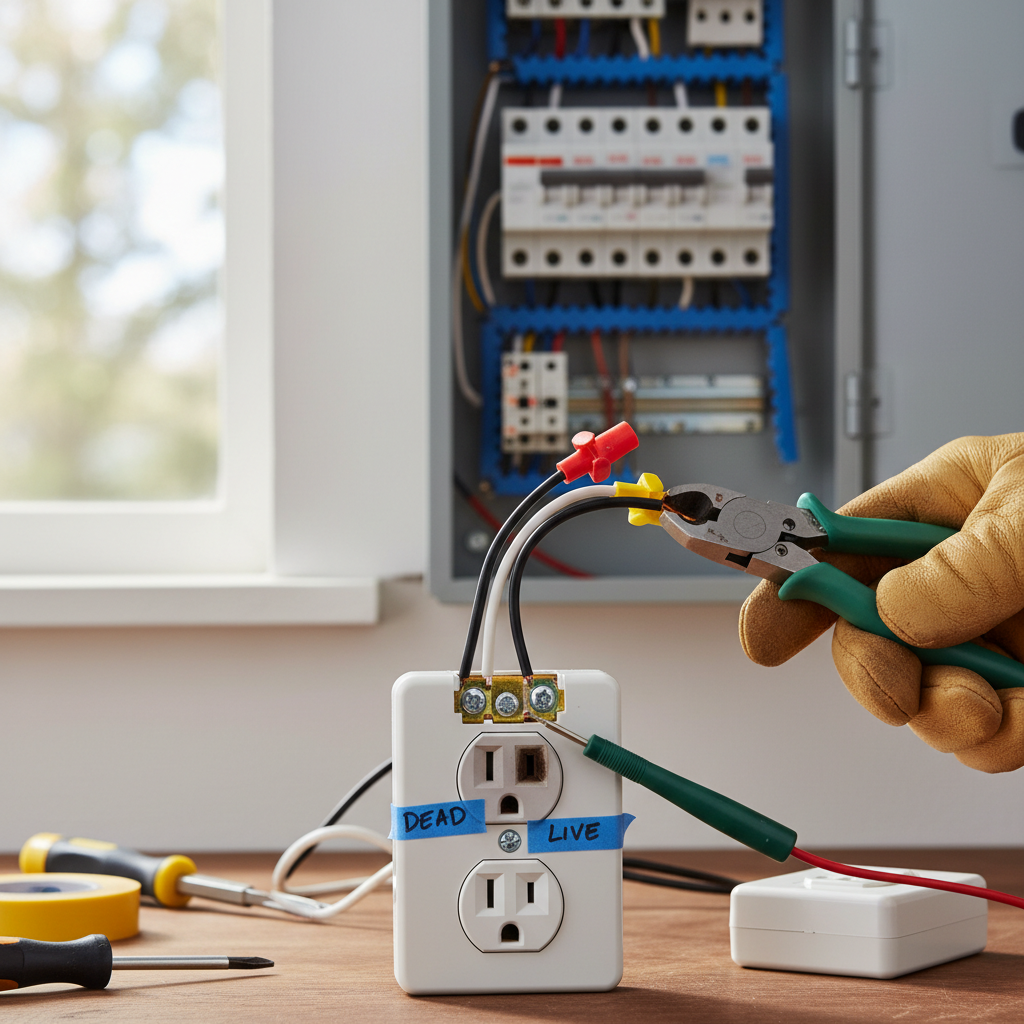
- With the cover plate off, you'll see two screws (one at the top, one at the bottom) holding the outlet yoke (the metal frame) to the electrical box. Use a Phillips or flat-head screwdriver to remove these screws.
- Gently pull the outlet straight out from the electrical box. The wires will still be attached, so don't pull too forcefully.
- Note: If the outlet is difficult to pull out, check for paint sealing it to the box or excess wires crammed into the box.
Electrical · Outlet or lights not working
| Project category | Electrical |
|---|---|
| Problem type | Outlet or lights not working |
| Trade required | Electrical |
| Urgency | Soon — within weeks |
| Safety risk | Moderate safety risk |
| DIY suitability | DIY for experienced homeowners |
| Cost category | Low cost |
| Typical timeline | Often under an hour once the cause is found |
| Contractor type | Licensed electrician |
Repair option
Reset the upstream GFCI first, then replace the failed device.
Replacement option
Rewire the circuit when connections are failing in multiple boxes.
Common causes
- Tripped GFCI upstream on the same circuit
- Loose neutral in a daisy-chained run
- Failed switch or receptacle
Relevant tools:diy difficultydiy or hire a pro
Published July 22, 2026Last updated September 4, 2026
Tools & materials you'll need
Affiliate linksAs an Amazon Associate FixlyGuide earns from qualifying purchases — at no extra cost to you. Prices and availability are accurate as of publication and subject to change.
Quick Answer
When you have an electrical outlet where only one of the two receptacles is working, the most common reason is a broken or loose 'tab' that connects the top and bottom halves of the outlet. This small metal bridge, usually found on the side where the hot (black) and neutral (white) wires connect, allows both receptacles to share power from a single wire. If this tab is damaged or has been intentionally broken (which is sometimes done for switched outlets), only one half will receive power. The fix often involves simply replacing the faulty outlet, which is a straightforward and inexpensive DIY task.
The Problem
Imagine plugging in your phone charger into the top receptacle of an outlet and it works perfectly. Then, you try to plug in a lamp into the bottom receptacle, and nothing happens. This common household conundrum – a 'half-dead' outlet – can be incredibly frustrating. It's not a complete power outage, nor is it a tripped circuit breaker affecting the entire circuit. Instead, it's a localized issue within the duplex receptacle itself. This specific problem usually points to an internal wiring issue within the outlet, rather than a deeper problem with your home's electrical system, making it a prime candidate for a DIY repair.
How It Works
To understand why only half an outlet works, it helps to understand how a standard 120-volt duplex receptacle is wired. A duplex receptacle actually consists of two separate outlets housed in a single unit. On the side of the outlet, you'll see screw terminals and, crucially, small metal tabs connecting them. There are two tabs on the 'hot' side (brass-colored screws) and two tabs on the 'neutral' side (silver-colored screws). The top tab connects the top hot screw to the bottom hot screw, and similarly for the neutral side.
When an electrician wires a standard outlet, they typically strip the insulation from the hot (black) wire and wrap it around one of the brass screws, then do the same for the neutral (white) wire on a silver screw. Because of these connecting tabs, power is distributed to both the top and bottom receptacles from this single connection. The ground wire (bare copper or green) connects to the green screw, providing an essential safety path directly to the earth.
The 'half-dead' phenomenon occurs when one of these critical tabs is broken or becomes loose. Most often, it's the hot-side tab that gives out. If this tab breaks, the electrical current arriving at one screw terminal can no longer bridge to the other, effectively cutting off power to one of the receptacles. Sometimes, these tabs are intentionally broken by electricians when they want to create a 'switched' outlet (where one receptacle is controlled by a wall switch and the other is always on) or for specific multi-wire branch circuits. However, if your outlet was working normally and suddenly stopped on one side, an accidental break or fatigue of the metal is more likely.
Step-by-Step Fix
1. Safety First – Always begin by cutting power
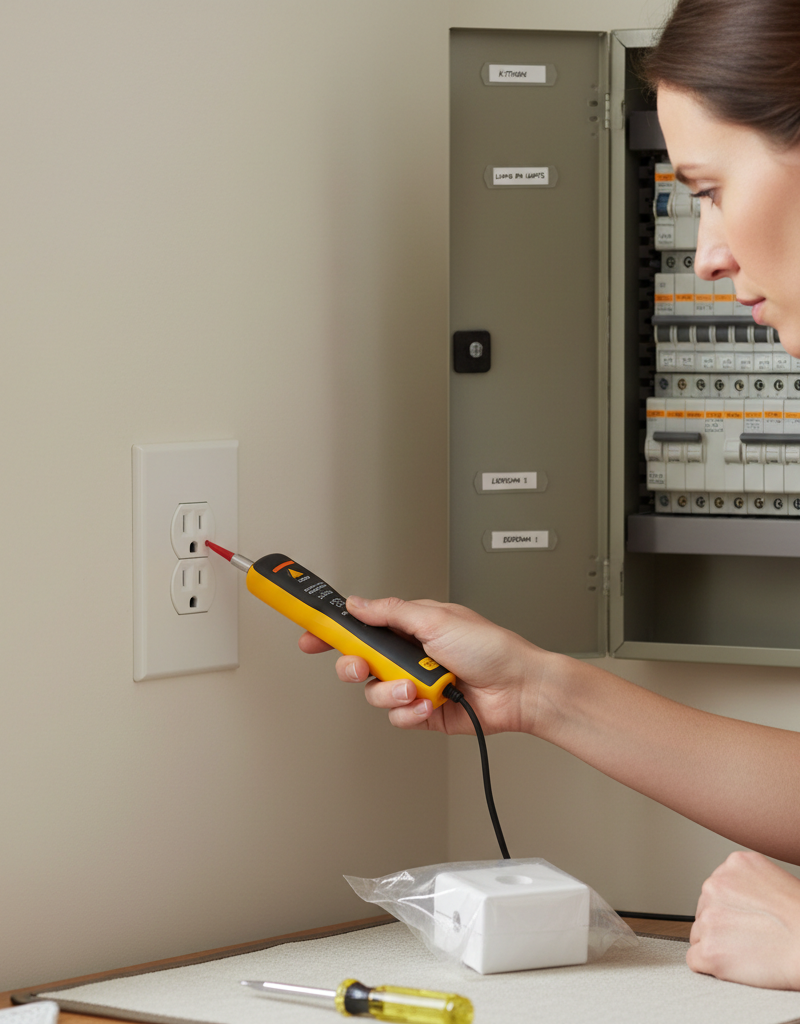
- Go to your electrical service panel (breaker box). Locate the circuit breaker that controls the faulty outlet. It's often labeled, but if not, you might need to use a circuit breaker finder or systematically turn off breakers until the outlet loses power. If you are unsure which breaker it is, turn off the main breaker to the entire house. This is a critical safety step to prevent electric shock.
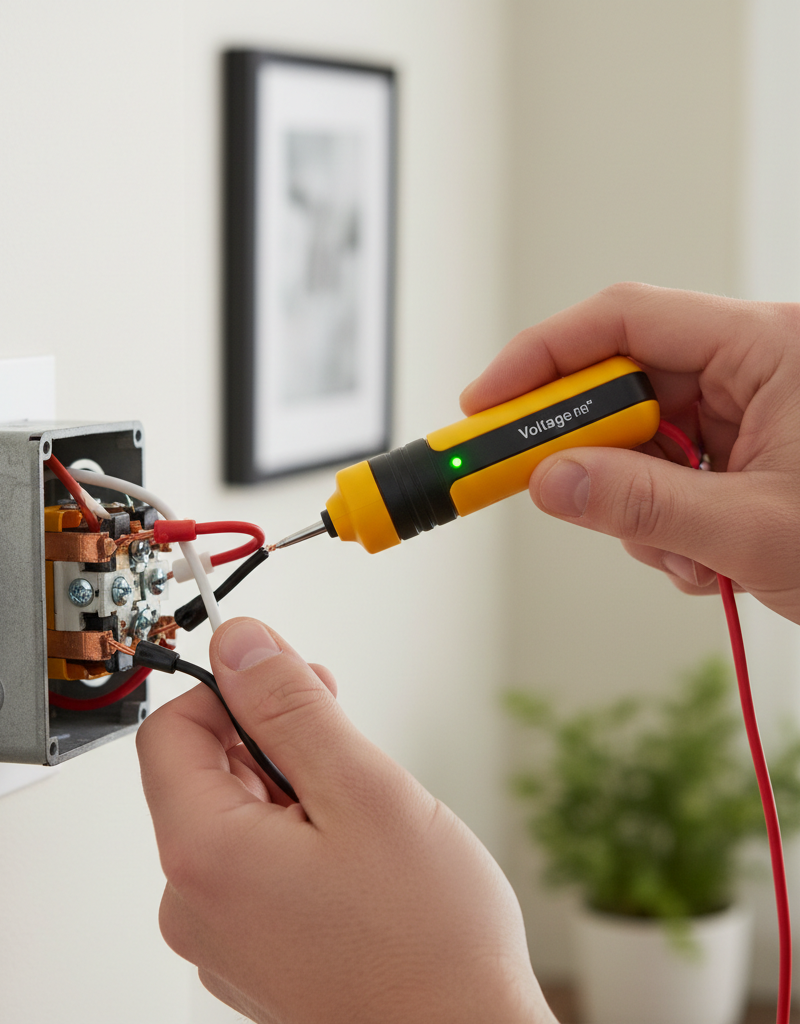
- Safety Note: Always verify that power is off at the outlet using a non-contact voltage tester before touching any wires.
2. Remove the Outlet Cover Plate – Access the receptacle
- Once power is confirmed off, use a flat-head screwdriver to remove the single screw in the center of the outlet's cover plate. Carefully pull the cover plate away.
3. Unscrew and Pull Out the Outlet – Expose the wiring
- With the cover plate off, you'll see two screws (one at the top, one at the bottom) holding the outlet yoke (the metal frame) to the electrical box. Use a Phillips or flat-head screwdriver to remove these screws.
- Gently pull the outlet straight out from the electrical box. The wires will still be attached, so don't pull too forcefully.
- Note: If the outlet is difficult to pull out, check for paint sealing it to the box or excess wires crammed into the box.
4. Inspect the Wiring and Tabs – Identify the culprit
- Look closely at the sides of the outlet, paying special attention to the small metal tabs connecting the two brass screws (hot side) and the two silver screws (neutral side). Examine them for any signs of damage, corrosion, or if one of them is cleanly broken off. This is the most common cause of a half-dead outlet.
- Also, check the wire connections. Ensure all wires are firmly attached to their respective screw terminals. Loose wires can cause intermittent power or power loss to parts of the outlet.
- If you find a broken tab on the 'hot' (brass) side: This is almost certainly your problem. The connection to one of the receptacles is severed.
- If you find a broken tab on the 'neutral' (silver) side: This can also cause one half to fail, as the circuit won't be completed.
- If a tab is intentionally broken: This usually means the outlet was wired for a switch. If it was working normally before, this is unlikely to be the new problem unless the switch itself failed.
5. Disconnect the Wires – Prepare for replacement
- Loosen the screw terminals for each wire using the appropriate screwdriver. Carefully unwrap or pull out the wires from the terminals. Keep track of which wire (black/hot, white/neutral, bare/ground) goes to which terminal.
- Tip: Take a photo with your phone before disconnecting to help remember the wiring configuration, especially in older homes or complex setups.
6. Install the New Outlet – The fix is in
- Using your new duplex receptacle, strip about 3/4 inch of insulation from the ends of the black (hot), white (neutral), and bare/green (ground) wires if they are damaged or too short.
- Connect the bare copper or green insulated ground wire to the green grounding screw.
- Connect the white (neutral) wire(s) to one of the silver screws. If there are two white wires, they can often be pigtailed together with a wire nut and a single short wire run to the terminal, or connected to both silver screws if the tab is intact.
- Connect the black (hot) wire(s) to one of the brass screws. Similar to neutrals, if there are two black wires, pigtail or connect to both brass screws if the tab is intact.
- Ensure all connections are tight and secure. Wires should be wrapped clockwise around the screws and tightened firmly, so no bare wire is exposed beyond the screw head.
- Important Check: Make sure the small metal tabs on the sides of the new outlet are intact unless you are specifically wiring it for a switched receptacle. For a standard outlet, these tabs should not be broken.
7. Reinstall the Outlet and Cover Plate – Button it up
- Carefully fold the wires back into the electrical box, leaving enough space for the outlet to sit flush. Push the new outlet into the box, being careful not to pinch any wires.
- Secure the outlet yoke to the electrical box using the top and bottom screws you removed earlier. Don't overtighten.
- Replace the cover plate and secure it with its center screw.
8. Restore Power and Test – Confirm success
- Return to your electrical service panel and flip the circuit breaker back ON.
- Test both the top and bottom receptacles of your newly installed outlet using a known working device, like a phone charger or a lamp. Both should now be fully functional.
Common Causes
- Broken Hot Tab: The most frequent reason. The small metal tab connecting the two brass (hot) screws breaks, preventing power from reaching one of the receptacles. This can happen due to fatigue, accidental damage, or even over-tightening of a wire.
- Broken Neutral Tab: Less common than a hot tab break, but if the neutral tab breaks, the return path for current is interrupted for one half of the outlet.
- Loose Wire Connection: Over time, wire connections to the screw terminals can loosen, especially in older homes or due to improper installation. A loose hot or neutral wire will prevent power to one or both receptacles. Backstab connections (wires pushed into holes rather than wrapped around screws) are particularly prone to loosening.
- Faulty Outlet Mechanism: Sometimes the internal contacts within the receptacle itself simply wear out or become damaged, especially with frequent plugging and unplugging, leading to failure of one half.
- Intentional Tab Removal (Switched Outlet): While not a 'fault' in the traditional sense, if an outlet was previously wired as a switched outlet (one half always on, one controlled by a switch) and you weren't aware, it might seem 'half-dead.' If the switch controlling it is off or faulty, that half won't work.
Common Mistakes
- Forgetting to Kill the Power: This is the most dangerous mistake. Always, always turn off the breaker for the circuit you're working on and verify with a voltage tester before touching any wires. Even experienced DIYers can become complacent.
- Not Testing for Power: Relying solely on flipping the breaker isn't enough. A non-contact voltage tester provides crucial confirmation that the circuit is indeed dead before you begin work.
- Loose Wire Connections: Wires must be wrapped clockwise around terminal screws and tightened securely. Loose connections can lead to arcing, overheating, and fire hazards, or simply continued intermittent power issues.
- Improper Wire Stripping: Stripping too much insulation leaves bare wire exposed, risking short circuits. Stripping too little prevents a good connection. Aim for about 3/4 inch.
- Ignoring the Ground Wire: The ground wire (bare copper or green) is a critical safety component. Always connect it to the green grounding screw on the new outlet. Omitting it or connecting it incorrectly compromises safety.
- Overtightening Screws: While connections need to be tight, overtightening the screws that hold the outlet to the electrical box can crack the box or strip the screw threads, making future work difficult.
Cost & Time Breakdown
| Task | DIY cost | Pro cost | Time |
|---|---|---|---|
| New Duplex Receptacle | $2–$10 | Included | 5 minutes |
| Basic Tools (screwdrivers) | $0–$15 | Included | 0 minutes |
| Non-Contact Voltage Tester | $15–$30 | Included | 0 minutes |
| Installation | $0 | $75–$200 | 20–30 minutes |
| Total | $17–$55 | $75–$200+ | 20–30 minutes |
Tips & Prevention
- Use Quality Outlets: While budget outlets work, investing a few dollars more for commercial-grade or tamper-resistant receptacles can offer better durability and performance over time. Look for outlets with screw-clamp terminals instead of backstab connections for more secure wiring.
- Regular Inspections: Periodically check outlets in high-use areas for signs of wear, such as loose plugs, discoloration, or warm cover plates. These can indicate loose connections or internal damage.
- Avoid Overloading: Plugging too many high-draw appliances into a single outlet or circuit can stress the wiring and internal components of the outlet, leading to eventual failure.
- Proper Wire Management: When installing an outlet, carefully fold wires into the electrical box. Avoid excessive bending or cramming, which can stress the wire insulation and the outlet's terminals.
- Understand Switched Outlets: If you encounter an outlet where one half is controlled by a switch, be aware that this is an intentional configuration. Don't assume it's broken if the switch is off. If you're replacing a switched outlet, you'll need to replicate the wiring (breaking the hot tab on the new outlet).
When to Call a Professional
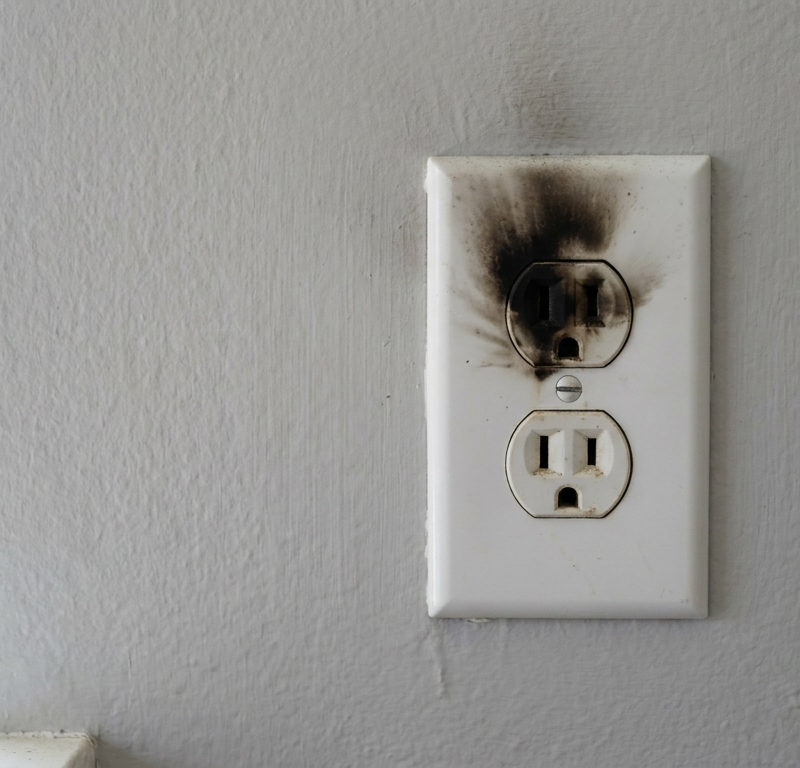
While replacing a half-dead outlet is a common DIY task, there are specific situations where you should absolutely call a licensed electrician. If you open the outlet box and find frayed or burnt wires, or notice any scorching or melting around the outlet or wires, these are serious signs of overheating and a potential fire hazard – do not proceed. If the problem affects multiple outlets on the same circuit, or if the circuit breaker trips repeatedly after you've replaced the outlet, it indicates a deeper issue within your home's wiring system that requires professional diagnosis. Additionally, if the outlet box is old metal with complex wiring, or if you feel uncomfortable at any point during the troubleshooting or replacement process, it's always safer to defer to the expertise of a professional to ensure your home's electrical system remains safe and up to code.
Related Articles
Keep troubleshooting with these hand-picked guides from FixlyGuide:
- Why Only Half Your Outlet Works (And The Simple 15-Minute Fix) — Discover why only one receptacle of your electrical outlet might be working and how to fix this common issue in under 15 minutes.
- Only Half Your Outlet Works? The Hidden Split-Receptacle Culprit — Discover why only half of your electrical outlet might be working and how to safely troubleshoot and fix the common culprit: a split-recept…
- The Single Most Common Reason Half Your Outlet Dies (and How to Fix It in 15 Minutes) — Before you call an electrician for a half-dead outlet, check this common culprit that's often a simple DIY fix.
- The 7 Head-Scratching Reasons Your Outlet Died (Even With The Breaker On) — Discover the surprising reasons why an electrical outlet might stop working even when its circuit breaker is fully engaged, and how to safe…
- The Secret Reason Half Your Wall Outlet Dies (And It's Not What You Think) — Discover why only half of your electrical outlet might be working and how to diagnose and fix the common culprit, saving you from a costly…
- The 90-Second Trick to Fix a Weak Kitchen Sprayer (No Plumber Needed) — Restore full power to your kitchen sink sprayer with simple DIY steps, addressing common causes like clogs and diverter issues.
Should you do this yourself?
Answer five quick questions before you start. Safety outranks savings every time.
Your experience with work like this
How high do you have to work?
Does the job involve any of these?
Will it need a permit?
Specialty tools
Free and instant. Educational guidance only — not a quote, inspection, or professional diagnosis.
What should this project cost?
Enter your project details for a realistic cost range before you call anyone.
Outlet and switch work usually $150–$400; panel upgrades commonly $1,800–$4,200.
- Regional adjustment
- National average
- Labor share (typical)
- ~$709
- Quotes to collect
- 3 written estimates
Educational estimate based on national averages — not a binding quote. Always confirm with written local estimates.
Fixly Project Decision Box
- DIY difficulty
- Professional Recommended
- Estimated time
- Diagnosis 1–2 hours
- Cost level
- Moderate
Main tools / materials
- Non-contact voltage tester
- Outlet tester
- Flashlight
When to stop and call a pro
- Burning smell, scorch marks, or a warm outlet or switch plate
- A breaker that trips again right after being reset
- Any work inside the service panel
- Aluminum wiring or cloth-insulated wiring
Need professional help?
Talk to a Licensed ElectricianBefore you start
Check the difficulty, permits, and safety risk — then decide whether to call a pro.
- Estimate this projectGet a cost range for your scope and ZIP before you call anyone.Open
- Get local estimatesSend one request and compare written estimates from vetted pros.Open
Free, no signup required. Estimates are educational guidance, not a quote or an inspection.
Frequently asked questions
Why does only one plug work on my outlet?+
The most common reason only one plug (receptacle) works on a duplex outlet is a broken metal tab that connects the two halves internally on either the hot (brass) or neutral (silver) screw side. This tab allows power to flow to both receptacles from a single wire connection.
Is a half-dead outlet dangerous?+
While a half-dead outlet itself isn't immediately dangerous in the same way a sparking outlet is, it indicates a fault. If the cause is a loose connection, it could potentially lead to arcing and overheating over time. It's best to address it promptly to restore proper function and ensure electrical safety.
Can I fix a half-working outlet myself?+
Yes, in most cases, a half-working outlet is caused by a faulty receptacle that can be safely replaced by a homeowner with basic tools and electrical knowledge. The key is to always shut off power at the breaker and verify it's off before starting work.
What tools do I need to fix a half-dead outlet?+
You'll need a Phillips head screwdriver, a flat-head screwdriver, a non-contact voltage tester, and a new duplex receptacle. Wire strippers can also be helpful if the existing wires need new insulation stripped.
How do I know which breaker controls the outlet?+
If your electrical panel isn't clearly labeled, you can use a circuit breaker finder tool, or systematically turn off breakers one by one until the half-dead outlet (and any other items on the same circuit) loses all power. Always test the outlet with a voltage tester to confirm power is off.
Discussion
Loading comments…