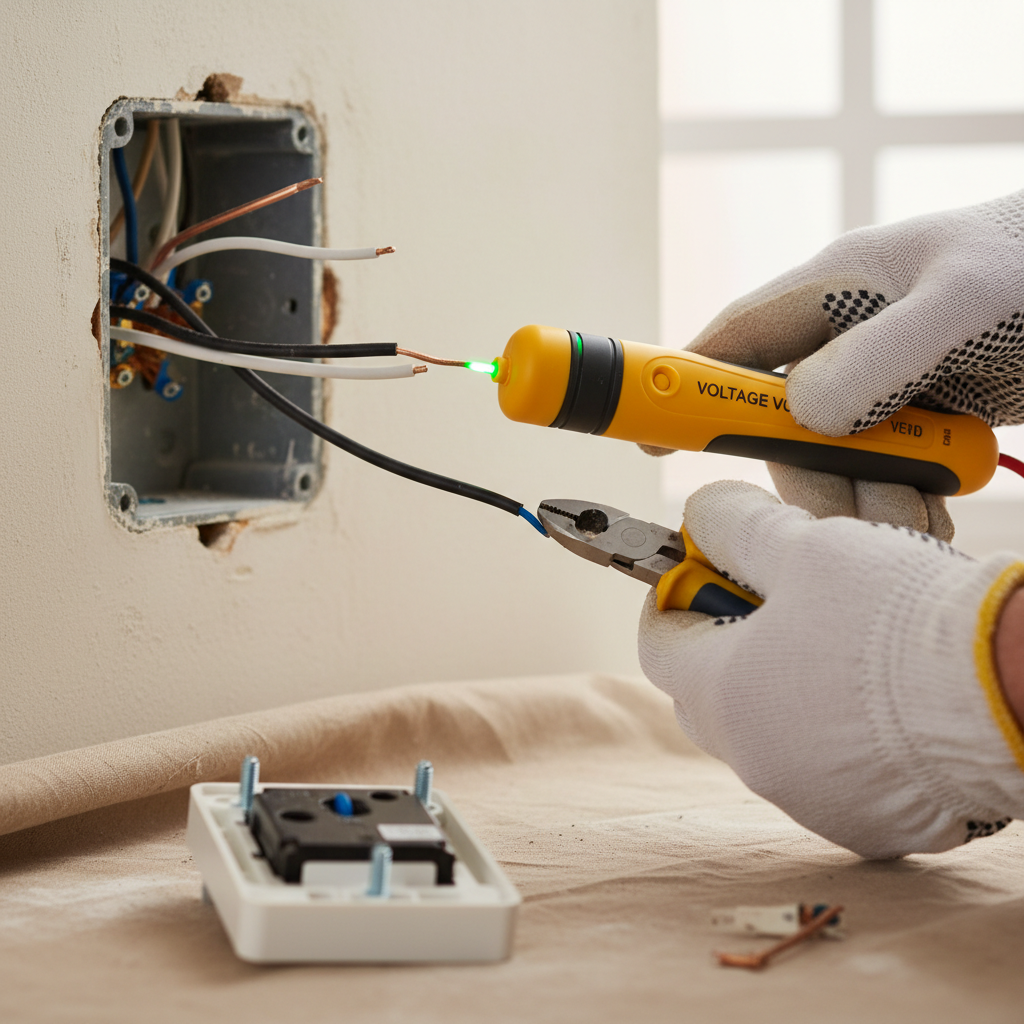
- Locate your electrical panel: This is usually in a basement, garage, closet, or utility room.
- Identify the correct breaker: Look for labels. If unlabeled, try flipping breakers one by one until the light controlled by the switch goes out.
- Flip the breaker firmly to the "off" position. To prevent accidental re-energization, you can place a piece of electrical tape over the breaker or even use a breaker lockout device if you have one.
- Safety Note: Always assume wires are live until you've tested them. Never work on electrical components in the dark; use a battery-powered flashlight or headlamp.
Electrical · Panel or service upgrade
| Project category | Electrical |
|---|---|
| Problem type | Panel or service upgrade |
| Trade required | Electrical |
| Urgency | Planned project |
| Safety risk | High safety risk |
| DIY suitability | Licensed pro only |
| Cost category | High cost |
| Typical timeline | Permit plus utility scheduling, commonly 2–6 weeks |
| Contractor type | Licensed electrician |
Repair option
Add a subpanel when the main service is adequate.
Replacement option
Full service upgrade with utility coordination and permits.
Common causes
- Obsolete or recalled panel brands
- Service capacity too small for added loads
- No room for required AFCI/GFCI breakers
Relevant tools:project cost estimatorcompare quotes
Published July 23, 2026Last updated August 17, 2026
Tools & materials you'll need
Affiliate linksAs an Amazon Associate FixlyGuide earns from qualifying purchases — at no extra cost to you. Prices and availability are accurate as of publication and subject to change.
Quick Answer
Safely replacing a light switch hinges on one critical step: absolute verification that the power to that specific switch is off. This means identifying the correct breaker in your electrical panel, flipping it, and then using a non-contact voltage tester to confirm no electricity is flowing to the switch or any associated wires. Once confirmed safe, the process involves carefully disconnecting the old switch's wires, noting or photographing their positions, and then attaching them to the new switch in the exact same configuration, ensuring all connections are snug and secure before restoring power.
The Problem
You've got a light switch that's not working right. Maybe it's intermittent, requires a jiggle to turn on or off, feels loose, or simply won't activate the light at all. This isn't just an annoyance; a faulty light switch can be a sign of loose wiring, a failing internal mechanism, or even a minor fire hazard if arcing is occurring within the switch housing. Ignoring it can lead to bigger electrical problems down the line, or at the very least, continued frustration. The core problem for many DIYers isn't the actual wiring – it's the fear and common mistakes surrounding electrical safety during the replacement.
How It Works
To understand how to fix a light switch, it helps to know how a basic light switch functions within your home's electrical system. In a standard setup, electricity flows from your main electrical panel through a circuit breaker, then through wiring inside your walls to the light switch. The light switch itself is essentially a gate. When you flip the switch "on," it completes a circuit, allowing electricity to flow from the power source, through the switch, to the light fixture, and then back to the electrical panel through the neutral wire. When you flip the switch "off," it breaks the circuit, stopping the flow of electricity to the light fixture.
Most residential circuits operate at 120 volts. A standard single-pole light switch has two brass screw terminals (for the "hot" wires) and often a green ground screw terminal. The "hot" wire bringing power from the breaker is connected to one brass terminal, and the "hot" wire going to the light fixture is connected to the other. The ground wire, typically bare copper or green insulated, provides a path for fault current to safely dissipate, preventing shocks and protecting equipment. In some older homes, ground wires might not be present, which is a safety deficiency. Three-way switches, used to control a light from two different locations, are more complex, featuring a common terminal (often darker colored) and two "traveler" terminals. Understanding this simple on/off mechanism and the role of grounding is fundamental to safely replacing any type of switch.
Step-by-Step Fix
1. Prioritize Safety — Turn OFF the Power at the Circuit Breaker.
- Locate your electrical panel: This is usually in a basement, garage, closet, or utility room.
- Identify the correct breaker: Look for labels. If unlabeled, try flipping breakers one by one until the light controlled by the switch goes out.
- Flip the breaker firmly to the "off" position. To prevent accidental re-energization, you can place a piece of electrical tape over the breaker or even use a breaker lockout device if you have one.
- Safety Note: Always assume wires are live until you've tested them. Never work on electrical components in the dark; use a battery-powered flashlight or headlamp.
2. Verify the Power is OFF — Crucial step to prevent shocks.
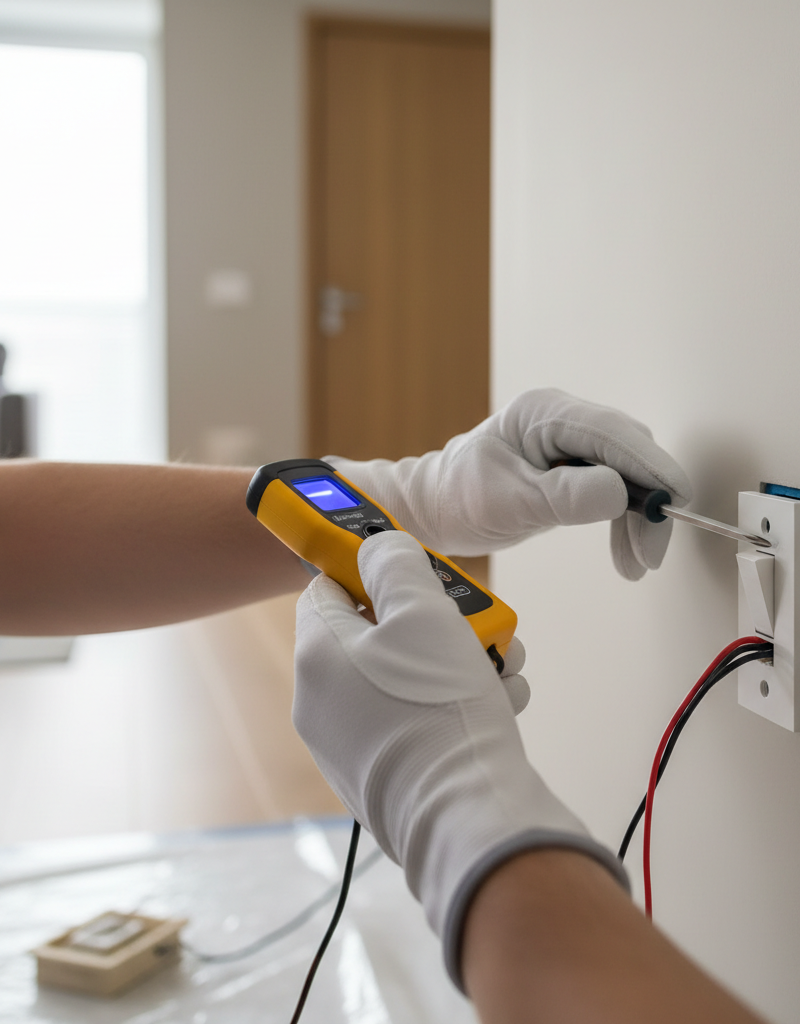
- Use a non-contact voltage tester: Insert the tip of the tester into the switch opening and hold it near the wires you'll be working with. If it lights up or beeps, the circuit is still live.
- Test the switch itself: Even after the breaker is off, flip the switch on and off a few times to drain any residual charge.
- If the tester indicates power: Go back to the electrical panel and re-verify the correct breaker is off. If unsure, turn off the main breaker for your entire home. This is a rare, but sometimes necessary, step for older or poorly labeled panels.
3. Remove the Switch Plate — Access the wiring.
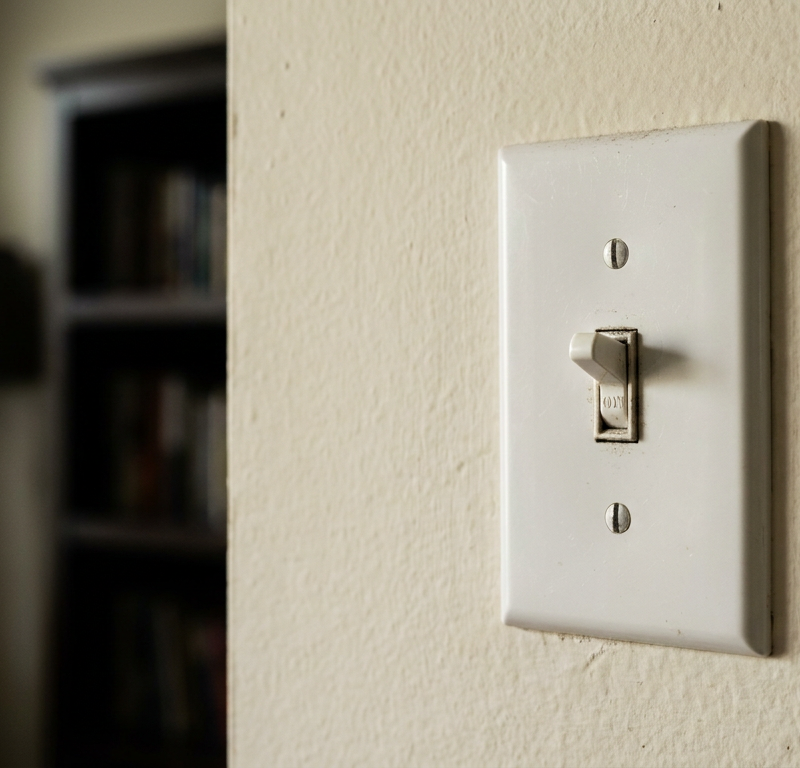
- Unscrew the cover plate: Use a flathead screwdriver to remove the two small screws holding the switch plate to the wall. Set the plate and screws aside in a safe place.
4. Gently Pull Out the Switch — Expose the internal wiring.
- Remove mounting screws: Use a Phillips head screwdriver to loosen and remove the two screws holding the switch yoke (the metal frame) to the electrical box.
- Carefully pull the switch: Gently pull the switch straight out from the electrical box. It will still be connected by wires. Do not yank forcefully, as this can damage the wires or the box.
5. Observe and Document Wiring — Crucial for correct reinstallation.
- Take a photo: Before disconnecting anything, take clear photos of the existing wiring connections from multiple angles. This is your best guide for reassembly.
- Identify wire types: Note which wires are connected to which terminals (e.g., black wire to brass screw, white wire (if applicable, though usually not directly to a switch) in the back of the box, bare copper to green screw). Use small pieces of electrical tape to label wires if your new switch has different terminal colors or a different layout.
- Wire colors usually indicate: Black is typically "hot" (carrying power FROM the breaker or TO the fixture). White is typically "neutral" (carrying power back to the breaker, though sometimes white wires are re-purposed as hot in switch loops – always test!). Bare copper or green is "ground."
6. Disconnect the Old Switch — Carefully free the wires.
- Loosen screw terminals: Use a screwdriver to loosen the terminal screws on the old switch.
- Remove wires: Carefully unhook each wire from its terminal. If the wires are pushed into "stab-in" connections (small holes in the back of the switch), insert a small flathead screwdriver into the release slot next to each wire and pull the wire out.
- Inspect wires: Check the wire ends for fraying or damage. If a wire end looks compromised, carefully strip back a small amount of insulation (about 3/4 inch) to expose fresh copper using wire strippers. Create a new hook with needle-nose pliers.
7. Connect the New Switch (Single-Pole) — Match your documentation.
- Form new hooks: If necessary, bend the stripped end of each wire clockwise into a Shepard's hook shape using needle-nose pliers.
- Match colors/positions: Connect the wires to the new switch, precisely matching the configuration you documented from the old switch.
- Connect the ground wire (bare copper or green) to the green screw terminal.
- Connect the two black "hot" wires to the two brass screw terminals. It usually doesn't matter which brass screw gets which hot wire on a single-pole switch, but match your photo if possible.
- Tighten connections: Ensure each wire hook securely wraps around the screw terminal in a clockwise direction (so tightening the screw pulls the wire tighter). Tighten the screws firmly until the wire is snug and cannot be pulled loose. Avoid over-tightening, which can strip the screw or damage the wire.
- If using "stab-in" connections (not recommended): Push the stripped wire ends firmly into the new switch's stab-in holes until they are secure. Screw connections are generally preferred for better contact and safety.
8. Install the New Switch into the Box — Mount securely.
- Fold wires carefully: Gently fold the wires into the electrical box, pushing the new switch back into the box. Avoid pinching or crimping the wires.
- Mount the switch: Line up the mounting screw holes on the switch yoke with the holes in the electrical box. Insert and tighten the two mounting screws until the switch is flush and secure against the wall.
9. Replace the Switch Plate — Final aesthetic touch.
- Attach the cover plate: Place the new or old switch plate over the newly installed switch, align the screw holes, and reinsert the two cover plate screws. Gently tighten them until the plate is snug, but do not overtighten, which can crack the plate.
10. Restore Power and Test — The moment of truth.
- Return to your electrical panel: Flip the circuit breaker you turned off earlier back to the "on" position.
- Test the switch: Go back to the light switch and test its operation. It should turn the light on and off smoothly.
- If it doesn't work: Go back to step 1. Double-check the breaker. Then, turn off the power again and re-examine your wiring connections. A loose wire or incorrect connection is the most likely culprit. If all connections appear correct, your new switch might be faulty, or there might be a deeper electrical issue.
Common Causes
- Worn out internal mechanism: Over thousands of cycles, the internal contacts or springs within a switch can wear out, leading to intermittent operation or complete failure. This is especially true for heavily used switches.
- Loose wire connections: Vibrations, poor initial installation, or even temperature changes can cause wire connections at the terminal screws to loosen over time. Loose connections can lead to arcing, resistance, flickering lights, or the switch simply not working.
- Corrosion: In humid environments or due to age, corrosion can build up on the internal contacts or terminal screws, impeding electrical flow.
- Overload/Short circuit damage: While circuit breakers are designed to trip, a severe overload or short circuit can sometimes damage the internal components of a switch before the breaker trips.
- Physical damage: A strong impact to the switch or plate can damage the internal components or dislodge wiring.
Common Mistakes
- Not turning off the power (or turning off the wrong breaker): This is by far the most dangerous and common mistake. Always verify with a non-contact voltage tester.
- Not documenting original wiring: Especially with 3-way or 4-way switches, assuming you'll remember the connections leads to frustration and rework. Take photos!
- Leaving loose connections: Wires not securely tightened to terminals are a major fire hazard and cause of intermittent operation. New electricians are taught torque values for screw terminals for a reason. Always pull gently on each wire after tightening to ensure it holds firm.
- Stabbing wires instead of wrapping: While faster for installers, "stab-in" back-wiring (pushing wires into small holes) is notorious for eventually loosening and causing problems. Always use the screw terminals if available.
- Improperly stripping wire insulation: Stripping too much insulation exposes bare wire, leading to potential shorts. Stripping too little means the wire isn't making full contact. Aim for about 3/4 inch of exposed copper.
- Forgetting the ground wire: Leaving the ground wire disconnected compromises the safety of the circuit and violates electrical codes.
Cost & Time Breakdown
| Task | DIY Cost | Pro Cost | Time |
|---|---|---|---|
| New Light Switch | $3–$25 | Included | N/A |
| Basic Tool Rental/Purchase | $0–$30 | N/A | N/A |
| DIY Switch Replacement | $0 (parts only) | $75–$200 | 20–45 minutes |
| Troubleshooting if Issues | $0 (your time) | $75–$150/hour | 30–90 minutes |
Tips & Prevention
- Regular checks: Occasionally test all your light switches. If one feels "mushy" or intermittent, it's a warning sign.
- Upgrade old switches: If you have very old switches, especially ones that warm to the touch or make buzzing sounds, consider upgrading them to modern, safer options.
- Install GFCI/AFCI protection: For ultimate safety, ensure your circuits have appropriate GFCI (Ground Fault Circuit Interrupter) and AFCI (Arc Fault Circuit Interrupter) protection, which can instantly cut power during dangerous conditions.
- Labels are your friend: Take the time to properly label your electrical panel breakers so you know exactly which circuit controls which part of your home. Use a clear, legible system.
- Avoid overloading: Ensure light fixtures and bulbs are within the wattage limits for the circuit and switch.
When to Call a Professional
While replacing a simple light switch is a common DIY task, there are specific situations where calling a licensed electrician is not just recommended, but essential for safety and code compliance. If, after removing the switch plate, you observe any burning smells, scorch marks, unusually hot wires, or hear buzzing/sizzling sounds from within the electrical box, immediately stop and call a professional. These are signs of serious underlying electrical issues that could lead to fire. Similarly, if your home has very old wiring (e.g., knob-and-tube or ungrounded two-wire systems), or if you're dealing with three-way or four-way switches and the wiring configuration seems overly complex or confusing, it's best to defer to an expert. Anytime you feel uncertain or uncomfortable with the wiring, or if your electricity panel isn't clearly labeled, a professional can diagnose and safely resolve the issue, ensuring your home's electrical system remains safe and up to current code standards. Don
Related Articles
Keep troubleshooting with these hand-picked guides from FixlyGuide:
- The #1 Mistake Homeowners Make Replacing a Light Switch (And How to Avoid It) — Avoid the most common — and dangerous — DIY light switch replacement mistake with this step-by-step guide.
- Why Your Outlet Died (Even If the Breaker's On) — Discover the hidden reasons an electrical outlet stops working, even when the circuit breaker appears to be on, and learn simple diagnostic…
- Why is Your Light Switch Hot? (The Hidden Danger Most Homeowners Miss) — A hot light switch isn't just uncomfortable; it's a critical warning sign of electrical issues that should never be ignored due to fire ris…
- The Secret Reason Half Your Wall Outlet Dies (And It's Not What You Think) — Discover why only half of your electrical outlet might be working and how to diagnose and fix the common culprit, saving you from a costly…
- The Single Most Common Reason Half Your Outlet Dies (and How to Fix It in 15 Minutes) — Before you call an electrician for a half-dead outlet, check this common culprit that's often a simple DIY fix.
- The #1 Reason Your AC Blows Warm Air (And It's Not What You Think) — A dirty air filter is often the overlooked culprit behind an air conditioner blowing warm air, hindering its ability to cool your home effi…
Repair or replace this system?
Plug in four numbers and see which choice holds up financially.
Free and instant. Educational guidance only — not a quote, inspection, or professional diagnosis.
Questions to ask before you sign
Ask every contractor the same questions and the cheapest bid stops looking cheapest. Check them off as you go — your progress is saved on this device.
Free, no signup. Bring this to every walkthrough so you compare bids on the same terms.
What should this project cost?
Enter your project details for a realistic cost range before you call anyone.
Outlet and switch work usually $150–$400; panel upgrades commonly $1,800–$4,200.
- Regional adjustment
- National average
- Labor share (typical)
- ~$709
- Quotes to collect
- 3 written estimates
Educational estimate based on national averages — not a binding quote. Always confirm with written local estimates.
Fixly Project Decision Box
- DIY difficulty
- Professional Recommended
- Estimated time
- Diagnosis 1–2 hours
- Cost level
- Moderate
Main tools / materials
- Non-contact voltage tester
- Outlet tester
- Flashlight
When to stop and call a pro
- Burning smell, scorch marks, or a warm outlet or switch plate
- A breaker that trips again right after being reset
- Any work inside the service panel
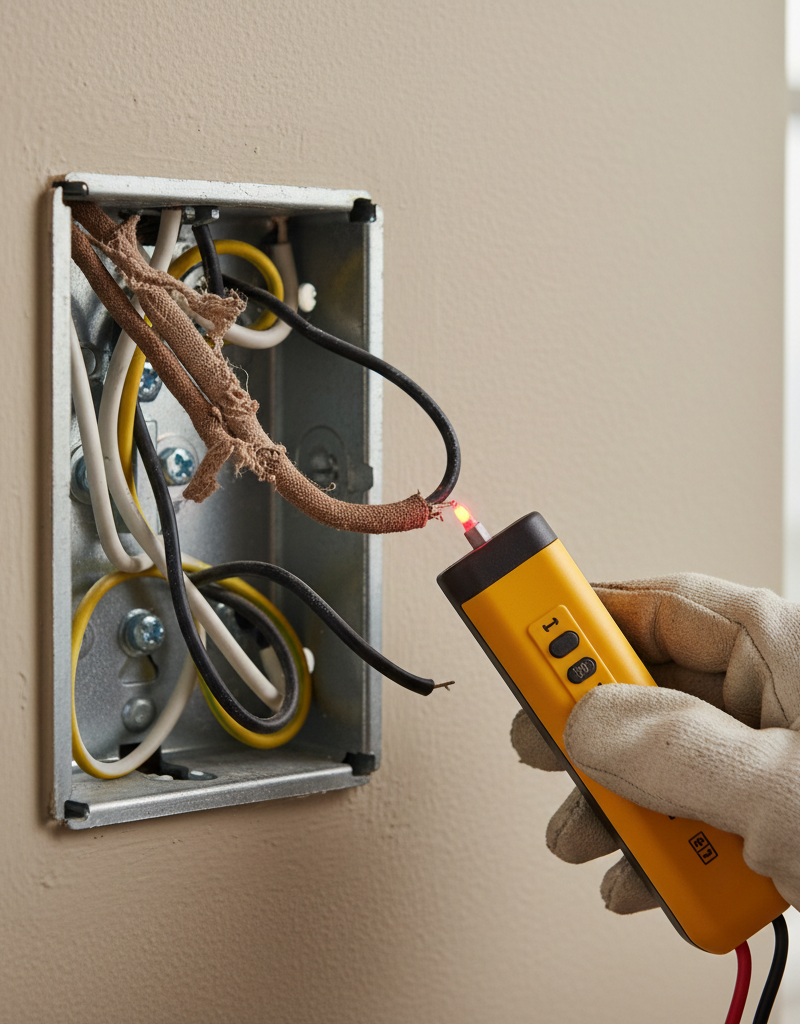
- Aluminum wiring or cloth-insulated wiring
Need professional help?
Talk to a Licensed ElectricianRepair or replace?
Run the age, cost ratio, and repair history through the calculator before you commit.
- Estimate this projectGet a cost range for your scope and ZIP before you call anyone.Open
- Get local estimatesSend one request and compare written estimates from vetted pros.Open
Free, no signup required. Estimates are educational guidance, not a quote or an inspection.
Frequently asked questions
How do I know if the power is completely off?+
Always use a non-contact voltage tester on the wires inside the switch box after flipping the circuit breaker. The tester should not light up or beep, indicating no live power. Also, try flipping the light switch a few times to ensure any residual charge is drained.
What if my old switch has different wiring than the new one?+
While most single-pole switches have similar brass and green screw terminals, take clear photos of your old switch before disconnecting anything. If the new switch has different terminal colors or a different layout, consult its instructions carefully. When in doubt, match the wire types (hot to hot, ground to ground) based on your documentation, or consult an electrician.
Can I replace a 3-way switch myself?+
Replacing a 3-way switch is more complex than a single-pole switch due to additional 'traveler' wires. While possible for experienced DIYers, if you are unsure about identifying the common and traveler terminals, it's highly recommended to call a licensed electrician to avoid wiring errors and potential hazards.
Why did my new light switch stop working after a few days?+
This often indicates a loose wire connection. Turn off the power at the breaker, remove the switch, and carefully re-tighten all terminal screws, ensuring wires are snugly wrapped. If the problem persists, the new switch itself might be faulty or there could be a deeper issue in the circuit.
Discussion
Loading comments…