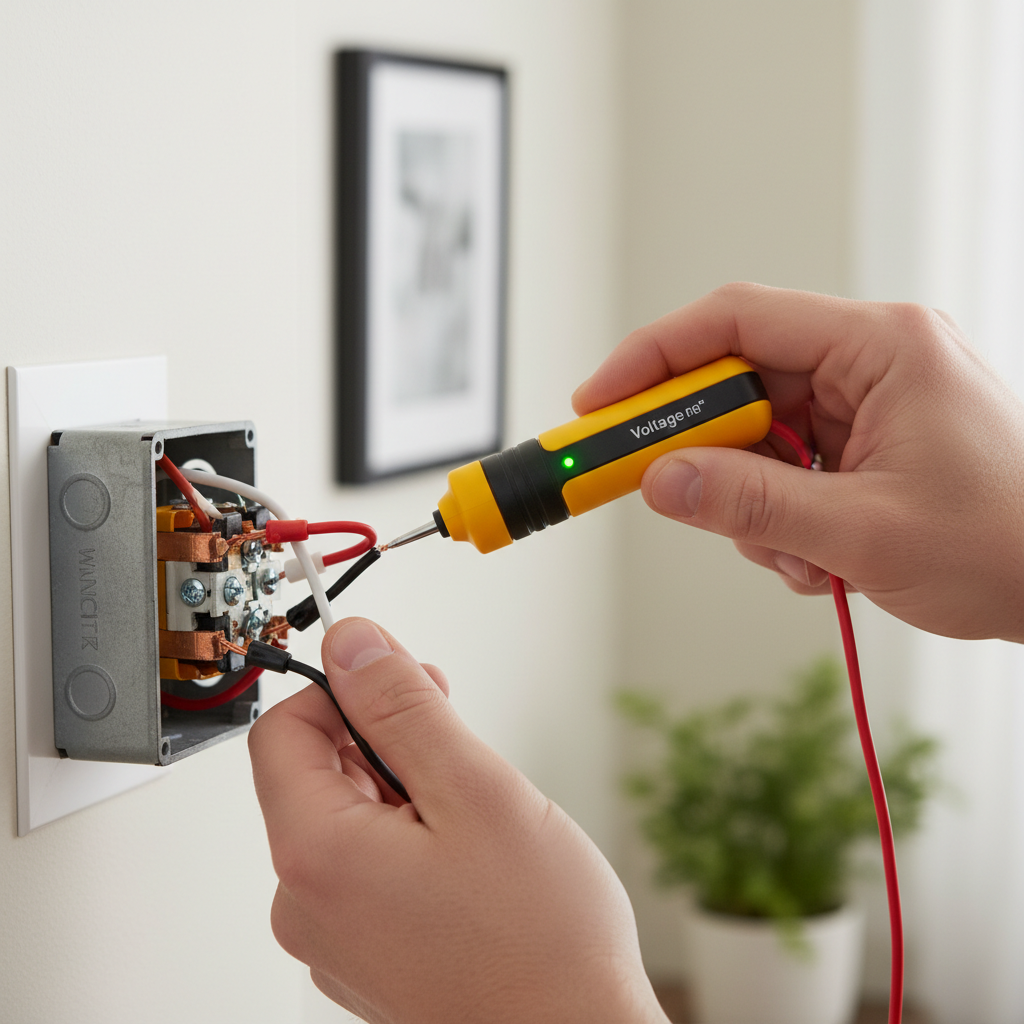
- Connect New Outlet: Attach the wires to the corresponding screws on the new outlet, ensuring firm, clockwise wraps around the screws. The ground wire should always be connected first.
- Mount and Test: Carefully push the new outlet back into the electrical box, making sure no wires are pinched. Screw it into place, attach the cover plate, and restore power at the breaker. Test both receptacles with a known-working device.
- Materials: New 15A or 20A duplex outlet (match existing amperage), Wire strippers (if wires need re-stripping).
Electrical · Outlet or lights not working
| Project category | Electrical |
|---|---|
| Problem type | Outlet or lights not working |
| Trade required | Electrical |
| Urgency | Soon — within weeks |
| Safety risk | Moderate safety risk |
| DIY suitability | DIY for experienced homeowners |
| Cost category | Low cost |
| Typical timeline | Often under an hour once the cause is found |
| Contractor type | Licensed electrician |
Repair option
Reset the upstream GFCI first, then replace the failed device.
Replacement option
Rewire the circuit when connections are failing in multiple boxes.
Common causes
- Tripped GFCI upstream on the same circuit
- Loose neutral in a daisy-chained run
- Failed switch or receptacle
Relevant tools:diy difficultydiy or hire a pro
Published July 19, 2026Last updated August 17, 2026
Tools & materials you'll need
Affiliate linksAs an Amazon Associate FixlyGuide earns from qualifying purchases — at no extra cost to you. Prices and availability are accurate as of publication and subject to change.
Quick Answer
A half-working electrical outlet, where one receptacle functions and the other doesn't, is typically caused by a tripped GFCI (Ground Fault Circuit Interrupter) upstream, a loose wire connection within the outlet's terminals, or an open circuit within the outlet itself. In many cases, the solution is as straightforward as resetting a nearby GFCI outlet or breaker. If that doesn't work, a more hands-on approach involves carefully checking and tightening the wire connections at the faulty outlet or, if necessary, replacing the entire outlet.
The Problem
Imagine plugging in your phone charger and it works, but then you try to power a lamp in the other socket of the exact same outlet, and nothing happens. This frustrating scenario of a "half-dead" outlet is more common than you might think. It means one of the two receptacles on a standard duplex outlet is operational, while the other remains resolutely lifeless. This isn't just an inconvenience; it can be a symptom of underlying electrical issues, from simple tripped safety devices to loose wiring that could pose a fire hazard if left unaddressed. Understanding the root cause is crucial for a safe and effective repair.
How It Works
To understand why an outlet might only partially work, it helps to know how a standard duplex outlet is wired. Each half of a duplex outlet (each receptacle) has its own set of terminals for hot, neutral, and ground wires. However, these two receptacles are typically powered by a single set of incoming hot and neutral wires. The hot wire (usually black or red) brings 120 volts of electricity from the circuit breaker panel. The neutral wire (usually white) completes the circuit, returning electricity to the panel. The ground wire (green or bare copper) is a critical safety feature, providing a path for stray electricity in case of a fault, preventing shocks.
When power comes into the outlet box, the hot and neutral wires are connected to the outlet's screw terminals. Often, the hot wire is connected to a brass-colored screw, and the neutral wire to a silver-colored screw. A small, removable metal tab on the side of the outlet connects the two hot terminals, and another tab connects the two neutral terminals. This means both receptacles typically share the same power source. If only one half works, it suggests a disruption after the main power feed to the outlet, but before the second receptacle. This could be a broken internal connection within the outlet itself, a loose wire specifically on one of the two sets of internal terminals, or an issue with a safety device like a GFCI that protects only one half of the circuit or has tripped in a way that isolates one receptacle.
Step-by-Step Fix
1. Safety First
— ALWAYS turn off power at the breaker before working on an outlet. Locate your electrical panel and switch off the circuit breaker corresponding to the faulty outlet. If unsure, turn off the main breaker to kill power to the entire house. Verify the power is off using a non-contact voltage tester inserted into both receptacles of the outlet.
- Tool: Non-contact voltage tester
- Safety: Never assume the power is off. Test, test, test!
2. Check for Tripped GFCI Outlets & Breakers
— Reset any GFCI circuits. A common cause of a half-working outlet is a tripped Ground Fault Circuit Interrupter. Look for GFCI outlets (they have "TEST" and "RESET" buttons) in bathrooms, kitchens, garages, basements, or outdoor areas that might be on the same circuit. Press the "RESET" button firmly. Also, check your electrical panel for a tripped GFCI breaker (it might be partially between "ON" and "OFF"). Flip it fully to "OFF" then back to "ON."
- If this doesn't work: Proceed to the next step.
3. Inspect the Outlet for Damage
— Remove the cover plate and visually inspect the outlet. With the power verified OFF, carefully remove the screw holding the cover plate and pull it away. Look for any signs of burn marks, charring, melted plastic, or loose, discolored wires. These are strong indicators of an electrical fault or overheating.
4. Examine Wire Connections
— Tighten all terminal screws and check for backstab wiring. Carefully unscrew the outlet from the electrical box. Gently pull the outlet forward, exposing the wiring. Without touching any wires yet, observe how they are connected. Are there wires wrapped around screw terminals, or are they pushed into small holes on the back (backstab connections)? * Loose Screw Terminals: Using a Phillips or flathead screwdriver (depending on the screw type), gently tug on each wire connected to a screw terminal. If it moves easily, loosen the screw, re-wrap the wire clockwise around the screw, and tighten the screw firmly. Ensure no loose strands of copper are sticking out. * Backstab Connections: Backstab connections are notorious for failing over time as the spring mechanism loses tension. If you see backstab wiring, it's best to remove the wire from the hole (usually by inserting a small screwdriver into an adjacent slot or wiggling the wire while pulling) and re-terminate it to the corresponding screw terminal. This is a much more secure and reliable connection.
- Tools: Phillips screwdriver, Flathead screwdriver.
- Safety: Be mindful of the sharp edges of the electrical box and any exposed wires. Never touch bare wires with power on.
5. Test the Outlet for Internal Continuity (Advanced)
— Check the internal tabs. Before pulling out the outlet entirely, look at the sides. There are small metal tabs connecting the top and bottom sets of brass (hot) screws and silver (neutral) screws. If one of these tabs is broken or missing (sometimes removed intentionally for split-receptacle wiring, but rare for a half-dead issue), only one half will receive power. If you don't see any obvious breaks or the tabs are intact, but you suspect an internal fault, testing with a multimeter can confirm if power is reaching one set of terminals but not the other internally. This usually points to a faulty outlet.
6. Replace the Faulty Outlet
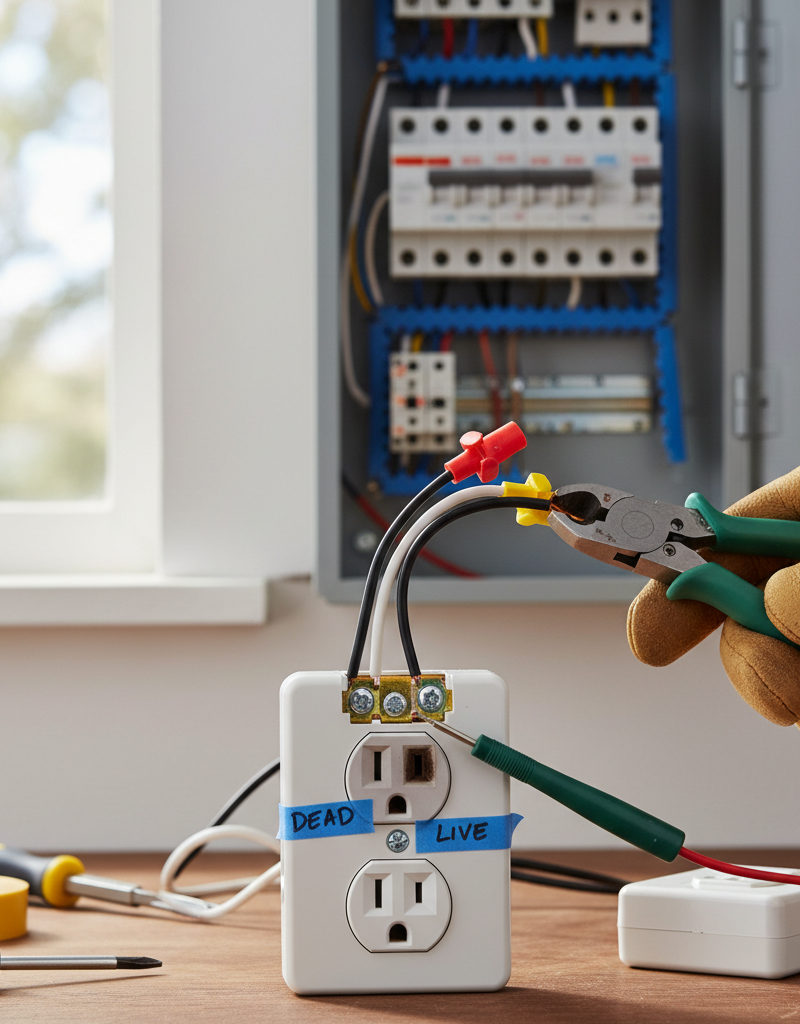
— Install a new outlet if connections are good but one receptacle is dead. If you've tightened all connections, confirmed no GFCI issues, and there's no visible damage, but one receptacle still isn't working, the outlet itself is likely faulty. This is especially true if you checked for internal continuity and found a break. * Disconnect Wires: With power OFF, carefully disconnect all wires from the old outlet. Note the color coding: typically black (hot) to brass screws, white (neutral) to silver screws, and bare copper or green (ground) to the green ground screw. * Connect New Outlet: Attach the wires to the corresponding screws on the new outlet, ensuring firm, clockwise wraps around the screws. The ground wire should always be connected first. * Mount and Test: Carefully push the new outlet back into the electrical box, making sure no wires are pinched. Screw it into place, attach the cover plate, and restore power at the breaker. Test both receptacles with a known-working device.
- Materials: New 15A or 20A duplex outlet (match existing amperage), Wire strippers (if wires need re-stripping).
Common Causes
- Tripped GFCI (Ground Fault Circuit Interrupter): The most frequent culprit. GFCI outlets (or breakers) are designed to trip and cut power instantly when they detect a ground fault, preventing electric shock. Sometimes, they can trip in a way that affects only part of a circuit or, more rarely, only one receptacle of an outlet if it's part of a split-receptacle configuration or if the GFCI itself is faulty. Always check and reset these first.
- Loose Wire Connections: Over time, particularly with older wiring or in high-vibration areas, the screws holding wires to an outlet's terminals can loosen. This creates an intermittent or complete loss of connection to one side of the duplex outlet, especially if only one of the internal terminal sets is affected.
- Backstab Connections: Many cheaper or older outlets use backstab wiring where the wire is simply pushed into a spring-loaded hole. These connections are notorious for failing prematurely as the internal spring weakens, leading to poor contact and intermittent power, often affecting only one receptacle.
- Faulty Outlet Itself: Internal damage, wear and tear, or manufacturing defects can cause one receptacle to fail while the other remains operational. This could be due to a broken internal tab, a faulty contact spring, or internal wiring separating.
- Split-Receptacle Wiring (less common for this specific issue): While less likely to cause only one half to fail randomly, some outlets are wired with the top and bottom receptacles on different circuits (e.g., one controlled by a switch, one always hot). If one of these circuits experiences an issue, it would affect only one receptacle. This usually involves breaking the small metal tab between the hot terminals.
Common Mistakes
- Forgetting to Kill the Power: This is the most dangerous mistake. Always, always, always turn off the circuit breaker and verify with a non-contact voltage tester before touching any wires or outlet components.
- Ignoring a Tripped GFCI: Many homeowners immediately jump to replacing the outlet without first checking and resetting all GFCI outlets and breakers on the circuit. This can lead to unnecessary work.
- Not Checking for Upstream Problems: Assuming the problem is at the outlet, when it could be an issue with a GFCI or a loose connection at a previous outlet on the same circuit, especially if outlets are daisy-chained.
- Using Backstab Connections on a New Outlet: If replacing an outlet, always use the screw terminals. They provide a much more secure and reliable electrical connection, reducing the chance of future problems.
- Incorrectly Wiring a New Outlet: Mixing up hot and neutral, or failing to properly ground the outlet, can create dangerous conditions or prevent the outlet from working correctly. Always connect black/red to brass, white to silver, and green/bare to the green ground screw.
- Over-tightening or Under-tightening Screws: Screws should be snug, holding the wire firmly without crushing it. Under-tightening leads to loose connections and arcing; over-tightening can damage the wire or the terminal.
Cost & Time Breakdown
| Task | DIY Cost | Pro Cost | Time |
|---|---|---|---|
| Diagnosing GFCI/Breaker | $0 | $75–$150 | 5–10 minutes |
| Tightening Loose Wires | $0 | $75–$150 | 15–30 minutes |
| Replacing Standard Outlet | $2–$10 | $100–$250 | 30–60 minutes |
| Replacing GFCI Outlet | $12–$25 | $120–$300 | 45–90 minutes |
| Troubleshooting Complex Issue | $0 | $150–$400+ | 1–3 hours+ |
Tips & Prevention
- Regular GFCI Testing: Test your GFCI outlets monthly by pressing the "TEST" button and then the "RESET" button. This ensures they are functioning correctly to prevent shocks.
- Avoid Overloading Outlets: Plugging too many high-draw appliances into a single outlet or extension cord can lead to overheating and premature failure of the outlet or circuit breaker.
- Upgrade Old Outlets: If your home has very old, two-prong outlets or outlets showing signs of wear and tear, consider upgrading them to modern, grounded, tamper-resistant receptacles for safety and reliability.
- Use Screw Terminals: When installing or replacing outlets, always use the screw terminals for wire connections instead of the less reliable backstab method.
- Periodic Check of Outlets: During routine cleaning or home maintenance, take a moment to gently wiggle plugs in outlets. If they feel excessively loose, it could indicate worn internal contacts in the outlet, suggesting it's time for a replacement.
When to Call a Professional
While tackling a half-dead outlet can often be a manageable DIY project, there are clear instances when calling a licensed electrician is not just advisable, but necessary. If you encounter any burning smells, scorch marks, or buzzing sounds coming from the outlet or electrical box, immediately turn off the power and call a professional, as these are signs of a severe electrical fault or potential fire hazard. If you've diligently followed all the troubleshooting steps—resetting GFCIs, tightening connections, and even replacing the outlet—and the problem persists, it indicates a more complex issue further upstream, such as a problem within the electrical panel, a faulty circuit breaker, or a break in the wiring inside the walls, which requires specialized diagnostic tools and expertise. Additionally, if you're uncomfortable at any point working with electricity, or if your home's wiring appears old, degraded, or unfamiliar, deferring to a professional ensures your safety and prevents unintended damage.
Related Articles
Keep troubleshooting with these hand-picked guides from FixlyGuide:
- The 7 Head-Scratching Reasons Your Outlet Died (Even With The Breaker On) — Discover the surprising reasons why an electrical outlet might stop working even when its circuit breaker is fully engaged, and how to safe…
- Why Your Outlet Died (Even If the Breaker's On) — Discover the hidden reasons an electrical outlet stops working, even when the circuit breaker appears to be on, and learn simple diagnostic…
- Why Your Outlet Died But the Breaker's STILL On (The GFCI Culprit) — Discover the hidden reasons an electrical outlet stops working, even when the circuit breaker remains on, often pointing to a tripped GFCI.
- Why Your Outlet Died (Even If the Breaker's ON): The Hidden Causes Everyone Misses — Discover the surprising reasons why an electrical outlet might stop working even when the circuit breaker appears to be on, and learn how t…
- The Secret Reason Half Your Wall Outlet Dies (And It's Not What You Think) — Discover why only half of your electrical outlet might be working and how to diagnose and fix the common culprit, saving you from a costly…
- The Hidden Reason Your GFCI Trips (It's Not Always a Faulty Outlet) — A continuously tripping GFCI outlet is a critical safety warning, often indicating moisture, a faulty appliance, or a wiring problem that r…
Should you do this yourself?
Answer five quick questions before you start. Safety outranks savings every time.
Your experience with work like this
How high do you have to work?
Does the job involve any of these?
Will it need a permit?
Specialty tools
Free and instant. Educational guidance only — not a quote, inspection, or professional diagnosis.
What should this project cost?
Enter your project details for a realistic cost range before you call anyone.
Outlet and switch work usually $150–$400; panel upgrades commonly $1,800–$4,200.
- Regional adjustment
- National average
- Labor share (typical)
- ~$709
- Quotes to collect
- 3 written estimates
Educational estimate based on national averages — not a binding quote. Always confirm with written local estimates.
Fixly Project Decision Box
- DIY difficulty
- Professional Recommended
- Estimated time
- Diagnosis 1–2 hours
- Cost level
- Moderate
Main tools / materials
- Non-contact voltage tester
- Outlet tester
- Flashlight
When to stop and call a pro
- Burning smell, scorch marks, or a warm outlet or switch plate
- A breaker that trips again right after being reset
- Any work inside the service panel
- Aluminum wiring or cloth-insulated wiring
Need professional help?
Talk to a Licensed ElectricianBefore you start
Check the difficulty, permits, and safety risk — then decide whether to call a pro.
- Estimate this projectGet a cost range for your scope and ZIP before you call anyone.Open
- Get local estimatesSend one request and compare written estimates from vetted pros.Open
Free, no signup required. Estimates are educational guidance, not a quote or an inspection.
Frequently asked questions
Why would only one part of an electrical outlet work?+
Only one part of an electrical outlet might work due to a tripped GFCI (Ground Fault Circuit Interrupter) upstream, loose wire connections within the outlet, or internal damage to the outlet itself. Less commonly, if it's a split-receptacle, one half's dedicated circuit might have an issue.
Can a loose wire cause only half an outlet to work?+
Yes, absolutely. A loose connection on either the hot or neutral terminal for one half of the duplex outlet can prevent that specific receptacle from receiving power, while the other functions normally if its connections are secure. Backstab connections are particularly prone to this kind of failure.
How do I test if an outlet is getting power to both receptacles?+
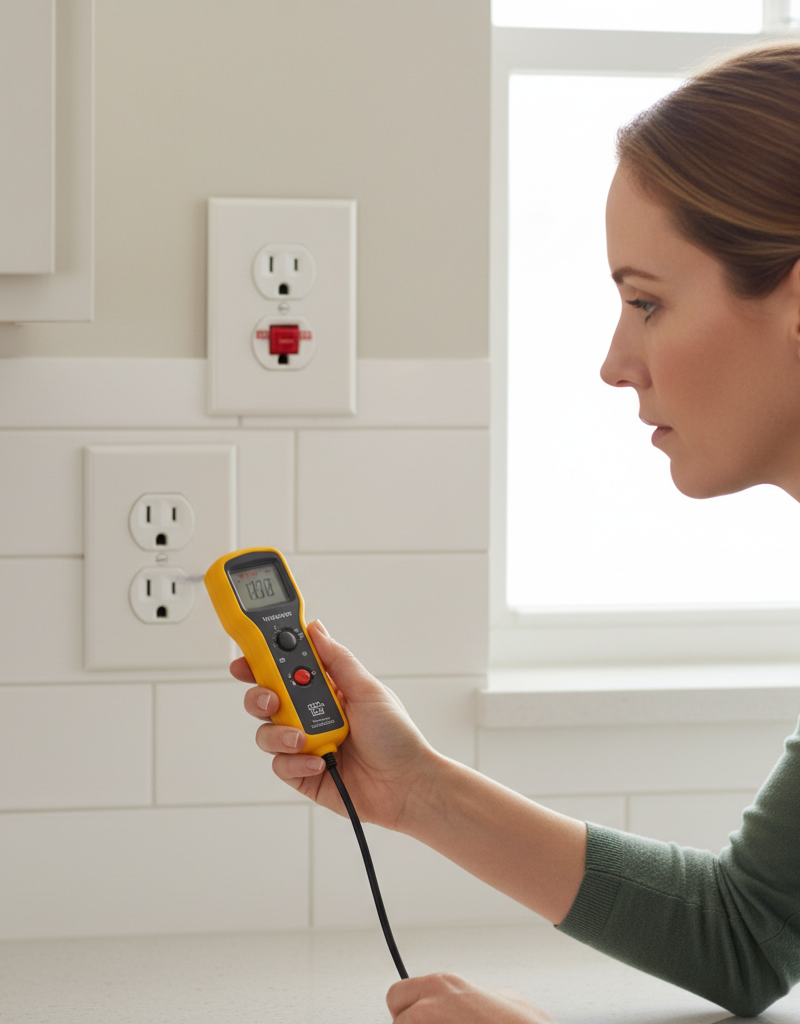
After ensuring the power is off at the breaker, you can visually inspect the wiring for tight connections. Once power is restored, use a non-contact voltage tester on both receptacles. For a more precise test, a multimeter can check voltage between the hot and neutral slots of each receptacle individually, which helps identify if power is reaching one but not the other.

Discussion
Loading comments…