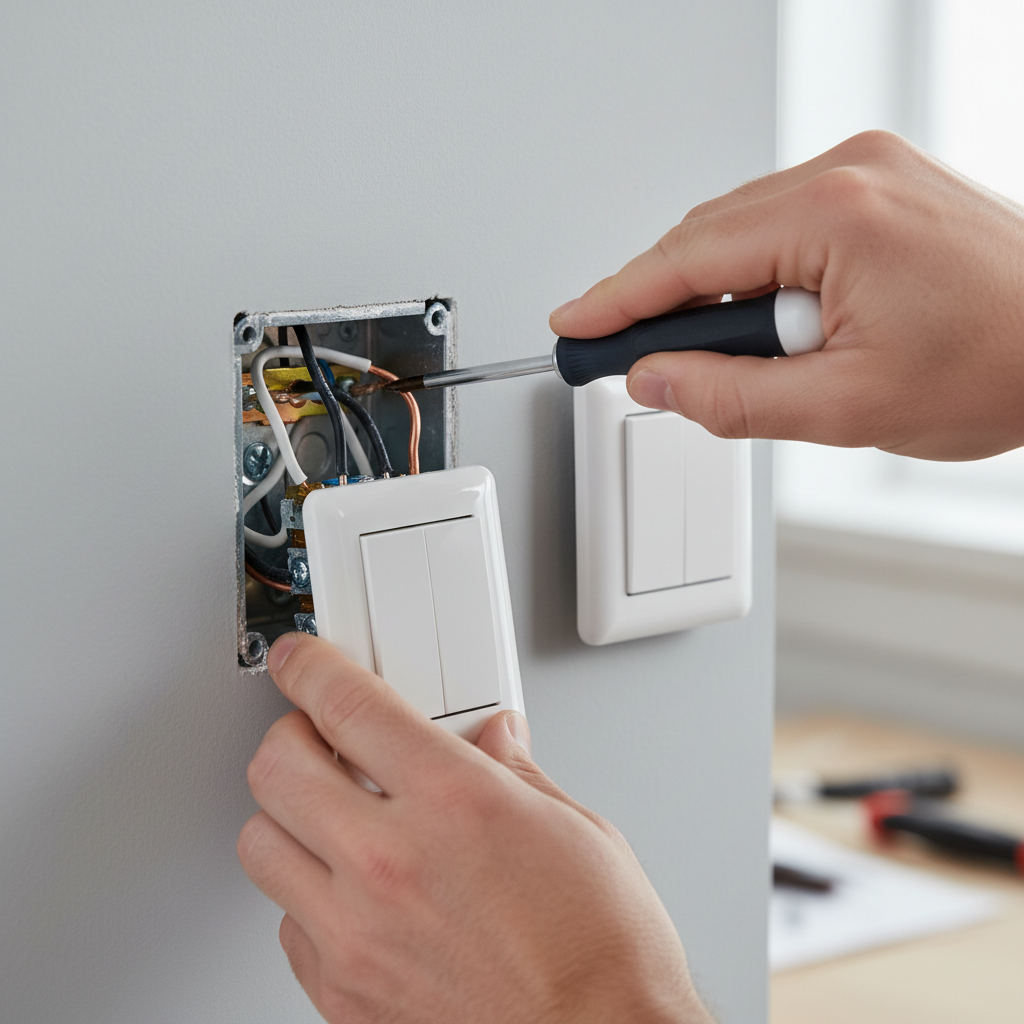
- Forgetting to Kill the Power: This isn’t just a mistake, it’s dangerous. Working on live wires can cause serious shock, burns, or even electrocution. Always, always verify no power before you touch anything.
- Not Testing for Power: Just flipping the breaker isn’t enough. Breakers get mislabeled, and sometimes the wiring’s got an issue too. A non-contact voltage tester is cheap insurance.
- Leaving Exposed Wire: When you loop a wire around a screw terminal, make sure no bare copper sticks out past the screw head after tightening. Exposed wire can touch the metal box or another wire and cause a short circuit or shock hazard.
- Overtightening Screws: Whether it’s the terminal screws or the faceplate screws, overtightening can strip threads, crack the switch housing, or warp the faceplate. Snug is good; gorilla-tight is no good.
Electrical · Outlet or lights not working
| Project category | Electrical |
|---|---|
| Problem type | Outlet or lights not working |
| Trade required | Electrical |
| Urgency | Soon — within weeks |
| Safety risk | Moderate safety risk |
| DIY suitability | DIY for experienced homeowners |
| Cost category | Low cost |
| Typical timeline | Often under an hour once the cause is found |
| Contractor type | Licensed electrician |
Repair option
Reset the upstream GFCI first, then replace the failed device.
Replacement option
Rewire the circuit when connections are failing in multiple boxes.
Common causes
- Tripped GFCI upstream on the same circuit
- Loose neutral in a daisy-chained run
- Failed switch or receptacle
Relevant tools:diy difficultydiy or hire a pro
Published July 30, 2026Last updated August 17, 2026
Tools & materials you'll need
Affiliate linksAs an Amazon Associate FixlyGuide earns from qualifying purchases — at no extra cost to you. Prices and availability are accurate as of publication and subject to change.
Quick Answer
Replacing a standard light switch is a pretty common job, and honestly, it’s one of the easiest electrical fixes you can handle yourself. It usually takes me about 20 minutes, maybe 30 if I’m walking a homeowner through it for the first time. The main thing is safety: kill the power at the breaker first. After that, you’re just unscrewing the old switch, labeling and disconnecting the wires, then landing them on the new one. Use a non-contact voltage tester—they’re cheap and they save lives—to make sure the circuit’s dead before your fingers get anywhere near those wires.
The Problem
You flip the switch, and nothing happens. Or the light flickers like a bargain-bin horror prop. Sometimes you’ll even hear a little crackling from the switchplate itself. Those are all classic signs the switch is wearing out. I’ve been on calls where folks thought they had some big wiring mess, only to find out it was just a tired switch that cost ‘em five bucks at the hardware store. A bad switch isn’t just annoying; it can turn into a fire hazard, especially if you’re hearing crackling or seeing scorch marks. Worn contacts inside the switch can build up heat, and that’s not something you want sitting behind your wall.
How It Works
Alright, here’s what’s going on inside that little box. A basic light switch is just a gatekeeper for electricity. Flip it to the ‘On’ position, and you close the circuit, letting power travel from your electrical panel, through the switch, to the light fixture, and then back to the panel to finish the loop. Flip it ‘Off,’ and you open that gate. Flow stops. Simple.
Most residential circuits in the U.S. run on 120 volts. In a typical switch box, you’ll see three kinds of wires: a ‘hot’ wire (usually black, bringing power in), a ‘load’ wire (often black or red, carrying power to the light), and a ‘ground’ wire (bare copper or green, for safety). Some newer wiring might also have a neutral wire (white), though that’s less common in older switch boxes unless you’re dealing with a smart switch or dimmer that needs constant power. The hot wire connects to one screw terminal on the switch, and the load wire connects to another. The ground wire hooks to a green screw on the switch’s metal yoke and to the metal box if it’s a metal box. When the switch is ‘on,’ those two terminals are bridged internally, and the circuit is complete. Over time, those internal contacts can wear out, corrode, or work loose. That’s when you start getting flickering, or a full-on failure. Heat from arcing can wreck the plastic, and you might even smell something funky—a dead giveaway that thing’s toast and needs to be swapped out ASAP. I pulled a switch once in a house out in Smyrna where the homeowner had been ignoring the crackling for months. When I finally cracked it open, the plastic was melted and discolored. Could’ve been ugly.
Step-by-Step Fix
Here’s how I handle a standard light switch replacement. Take your time. Don’t race it.
-
Safety First—Kill the Power!—Never, ever skip this step. Head to your main electrical panel. Find the breaker that controls the circuit for the light switch you’re working on. It’s usually labeled, but if not, you may have to flip a few until the light goes out. Once you’ve got the right one, flip it to the ‘OFF’ position. I’ll often throw a piece of electrical tape over the handle or stick a note on it so nobody else flips it back on while I’m working. Trust me, it happens.
- Pro Tip: If you’re not sure which breaker it is, shut off the main breaker for the whole house. It’s a bit extreme, but it’s 100% safe. Just make sure you’re doing this in daylight or you’ve got a good flashlight handy.
-
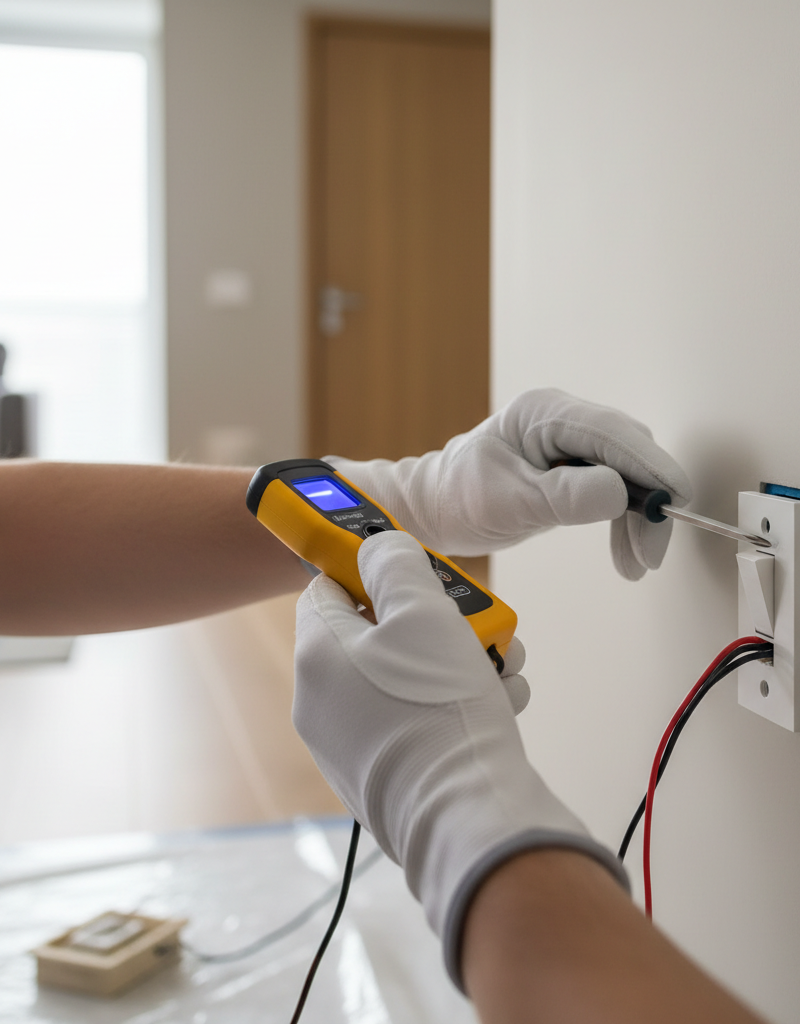
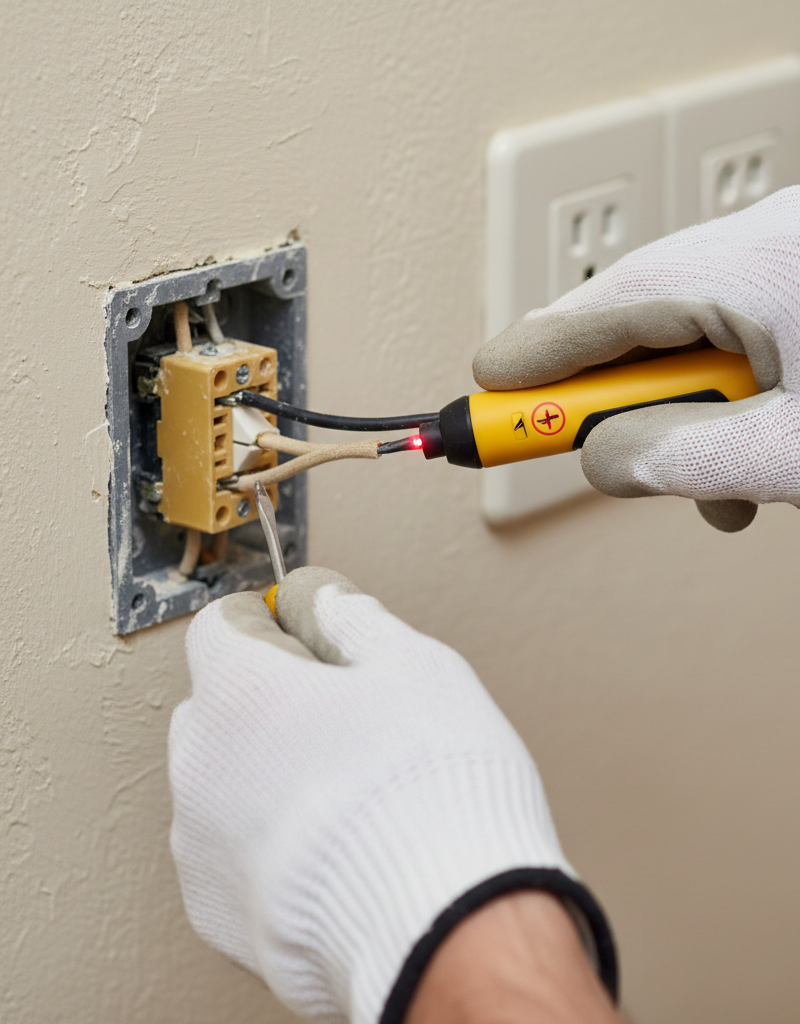
Verify Power is Off—This is your second line of defense. Grab your non-contact voltage tester. Touch the tip to the face of the switchplate, then directly to the switch itself. It shouldn’t light up or beep. Next, carefully remove the screws holding the faceplate to the wall. Pull the faceplate off. Now gently pull the switch out of the electrical box, but leave the wires connected for the moment. Touch the voltage tester to each screw terminal on the switch where a wire is connected. If it’s truly dead, you’ll get no indication of power. If it still lights up, stop right there, go back to your panel, and double-check you’ve got the right breaker.
-
Inspect and Photograph Wiring—Your memory isn’t perfect, trust me. Before you disconnect anything, take a clear photo with your phone of how the wires are connected to the old switch. That’s your roadmap for the new one. Pay attention to which color wire goes to which screw terminal (e.g., black to the bottom screw, red to the top, bare copper to the green ground screw). Also check the type of connection: are the wires wrapped around screws, or pushed into back-stabs? If you find push-in connections, I always tell people to switch to screw terminals on the new switch—they hold up better.
-
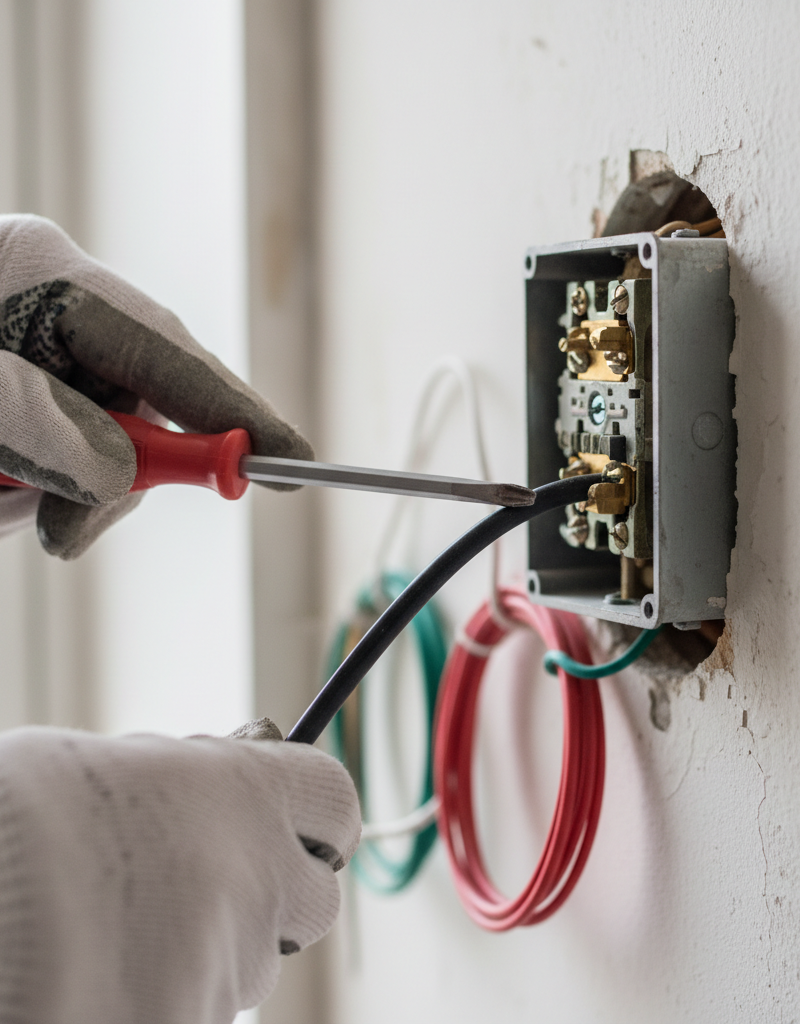
Disconnect the Old Switch—Careful now, those wires can be brittle. Using your screwdriver (flathead or Phillips, depending on the screws), loosen the terminal screws on the old switch. Once they’re loose, unhook the wires. Don’t let the wires drop back into the wall box; you can gently tug them out a bit or use needle-nose pliers to keep them where you can reach them. If you’ve got a bare copper ground wire, disconnect that from the green screw too. If the box is metal, there might be a ground wire also tied to the back of the box—leave that one alone unless it’s part of the switch’s ground setup.
-
Prepare the New Switch—Match the style, match the quality. Take your new light switch out of the package. If the old switch used push-in connections, I strongly recommend using the screw terminals on the new one. For solid wires, strip just enough insulation—usually about 3/4 inch—so when you loop the wire clockwise around the screw terminal, no bare wire shows past the screw head. If the wires are stranded, twist the strands tight before looping them, or use crimp-on spade terminals for a more secure hookup.
- Tools: Wire strippers, screwdriver set.
- Safety: Make sure your new switch is rated for the same amperage as your circuit (usually 15A or 20A, found on the switch itself). Most standard light switches are 15A.
-
Connect the Wires to the New Switch—Follow your photo, double-check your work. This is where that picture pays off. Connect the bare copper or green insulated ground wire to the green ground screw on the new switch. Then connect the ‘hot’ wire (usually black) to one of the brass-colored screw terminals. Connect the ‘load’ wire (often black but could be red in a three-way setup, though we’re focusing on a single-pole here) to the other brass-colored screw terminal. If there’s a neutral (white) wire that wasn’t connected to the old switch but is present in the box, keep it neatly capped with a wire nut and leave it alone—unless your new switch specifically needs it, like a smart switch. Twist the wires clockwise around the screws for a solid grip, then tighten the screws firmly. Give each wire a gentle tug to make sure it isn’t going anywhere.
-
Mount the New Switch—Don’t overtighten the screws. Fold the wires neatly into the electrical box. You don’t want them jammed in there. Gently push the new switch into the box, lining up the mounting holes with the box screws. Screw the new switch into place. Don’t crank down on these screws; just snug them up so the switch sits flush and secure. Overtightening can warp the switch or crack the electrical box.
-
Attach the Faceplate—The final touch. Carefully screw the faceplate onto the new switch. Again, don’t overtighten it, or you’ll crack the plastic. Just snug it up so it sits flush with the wall.
-
Restore Power and Test—The moment of truth. Head back to your electrical panel and flip the breaker back to the ‘ON’ position. Return to the switch and test it out. Flip it on and off a few times. Make sure the light comes on reliably and stays on. If it works, pat yourself on the back. If not, don’t panic. Go back to Step 1, kill the power, and re-check every connection. Nine times out of ten, it’s a loose wire or a swapped hot/load connection.
Common Causes
- Worn-out Contacts: Inside any mechanical switch, there are metal contacts that touch to complete the circuit. After years of use, those contacts can pit, corrode, or just wear down, which leads to intermittent connection or total failure. I’ve seen switches flipped thousands of times over 30 years—eventually, something’s gotta give.
- Loose Wire Connections: Wires can loosen up at the screw terminals over time from heat expansion, vibration, or just a sloppy install to begin with. A loose connection creates resistance, resistance makes heat, and heat leads to flickering or a dead switch. This is a big one I see in older homes in the Willow Creek area.
- Overloading: It’s less common for a standard light switch, but pushing too much current through a switch over and over can overheat the internal parts and wear them out early. That usually means you’ve got too many lights or high-wattage fixtures on one circuit for the switch’s rating.
- Physical Damage: Cracks in the housing, a busted toggle, or even paint getting into the mechanism can keep a switch from working right. Kids are rough on switches. No surprise there.
- Environmental Factors: High humidity or corrosive spaces, like near a workshop with chemical fumes, can chew up the internal metal parts faster than normal.
Common Mistakes
- Forgetting to Kill the Power: This isn’t just a mistake, it’s dangerous. Working on live wires can cause serious shock, burns, or even electrocution. Always, always verify no power before you touch anything.
- Not Testing for Power: Just flipping the breaker isn’t enough. Breakers get mislabeled, and sometimes the wiring’s got an issue too. A non-contact voltage tester is cheap insurance.
- Using Back-Stab Connections: A lot of cheaper switches have little holes in the back where you just push the stripped wire in. Those are notorious for loosening up over time, which causes resistance and possible hazards. Use the screw terminals instead—they’re way more secure.
- Leaving Exposed Wire: When you loop a wire around a screw terminal, make sure no bare copper sticks out past the screw head after tightening. Exposed wire can touch the metal box or another wire and cause a short circuit or shock hazard.
- Overtightening Screws: Whether it’s the terminal screws or the faceplate screws, overtightening can strip threads, crack the switch housing, or warp the faceplate. Snug is good; gorilla-tight is no good.
- Replacing a Single-Pole with a Three-Way: You’ve got to match the switch type. A single-pole switch has two brass terminal screws plus a ground. A three-way switch—used when two switches control one light—has three brass or dark-colored terminals plus a ground. Putting the wrong one in will either not work or be dangerous. Replace like-for-like unless you know what you’re doing and you’re wiring a new setup.
Cost & Time Breakdown
| Task | DIY Cost | Pro Cost | Time |
|---|---|---|---|
| Standard Switch | $5–$15 | (Included) | N/A |
| Tools (if needed) | $20–$50 | (Pro provides) | N/A |
| Labor (DIY) | $0 | (Pro provides) | 20–30 mins |
| Pro Service Call | N/A | $75–$150/hr | 1–2 hours |
| Total (DIY) | $5–$65 | N/A | 20–30 mins |
| Total (Pro) | N/A | $100–$250 | 1–2 hours |
Tips & Prevention
- Match Amperage: Always replace a switch with one rated for the same amperage, usually 15A for general lighting circuits. Most standard switches are 15A, but it’s smart to check the old one or the breaker. If you’re swapping out a really old switch in a laundry room or garage, it might be 20A, so don’t guess.
- Upgrade to Quality: Sure, a basic switch is cheap, but spending a few extra bucks on a commercial-grade switch can get you better internal contacts and a longer lifespan. They’re usually only a few dollars more, say $8 instead of $3, but they feel sturdier and hold up better.
- Avoid Overloading: Keep an eye on how many high-wattage fixtures or appliances are on a single circuit. If you’re constantly tripping a breaker or blowing fuses, that’s a sign of an overloaded circuit, not just a bad switch.
- Regular Inspections: Every few years, pull off a switchplate and look for loose wires, discolored insulation, or scorch marks. That matters even more in older homes. I tell my clients to do this any time they’re repainting a room. It’s a quick check that can save you from bigger headaches later.
- Consider Smart Switches/Dimmers: If you’re replacing an old switch, think about upgrading to a smart switch or dimmer. Just remember, these often need a neutral wire in the box for power, and older homes might not have one. If no neutral wire is present, you’ll need a specific
Related Articles
Keep troubleshooting with these hand-picked guides from FixlyGuide:
- Why Does Only One Room Have Flickering Lights? The Real Culprit — Flickering lights in a single room often point to a localized electrical issue, frequently a loose connection in a light fixture or switch.
- Why Your Wall Switch Feels Hot: The Hidden Danger Most Homeowners Miss — A hot light switch isn't just uncomfortable; it's a critical warning sign of potential electrical hazards that demand immediate attention.
- Why Does Only One Room Have Flickering Lights? The Real Culprit — Flickering lights in a single room often point to a localized electrical issue, frequently a loose connection, easily diagnosed and repaire…
- Why Does Only One Room Have Flickering Lights? The Real Culprit — Flickering lights in a single room often point to a localized electrical issue, not a whole-home problem, making diagnosis and repair simpl…
- Why Does Only One Room Have Flickering Lights? The Real Culprit — Flickering lights in a single room often point to a localized electrical issue, not a whole-house problem, and can often be fixed with simp…
- The 5-Minute Trick to Fix a Door That Won't Latch (No New Hardware Needed) — Discover the simple, often overlooked reason your door isn't latching and how to fix it in minutes with basic tools, no new hardware requir…
Repair or replace this system?
Plug in four numbers and see which choice holds up financially.
Free and instant. Educational guidance only — not a quote, inspection, or professional diagnosis.
Questions to ask before you sign
Ask every contractor the same questions and the cheapest bid stops looking cheapest. Check them off as you go — your progress is saved on this device.
Free, no signup. Bring this to every walkthrough so you compare bids on the same terms.
What should this project cost?
Enter your project details for a realistic cost range before you call anyone.
Outlet and switch work usually $150–$400; panel upgrades commonly $1,800–$4,200.
- Regional adjustment
- National average
- Labor share (typical)
- ~$709
- Quotes to collect
- 3 written estimates
Educational estimate based on national averages — not a binding quote. Always confirm with written local estimates.
Fixly Project Decision Box
- DIY difficulty
- Professional Recommended
- Estimated time
- Diagnosis 1–2 hours
- Cost level
- Moderate
Main tools / materials
- Non-contact voltage tester
- Outlet tester
- Flashlight
When to stop and call a pro
- Burning smell, scorch marks, or a warm outlet or switch plate
- A breaker that trips again right after being reset
- Any work inside the service panel
- Aluminum wiring or cloth-insulated wiring
Need professional help?
Talk to a Licensed ElectricianRepair or replace?
Run the age, cost ratio, and repair history through the calculator before you commit.
- Estimate this projectGet a cost range for your scope and ZIP before you call anyone.Open
- Get local estimatesSend one request and compare written estimates from vetted pros.Open
Free, no signup required. Estimates are educational guidance, not a quote or an inspection.
Get the print-ready PDF of this guide
A clean, ad-free, printable version you can keep on your phone or pin to the workshop wall. Free with a FixlyGuide account.
- Print-optimized layout
- Tools, materials & every step included
- Saved to your account
Frequently asked questions
How do I know what kind of light switch I have?+
The easiest way is to count the wires (excluding ground). A single-pole switch has two wires. A three-way switch has three wires, and a four-way switch has four wires. If it's a dimmer, it'll usually say 'dimmer' on the unit or packaging.
Can a bad light switch cause flickering lights?+
Absolutely. Worn-out internal contacts in a switch can create an intermittent connection, causing the light to flicker or even only turn on sometimes. It's one of the most common reasons for flickering.
Is it safe to replace a light switch myself?+
Yes, for a standard single-pole switch, it's generally a safe DIY project if you follow proper safety precautions. The most critical step is to ensure the power is completely off at the breaker and verified with a voltage tester.
What tools do I need to replace a light switch?+
You'll need a screwdriver set (flathead and Phillips), wire strippers, electrical tape, and most importantly, a non-contact voltage tester. A headlamp can also be really helpful.
What if my new switch doesn't work after installation?+
Don't panic! Kill the power again and re-check all your connections. The most common issues are a loose wire, wires connected to the wrong terminals (hot for load, etc.), or a wire that wasn't stripped properly. Sometimes, the new switch itself can be faulty, but that's less common.
Do I need to cap unused wires in the electrical box?+
Yes, any wires present in the box that are not connected to the switch (like an unused neutral wire) should always have a wire nut securely twisted onto their ends. This prevents accidental contact and potential short circuits.
What's the difference between a single-pole and a three-way switch?+
A single-pole switch controls a light from one location and has two terminal screws (plus ground). A three-way switch controls a light from two locations and has three terminal screws (plus ground). You should always replace a switch with the same type.
When should I call an electrician for a bad light switch?+
If you see scorch marks, smell burning, hear persistent buzzing or crackling even after replacing the switch, or if you're dealing with multiple switches controlling one light (three-way/four-way), it's best to call a licensed electrician. Anything beyond a straightforward single-pole replacement means dealing with more complex wiring, and it's not worth the risk if you're unsure. If your breaker keeps tripping after you replace the switch, that's also a clear sign to call a pro; it could indicate a short or an overloaded circuit that needs a professional diagnóstico.
Discussion
Loading comments…