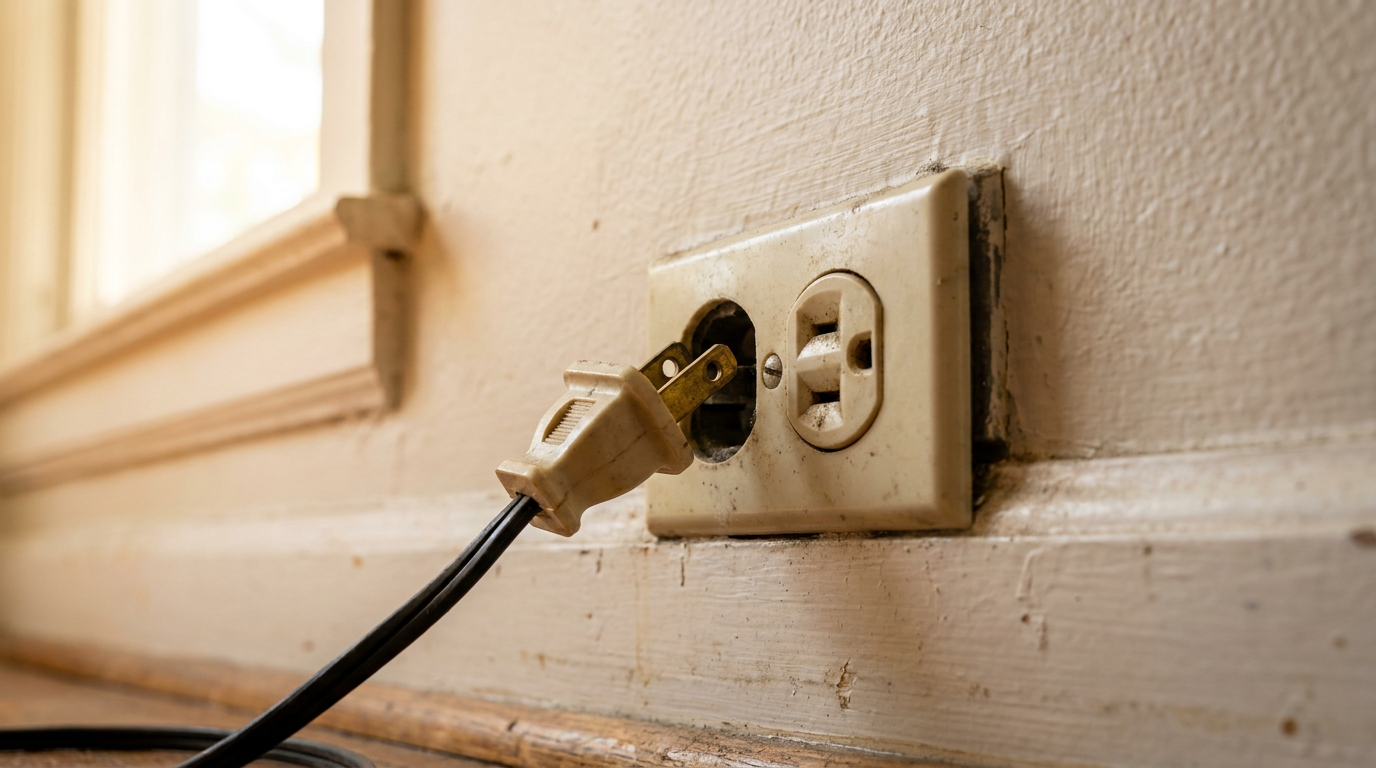
- If an electrical outlet’s so loose that plugs just fall out, you’re usually looking at worn-out internal contact wiper blades or loose mounting yoke screws behind the wall plate.
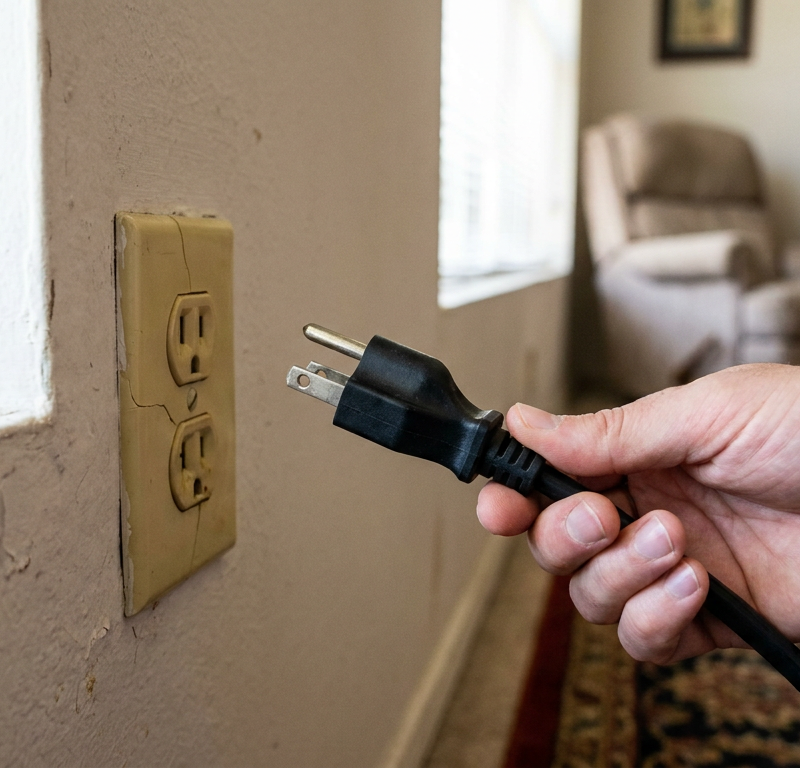
- You plug in a phone charger, vacuum cleaner, or bedside lamp, and the prongs slide right back out.
- Inside a standard wall receptacle, behind the slots, you’ve got paired spring-tempered brass or phosphor-bronze wiper clips.
- Replacing a loose, worn receptacle takes basic hand tools, no shortcuts, and a little patience with the wire management.
Electrical · Panel or service upgrade
| Project category | Electrical |
|---|---|
| Problem type | Panel or service upgrade |
| Trade required | Electrical |
| Urgency | Planned project |
| Safety risk | High safety risk |
| DIY suitability | Licensed pro only |
| Cost category | High cost |
| Typical timeline | Permit plus utility scheduling, commonly 2–6 weeks |
| Contractor type | Licensed electrician |
Repair option
Add a subpanel when the main service is adequate.
Replacement option
Full service upgrade with utility coordination and permits.
Common causes
- Obsolete or recalled panel brands
- Service capacity too small for added loads
- No room for required AFCI/GFCI breakers
Relevant tools:project cost estimatorcompare quotes
Published October 26, 2026Last updated October 26, 2026
Tools & materials you'll need
Affiliate linksAs an Amazon Associate FixlyGuide earns from qualifying purchases — at no extra cost to you. Prices and availability are accurate as of publication and subject to change.
Quick Answer
If an electrical outlet’s so loose that plugs just fall out, you’re usually looking at worn-out internal contact wiper blades or loose mounting yoke screws behind the wall plate. That’s not a small nuisance. It’s a real heat and fire problem. Loose plugs make high-resistance gaps, which means arcing, which means heat, and heat in a wall cavity can light off studs before the breaker ever says a word. You can’t safely bend the internal brass contacts back into shape and call it a day. The code-compliant fix is simple: shut off breaker power and swap the receptacle for a new commercial- or spec-grade 15-amp or 20-amp unit.
The Problem
You plug in a phone charger, vacuum cleaner, or bedside lamp, and the prongs slide right back out. Maybe the cord droops down under its own weight, leaving exposed metal prongs with 120 volts sitting right against the baseboard. Or the whole faceplate shifts and sinks into the drywall when you push a plug in.
That’s not just an old-house quirk. Loose outlets are one of the most missed fire hazards I see in houses.
Here’s what happens: when a plug sits sloppy inside a wall receptacle, the contact area drops way down. Electricity has to jump tiny gaps to keep moving. That micro-arcing makes heat, and not little bitty heat either — I’ve seen spots inside a box cook past 300°F without tripping a standard thermal-magnetic breaker. Why doesn’t the breaker pop? Because the current doesn’t always spike enough. It just keeps cooking the outlet, the insulation, the copper, and the plastic body. If the plug falls out or wiggles freely, that outlet’s mechanically done. It needs replacement, not a pinch from pliers.
How It Works
Inside a standard wall receptacle, behind the slots, you’ve got paired spring-tempered brass or phosphor-bronze wiper clips. When you push a standard NEMA 5-15 plug into the outlet, the prongs wedge between those spring-loaded wipers. In a healthy outlet, those metal leaves keep steady pressure against both prongs and hold a tight electrical connection across about 0.5 inches of metal.
That friction does two jobs. It keeps heavy power bricks from hanging loose, and it keeps resistance low. Over thousands of plug-ins — or just years of sideways strain from vacuum cords getting yanked around corners — the spring metal fatigues. It loses its temper, spreads out, and stays that way. Cheap builder-grade outlets, the kind tract builders buy in 10-packs for under a dollar each, use thin stamped brass clips that wear out fast. Sometimes they’re shot in under five years.
The outlet’s metal mounting yoke and 6-32 machine screws matter just as much. They hold the receptacle flush against the junction box or drywall face. If the box was set too deep in the wall cavity — past the 1/4-inch limit in National Electrical Code (NEC Article 314.20) — or the drywall around the screw holes has crumbled, the whole thing starts floating. Then the plug isn’t just slipping out of the contacts; the whole device is flexing back into the wall. I pulled a water heater disconnect in Frisco last month that had exactly this kind of slop, and the faceplate was basically hanging by hope.
       WALL CAVITY & RECEPTACLE CROSS-SECTION

          Drywall Face
             |   |
  [Box Ear]  |   |    [Outlet Yoke]
     |       |   |         |
     +=======|===|=========+ <--- 6-32 Mounting Screw
     |       |   |         |
     |  +----+---+----+    |
     |  | Internal    |    |
     |  | Wiper Clips |====|==== [Plug Prong Slides In]
     |  | (Fatigued)  |    |
     |  +----+---+----+    |
     |       |   |         |
     +=======|===|=========+
             |   |
Step-by-Step Fix
Replacing a loose, worn receptacle takes basic hand tools, no shortcuts, and a little patience with the wire management. Plan on 20 to 30 minutes per box.
-
Kill the circuit power at the main breaker — Head to your electrical panel and flip the single-pole breaker feeding the room to "OFF." Don’t trust a wall switch to kill power to a receptacle. If the panel directory’s sloppy, plug a radio or bright work lamp into the faulty outlet and flip breakers until the sound or light cuts out completely.
- Tools: Flashlight or headlamp, panel key (if locked).
- Safety check: Never work on a branch circuit illuminated solely by an extension cord running to that same room.
-
Verify zero voltage with a non-contact tester — Bring a reliable non-contact voltage detector right up to the face of the outlet. Insert the probe tip into both vertical slots (hot and neutral) and touch the ground hole. The tester should stay dead quiet and dark.
- Pro tip: Test your voltage pen on a known live circuit elsewhere first, test your dead outlet, and then re-test on the live circuit again. Electricians call this the "live-dead-live" check.
-
Remove the wall plate and unscrew the yoke — Back out the single center screw (or dual screws on decora plates) holding the plastic wall plate. Set the plate aside. Next, use a Phillips or flathead screwdriver to remove the two long 6-32 machine screws securing the top and bottom mounting yoke ears to the electrical box.
- Watch out: Old screws can bind on stripped box threads; apply firm, square pressure so you don't strip the screw heads.
-
Gently pull the receptacle out of the box — Grab the top and bottom metal mounting ears and pull the outlet straight out into the room. You’ll expose 3 to 6 inches of conductor wire. Keep your fingers clear of the screw terminals on the sides just in case you missed Step 2.
- If the wires resist: Stop yanking on them. Rigid 12 AWG solid copper wire can crack if you bend it hard and fast. Fold the wires out gently like an accordion.
-
Inspect the existing wiring layout and photograph it — Pull out your smartphone and take two clear photos: one of the brass screw side (black "hot" wires) and one of the silver screw side (white "neutral" wires). Check the bare copper or green ground wire anchored to the green hexagonal screw at the bottom.
- If back-stabbed: If the wires go into tiny push-in holes on the rear casing instead of wrapping around side screws, that’s usually why the connection felt sloppy. We’re ditching those push-in connections.
-
Disconnect the old outlet terminals — Loosen the brass screws and silver screws using a #1 or #2 square-drive (Robertson) bit or flathead driver. Unhook the wire loops from the terminal posts. If the wires are trapped in back-stab spring clips, insert a small jeweler’s screwdriver into the release slot next to the hole, or clip the wire as close to the back of the device as possible.
- Wire length rule: NEC requires at least 3 inches of free conductor extending outside the box face and 6 inches of total conductor measured from the cable clamp. Don’t cut wires unless you’ve got plenty of slack.
-
Prep the wire ends for the new receptacle — Inspect the exposed copper ends. If they’re nicked, blackened from heat, or bent out of shape, snip the damaged end off using wire strippers. Strip 3/4 inch of fresh insulation off the end using the 14 AWG or 12 AWG notch on your strippers. Use the tiny looping hole on the stripper jaws to bend a clean, tight "J-hook" into each bare wire.
- Direction matters: The J-hook has to wrap clockwise around the terminal screws so tightening the screw pulls the wire tighter instead of kicking it off the post.
-
Secure wires to the new commercial-grade outlet — Hook the black (hot) wire clockwise around the brass screw. Hook the white (neutral) wire around the silver screw. Hook the bare copper ground wire around the green grounding screw. Tighten each terminal firmly with a manual screwdriver to roughly 14 to 16 in-lbs of torque.
- Hardware upgrade: Don’t waste your money on cheap 75-cent standard residential outlets. Spend $3 to $5 on a "commercial specification grade" receptacle with side-clamp pressure plates. They clamp straight wire down with steel backing plates and hold a lot better.
-
Address recessed box depth (if the outlet sunk into the wall) — If the junction box sits more than 1/4 inch behind the finished wall surface, your new outlet will wobble when plugged in. Slide plastic outlet shims (caterpillar spacers) over the 6-32 mounting screws behind the yoke ears until the yoke sits perfectly flush with the drywall surface.
- Code rule: Plastic drywall shims are legal and help keep faceplates from cracking when somebody overtightens the screws.
-
Fold wires and seat the outlet back in the box — Fold the stiff copper wires back into the box in an accordion "Z" pattern—ground wire safely toward the back corner away from side terminals. Wrap two turns of 3M electrical tape around the perimeter of the outlet body covering the screw heads for an extra layer of protection, push the yoke flush, and drive the 6-32 mounting screws in until snug.
- Don't use power drills: Driving 6-32 screws with an impact driver will strip the tiny threads out of metal or plastic junction boxes in a split second. Use a hand tool.
-
Reattach wall plate, restore breaker, and test tension — Screw the wall plate back on. Return to the panel, snap the breaker back to the "ON" position, and plug in a 3-prong receptacle tester.
- Expected result: Two amber lights illuminate on the tester, indicating correct polarity and an open ground absence. Insert a two-prong cord; you should feel firm, crisp mechanical resistance sliding it in and pulling it out.
Common Causes
Why do outlet contacts let go in the first place? Five direct mechanisms beat them up:
- Cheap "Builder-Grade" Contact Metal: High-volume tract homes use economy receptacles built with thin stamped brass contacts. These budget clips don’t have much spring memory. After a few hundred plug cycles, the metal deforms outward and stays there.
- Back-Stabbed Push-In Wiring Failures: When electricians push stripped conductors into the tiny rear push-in ports to save 45 seconds during construction, small internal spring clips bite into the copper. Those connections run hotter than side screws, and that heat chews up the whole outlet body.
- Heavy Power Bricks and Sagging Cords: Big wall transformers — routers, cordless vacuums, laptop chargers — work like little levers. Gravity keeps tugging the prongs down and out, and the top wiper opens up until it stays wide.
- Yanking Cords Out by the Cable: Pulling a vacuum cord at a 45-degree angle across a room yanks the plug prongs sideways. That stretches one internal wiper clip wider than the other and ruins the grip.
- Recessed or Loose Junction Boxes: The box behind the drywall may never have been shimmed flush when the home was built. Every time you push a plug in, the receptacle flexes back; every time you pull, it lunges forward. That wallows out the drywall holes and loosens the yoke.
Common Mistakes
- Pinching the plug prongs outward to make them fit: Homeowners bend the prongs of their lamp or vacuum cord outward with pliers so they jam into the loose outlet. Don’t do this. You’re treating the symptom while beating up the appliance cord and making the arcing inside the wall worse.
- Re-using stripped back-stab holes: If you remove an old outlet, never push wires back into the push-in spring ports of a new cheap receptacle. Always use the screw terminals or screw-and-clamp back-wire plates. Screw terminals keep conductors under steady mechanical pressure.
- Wrapping copper wire counter-clockwise around terminals: If you wrap the J-hook to the left, tightening the terminal screw drives the copper wire outward and off the post, leaving half the wire exposed or loose. Always loop clockwise so the screw pulls the wire loop inward.
- Stripping away too much or too little copper: Leaving more than 3/4 inch of exposed bare conductor next to a screw creates a direct short hazard if it touches the metal box or ground wire. Leaving less than 1/2 inch means the screw clamps down on plastic insulation instead of raw copper, creating an open circuit or high resistance.
- Over-tightening machine screws into plastic boxes: When mounting the receptacle yoke to a blue plastic box, crank the screwdriver by hand until the ears contact the drywall or shims. Over-torquing will rip the plastic threads clean out of the box ear, forcing you to install an oversized screw or swap the whole box.
Cost & Time Breakdown
| Task | DIY Cost | Pro Cost | Time |
|---|---|---|---|
| Single Standard Outlet Replacement | $3 – $6 | $120 – $225 | 15 – 25 mins |
| Multi-Room Outlet Upgrades (5–8 Outlets) | $20 – $45 | $300 – $600 | 1.5 – 3 hours |
| Junction Box Shimming & Re-securing | $5 – $10 | $150 – $250 | 20 – 35 mins |
| Full 20A Commercial Receptacle Upgrade | $5 – $8 per outlet | $130 – $250 per run | 20 – 30 mins |
Tips & Prevention
- Buy Commercial-Grade (Spec-Grade) Only: Skip the 80-cent residential grade bins at the big-box store. Look for "Commercial Grade" or "Specification Grade" markings stamped on the metal yoke (typically $3 to $5 each). They use heavier brass components, thicker yokes, and hold tension for decades.
- Support Heavy Charging Blocks: If you keep a large transformer plugged into an outlet continuously, use a multi-outlet surge strip that sits flat on the floor instead of letting that heavy block hang off the vertical wall plate.
- Unplug by the Molded Head, Never the Cord: Train household members to grip the plastic plug head directly and pull straight out. Tugging the wire angles the prongs, which ruins internal spring contacts.
- Do an Annual Tension Check: Walk your home once a year with a standard two-prong nightlight or phone charger. Push it into every outlet. If it falls out or droops down under its own weight, add that receptacle to your replacement list before it starts arcing.
- Check for 12 AWG vs. 14 AWG Match: Match the outlet rating to your circuit breaker. A 15-amp breaker (14-gauge wire) takes a standard 15-amp receptacle. A 20-amp breaker (12-gauge wire) can take either a 15-amp or 20-amp receptacle under NEC rules. Never put a 20-amp receptacle on a 15-amp breaker.
When to Call a Professional
Swapping a single worn receptacle is well within reach for most DIYers. But some conditions mean you ought to set the tools down and call a licensed electrician.
If you kill the breaker and open the junction box to find silver-colored aluminum wiring (common in homes built between 1965 and 1973), stop right there. Aluminum needs specialized, expensive CO/ALR-rated devices, anti-oxidant paste, or specialized AlumiConn mechanical lugs; standard receptacles will cause house fires when hooked to aluminum.
You should also bring in an electrician if you see melted wire insulation, charred plastic inside the junction box, missing ground wires in older two-wire cloth circuits, or if the metal junction box itself is ungrounded and hot to the touch. In older Dallas-Fort Worth ranch homes or pre-1970s builds across the country, ungrounded metal conduit and brittle cloth-jacketed wiring crumble when touched — that’s a job for a pro with the right test gear and insurance.
Frequently Asked Questions
Can I fix a loose outlet by bending the plug prongs?
No. Bending plug prongs is a temporary, hazardous band-aid. Widening the prongs damages the cord head and doesn’t fix the real issue: fatigued spring clips inside your wall. The worn receptacle will keep arcing and making dangerous heat no matter how you tweak the plug. Replace the outlet.
Why do plugs fall out of brand-new outlets?
If a plug falls out of a newly installed receptacle, someone probably bought ultra-cheap residential-grade hardware with weak tolerances, or the plug itself has bent, thinned prongs. If the whole outlet body sinks when pushed, the installer didn’t shim the metal yoke flush against the drywall, so the device is floating on its mounting screws.
Is a loose electrical outlet a fire hazard?
Yes. When contact wipers lose mechanical tension against plug prongs, the electrical contact area shrinks. Current jumping that loose contact gap creates resistance and localized arcing. That generates heat that can bake the outlet housing past 300°F and eventually ignite the plastic box, drywall paper, or interior wood studs without ever tripping the breaker.
What is the difference between residential and commercial-grade outlets?
Commercial-grade (or specification-grade) receptacles have thicker mounting yokes, heavier internal brass alloy contact leaves that resist fatigue, and back-wire clamp plates that hold wires tight without bending J-hooks. Cheap residential-grade outlets use thinner stamped brass and flimsy plastic frames built for minimum bidding.
Can I replace a loose 15-amp outlet with a 20-amp outlet?
Only if the branch circuit uses 12 AWG copper wire and is protected by a 20-amp circuit breaker. If the circuit is wired with 14 AWG wire and a 15-amp breaker, installing a 20-amp outlet violates the National Electrical Code (NEC Article 210.21(B)(2)) and creates a dangerous overload risk.
Why does my outlet move or wiggle inside the wall?
An outlet that wiggles inside the wall isn’t an internal clip problem; it’s a mounting problem. Either the junction box sits set back more than 1/4 inch behind the drywall surface without shims, or the 6-32 machine screws holding the yoke to the box are loose or stripped. Stack plastic outlet shims behind the yoke ears to lock it flush.
Do I have to wrap electrical tape around the sides of an outlet?
The National Electrical Code doesn’t require wrapping outlets with electrical tape, but most master electricians still recommend it. Two tight passes of vinyl electrical tape over the side terminal screws help prevent accidental shorts against metal boxes, bare ground wires, or your fingers during future service.
How long should an electrical outlet last?
Quality commercial-grade outlets usually last 20 to 30 years under normal residential use. Cheap builder-grade outlets installed in high-traffic zones — kitchen counters, hallways, bathroom vanities where vacuum cleaners and appliances get plugged and unplugged daily — often wear out and lose tension in under five to seven years.
Your seasonal maintenance checklist
The small jobs that prevent the expensive repairs. Tick them off — progress saves on this device.
Free, no signup. Skip anything that requires roof access or working near live electrical.
What should this project cost?
Enter your project details for a realistic cost range before you call anyone.
Outlet and switch work usually $150–$400; panel upgrades commonly $1,800–$4,200.
- Regional adjustment
- National average
- Labor share (typical)
- ~$709
- Quotes to collect
- 3 written estimates
Educational estimate based on national averages — not a binding quote. Always confirm with written local estimates.
Fixly Project Decision Box
- DIY difficulty
- Professional Recommended
- Estimated time
- Diagnosis 1–2 hours
- Cost level
- Moderate
Main tools / materials
- Non-contact voltage tester
- Outlet tester
- Flashlight
When to stop and call a pro
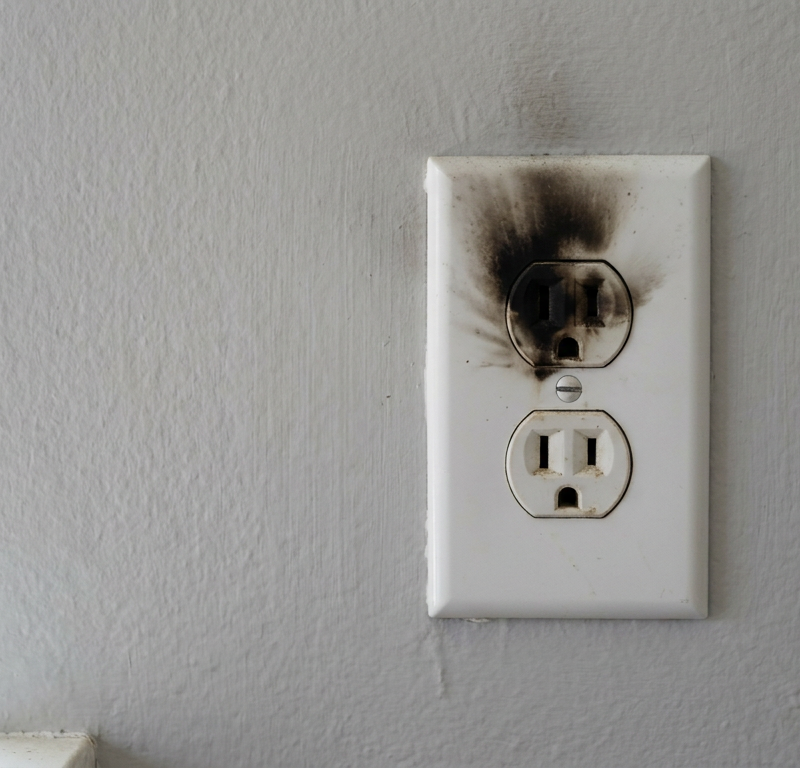
- Burning smell, scorch marks, or a warm outlet or switch plate
- A breaker that trips again right after being reset
- Any work inside the service panel
- Aluminum wiring or cloth-insulated wiring
Need professional help?
Talk to a Licensed ElectricianBefore you start
Check the difficulty, permits, and safety risk — then decide whether to call a pro.
- Is this a safe DIY job?Check permits, tools, and risk before you start the steps below.Open
- Estimate this projectGet a cost range for your scope and ZIP before you call anyone.Open
- Get local estimatesSend one request and compare written estimates from vetted pros.Open
Free, no signup required. Estimates are educational guidance, not a quote or an inspection.
Get the print-ready PDF of this guide
A clean, ad-free, printable version you can keep on your phone or pin to the workshop wall. Free with a FixlyGuide account.
- Print-optimized layout
- Tools, materials & every step included
- Saved to your account
Frequently asked questions
Can I fix a loose outlet by bending the plug prongs?+
No. Bending prongs is a dangerous temporary shortcut that damages your cord heads. It doesn't solve the fatigued spring metal inside the receptacle, which continues to cause micro-arcing and heat buildup behind the wall. Always replace the worn receptacle.
Why do plugs fall out of brand-new outlets?+
If plugs fall out of a new receptacle, the builder likely installed sub-dollar builder-grade hardware with loose manufacturing tolerances. If the whole outlet pushes back into the wall when plugged in, the installer forgot to shim the metal yoke flush against the drywall surface.
Is a loose electrical outlet a fire hazard?+
Yes, loose outlets are a leading cause of home electrical fires. Weak mechanical pressure reduces electrical contact area, creating micro-arcing and resistance. This generates localized temperatures exceeding 300°F that can ignite surrounding wood studs without ever tripping the breaker.
What is the difference between residential and commercial-grade outlets?+
Commercial-grade receptacles feature thicker brass contact leaves with better spring memory, stronger nylon faces, and heavy-duty steel mounting yokes. Cheap residential grade units use thin stamped brass clips that deform permanently after just a few years of regular use.
Can I replace a loose 15-amp outlet with a 20-amp outlet?+
Only if the circuit wiring is 12 AWG copper and the breaker is rated for 20 amps. If the breaker is 15 amps (using 14 AWG wire), installing a 20-amp T-slot outlet violates NEC code and creates a serious fire hazard by allowing appliances to draw more current than the wire can handle.
Why does my outlet move or wiggle inside the wall?+
The electrical box is either recessed too far behind the finished drywall or the 6-32 mounting screws are loose. The NEC allows boxes to be set back a maximum of 1/4 inch in non-combustible walls. To fix it, stack plastic outlet shims behind the yoke ears until the outlet sits flat and secure.
Do I have to wrap electrical tape around the sides of an outlet?+
The National Electrical Code doesn't mandate it, but experienced electricians treat it as best practice. Wrapping two turns of quality vinyl electrical tape over the brass and silver terminal screws prevents shorts against bare ground wires or metal junction box walls when you push the device back in.
How long should an electrical outlet last?+
Commercial-grade outlets often last 25 years or more. Budget builder-grade outlets in high-use areas—like hallway vacuum plugs or phone charger spots—frequently wear out in 5 to 8 years because their thin internal spring clips lose mechanical tension.
Discussion
Loading comments…