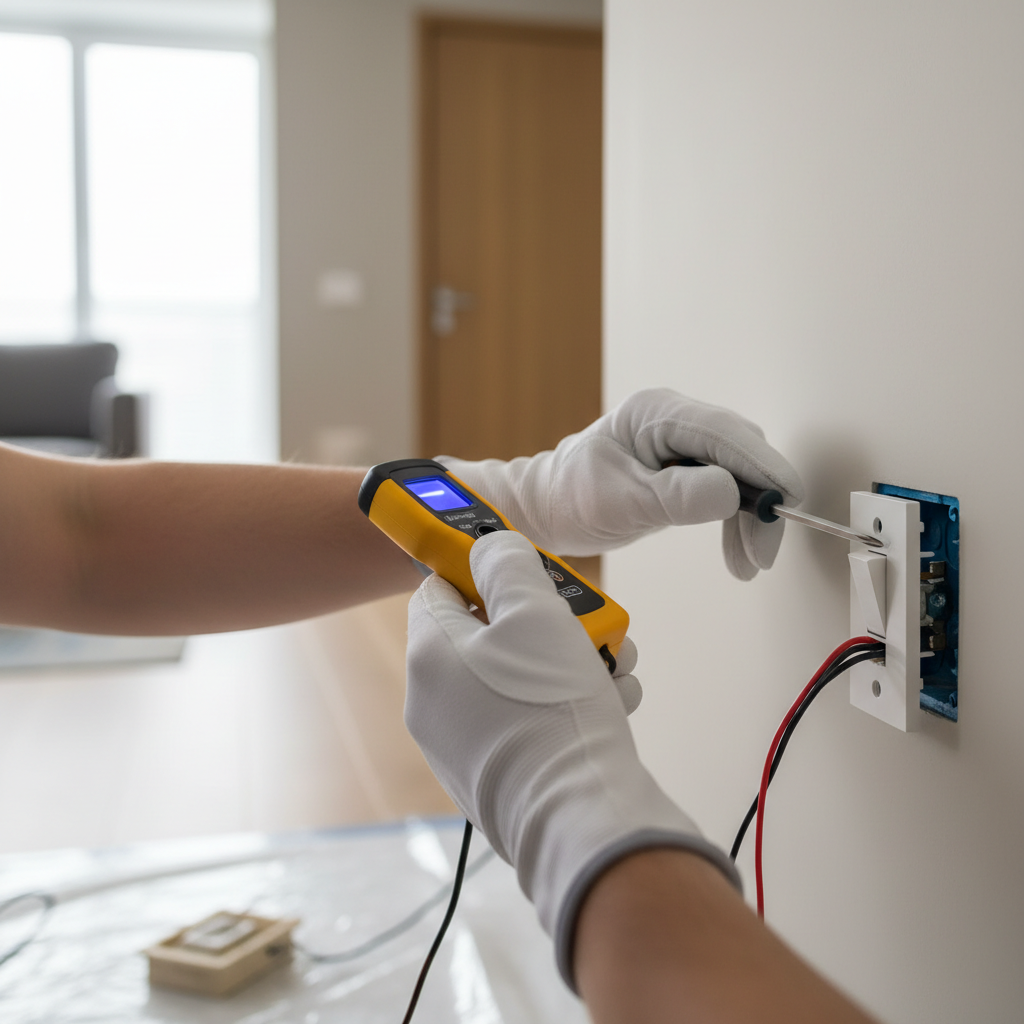
- Tidy Up & Install — Back into the Box
- Carefully fold the wires back into the electrical box. You want them tucked in neat, not mashed or pinched. Push the switch into the box and secure it with the mounting screws provided.
- Install the new faceplate. Don’t crank down the faceplate screws; you can crack the plastic.
Electrical · Panel or service upgrade
| Project category | Electrical |
|---|---|
| Problem type | Panel or service upgrade |
| Trade required | Electrical |
| Urgency | Planned project |
| Safety risk | High safety risk |
| DIY suitability | Licensed pro only |
| Cost category | High cost |
| Typical timeline | Permit plus utility scheduling, commonly 2–6 weeks |
| Contractor type | Licensed electrician |
Repair option
Add a subpanel when the main service is adequate.
Replacement option
Full service upgrade with utility coordination and permits.
Common causes
- Obsolete or recalled panel brands
- Service capacity too small for added loads
- No room for required AFCI/GFCI breakers
Relevant tools:project cost estimatorcompare quotes
Published July 28, 2026Last updated August 17, 2026
Tools & materials you'll need
Affiliate linksAs an Amazon Associate FixlyGuide earns from qualifying purchases — at no extra cost to you. Prices and availability are accurate as of publication and subject to change.
Quick Answer
When your light switch kicks the bucket—meaning the light won't turn on or off, and you've already checked the bulb and the breaker—you're usually looking at a bad switch or, sometimes, a loose connection inside the box. Good news: swapping out a standard light switch is a pretty simple job for most DIYers. You’ll need about 20-30 minutes, a couple of basic hand tools, and a new switch that matches your old one in type and amperage. The big thing is making darn sure the power's off before you touch anything. Seriously, don't mess with live wires.
The Problem
I’ve been on a pile of service calls where the homeowner says, “This light switch just stopped working.” Sometimes it’s the living room. Sometimes it’s the basement utility lights. Doesn’t matter. They’ve flipped it a dozen times, tried a new bulb, maybe even reset the breaker, and that light is still dead as a doornail. Most folks figure it’s a bad fixture or some deep wiring mess, but more often than not, it’s just the switch itself that's gone bad. These things wear out, especially in high-traffic spots, or a screw terminal loosens up over years of use and all that heating and cooling. You might even hear a faint crackle or feel the switch get warm before it finally gives up the ghost. I pulled a switch in Frisco last month that had exactly this kind of loose connection—blackened screw, toasted insulation, the whole sad show.
How It Works
Understanding how a light switch works makes troubleshooting and replacement a lot easier. Really, a light switch is just a little on/off gate for electricity. It interrupts the flow of power to a light fixture. Flip it one way, and you complete the circuit. Flip it the other, and you break it.
Most residential light switches are single-pole, meaning they control one light or a set of lights from one spot. You’ll usually have two main wires connected to it: a "hot" wire coming from your circuit breaker panel and a "switched hot" wire going to your light fixture. The hot wire typically carries constant 120-volt power. When the switch is on, it lets that 120-volt power travel down the switched hot wire to the light. When it's off, it breaks that path, and the light goes out. You’ll often see a third wire, a bare or green insulated wire, which is your ground. That safety wire gives electricity somewhere to go if there's a fault, which helps protect you from shock and keeps damage out of your home’s electrical system. Sometimes you’ll see neutral wires (white ones) bundled in the back of the box, but they usually don’t hook directly to a single-pole switch unless it’s a smart switch or a dimmer that needs constant power. Once you understand the flow—power in, switch does the work, power out—you’re halfway there, and that darn thing stops looking mysterious.
Step-by-Step Fix
Here’s how I’d handle a dead light switch. Electricity’s no joke. Don’t skip the safety steps.
-
Cut the Power — Crucial First Step
- Go to your electrical panel—that's usually in the basement, garage, or a utility closet. Flip the main breaker for the room you're working in to the OFF position. If your panel isn't clearly labeled, you might need to flip the main breaker for the whole house. Better safe than sorry. Don’t just trust the switch being off. That’s how people get nicked.
- Safety Note: Always tell somebody else in the house what you're doing so they don't accidentally flip the breaker back on. Stick a note on the panel if you have to.
-
Verify No Power — Double Check, Always
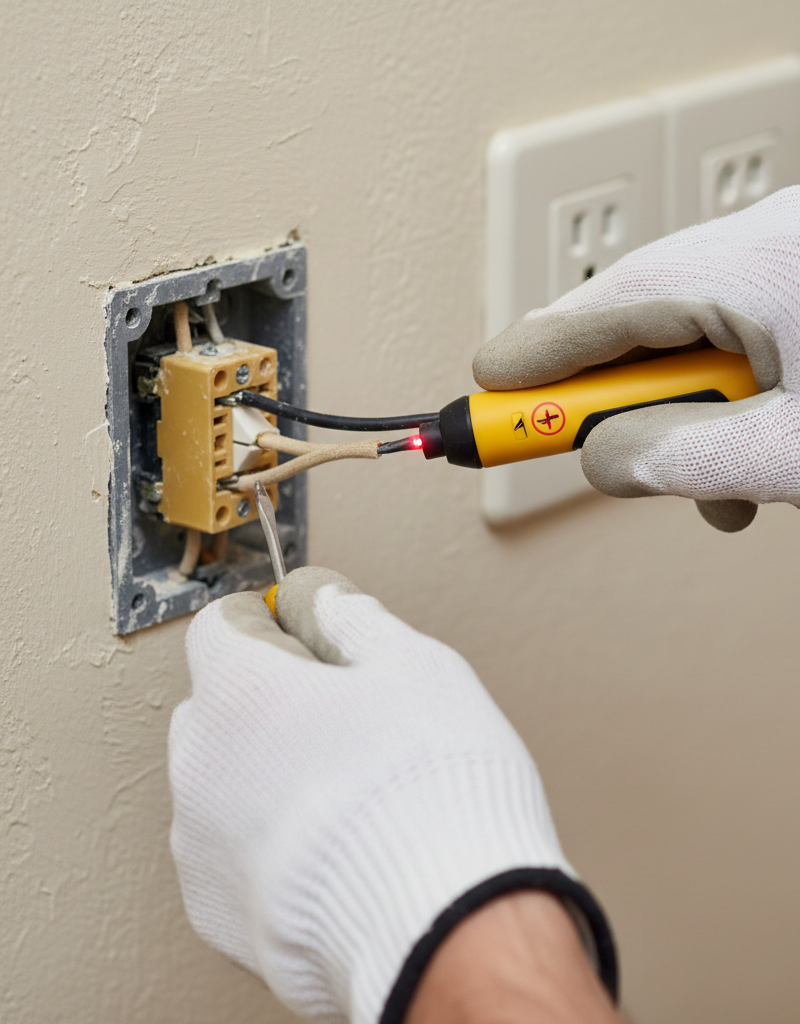
- Back at the switch, remove the faceplate screws and pull the switch out slightly from the box. Don’t touch any wires yet! Grab your non-contact voltage tester. Hold it near the wires connected to the switch. If it chirps or lights up, there's still power. Go back to the panel and find the right breaker. This step isn't optional. I’ve seen folks get casual about it, and that’s when the bad surprises show up.
- If the tester says hot, stop right there. No dice.
-
Inspect Original Wiring — Snap a Photo
- Before you disconnect a single wire, snap a clear picture with your phone. This is your insurance policy. Trust me, trying to remember what wire went where, especially if you’ve got a combo switch or one of those older oddball setups, is a recipe for frustration later. Note the color of the wires and which terminal they connect to (brass, silver, or green/bare).
-
Disconnect the Old Switch — Careful Removal
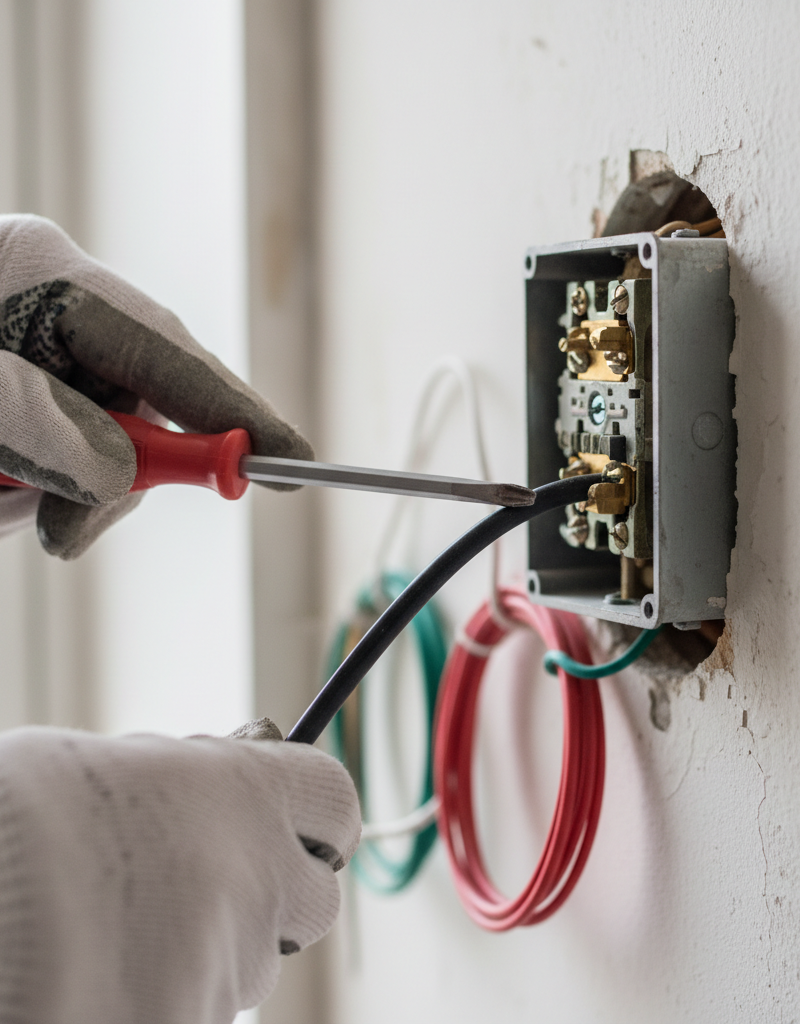
- Using your screwdriver, loosen the terminal screws on the side of the switch. Gently unhook the wires from around the screws. If the wires are pushed into holes in the back (stab-in connections), you'll need to insert a small screwdriver or a nail into the release slot next to each wire and pull the wire out. Stab-in connections are notorious for failing, which is often why the switch quit in the first place.
- Untwist any wire nuts connecting to ground wires if necessary. Keep those in a safe spot.
-
Prepare New Switch & Wires — Strip if Needed
- If your old wires have frayed ends or are damaged, use wire strippers to cut off about ½ inch of insulation, exposing fresh copper. Make sure the new switch matches the old one in type (single-pole, not a 3-way or 4-way) and amperage (usually 15A or 20A, printed on the old switch's strap).
- Tip: If you’re replacing an old stab-in switch, I strongly recommend using the screw terminals on the new switch. They hold better. Way better.
-
Connect Ground Wire — Safety First
- Attach the bare copper or green insulated ground wire to the green grounding screw on the new switch. Tighten it down firmly. This is a critical safety connection, not a throwaway step.
-
Connect Hot & Switched Hot Wires — The Business End
- Referring to your photo, connect the incoming hot wire (often black) to one of the brass-colored screw terminals. Then, connect the switched hot wire (also often black, but sometimes red in certain setups) to the other brass-colored screw terminal. Most single-pole switches don't care which brass screw gets which hot wire, but checking your photo helps you duplicate the original setup, which can be handy if you run into trouble later. Bend the wire into a small hook shape clockwise around the screw and tighten the screw firmly so the hook closes as you tighten.
- Crucial: Don't overtighten, but definitely don't leave them loose. My rule of thumb: tighten until it feels snug, then give it another quarter turn. A loose connection is a fire hazard. Plain and simple.
-
Tidy Up & Install — Back into the Box
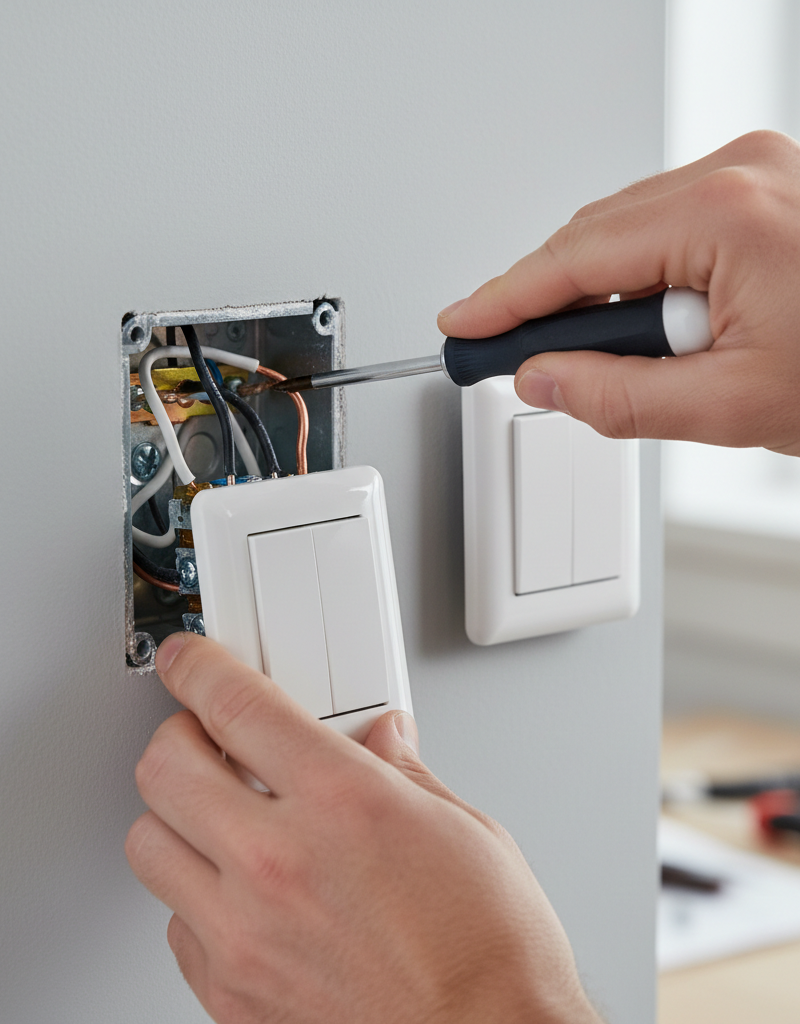
- Carefully fold the wires back into the electrical box. You want them tucked in neat, not mashed or pinched. Push the switch into the box and secure it with the mounting screws provided.
- Install the new faceplate. Don’t crank down the faceplate screws; you can crack the plastic.
-
Restore Power & Test — The Moment of Truth
- Go back to your electrical panel and flip the breaker back on. Head back to the light switch and test it. Hopefully, your light is working like it should!
Common Causes
- Worn-Out Internal Components: Switches aren't built to last forever. The internal contacts can degrade and arc over time, especially with frequent use. I've pulled switches out of 40-year-old houses where the internals were literally crumbling in my hand.
- Loose Wire Connections: This is a big one. Over years, vibrations, temperature swings, and even just the weight of the wires can cause terminal screws to loosen. A loose connection creates resistance, which makes heat, discolors the wire, and eventually leads to failure. My buddy had a light flickering for months in his kitchen in Lakewood—turned out to be a slightly loose wire on the switch. Took him five minutes to tighten it.
- Stab-In Connections: Many older and even some newer economy switches use "stab-in" connections where you just push the wire into a small hole. These are notorious for failing sooner than the sturdier screw terminals. The connection isn't as secure and can loosen up easy.
- Overload or Short Circuit Damage: While the breaker should trip in an overload situation, sometimes a minor, repeated overload or an internal short inside the switch itself can damage it beyond repair.
- Moisture or Corrosion: In damp spots like basements or outdoor areas, moisture can get into the switch box, corroding the internal parts and leading to failure.
Common Mistakes
- Forgetting to Kill the Power: This isn't just a mistake; it's dangerous. Always verify with a non-contact voltage tester, even if you’re sure the breaker is off.
- Not Labeling Wires: Even with a simple switch, taking a picture or labeling wires saves a ton of headache, especially if you get interrupted or distracted during the job.
- Ignoring the Ground Wire: The ground wire is there for your safety. Don't leave it disconnected or hooked up wrong. An ungrounded switch can be dangerous in a fault situation.
- Using Stab-In Connections: If your new switch has screw terminals, always use them instead of the stab-in holes if available. They're more reliable and safer long term.
- Overtightening Screws: You can strip the screw threads or damage the switch's housing. Snug is good; bone-tight isn't necessary and can cause problems.
- Incorrect Switch Type: Trying to replace a 3-way switch (controls a light from two locations) with a single-pole switch just won’t work. Make sure your new switch matches the old one.
Cost & Time Breakdown
Replacing a standard light switch is one of the most cost-effective DIY electrical repairs you can make.
| Task | DIY Cost | Pro Cost | Time |
|---|---|---|---|
| New Switch (basic single-pole) | $2–$5 | Included | N/A |
| Tools (screwdriver, tester) | $0–$30 | Included | N/A |
| Hiring an electrician | N/A | $100–$250 | 30–60 min |
| Total | $2–$35 | $100–$250 | 20–30 min DIY |
Tips & Prevention
- Buy Quality Switches: Spending $5 on a switch instead of $2 often gets you better internal parts and sturdier screw terminals instead of stab-ins. I usually grab Leviton or Lutron brands—they're solid for the money.
- Check for Loose Connections Regularly: If you're ever opening a switch box for another reason, give the terminal screws a gentle tighten. A snug connection keeps heat buildup down and helps the switch last longer.
- Avoid Overloading Circuits: Don't plug too many high-draw appliances into one circuit. While switches are rated for a certain amperage (15A or 20A), repeated overloads will wear them out faster.
- Consider Dimmers: If a light sees heavy use, a good quality dimmer switch can actually extend bulb life and sometimes even the switch life by managing power delivery more smoothly. Just make sure your bulbs are dimmable.
- Install GFCI/AFCI Where Needed: For switches in damp locations like bathrooms, make sure GFCI protection is in place. For bedrooms and living areas, AFCI breakers offer better arc-fault protection, helping prevent fires from faulty wiring. These are circuit-level protections, but they protect the whole circuit, including switches.
When to Call a Professional
Look, I'm all for DIY, but some electrical jobs just aren't worth the risk. If you try to replace a switch and can't get the old one out, or you open the box and see more than two or three wires and you're suddenly lost, that's your cue to stop. Any time you feel uncomfortable, unsure, or if your non-contact tester still reads hot after you're sure you've flipped the right breaker, call in a licensed electrician. Live electricity can kill you. If the light fixture itself is sparking or smoking, or you smell burning electrical odors, don’t even fool with the switch—kill the power at the panel and call a pro right away. Also, if you’re dealing with aluminum wiring (common in homes built between 1965 and 1975), that’s a whole different animal requiring specialized connectors and should always be handled by a licensed electrician because of specific fire hazards. Don’t take chances with your home or your life.
Related Articles
Keep troubleshooting with these hand-picked guides from FixlyGuide:
- Why Your Wall Switch Feels Hot: The Hidden Danger Most Homeowners Miss — A hot light switch isn't just uncomfortable; it's a critical warning sign of potential electrical hazards that demand immediate attention.
- Why Does Only One Room Have Flickering Lights? The Real Culprit — Flickering lights in a single room often point to a localized electrical issue, frequently a loose connection in a light fixture or switch.
- The #1 Mistake Homeowners Make Replacing a Light Switch (And How to Avoid It) — Avoid the most common — and dangerous — DIY light switch replacement mistake with this step-by-step guide.
- Why Only Half Your Outlet Works (And The Simple 15-Minute Fix) — Discover why only one receptacle of your electrical outlet might be working and how to fix this common issue in under 15 minutes.
- Why Does Only One Room Have Flickering Lights? The Real Culprit — Flickering lights in a single room often point to a localized electrical issue, frequently a loose connection, easily diagnosed and repaire…
- That Mildew Smell in Your Washer? Here’s the Real Reason — Is a musty odor taking over your laundry room? That mildew smell from your washing machine isn't just unpleasant—it's a sign of a deeper pr…
Repair or replace this system?
Plug in four numbers and see which choice holds up financially.
Free and instant. Educational guidance only — not a quote, inspection, or professional diagnosis.
Questions to ask before you sign
Ask every contractor the same questions and the cheapest bid stops looking cheapest. Check them off as you go — your progress is saved on this device.
Free, no signup. Bring this to every walkthrough so you compare bids on the same terms.
What should this project cost?
Enter your project details for a realistic cost range before you call anyone.
Outlet and switch work usually $150–$400; panel upgrades commonly $1,800–$4,200.
- Regional adjustment
- National average
- Labor share (typical)
- ~$709
- Quotes to collect
- 3 written estimates
Educational estimate based on national averages — not a binding quote. Always confirm with written local estimates.
Fixly Project Decision Box
- DIY difficulty
- Professional Recommended
- Estimated time
- Diagnosis 1–2 hours
- Cost level
- Moderate
Main tools / materials
- Non-contact voltage tester
- Outlet tester
- Flashlight
When to stop and call a pro
- Burning smell, scorch marks, or a warm outlet or switch plate
- A breaker that trips again right after being reset
- Any work inside the service panel
- Aluminum wiring or cloth-insulated wiring
Need professional help?
Talk to a Licensed ElectricianRepair or replace?
Run the age, cost ratio, and repair history through the calculator before you commit.
- Estimate this projectGet a cost range for your scope and ZIP before you call anyone.Open
- Get local estimatesSend one request and compare written estimates from vetted pros.Open
Free, no signup required. Estimates are educational guidance, not a quote or an inspection.
Get the print-ready PDF of this guide
A clean, ad-free, printable version you can keep on your phone or pin to the workshop wall. Free with a FixlyGuide account.
- Print-optimized layout
- Tools, materials & every step included
- Saved to your account
Frequently asked questions
How do I know if my light switch is bad?+
If the light doesn't turn on or off, and you've verified the bulb is good and the breaker isn't tripped, it's a strong indicator the switch itself has gone bad. You might also notice a loose, wobbly feel, or an occasional crackle from the switch before it completely fails.
Can a light switch go bad suddenly?+
Yes, absolutely. Like any mechanical device, the internal contacts can wear out, or a connection can simply loosen over time due to vibration or expansion/contraction. One day it works, the next it doesn't.
What's the most common reason a light switch stops working?+
From my experience, it's often a loose wire connection at the terminal screws, or the internal contacts in the switch have worn out from years of use. Less commonly, it could be a faulty stab-in connection.
Do I need to turn off the main power to replace a light switch?+
You *must* turn off the individual breaker controlling that switch's circuit. If you're unsure which breaker it is, turn off the main breaker for the house. Always verify with a non-contact voltage tester before touching any wires.
What kind of light switch should I buy as a replacement?+
Make sure you get the same *type* of switch (e.g., single-pole for a single-pole, 3-way for a 3-way) and the same *amperage* (usually 15A or 20A). It'll be printed on the old switch's metal strap.
Are stab-in connections safe?+
While technically 'safe' when installed correctly, stab-in connections (where you push the wire into a hole) are generally considered less reliable than screw terminals. They have a higher tendency to loosen over time, leading to resistance and potential failure. I always recommend using the screw terminals if available.
How long does a light switch typically last?+
A good quality light switch can last 15-20 years or even more under normal use. Cheaper switches or those in high-traffic areas might only last 5-10 years before the internal components start to wear out.
What if my light only flickers sometimes?+
Flickering lights are often a sign of a loose connection somewhere in the circuit—either at the switch, the fixture, or even a wire nut connection in the junction box. It's a precursor to total failure and should be investigated promptly to prevent overheating.
Discussion
Loading comments…