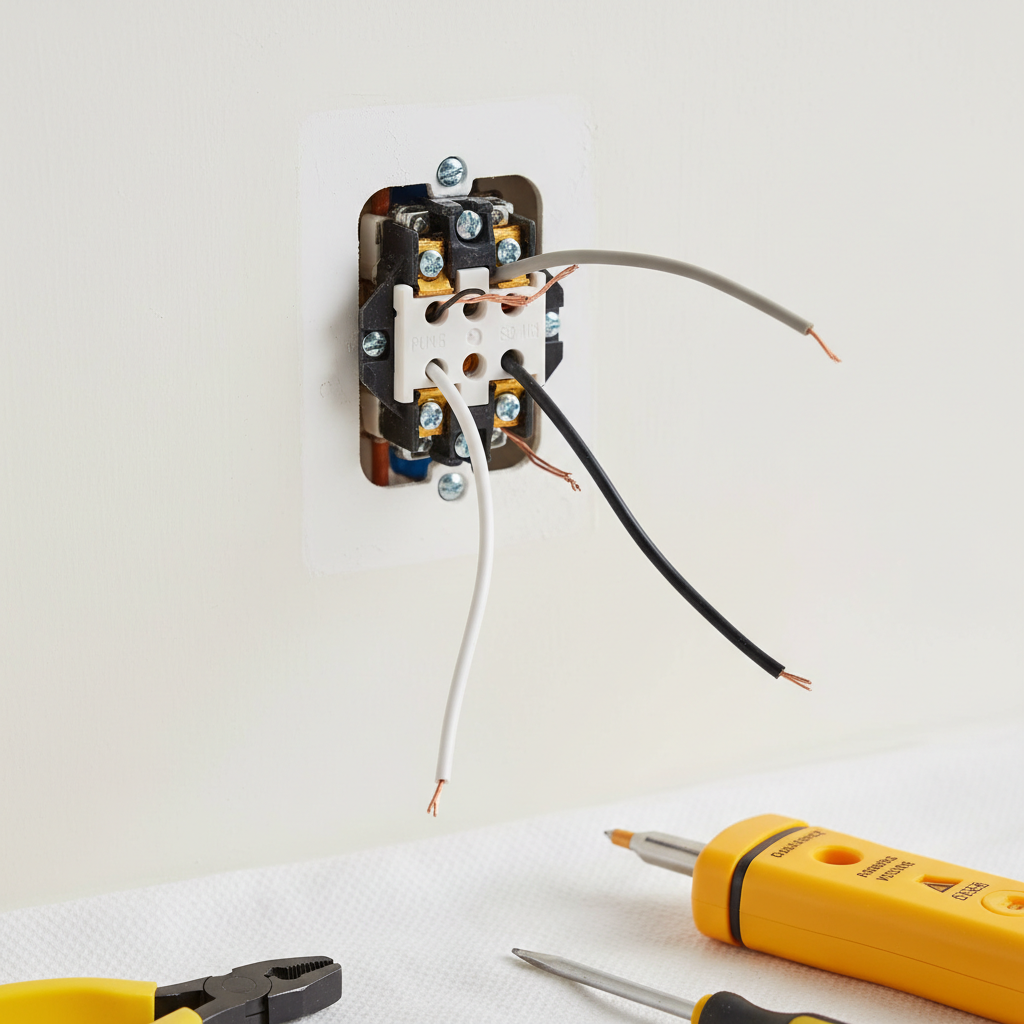
- Re-secure or Replace Connections —
- If a Wire is Loose from a Screw Terminal: Loosen the screw, re-strip about 3/4 inch of insulation if needed, form a tight clockwise loop around the screw, and tighten it down. You want that wire wrapping under the screw as you cinch it.
- If Multiple Wires on One Screw: That’s sloppy work. Use pigtails (step 7) for multiple wires of the same color, or use the second set of screw terminals if the outlet has them. Don’t double up wires under one screw.
Electrical · Panel or service upgrade
| Project category | Electrical |
|---|---|
| Problem type | Panel or service upgrade |
| Trade required | Electrical |
| Urgency | Planned project |
| Safety risk | High safety risk |
| DIY suitability | Licensed pro only |
| Cost category | High cost |
| Typical timeline | Permit plus utility scheduling, commonly 2–6 weeks |
| Contractor type | Licensed electrician |
Repair option
Add a subpanel when the main service is adequate.
Replacement option
Full service upgrade with utility coordination and permits.
Common causes
- Obsolete or recalled panel brands
- Service capacity too small for added loads
- No room for required AFCI/GFCI breakers
Relevant tools:project cost estimatorcompare quotes
Published September 24, 2026Last updated September 24, 2026
Tools & materials you'll need
Affiliate linksAs an Amazon Associate FixlyGuide earns from qualifying purchases — at no extra cost to you. Prices and availability are accurate as of publication and subject to change.
Quick Answer
Alright, so you’ve got a room where the lights are on, the other outlets are working, but one outlet? Dead as a hammer. Nine times out of ten, that’s a back-tapped connection issue, or what I’d call a daisy chain that’s gone sideways. Power’s supposed to travel through that receptacle and keep on rolling to the next one, but somewhere in that run—usually right at the dead outlet—the connection’s opened up. If everything else on that circuit is alive, it’s almost never the breaker. I’d crack it open and start there.
The Problem
I’ve been to more houses than I can count where a homeowner says, “Hey, contractor, my ______ (fill in the blank: lamp, phone charger, TV) isn’t working, but only when I plug it into that outlet.” Then they point at one dead receptacle like it insulted them personally. Meanwhile, the next outlet over is running a whole home theater setup. So what’s going on?
Most folks jump straight to bad outlet, burnt wiring, maybe a breaker they forgot about. But if only one outlet is out and the rest of the circuit’s fine, that usually points to a pretty specific issue right at that dead outlet, or sometimes the one just before it. It’s all about how the outlets are tied together. And yeah, a loose connection is usually the troublemaker.
How It Works
Alright, here’s the short version of how power gets to your outlets. Picture a chain. That’s your circuit. Power comes out of the breaker panel, hits the first outlet, then moves to the second, then the third, and so on until the last one. That’s daisy-chaining, and it’s common as dirt, especially in older homes built before, say, the 1980s. Each outlet is just a stopping point and a handoff.
Now, there are a couple ways electricians hook these up. The old-school, solid way is with the screw terminals on the side of the outlet. You loop the wire around the screw and tighten it down. Good connection. The faster way—and, frankly, the lazier one—is the back-stab terminal, those little holes in the back where you shove the stripped wire in and call it a day. They’re quick, sure, but they’re notorious for loosening up over time. Heat, vibration, somebody yanking a cord out fast—any of that can make those spring clips lose their grip.
So when one outlet is dead, what does that tell us? Power made it to that outlet, but it’s not making it through it, or out of it to the next one. If you’ve got power coming into the box but nothing going downstream, the problem’s right there. Most of the time, the wire feeding the next outlet came loose, or the receptacle itself gave up the ghost. Then everything after that point loses juice. The outlets before it still work because they’re upstream. Simple chain logic. That’s the whole ballgame.
Step-by-Step Fix
Safety First! Before you touch anything, kill the power at the breaker panel. Don’t trust the wall switch. Find the breaker for that outlet and flip it off. Then confirm it’s dead with a voltage tester before you go anywhere near the wires. I’ve seen guys get lit up because they guessed wrong on the breaker. No dice. Check it.
-
Prep the Area — Move any furniture out of the way so you’ve got room to work. Cramped space makes sloppy work.
-
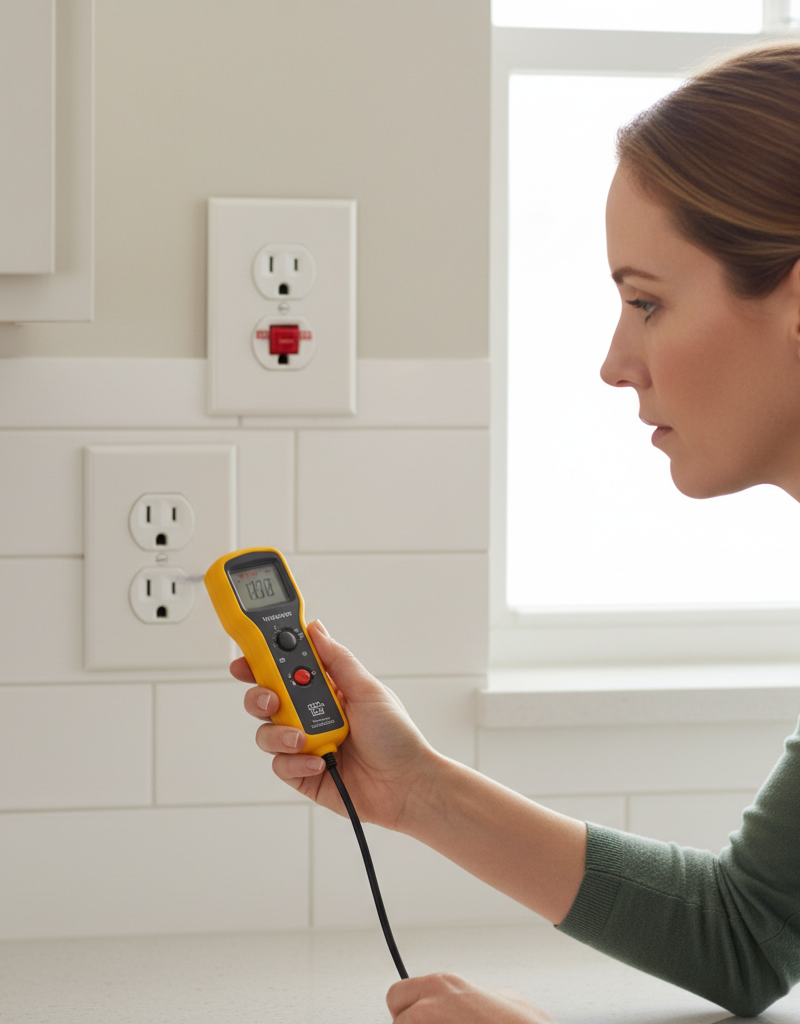
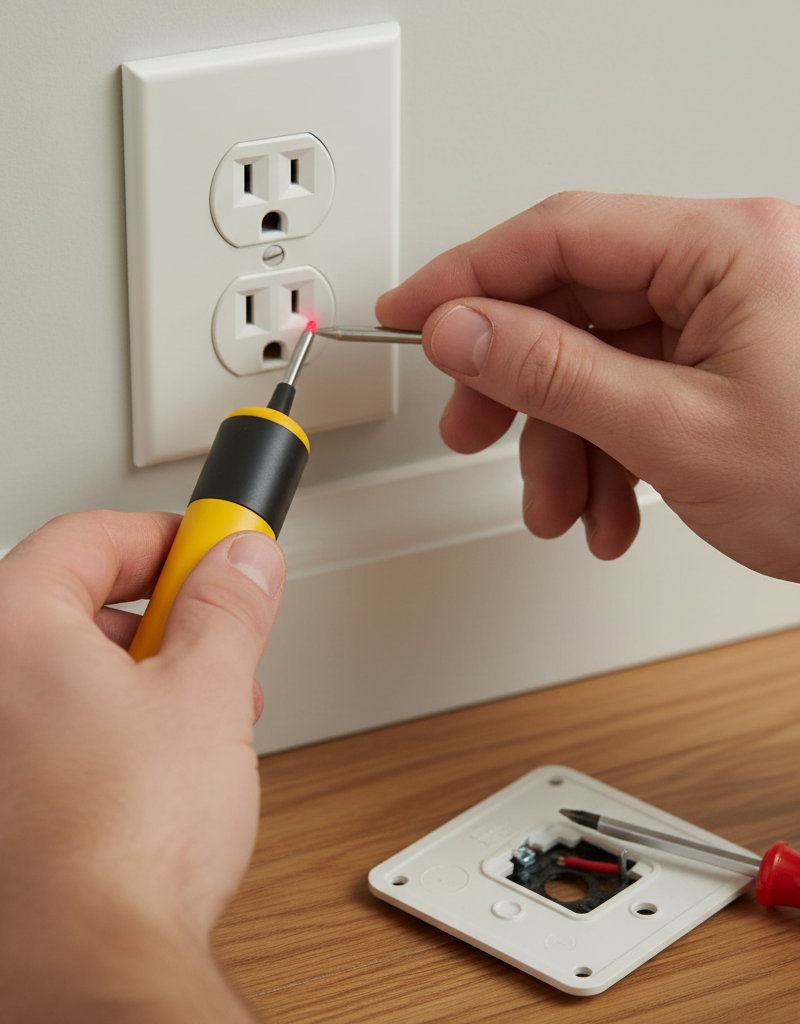
Verify Power is OFF — Double-check the breaker. Then use your non-contact voltage tester to confirm the outlet is really dead. Test both slots. No beep, no light? Good. If it does light up, you’ve got the wrong breaker—head back to the panel.
-
Remove the Outlet Cover Plate — Take out the single screw in the center of the cover plate with a flathead screwdriver. Set the plate and screw somewhere safe.
-
Unscrew and Pull Out the Outlet — Most outlets are held in by two screws, one top and one bottom. Back those out. Gently pull the receptacle straight out of the box so you can see the wiring. Don’t yank it. Those conductors can be brittle, and now you’ve got a bigger mess.
-
Inspect All Connections —
- Loose Wires: Look for anything that’s popped loose from a screw terminal or backed out of the back-stab holes. That’s your first suspect. Give each wire a light tug to see if it’s secure. Pay close attention to the black (hot) wires and white (neutral) wires.
- Discolored Wires/Burn Marks: Look for scorching, melted insulation, or darkened wires. That means heat, and heat means a bad connection. If you see that, the outlet probably needs replacement, and you might’ve got a bigger issue on your hands.
- Broken Outlet: Sometimes the receptacle itself is just done. If the wires look fine but the outlet feels sloppy, rattles, or shows visible damage, that thing’s toast.
-
Re-secure or Replace Connections —
- If a Wire is Loose from a Screw Terminal: Loosen the screw, re-strip about 3/4 inch of insulation if needed, form a tight clockwise loop around the screw, and tighten it down. You want that wire wrapping under the screw as you cinch it.
- If a Wire is Loose from a Back-Stab Hole: Do not reuse the back-stab hole. I don’t trust them, and neither should you. Cut off the stripped end, re-strip a fresh 3/4 inch, and land it on an open screw terminal. If you don’t have a screw terminal available, you’ll need to pigtail it in step 7.
- If Multiple Wires on One Screw: That’s sloppy work. Use pigtails (step 7) for multiple wires of the same color, or use the second set of screw terminals if the outlet has them. Don’t double up wires under one screw.
-
Consider Pigtailing (Recommended for Multiple Wires) — If you’ve got two black wires and two white wires on the device, that means the circuit’s daisy-chained. Instead of forcing both through the outlet, make pigtails.
- Take all the incoming/outgoing black wires and a new 6-inch piece of black wire (the pigtail) and twist them together with a wire nut. Hook the other end of the pigtail to one brass screw terminal on the outlet.
- Do the same for the white (neutral) wires, using a white pigtail and landing it on a silver screw terminal.
- Tie all the ground wires together too—bare copper or green—with a pigtail to the green ground screw. That way the outlet isn’t the only thing carrying the load through the run.
-
Replace the Outlet (If Damaged or Old) — If the outlet’s burned, cracked, loose, or it’s an old two-prong model with no ground, just replace the whole thing. They’re cheap. Match the amperage printed on the old one, usually 15A or 20A. Make sure the replacement is a "duplex receptacle" or "tamper-resistant" (TR) if you’re putting it in a dwelling unit.
-
Carefully Push Wires Back into Box — Fold the wires neatly and tuck the outlet back into the box. Don’t pinch anything. Don’t force it. And make sure the ground wire isn’t crossing the hot or neutral screws.
-
Re-mount the Outlet — Put the two mounting screws back in, top and bottom. Snug is the goal. Not gorilla-tight. You want it flush with the wall.
-
Replace the Cover Plate — Put the plate back on and tighten the screw.
-
Restore Power and Test — Go back to the breaker panel and flip that breaker back ON. Test the outlet with your voltage tester, then plug in a lamp or a small appliance. If you did it right, you’re back in business.
Common Causes
- Loose Back-Stab Connection: This one’s the big dog. Those spring clips lose tension over time, especially with heat cycling or just plain wear from plugging stuff in and out. I’ve seen a pile of them fail. I pulled a water heater in Frisco last month that had exactly this kind of lazy connection on a nearby receptacle—same story, same headache.
- Loose Screw Terminal: Not as common, but it happens. A screw can loosen over time, or maybe it never got tightened enough in the first place. The wire heats up, cools down, expands, contracts, and eventually the connection gives up.
- Faulty Outlet Itself: Sometimes the internals just wear out. It’s still a mechanical device, and mechanical stuff fails. That’s just life.
- Damaged Wire: A nail or screw can nick a conductor in the wall, or the wire can break where it’s been bent too hard during installation. That one’s trickier to spot unless you open things up more.
- Overloaded Circuit (less likely for single dead outlet): Usually an overload trips the breaker for the whole circuit. But if one connection was already weak, a surge or long-term overload can cook just that spot without tripping the breaker. If that happened, you’ll usually see burn marks.
Common Mistakes
- Not Shutting Off the Power: Rookie move. Dangerous too. Always verify the power is off with a voltage tester before touching anything. Electricity doesn’t care if you’re careful.
- Ignoring Burn Marks: If you see melted plastic, scorched insulation, or blackened terminals, swapping the outlet alone may not fix it. That heat came from somewhere. You’ve gotta figure out why.
- Using Back-Stab Connections: I’ll say it straight: avoid them. They’re a shortcut, not a good practice. Use screw terminals or pigtails if you want it to stay fixed.
- Not Tightening Screws Enough (or Overtightening): Too loose and it’ll fail. Too tight and you can damage the wire. Aim for snug—about 12-15 inch-pounds of torque, if you’re getting technical. You want it secure, not crushed.
- Assuming the Problem is the Last Outlet: Power runs in a chain. If the last outlet is dead, the bad connection could be anywhere before it. Check the working outlet nearest the dead one too.
- Not Grounding the Outlet: If you replace an old ungrounded (two-prong) outlet with a modern three-prong one and there’s no ground in the box, that’s a false sense of safety. You need to label it "No Equipment Ground" or install a GFCI outlet instead.
Cost & Time Breakdown
| Task | DIY Cost | Pro Cost | Time |
|---|---|---|---|
| Standard Outlet (15A/20A) | $2-$10 | $0 (included) | 5-10 mins |
| Tools (screwdriver, tester, etc.) | $20-$40 (one-time) | $0 (pro |
Related Articles
Keep troubleshooting with these hand-picked guides from FixlyGuide:
- Why Only Half Your Outlet Works (And The Simple Fix Most Homeowners Miss) — Discover why one-half of an electrical outlet might stop working, often due to a simple wiring issue or tripped breaker, and how to safely…
- The Hidden Reason Your GFCI Won't Reset (And It's Not Always a Short) — Discover why your GFCI outlet refuses to reset and learn the specific diagnostic steps to fix the underlying electrical issue safely.
- The Hidden Reason Your GFCI Won't Reset (And It's Not Always a Short) — Discover the surprising culprits behind a GFCI outlet that refuses to reset and learn how to diagnose and fix the issue safely.
- The Surprising Reason Your Ceiling Fan Wobbles (It's Not Always the Blades) — A wobbly ceiling fan isn't just annoying—it can be a safety hazard. I'll show you how to diagnose and fix the common culprits.
- The Real Reason Your Smoke Alarm Chirps Every 30 Seconds (It's Not Always the Battery) — Don't just swap batteries; a smoke detector chirping every 30 seconds can signal various issues, from dust to improper installation, demand…
- Why Your Paint Just Won't Cover (and How to Stop the Struggle) — Struggling with paint that just won't cover the old color, even after multiple coats? I'll show you why it happens and how to fix it for go…
What should this project cost?
Enter your project details for a realistic cost range before you call anyone.
Outlet and switch work usually $150–$400; panel upgrades commonly $1,800–$4,200.
- Regional adjustment
- National average
- Labor share (typical)
- ~$709
- Quotes to collect
- 3 written estimates
Educational estimate based on national averages — not a binding quote. Always confirm with written local estimates.
Fixly Project Decision Box
- DIY difficulty
- Professional Recommended
- Estimated time
- Diagnosis 1–2 hours
- Cost level
- Moderate
Main tools / materials
- Non-contact voltage tester
- Outlet tester
- Flashlight
When to stop and call a pro
- Burning smell, scorch marks, or a warm outlet or switch plate
- A breaker that trips again right after being reset
- Any work inside the service panel
- Aluminum wiring or cloth-insulated wiring
Need professional help?
Talk to a Licensed ElectricianGet the print-ready PDF of this guide
A clean, ad-free, printable version you can keep on your phone or pin to the workshop wall. Free with a FixlyGuide account.
- Print-optimized layout
- Tools, materials & every step included
- Saved to your account
Frequently asked questions
Why would only one outlet stop working?+
Usually, it's a loose wire connection at the dead outlet itself, or the one immediately preceding it in the circuit. Power is flowing *to* the outlet, but not *through* or *from* it to the next devices. This is very common with back-stabbed outlets.
Is it dangerous if only one outlet stops working?+
Potentially, yes. A loose connection can create resistance, leading to overheating, arcing, and potentially a fire hazard. Always investigate and fix dead outlets promptly, ensuring the power is off first.
How do I know which breaker controls the outlet?+
Go to your electrical panel and flip breakers one by one. Use a lamp or a non-contact voltage tester to confirm when the dead outlet loses power. If the outlet is dead, test nearby *working* outlets until you find the breaker that kills power to the entire chain of outlets. Label your breakers if you haven't already!
Can I replace the outlet myself?+
Yes, replacing a standard outlet is a common DIY task, provided you follow safety protocols. Always turn off the power at the breaker, verify it's off with a tester, and correctly connect the wires (hot, neutral, ground).
What's a 'back-stab' connection?+
Back-stab connections are holes on the back of an outlet where you push in a stripped wire. They're quicker for installation but less reliable than screw terminals, often leading to loose connections over time. I never recommend reusing them.
What's 'pigtailing' and why is it better?+
Pigtailing is when you connect all similar-colored wires (e.g., all black hot wires) together with a wire nut, then connect a short length of wire (the pigtail) from that bundle to the outlet's screw terminal. It creates a more robust, independent connection for the outlet, preventing power interruption to downstream devices if the outlet fails.
What should I do if I see burn marks?+
If you see any burn marks, discoloration, or melted plastic around the wires or terminals, that's a serious sign of overheating. While you can replace the outlet, you absolutely need to investigate the cause of the overheating. This might indicate an overloaded circuit or improper wiring that requires a licensed electrician to diagnose and fix safely.
Will a GFCI outlet fix this problem?+
No, a GFCI (Ground Fault Circuit Interrupter) outlet protects against electrical shock due to ground faults, not against loose connections or a dead outlet due to typical wiring failures. If the outlet is dead, a GFCI won't restore power, though replacing it with a GFCI might be required in certain areas like kitchens or bathrooms by code, assuming the power is restored.
What tools do I need for this fix?+
You'll primarily need a non-contact voltage tester, a flathead screwdriver, a Phillips head screwdriver, and potentially a wire stripper/cutter if you need to re-strip wires or make pigtails. A new outlet and wire nuts might be necessary too.
How can I prevent this from happening again?+
Always use the screw terminals for connections, avoiding back-stabs. Ensure all screw terminals are tightened properly (snug, not overtightened). If you have multiple wires, use the pigtailing method to create robust connections, preventing the outlet from being part of the series path for power to other outlets.

Discussion
Loading comments…