- Tools: Pump sprayer, stiff-bristle brush, garden hose or pressure washer (1200 PSI max).
- Materials: Deck cleaner (alkaline or oxygen bleach-based).
- If this doesn't work: For very stubborn mildew or algae, you might need a stronger cleaner specifically formulated for those issues. Be sure to follow product directions carefully.
Landscaping · Deck or fence project
| Project category | Landscaping |
|---|---|
| Problem type | Deck or fence project |
| Trade required | Landscaping |
| Urgency | Planned project |
| Safety risk | Moderate safety risk |
| DIY suitability | DIY for experienced homeowners |
| Cost category | High cost |
| Typical timeline | Most builds 3–10 days depending on size |
| Contractor type | Landscaping contractor |
Repair option
Replace failed boards, posts, and hardware; reseal the surface.
Replacement option
Rebuild when framing or the ledger connection is unsafe.
Common causes
- Rot at posts and ledger
- Storm damage
- Adding outdoor living space
Relevant tools:home improvement material pricesproject cost estimator
Published July 11, 2026Last updated August 17, 2026
Tools & materials you'll need
Affiliate linksAs an Amazon Associate FixlyGuide earns from qualifying purchases — at no extra cost to you. Prices and availability are accurate as of publication and subject to change.
Quick Answer
Resealing a wood deck is a crucial maintenance task that protects your outdoor living space from the elements, preventing rot, splintering, and discoloration. The process typically involves an initial cleaning to remove dirt and mildew, followed by stripping any failing old finish, brightening the wood, and finally applying a fresh coat of high-quality wood sealant. The key to a long-lasting finish is thorough preparation, especially ensuring the wood is clean, dry, and free of any contaminants or loose old sealer before the new product is applied.
The Problem
You've noticed your once vibrant wood deck looking dull, water is soaking into the boards instead of beading up, or perhaps you see unsightly peeling and flaking of an old finish. These are all signs that your deck's protective seal has failed or is in the process of failing. Ignoring these warnings can lead to serious and costly problems down the line, including wood rot, mildew growth, splintering, and structural damage. The sun's UV rays break down wood fibers and finishes, while rain and moisture penetrate unprotected wood, causing it to swell and shrink, leading to cracks and warping. A failing seal doesn't just look bad; it compromises the integrity and lifespan of your entire deck.
How It Works
Wood is a naturally porous material, meaning it has tiny capillaries that can absorb and release moisture. This absorption and release cycle causes wood to expand and contract, which, over time, can lead to cracking, warping, and checking (small splits). Untreated wood is also susceptible to decay from fungi (rot) and discoloration from mold and mildew. A wood sealant works by creating a protective barrier on or within the wood's surface. Pigmented stains offer UV protection, similar to sunscreen, while clear sealants often contain UV inhibitors. Water repellents, like waxes and oils, fill the pores of the wood, preventing moisture absorption. Breathable sealants allow the wood to release trapped moisture while still repelling new water. The effectiveness of a sealant hinges on its ability to adhere properly to the wood. When old, failing sealant is left on the surface, it creates a weak layer that prevents the new sealant from forming a strong bond with the wood fibers, leading to premature peeling and a lack of true protection. Proper preparation, including cleaning and stripping, removes this weak layer, exposing fresh, receptive wood for the new sealant to penetrate and protect effectively.
Step-by-Step Fix
Safety First! Always wear appropriate personal protective equipment (PPE) when working with deck cleaners, brighteners, and sealants. This includes eye protection, chemical-resistant gloves, and long sleeves/pants to protect your skin. If using a pressure washer, wear closed-toe shoes and maintain a safe distance from delicate areas and electrical outlets.
1. Clear the Deck – Remove everything
— Begin by completely clearing your deck of all furniture, planters, grills, and decorative items. This ensures you have full access to every part of the deck surface and prevents any items from being damaged by cleaning solutions or getting in the way of application.
2. Clean the Surface Thoroughly – Eliminate dirt, grime, and mildew
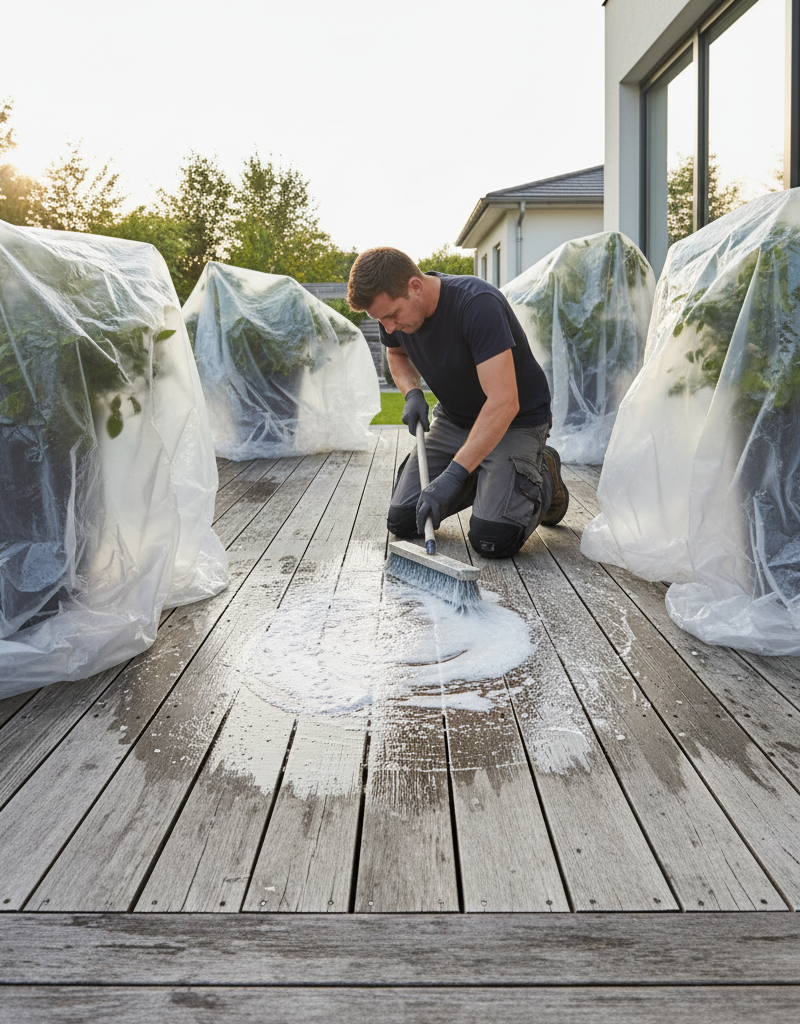
— Use a good quality deck cleaner. Mix it according to the manufacturer's instructions in a bucket. Apply the cleaner liberally to a small section of the deck using a pump sprayer or a roller. Let it dwell for 10-15 minutes, but do not let it dry. For stubborn spots, lightly scrub with a stiff-bristle brush. Rinse thoroughly with a garden hose or a pressure washer on a low setting (no more than 1200 PSI, holding the wand at least 12 inches from the surface to avoid damaging the wood).
- Tools: Pump sprayer, stiff-bristle brush, garden hose or pressure washer (1200 PSI max).
- Materials: Deck cleaner (alkaline or oxygen bleach-based).
- If this doesn't work: For very stubborn mildew or algae, you might need a stronger cleaner specifically formulated for those issues. Be sure to follow product directions carefully.
3. Strip Old, Failing Finish – Prepare for a fresh start
— If your deck has an existing finish that is peeling, flaking, or discolored, you must remove it. Apply a deck stripper product according to its instructions, allowing it to penetrate and soften the old finish. This may involve multiple applications. Use a stiff-bristle brush or a paint scraper to help lift the old finish. Rinse thoroughly with a pressure washer or strong garden hose stream until all residue is gone. Test a small, inconspicuous area first to ensure the stripper doesn't damage the wood.
- Tools: Pump sprayer, stiff-bristle brush, paint scraper, garden hose or pressure washer.
- Materials: Deck stripper (e.g., sodium hydroxide-based).
- Safety: Always wear chemical-resistant gloves and eye protection. Avoid skin contact.
4. Brighten the Wood – Restore natural color and open pores
— After cleaning and stripping, apply a deck brightener (often oxalic acid-based). This neutralizes the stripper, brightens the wood, and opens the wood pores for better sealant penetration. Apply the brightener with a pump sprayer, let it sit for 10-15 minutes (don't let it dry), and then rinse thoroughly with water.
- Tools: Pump sprayer, garden hose.
- Materials: Deck brightener (oxalic acid-based).
- If you skip this: The wood may darken over time, and the sealant may not penetrate as deeply, leading to reduced longevity.
5. Allow for Complete Drying – Patience is key
— This is a critical step often overlooked. The wood must be completely dry before applying any new sealant. This can take anywhere from 24 to 72 hours, depending on humidity, temperature, and sunlight. Test the wood's dryness by sprinkling a few drops of water on it; if it beads up, the wood is likely too wet. If it soaks in, it's ready.
- Tip: Plan your project for a stretch of at least 2-3 sunny, dry days with no rain in the forecast.
6. Repair and Sand – Address imperfections
— Inspect the deck for any loose nails, screws, or splintered boards. Drive in loose fasteners or replace damaged boards as needed. Lightly sand any rough areas, raised grain, or remaining imperfections with 80-120 grit sandpaper. This creates a smoother surface and helps the sealant adhere evenly.
- Tools: Hammer or drill, sandpaper (80-120 grit), orbital sander (optional).
- Materials: Wood filler (if needed for small cracks), replacement deck boards (if needed).
7. Mask Off Adjacent Areas – Protect your home and landscaping
— Use painter's tape and plastic sheeting to protect siding, trim, plants, and anything else you don't want sealant on. This prevents accidental drips, overspray, and damage to adjacent surfaces.
- Materials: Painter's tape, plastic sheeting.
8. Apply Wood Sealant – Even coats for maximum protection
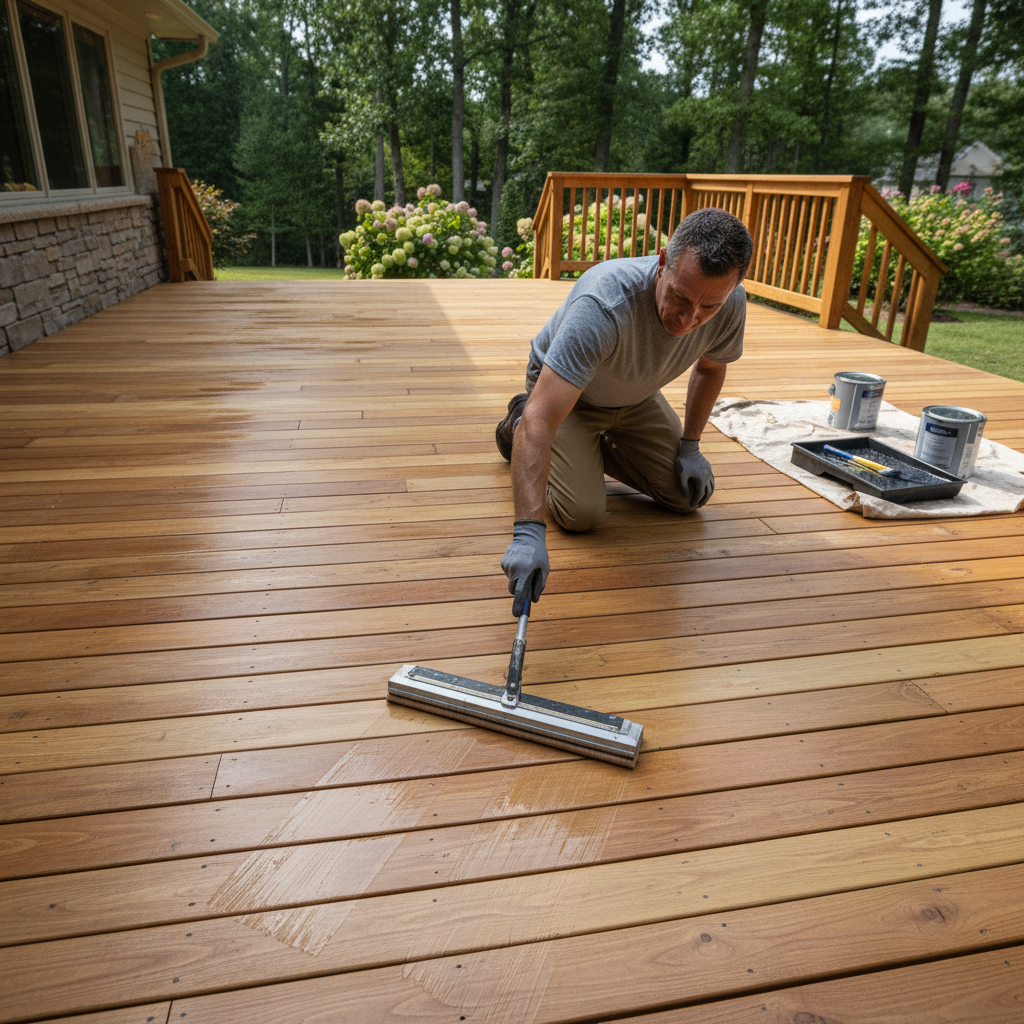
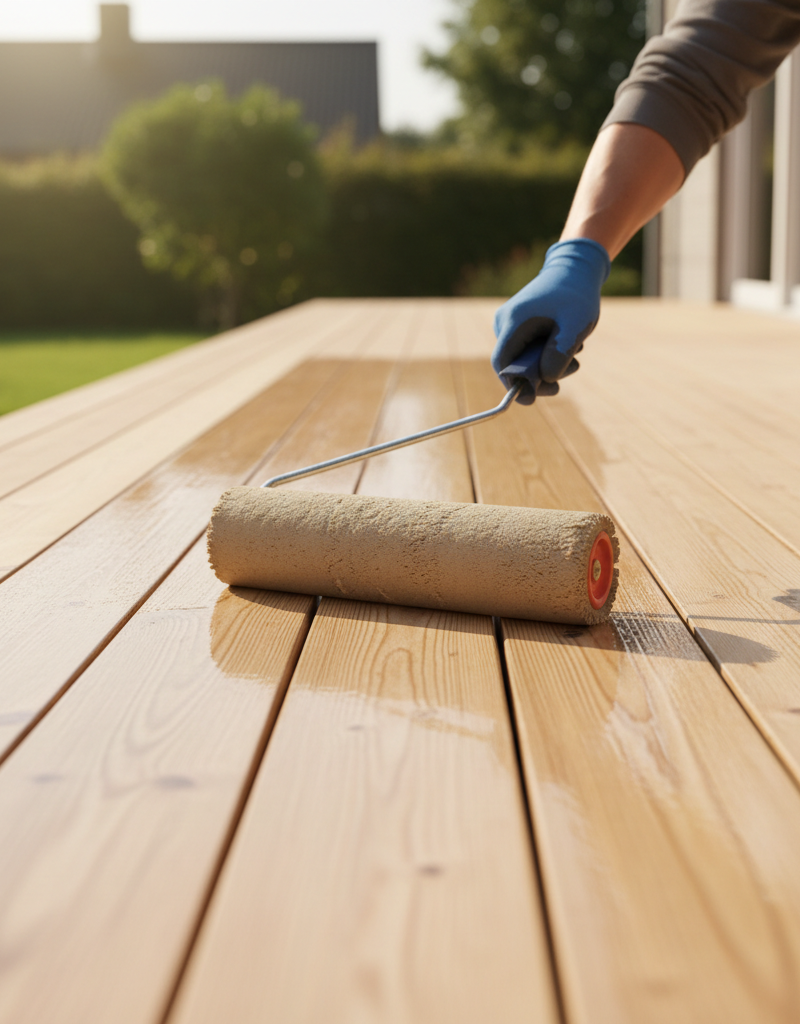
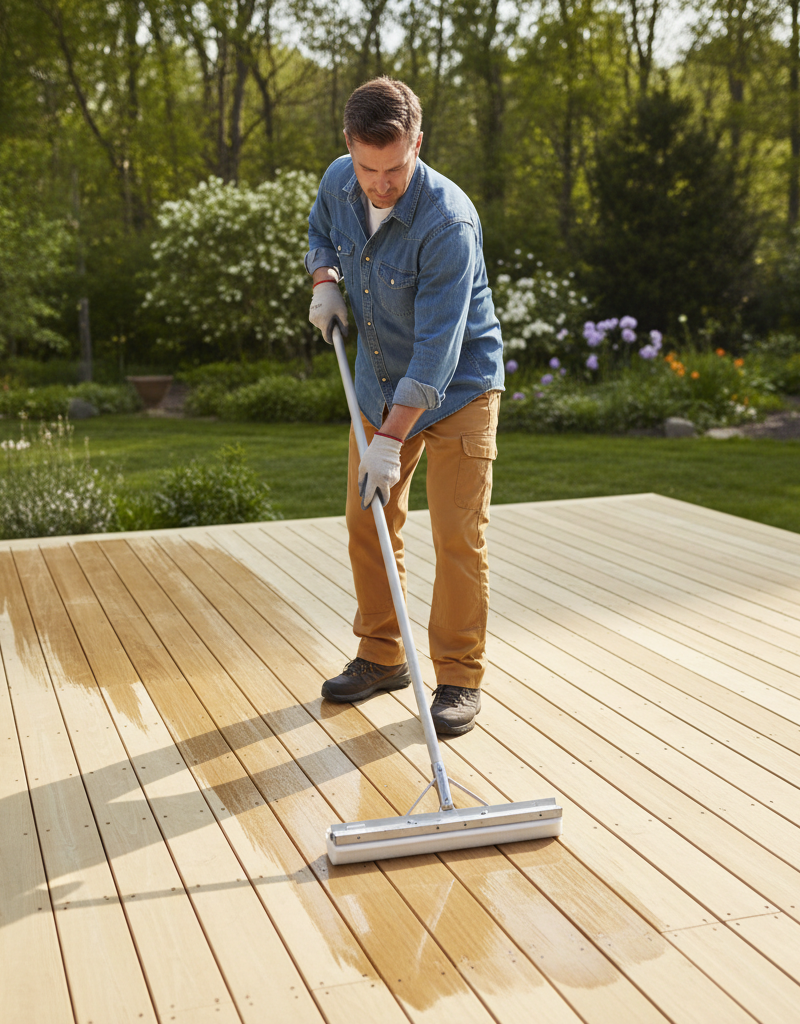
— Choose a high-quality oil-based or water-based deck sealant appropriate for your climate and wood type. Stir the sealant thoroughly before and during application. Apply a thin, even coat using a roller, brush, or pad applicator, working with the wood grain. Avoid puddling or over-applying, as this can lead to a sticky finish or peeling. For best results, work in small sections, from one end of a board to the other, to maintain a wet edge and prevent lap marks.
- Tools: Roller with extension pole, pad applicator, natural bristle brush (for oil-based), synthetic brush (for water-based).
- Materials: Deck sealant (oil-based or water-based), paint tray.
- Application tip: Apply only one coat for most oil-based transparent/semi-transparent sealants. Water-based products may allow for a second coat after the first has dried, but always follow manufacturer instructions.
9. Allow for Curing – Protect the new finish
— Allow the sealant to dry completely according to the manufacturer's recommendations before returning furniture or allowing foot traffic. This can take anywhere from 24 hours to several days for full curing. Early exposure to heavy foot traffic or moisture can damage the fresh finish.
Common Causes
- UV Radiation: Sunlight's ultraviolet rays break down the polymers in sealants and damage wood fibers, leading to fading and degradation.
- Moisture Exposure: Rain, snow, and humidity cause wood to swell and contract, stressing the sealant and leading to cracks and peeling.
- Foot Traffic and Abrasion: Constant walking, moving furniture, and even pet claws wear down the protective layer of sealant over time.
- Improper Preparation: Applying new sealant over a dirty, wet, or poorly stripped surface prevents proper adhesion, causing the new finish to fail prematurely.
- Wrong Product Choice: Using an interior product outdoors, or a product not suited for your climate or wood type, can lead to quick failure.
- Age of Sealant: Even the best sealants have a lifespan, typically 2-5 years for transparent and semi-transparent products, and 5-10 years for solid stains.
Common Mistakes
- Skipping the Stripping/Cleaning: Applying new sealant over old, peeling, or dirty finish prevents proper adhesion and will lead to premature failure of the new coat. Always start with a clean, receptive surface.
- Not Letting the Wood Dry Completely: Sealing damp wood traps moisture, which can cause the finish to peel, blister, and encourage mold and mildew growth underneath.
- Over-Applying Sealant: Applying too much product, especially with oil-based sealants, can create a sticky, gummy surface that takes forever to dry, attracts dirt, and can peel rapidly.
- Using Too Much Pressure When Washing: A pressure washer set too high (above 1200 PSI) or held too close to the deck surface can etch, fuzz, or permanently damage the wood fibers, making it difficult for sealant to adhere properly.
- Ignoring Temperature and Humidity: Applying sealant in direct, hot sun or during high humidity can cause the product to dry too quickly or too slowly, impacting its ability to cure properly and achieve maximum durability.
- Not Testing Product in an Inconspicuous Area: Different wood types and previous finishes can react differently to cleaners, strippers, and sealants. Always test a small spot first to ensure desired results and prevent damage.
Cost & Time Breakdown
| Task | DIY Cost | Pro Cost | Time |
|---|---|---|---|
| Cleaning & Stripping | $50–$150 | $300–$800 | 4–8 hours |
| Brightening & Drying | $30–$80 | Included | 2–3 days (drying) |
| Repairs & Sanding | $20–$100 | $100–$300 | 1–3 hours |
| Sealant Application | $100–$300 (per gal) | $400–$1000 (included) | 4–6 hours |
| Total (DIY) | $200–$630 | $800–$2100 | 3–5 days |
Tips & Prevention
- Annual Cleaning: A light annual cleaning with a mild deck cleaner will remove surface dirt and mildew before it can become embedded or cause damage to the finish.
- Inspect Regularly: At least once a year, preferably in spring, inspect your deck for signs of wear, splintering, or failing sealant. Look for water soaking into the wood instead of beading.
- Furniture Pads: Place felt pads under furniture legs to reduce abrasion on the deck surface, especially in high-traffic areas.
- Strategic Sealing Intervals: Most transparent or semi-transparent sealants last 2-3 years, while solid stains can last 5-10 years. Don't wait until the finish is completely gone to reseal; slight fading is a good indicator it's time.
- Proper Drainage: Ensure your deck has good drainage to prevent standing water, which can accelerate wood rot and sealant breakdown.
- Check for Splinters: Regularly check for and sand down any developing splinters to prevent injury and further wood damage.
When to Call a Professional
While resealing a deck is a manageable DIY project, there are times when calling a professional is the smarter choice. If your deck has significant structural damage, such as widespread wood rot, severely warped boards, or loose railings, a professional carpenter or deck builder should assess and repair these issues before any finishing work. If you're dealing with extensive mold or mildew that resists standard cleaning, a pro can use stronger, safer methods. Additionally, if your deck is very large, multi-level, or difficult to access, the time, effort, and specialized equipment required might make professional service a better value. Professionals also have access to commercial-grade cleaners, strippers, and sealants that may offer superior longevity and application, along with the expertise to ensure a flawless and safe application process, especially when working with challenging wood types or heavily weathered decks.
Related Articles
Keep troubleshooting with these hand-picked guides from FixlyGuide:
- The 3 Hidden Mistakes That Make Your Deck Sealer Fail (And How to Fix Them) — Properly sealing your wood deck protects it from the elements, but common mistakes often lead to early failure. Learn how to reseal your de…
- The 3 Hidden Mistakes That Make Your Deck Sealer Fail (And How to Fix Them) — Resealing your wood deck protects it from weather and extends its life. Learn how to avoid common mistakes for a long-lasting finish and vi…
- The #1 Mistake Homeowners Make When Sealing a Deck (and How to Fix It) — Prevent costly damage and extend your deck's life by avoiding common sealing errors and following a simple, effective resealing process.
- The #1 Deck Sealing Mistake Most Homeowners Make (And How to Fix It) — Resealing your wood deck is crucial for longevity, but a common mistake can ruin your efforts and damage the wood. Learn how to do it right.
- The #1 Mistake Homeowners Make After Finding Missing Shingles (And How to Fix It Right) — Discover the crucial steps to take after a storm rips shingles from your roof, ensuring a proper, lasting repair and preventing costly futu…
- The 7 Critical Mistakes Almost Everyone Makes When Painting a Room — Unlock the secrets to a flawless, professional-looking paint job by avoiding common pitfalls and mastering essential techniques for perfect…
Get deck & patio quotes from local pros
Tell us about your project and we'll match you with vetted contractors in your area. Free, no obligation, and we never sell your info.
Should you do this yourself?
Answer five quick questions before you start. Safety outranks savings every time.
Your experience with work like this
How high do you have to work?
Does the job involve any of these?
Will it need a permit?
Specialty tools
Free and instant. Educational guidance only — not a quote, inspection, or professional diagnosis.
What should this project cost?
Enter your project details for a realistic cost range before you call anyone.
Spot repairs commonly run $400–$1,800; full replacement typically $9,000–$18,000 for an average home.
- Regional adjustment
- National average
- Labor share (typical)
- ~$2,948
- Quotes to collect
- 3 written estimates
Educational estimate based on national averages — not a binding quote. Always confirm with written local estimates.
Decide what your roof needs
Two minutes of questions turns "something is wrong up there" into a clear next step.
- Repair or replace your roof?Answer 10 questions about age, leaks, and damage to get a clear next step.Open
- Compare contractor quotesScore up to four bids on price, warranty, licensing, and timeline.Open
- Get local estimatesSend one request and compare written estimates from vetted pros.Open
Free, no signup required. Estimates are educational guidance, not a quote or an inspection.
Frequently asked questions
How often should I reseal my wood deck?+
The frequency depends on the type of sealant and exposure to elements. Transparent sealants may need reapplication every 1-2 years, semi-transparent every 2-3 years, and solid stains every 5-7 years. Conduct a water bead test annually: if water soaks into the wood instead of beading, it's time to reseal.
Can I seal a wet deck?+
No, it's a common mistake to seal a wet deck. The wood must be completely dry for the sealant to adhere properly and penetrate the wood fibers. Sealing a wet deck traps moisture, leading to peeling, blistering, and potential wood rot. Allow at least 24-72 hours of dry weather after cleaning before applying sealant.
What's the difference between deck cleaner, stripper, and brightener?+
A **cleaner** removes surface dirt, grime, and mild mildew. A **stripper** is a stronger chemical designed to remove old, failing deck finishes like stains or sealants. A **brightener** (often acid-based) neutralizes the stripper, restores the wood's natural color, and opens its pores for better sealant absorption.
Why is my deck sealant peeling?+
Sealant usually peels due to improper surface preparation, such as applying new sealant over a dirty, dusty, or poorly stripped old finish. Other reasons include over-application of the product, sealing the deck while it was still wet, or using an incompatible type of sealant for the wood or previous finish.
Discussion
Loading comments…