
Tools & materials you'll need
Affiliate linksAs an Amazon Associate FixlyGuide earns from qualifying purchases — at no extra cost to you. Prices and availability are accurate as of publication and subject to change.
Quick Answer
Replacing a deadbolt is a surprisingly simple DIY project that can be completed in about 15-30 minutes with just a couple of screwdrivers. The process involves systematically disassembling the existing deadbolt components – the interior thumb turn or cylinder, the exterior cylinder, and the latch mechanism – and then installing the new components in the reverse order. No specialized tools are required, and tackling this task yourself can save you significantly on locksmith fees while enhancing your home's security and curb appeal. The most crucial steps involve identifying the correct replacement deadbolt, ensuring the latchbolt's orientation matches your door, and testing the new lock for smooth operation before fully tightening all screws.
The Problem
You arrive home, fumbling with your keys, only to find your deadbolt lock is sticking, grinding, or simply refusing to turn. Perhaps the key feels loose, or the thumb turn wiggles excessively. Maybe the lock has seen better days, showing significant wear and tear, or you've moved into a new home and want to re-key for security without the expense of a locksmith. A failing deadbolt compromises your home's security, making it vulnerable to forced entry and leaving you feeling uneasy. Ignoring these signs can lead to being locked out, or worse, an easier target for theft. Even if the lock still functions, an old or worn deadbolt might not offer the same level of protection as a modern, high-security replacement. Sometimes, the problem isn't mechanical failure but simply a desire for updated aesthetics or a unified key system across multiple doors. Regardless of the reason, a deadbolt that doesn't inspire confidence is a problem that demands a fix.
How It Works
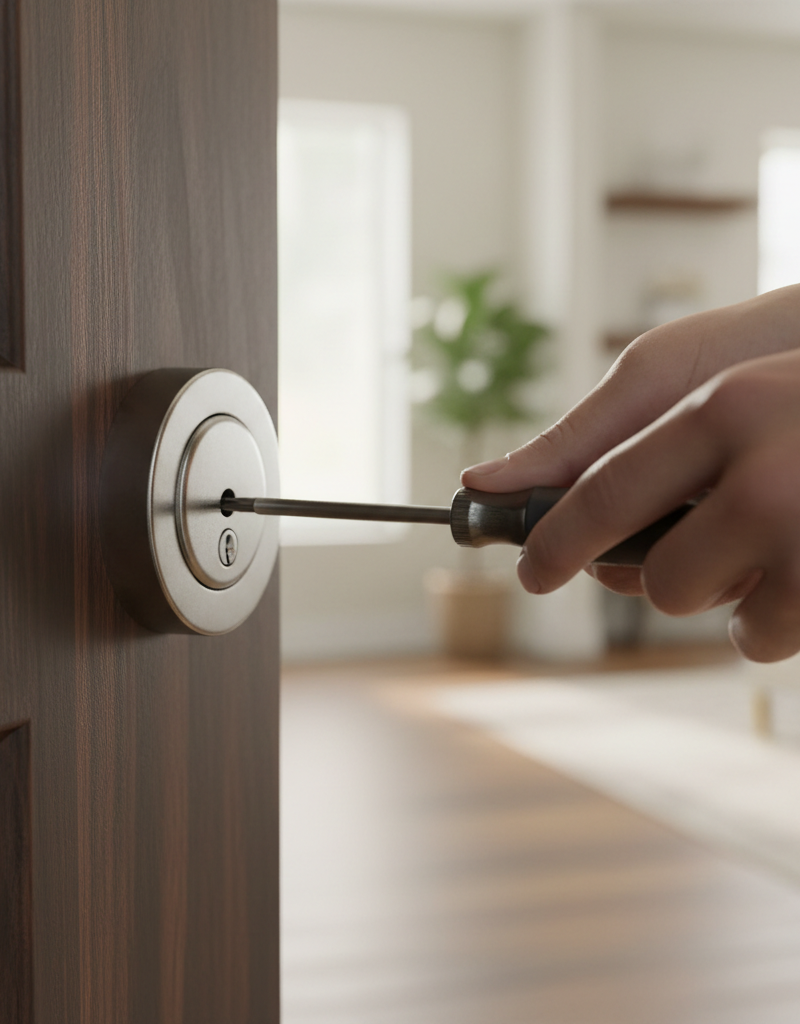
To understand how to replace a deadbolt, it helps to grasp its basic operation. A deadbolt lock consists of three primary components: the exterior cylinder, the interior thumb turn or cylinder, and the latchbolt mechanism. The exterior and interior components are held together by two long machine screws that pass through the door and thread into posts on the opposite side. These screws sandwich the door itself and keep the entire lock assembly securely in place. The latchbolt, also known as the bolt or throw, is a solid piece of metal that extends from the edge of the door into a strike plate on the door frame. This bolt is operated by a cam connected to either the key cylinder (exterior) or the thumb turn/cylinder (interior).
When you turn the key or thumb turn, it rotates a cam inside the lock body. This cam pushes or pulls a small follower, which in turn engages a slot in the latchbolt, moving it in or out of the door frame. Crucially, the latchbolt itself is housed within a separate assembly that slides into a bored hole in the edge of the door. This latch assembly has a small faceplate that is visible when the door is open. The throw of the deadbolt (how far it extends) is typically 1 inch, providing significant resistance against forced entry compared to a spring-loaded latch found on a doorknob. The two main types are single-cylinder (key exterior, thumb turn interior) and double-cylinder (key on both sides), with single-cylinder being more common for residential use due to fire safety regulations. The most critical aspect of deadbolt function is the smooth, unimpeded movement of the latchbolt into the strike plate, creating a secure connection between the door and the frame.
Step-by-Step Fix
1. Gather Your Tools & New Lock – Preparation is key to a smooth replacement.
Before you begin, ensure you have all the necessary tools and your new deadbolt. Most replacement deadbolts are designed to fit standard door preparations (backset and bore hole sizes), making them largely interchangeable. However, it's wise to measure your existing backset (distance from the door edge to the center of the cross bore hole) and the diameter of the cross bore hole and edge bore hole to confirm compatibility. Your new deadbolt kit should include everything you need: the exterior cylinder, interior thumb turn/cylinder, latchbolt mechanism, strike plate, and all necessary screws.
- Tool Tip: A power drill with a screwdriver bit can speed up removal and installation, but be careful not to overtighten.
- Replacement Tip: Look for a deadbolt with a BHMA Grade 1 or Grade 2 rating for optimal security. Matching brands (e.g., Schlage to Schlage) can sometimes simplify alignment, but isn't strictly necessary.
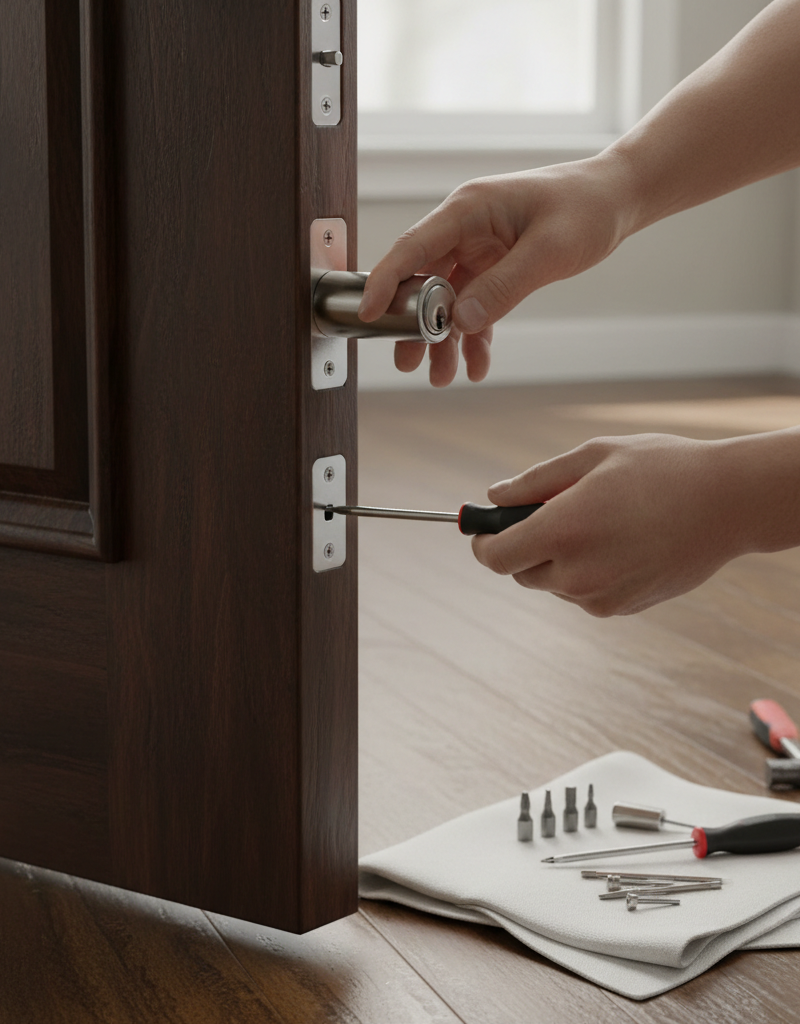
2. Remove the Interior Screws – The first step to disassembly.
Locate the two visible screws on the interior side of the deadbolt lock mechanism. These screws typically run horizontally, one above and one below the thumb turn or interior key cylinder. Using a Phillips head screwdriver, carefully unscrew both of these. Keep the screws in a safe place, as you may need to use some of them with your new lock, or at least have them for comparison.
- Safety Note: There's no electrical danger here, but components can be greasy, so gloves are optional for cleanliness.
3. Separate the Interior and Exterior Halves – Carefully extract the lock body.
Once the two interior screws are removed, the interior thumb turn/cylinder assembly should pull directly away from the door. You might need to wiggle it gently. As you pull, support the exterior cylinder with your other hand to prevent it from falling out and potentially scratching the door or floor. If the exterior cylinder doesn't easily come free, give it a slight push from the interior side. Both halves should now be separate from the door.
- Common Issue: If the halves are stuck, they might be painted over. Use a utility knife to score around the edges of the escutcheons (decorative plates) before pulling.
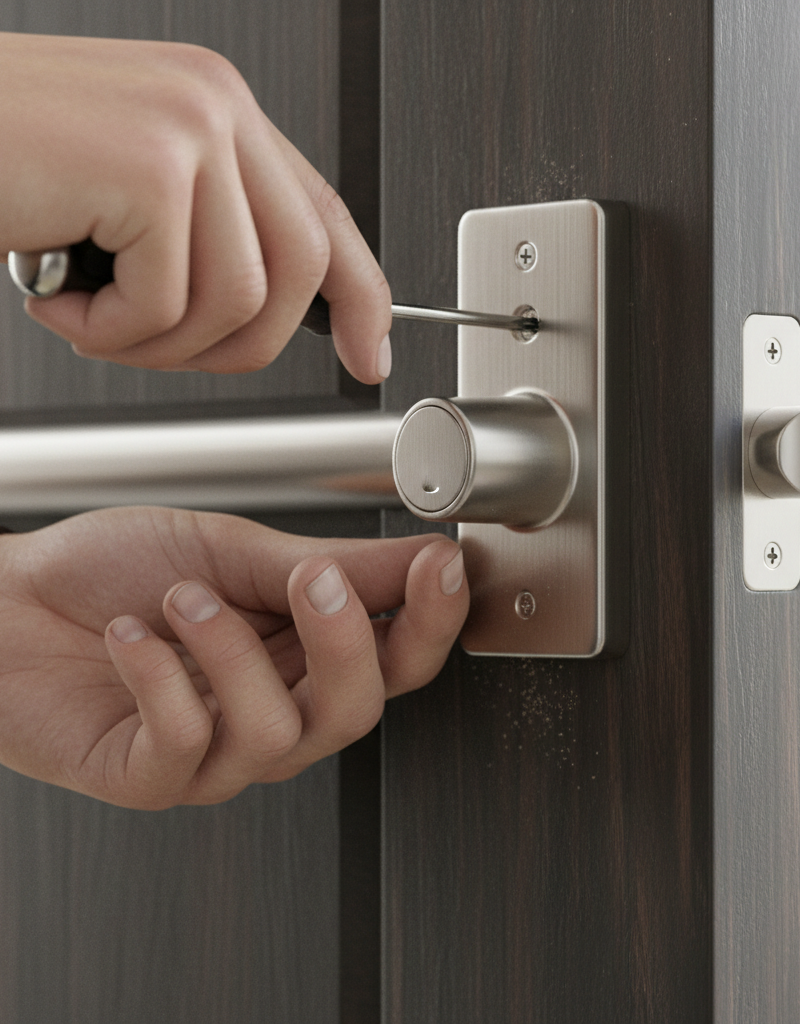
4. Extract the Latchbolt Mechanism – The core operational component.
With the main body of the lock removed, turn your attention to the edge of the door. You'll see the faceplate of the latchbolt mechanism held in place by two smaller screws. Unscrew these. Once the screws are out, grasp the faceplate and pull the entire latchbolt assembly straight out of the bore hole in the door edge. This component contains the actual bolt that extends and retracts.
- Measurement Tip: Note the backset of the old latch (how far it extends from the faceplate to the center of the square spindle hole). Most deadbolts have an adjustable backset (2-3/8 inches or 2-3/4 inches), which you'll need to set on your new latch.
5. Install the New Latchbolt – Ensure correct backset and orientation.
Before inserting the new latchbolt, verify its backset setting. Many new latches come with an adjustable mechanism you can twist or slide to select either 2-3/8 inches or 2-3/4 inches. Match this to your door's existing backset. Next, slide the new latchbolt mechanism into the bore hole in the door edge. Ensure the
Related Articles
Keep troubleshooting with these hand-picked guides from FixlyGuide:
- The 5-Minute Trick to a Silky-Smooth Door Lock (and Why Yours Is Sticky) — A sticky door lock is annoying and can be a security risk. Learn how to quickly diagnose and fix the common causes of a door lock that won'…
- The 3 Hidden Reasons Your Door Won't Latch (And the Easy DIY Fixes) — Frustrated by a door that refuses to latch? Discover the common culprits behind this annoying problem and learn simple, effective DIY fixes…
- The 5-Minute Trick to Fix a Window That Won't Stay Open (No Tools Needed!) — Discover the surprisingly simple reasons why your window keeps sliding shut and how to fix it in minutes, often without any tools.
- The 3 Hidden Reasons Your Window Won't Stay Up (And the Easy Fixes) — Before you call a repairman, learn the three most common reasons your double-hung window won't stay open and how to fix them yourself.
- The 90-Second Trick to a Latching Door (and Why Yours Might Be Off) — Discover the surprisingly simple reasons most doors fail to latch and how a quick, often overlooked adjustment can solve your problem in un…
- Is Your Gutter Sagging After Every Storm? The Hidden Flaw Most Homeowners Miss — Discover the overlooked reason your gutters sag after every storm and learn the lasting fix that most homeowners miss.
Recommended for DIYers & woodworkers
Sponsored
The Top 20 Tools for Workshops of Any Budget
No stationary machines or power tools required — plus 3 fundamental tools that can't be bought at any price.
Get the free guide
Ted's Woodworking — The #1 Woodworking Resource
Detailed instructions, dimensioned drawings, materials & cutting lists, and 3D schematics for every skill level.
See the plansSponsored: links above are affiliate links. FixlyGuide may earn a commission on qualifying purchases — at no extra cost to you.
Frequently asked questions
How do I know what size deadbolt to buy?+
Most residential deadbolts are standard sizes. The critical measurements are the backset (distance from door edge to center of the bore hole, usually 2-3/8" or 2-3/4") and the bore hole diameter (typically 2-1/8"). Most new deadbolts accommodate both backsets. Check your existing deadbolt's backset before purchasing.
Can I replace a single-cylinder deadbolt with a double-cylinder one?+
Yes, you can. However, be aware of local fire safety codes, as double-cylinder deadbolts (keyed on both sides) can trap occupants in an emergency if the key isn't readily available. Single-cylinder deadbolts (thumb turn inside) are generally recommended for residential entry doors.
How do I lubricate a sticky deadbolt if I don't want to replace it?+
For a sticky deadbolt, use a graphite-based lubricant (dry lubricant) or a silicone spray. NEVER use oil-based lubricants like WD-40, as they can attract dirt and gum up the mechanism over time. Apply a small amount into the keyway and around the latchbolt, then work the key in and out several times.
What's the difference between a Grade 1, 2, and 3 deadbolt?+
These grades, set by BHMA (Builders Hardware Manufacturers Association), indicate a lock's security and durability. Grade 1 is the highest security (commercial use), Grade 2 is high residential security, and Grade 3 is standard residential security. For exterior doors, Grade 1 or 2 is recommended for better protection against forced entry.
Do I need to replace the strike plate on the door frame?+
It's highly recommended to replace the strike plate with the new one provided in your deadbolt kit. New strike plates often have a more robust design and ensure a perfect fit with your new deadbolt, optimizing security and smooth operation. Make sure the mortise (recessed area) in the door frame is deep enough for the new strike plate and its screws.
What if my new deadbolt feels loose after installation?+
If your new deadbolt feels loose, first check that the two long mounting screws are fully tightened. If they are, ensure the latchbolt mechanism is correctly seated and its screws are secure. Sometimes, if the bore holes are slightly oversized, the lock might wobble. You can try adding thin shims (e.g., small pieces of cardboard or plastic) around the lock body inside the bore hole before tightening the screws to create a snugger fit. If the problem persists, the bore holes might be too large, which can be a bigger issue requiring professional assessment or door repair.
Discussion
Loading comments…