
Tools & materials you'll need
Affiliate links- AmazonNew deadbolt lock kitEnsure it matches your door's backset and bore holes
As an Amazon Associate FixlyGuide earns from qualifying purchases — at no extra cost to you. Prices and availability are accurate as of publication and subject to change.
Quick Answer
Replacing a deadbolt lock is a straightforward home improvement task that most homeowners can accomplish in 15 to 30 minutes with just a few basic tools. The process generally involves removing two visible mounting screws on the interior side of the existing deadbolt, carefully separating the interior and exterior lock cylinders, and then removing the latch mechanism from the door edge. Installation of the new deadbolt reverses these steps: installing the new latch, feeding the new exterior cylinder through the door, aligning it with the latch, and then attaching the interior cylinder with its mounting screws.
The Problem
Deadbolts are essential for home security, but over time, they can wear out, become difficult to operate, or you might simply want to upgrade to a more secure or aesthetically pleasing model. Common deadbolt problems include keys that no longer turn smoothly, a bolt that sticks or doesn't extend fully, loose components, or a desire to rekey an entire home quickly without the expense of a locksmith. Perhaps you've moved into a new home and want to ensure no previous occupants still have access, or a lock has been damaged due to attempted forced entry. Whatever the reason, a failing or outdated deadbolt compromises your home's safety and peace of mind.
How It Works
Understanding how a deadbolt functions makes replacement much simpler. A typical residential deadbolt consists of three main components: the exterior cylinder, the interior thumb-turn or cylinder, and the latch mechanism (often called the bolt or throw).
The exterior cylinder houses the keyway. When you insert the correct key and turn it, a series of internal pins align, allowing the cylinder to rotate. This rotational force is transferred to a tailpiece (a flat metal bar) that extends through a hole in the door.
The interior component, whether a thumb-turn or a second key cylinder, is directly connected to this tailpiece. When you turn the thumb-turn or key from the inside, it rotates the tailpiece.
Both the exterior and interior components effectively 'sandwich' the door, securing the entire mechanism. The tailpiece passes through a slot in the latch mechanism, which is installed in the bore (the large hole) in the edge of your door. The latch mechanism itself contains the actual deadbolt, a solid piece of metal designed to extend into a strike plate mounted on the door frame.
When the tailpiece rotates, it engages a cam or gear within the latch assembly. This engagement causes the deadbolt to extend out of the door edge and into the strike plate, locking the door. To unlock, the process reverses: turning the key or thumb-turn retracts the bolt from the strike plate, allowing the door to open. Proper alignment between the latch mechanism, the key/thumb-turn components, and the strike plate is crucial for smooth operation. Any misalignment, wear, or damage to these parts can lead to a sticky or non-functional deadbolt.
Step-by-Step Fix
Safety First! Before starting, ensure the door is open and secured so it doesn't accidentally swing shut while you're working. Clear the area of any obstructions.
-
Gather Your Tools and New Deadbolt – Ensure you have everything you need before starting.
- Unpack your new deadbolt and ensure all components are present: exterior cylinder, interior thumb-turn/cylinder, latch mechanism, strike plate, and screws. It's helpful to lay them out to understand how they fit together.
- Check the backset of your door (the distance from the edge of the door to the center of the large bore hole). Most deadbolts are adjustable for either a 2-3/8 inch or 2-3/4 inch backset. Before buying, measure your existing backset to ensure compatibility, or purchase an adjustable one.
-
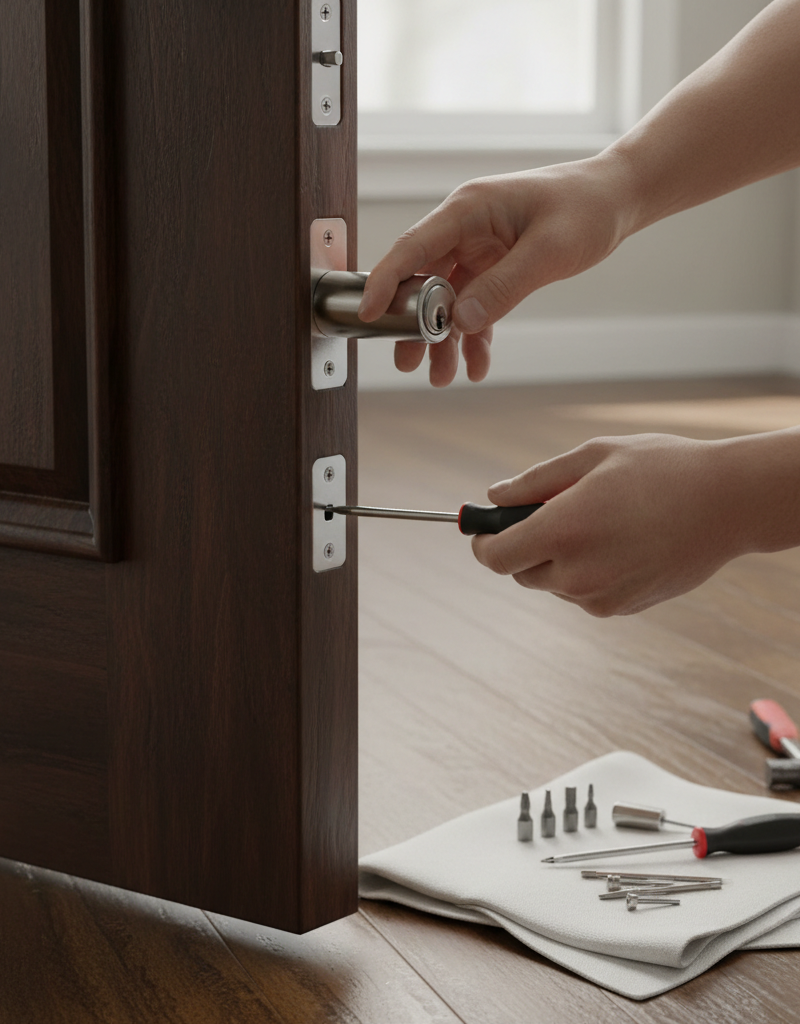
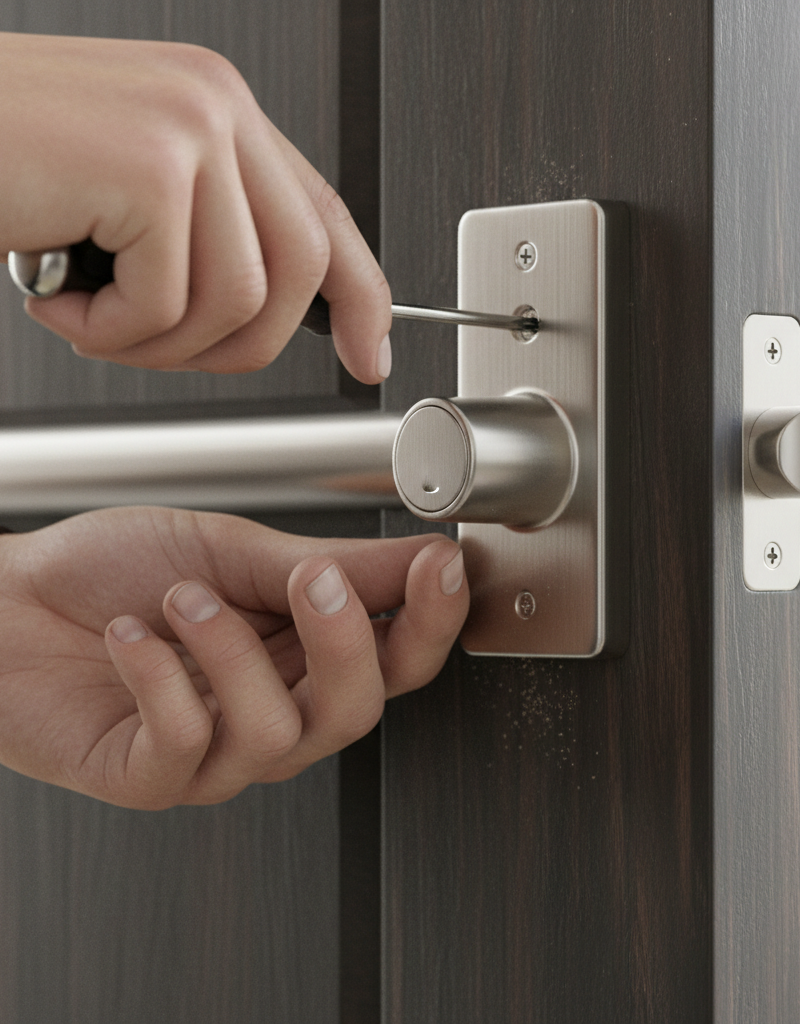
Remove the Interior Screws – Start by disassembling the old deadbolt from the inside.
- Locate the two mounting screws on the interior side of the deadbolt. These are typically visible on the face of the interior thumb-turn or key cylinder assembly.
- Use a Phillips head screwdriver to unscrew both of these screws completely. Keep the screws in a small container so they don't get lost.
-
Separate the Deadbolt Halves – Carefully pull the interior and exterior components apart.
- Once the screws are removed, the interior thumb-turn/cylinder should pull away easily from the door.
- Simultaneously, the exterior key cylinder will often slide out from the other side. If it's a bit stiff, gently push it through from the inside or wiggle it until it comes free.
-
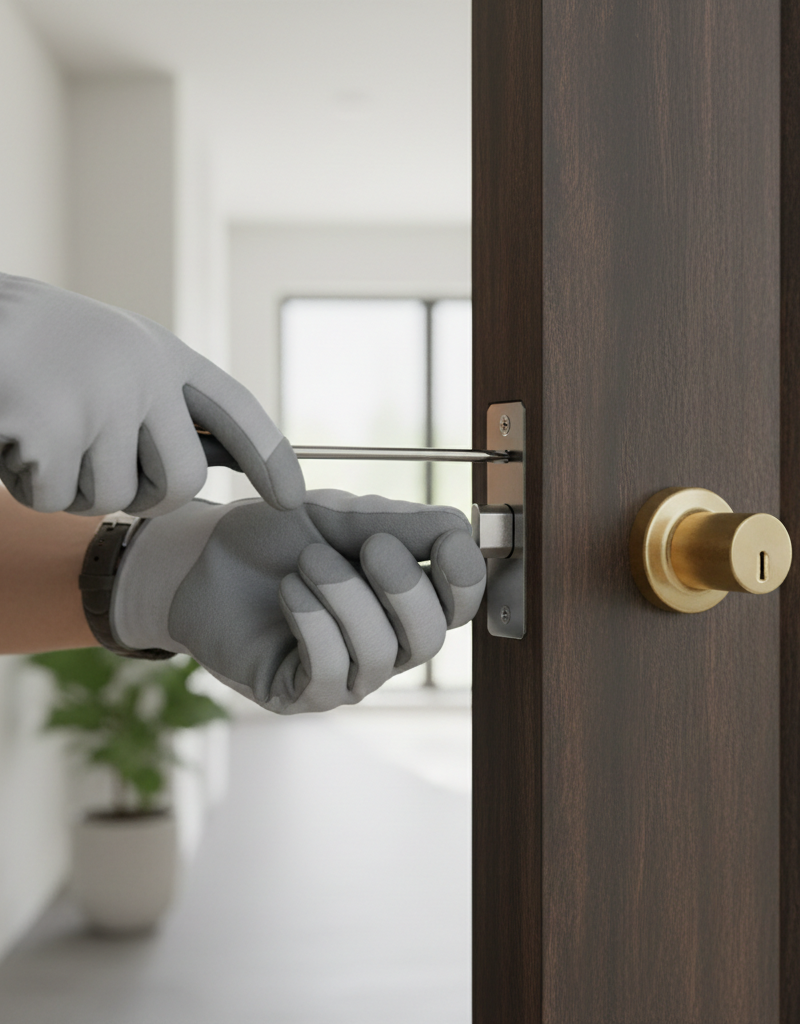
Remove the Latch Mechanism – Extract the bolt from the door edge.
- With the cylinders removed, look at the edge of the door where the deadbolt extends. You'll see the faceplate of the latch mechanism secured by two smaller screws.
- Unscrew these two screws using your Phillips head screwdriver.
- Grasp the latch mechanism and slide it straight out of the door edge. It might require a slight wiggle or pull if it's been in place for a long time.
-
Remove the Old Strike Plate (Optional) – Decide if you need to replace the plate on the door frame.
- Examine the strike plate on the door frame. If your new deadbolt comes with a new strike plate, it's generally best to replace the old one for proper compatibility and security.
- The strike plate is usually secured by two screws. Unscrew them and remove the old plate.
- If your new strike plate is a different size or shape: You may need to use a chisel to slightly enlarge or reshape the mortise (the recessed area) in the door frame. Do this carefully, checking frequently for fit, to avoid damaging the frame.
-
Install the New Latch Mechanism – Slide the new bolt into the door's edge.
- Take the new latch mechanism and ensure its backset is correctly adjusted (if it's an adjustable type, typically by twisting or pulling the bolt face). Align it to your door's backset (2-3/8
Related Articles
Keep troubleshooting with these hand-picked guides from FixlyGuide:
- The 15-Minute Deadbolt Swap Plumbers Don't Want You to Know (Your Old Lock's Secret Failure) — Breathe new life—and security—into your home by replacing a failing deadbolt with this straightforward, step-by-step guide.
- The 15-Minute Deadbolt Swap: Why Your Old Lock Is a Security Risk — Boost your home's security and refresh your door's look by replacing an old deadbolt lock with a new one in just minutes.
- The 15-Minute Deadbolt Swap: Why Your Old Lock Is a Security Risk (And the Easy Fix) — Upgrade your home security in just 15 minutes by replacing an old or faulty deadbolt lock with a new, more secure model.
- The 15-Minute Deadbolt Swap: Why Your Old Lock Is a Security Risk (And the Cheap Fix) — Upgrade your home security in minutes by learning how to replace a deadbolt lock yourself with this easy-to-follow guide.
- The 3 Hidden Reasons Your Door Won't Latch (And the Easy DIY Fixes) — Don't live with a door that refuses to latch; discover simple, DIY solutions for common door latch problems and restore security and privac…
- The 15-Minute Drywall Hole Fix Plumbers Don't Want You to Know — Discover the surprisingly simple, super-fast method for patching small drywall holes that avoids messy muds and sanding.
Get the print-ready PDF of this guide
A clean, ad-free, printable version you can keep on your phone or pin to the workshop wall. Free with a FixlyGuide account.
- Print-optimized layout
- Tools, materials & every step included
- Saved to your account
Recommended for DIYers & woodworkers
Sponsored
The Top 20 Tools for Workshops of Any Budget
No stationary machines or power tools required — plus 3 fundamental tools that can't be bought at any price.
Get the free guide
Ted's Woodworking — The #1 Woodworking Resource
Detailed instructions, dimensioned drawings, materials & cutting lists, and 3D schematics for every skill level.
See the plansSponsored: links above are affiliate links. FixlyGuide may earn a commission on qualifying purchases — at no extra cost to you.
Frequently asked questions
How long does it take to replace a deadbolt?+
On average, replacing a standard deadbolt takes most homeowners between 15 to 30 minutes, assuming you have the correct tools and a new deadbolt that fits your door's existing bore holes and backset.
Do I need special tools to replace a deadbolt?+
No, you typically only need a Phillips head screwdriver. In some cases, a flathead screwdriver or a utility knife might be helpful for prying or cleaning up the mortise, but it's not usually essential.
Can I replace a deadbolt without changing the entire lock?+
Yes, a deadbolt is a standalone locking mechanism that can be replaced independently of other locks (like the doorknob lock) on the same door. You can replace just the deadbolt portion.
What is 'backset' and why is it important?+
The backset is the distance from the edge of the door to the center of the large bore hole where the lock cylinder sits. It's crucial because deadbolts come in specific backset sizes (usually 2-3/8 inches or 2-3/4 inches). Matching this ensures the new lock aligns correctly with the door frame.
When should I call a locksmith instead of replacing the deadbolt myself?+
If your door has unusual drilling, or if you encounter significant resistance and suspect structural damage or specialized locking mechanisms beyond a standard residential deadbolt, it's best to call a locksmith. Also, if you're uncomfortable with the process or if adjustments to the door frame are required, a professional can ensure proper installation and security.
Discussion
Loading comments…