
Tools & materials you'll need
Affiliate linksAs an Amazon Associate FixlyGuide earns from qualifying purchases — at no extra cost to you. Prices and availability are accurate as of publication and subject to change.
How it works
A ceiling fan operates on a simple principle: an electric motor spins a set of angled blades, called airfoils, to move air. The stability of this entire rotating system hinges on secure mounting and perfect balance. The fan assembly connects to the house structure via a steel mounting bracket, which must be screwed into a fan-rated electrical box. This special box is anchored directly to a ceiling joist or an adjustable fan brace spanning between two joists, designed to support the fan's weight and dynamic forces.
From this bracket hangs the downrod, a hollow pipe that sets the fan's height. At its top is a hanger ball that sits in a cradle within the mounting bracket. This ball-and-socket joint allows the fan to find its natural vertical hanging point, while a small tab in the bracket engages a slot in the ball to prevent the entire assembly from spinning. The downrod connects at its lower end to the motor housing. Attached to the rotating motor shaft are several blade irons (or arms), which in turn hold the fan blades. For a fan to operate without wobbling, this entire rotating mass—motor, irons, and blades—must be perfectly balanced around its central axis. Even a few grams of weight difference between blades, or a slight variation in blade pitch, can create a powerful centrifugal force that manifests as a wobble.
Step-by-Step Fix
Follow these steps in order, as they progress from the most common and easiest fixes to the most complex. Do not skip steps.
-
Turn Off Power — Before touching the fan, locate the circuit breaker that controls the ceiling fan and switch it to the OFF position. For an extra layer of safety, flip the wall switch for the fan to OFF as well. Confirm power is off by trying to turn on the fan; it should not respond.
- Tools: None.
- Safety: This non-negotiable step prevents electrical shock and accidental fan activation while you are working.
-
Clean the Fan Blades — Dust and grime can accumulate unevenly on fan blades, adding weight and creating an imbalance. Use a damp cloth or a dedicated ceiling fan duster to thoroughly clean the top and bottom surfaces of each blade.
- Tools: Microfiber cloth, all-purpose cleaner or water, stable stepladder.
- Note: This simple step can sometimes resolve minor wobbles entirely. While cleaning, perform a quick visual check for any obvious cracks, warps, or damage to the blades.
-
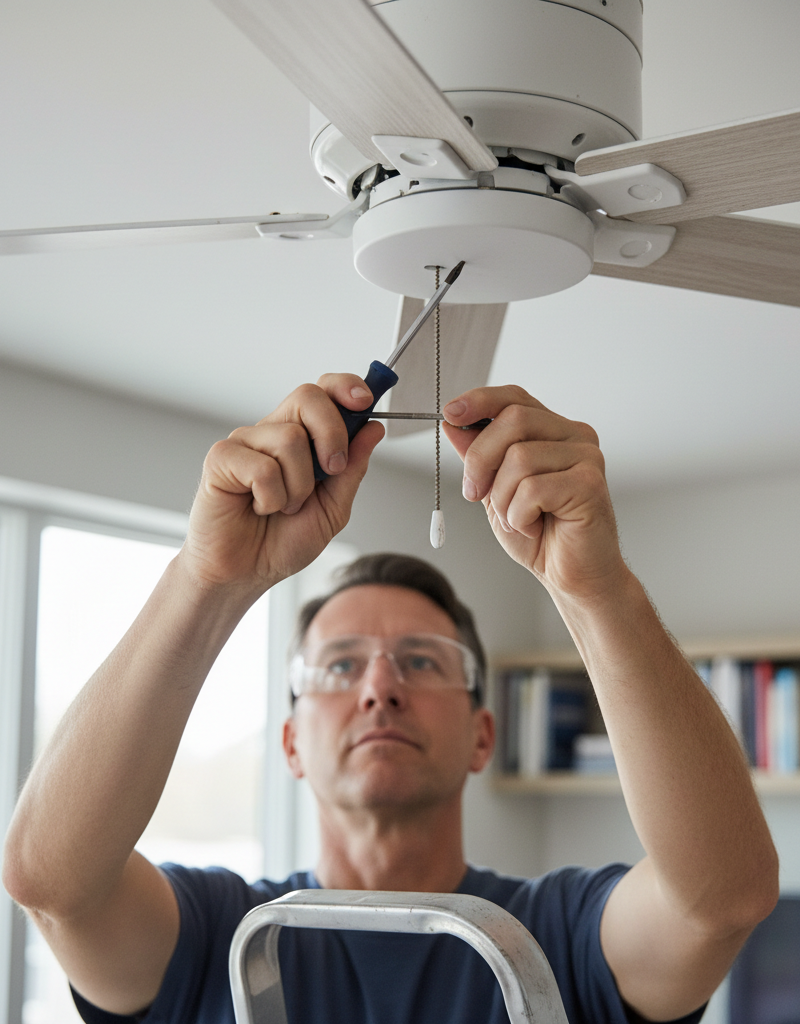
Inspect and Tighten Blade Screws — This is the most common cause of fan wobble. Using a Phillips head screwdriver, manually tighten the screws that attach each blade to its corresponding blade iron (or blade arm). Then, find and tighten the screws that attach the blade irons to the motor housing.
- Tools: Phillips head screwdriver, stepladder.
- Pro Tip: Use a hand screwdriver, not a power drill. Overtightening with a drill can strip the screw threads or crack the blade material. Check all screws; if one is loose, others likely are as well.
-
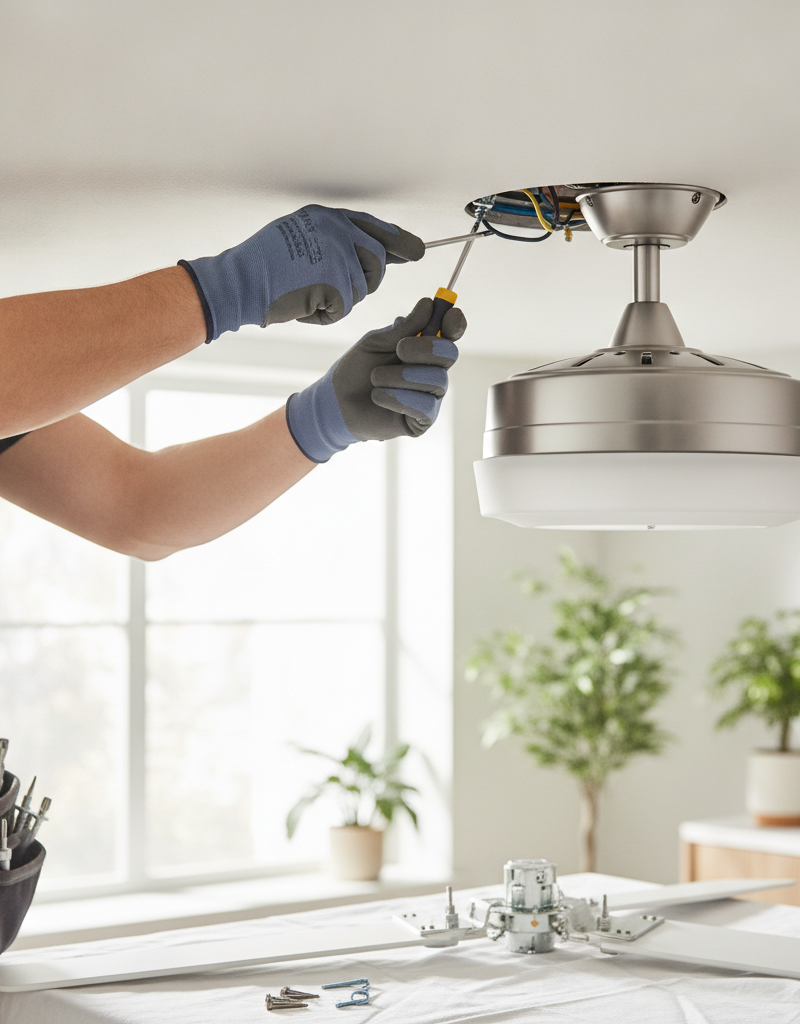
Check the Downrod and Canopy — At the top of the fan, slide the decorative canopy down to expose the mounting hardware. Locate the set screw(s) on the motor housing coupling where the downrod enters. Use a screwdriver or Allen wrench to ensure it is tight. Also, check the clevis pin and cotter pin that provide a secondary lock for the downrod. While the canopy is down, confirm the screws holding the mounting bracket to the electrical box are secure.
- Tools: Screwdriver, possibly an Allen wrench set.
- Note: A loose downrod allows the entire motor to shift, creating a significant wobble.
-
Verify the Hanger Ball is Seated — Look inside the mounting bracket where the hanger ball at the top of the downrod rests. This ball has a slot or groove that must engage with a tab inside the bracket. This tab prevents the fan from rotating within the bracket. Ensure the ball is fully seated in its cradle with the tab correctly engaged in the slot.
-
Measure Blade Height from the Ceiling — To check for a bent blade iron, pick a spot on the ceiling a few inches out from the fan's center. Use a tape measure or a yardstick to measure the distance from that spot down to the trailing edge of one blade. Record the measurement. Manually rotate the fan to bring the next blade to the same spot and measure again. Repeat for all blades.
- Tools: Tape measure or yardstick.
- If this doesn't work: If you find a variance greater than 1/8 inch, the blade iron on the high or low blade is likely bent. Very gently and carefully apply steady pressure to the blade iron (not the blade itself) to bend it back into alignment with the others. Measure again until all blades are level.
-
Prepare the Balancing Kit — If the fan still wobbles after all components are tight and level, the blades themselves are out of balance. Open your ceiling fan balancing kit. It will contain one or more plastic clips and several small, self-adhesive weights.
- Tools: Ceiling fan balancing kit (available at any hardware store).
-
Identify the Unbalanced Blade with the Clip — Attach the plastic clip to the trailing edge of any fan blade, about halfway between the motor and the blade tip. Turn the fan on low or medium speed and observe the wobble. Turn the fan off, wait for it to stop, and move the clip to the same position on the next blade. Repeat this process for every blade. The blade where the clip most significantly reduces the wobble is your problem blade.
-
Find the "Sweet Spot" on the Problem Blade — With the clip still on the problem blade you identified, turn the fan back on. Now, experiment by sliding the clip along the blade's trailing edge—first moving it closer to the motor, then further out toward the tip. Note the position where the wobble is at its absolute minimum. This is the "sweet spot" where the counterweight is needed most.
-
Apply the Adhesive Weight — Turn the fan off and wait for it to stop completely. Mark the sweet spot you found with the clip. Clean the top surface of the fan blade at this spot with an alcohol wipe to ensure good adhesion. Peel the backing off one of the self-adhesive weights and press it firmly onto the top of the blade, centered over your mark. Remove the plastic clip.
-
Test the Fan — Turn the fan back on. The wobble should be gone or dramatically reduced. If it is gone, your work is done. You can now re-secure the canopy at the ceiling.
-
Add More Weight if Necessary — If a slight wobble persists, you can try adding a second weight directly next to the first one. Alternatively, if the wobble is still significant, you can leave the first weight in place and repeat the entire balancing process (Steps 8-10) with the plastic clip to see if another blade is also out of balance or if the first weight needs a companion weight on a different blade for perfect harmony.
Common mistakes
- Overtightening Screws with a Power Drill. Using a drill or impact driver to tighten blade screws is a common shortcut that often backfires. The high torque can easily strip the threads in the motor housing, strip the screw head, or even crack the wood or composite fan blade. Instead, always use a hand screwdriver to get a feel for the proper tightness without causing damage.
- Balancing Before Tightening. Many people jump straight to using a balancing kit. This is ineffective if the underlying problem is a loose component. A balancing weight cannot counteract the motion of a loose blade arm or a wobbly downrod. Always perform all tightening and alignment checks (Steps 3-6) before attempting to balance the blades.
- Ignoring a Loose Mounting Box. If you can wiggle the entire fan assembly at the downrod and see the movement transfer all the way to the ceiling, the problem is the mounting itself. No amount of blade balancing will fix a fan attached to a loose electrical box. You must first secure the box to the ceiling joist or install a fan-rated brace.
- Bending the Fan Blade, Not the Iron. When correcting a blade height discrepancy, the issue is almost always a slightly bent metal blade iron (the arm connecting the blade to the motor). Attempting to bend the blade itself will likely cause it to warp or crack, making the balance problem worse. Apply gentle, corrective pressure only to the metal blade iron.
- Mismatching Fan Blades. If a blade breaks, do not replace it with a blade from another fan, even if it looks identical. Blades are manufactured in balanced, weighted sets. Introducing a blade from a different set will virtually guarantee a wobble that is often impossible to correct with a standard balancing kit. You must replace the entire set of blades.
- Forgetting to Clean First. A thick layer of dust, especially if it's heavier on one blade than others, adds measurable weight. Skipping the cleaning step means you might spend an hour trying to balance a fan that just needed a good wipe-down.
Cost & time breakdown
| Task | DIY Cost | Pro Cost | Time |
|---|---|---|---|
| Cleaning & Tightening Screws | $0 | $100 - $175 | 30-45 minutes |
| Blade Balancing | $5 - $10 | $125 - $225 | 45-75 minutes |
| Replacing a Bent Blade Iron | $15 - $40 | $150 - $250 | 1 hour |
| Securing or Replacing Electrical Box | $10 - $30 | $250 - $500 | 2-4 hours |
| Complete Fan Replacement | $100 - $500+ (for fan) | $250 - $700+ | 2-3 hours |
When to call a pro
While fixing a wobble is usually a straightforward DIY task, certain signs indicate the problem requires professional expertise. Call a licensed electrician immediately if you see sparks, smell a burning odor from the motor housing, or notice the fan's lights flickering in sync with the wobble; these are symptoms of a serious electrical fault, not a balance issue.
You should also call a professional if the fan's mounting is compromised. If the entire electrical box is loose in the ceiling and you do not have attic access to secure it from above, an electrician has specialized tools and techniques (like using a retrofit fan brace) to safely install a new, secure mount from below.
Furthermore, if you hear any grinding, scraping, or rhythmic clicking noises coming from the motor housing, it's a strong indication that the internal motor bearings have failed. These bearings are typically sealed and not user-serviceable. In this case, the entire fan motor or the fan itself must be replaced. Finally, if you have meticulously followed all tightening and balancing steps and the wobble persists, it could point to a bent motor shaft or a warped part that isn't visually apparent, warranting a professional diagnosis.
Prevention & maintenance
- Regular Cleaning: At least once every three months, use a duster or damp cloth to clean the top and bottom of all fan blades. This prevents the slow, uneven buildup of dust that is a primary cause of imbalance over time.
- Annual Tightening: Once a year, perform a quick maintenance check. Turn off the power and manually check the tightness of all screws attaching the blades to the blade irons and the blade irons to the motor. This 10-minute check can prevent most wobbles from ever starting.
- Seasonal Direction Change: When you switch the fan's rotation direction for summer (counter-clockwise) and winter (clockwise), use it as a reminder to look and listen. Note if the fan appears stable and sounds quiet in both directions.
- Look for Blade Droop: Over time, especially in humid climates, wood or composite blades can sag or warp. During cleaning, stand to the side and look at the fan's profile. All blades should appear to be in the same horizontal plane. A drooping blade will inevitably cause a wobble.
- Listen for New Noises: Pay attention to the sounds your fan makes. Any new humming, buzzing, or clicking is an early warning sign of a loose part or a developing mechanical issue. Addressing it early is much simpler than fixing a major wobble later.
- Secure Light Kits: If your fan has a light kit, periodically ensure that the kit itself is tightly secured to the fan body and that all glass shades or globes are fastened evenly. A loose globe can cause both rattling noises and minor wobbles.
Related Articles
Keep troubleshooting with these hand-picked guides from FixlyGuide:
- The Hidden Reason Your Ceiling Fan Wobbles (And 3 Cheap Fixes) — A wobbling ceiling fan isn’t just annoying; it can be a sign of imbalance or loose connections that are simple to fix with the right approa…
- How to Fix a Wobbly Ceiling Fan: A Step-by-Step Guide — A wobbly ceiling fan is not only annoying but can be a safety hazard; this guide helps you diagnose and fix common causes.
- How to Fix a Wobbly Ceiling Fan: A DIY Guide — A wobbly ceiling fan can be annoying and, in some cases, unsafe. Learn how to diagnose and fix the most common causes of ceiling fan wobble…
- Fix Flickering Lights Throughout Your House: A DIY Guide — Flickering lights throughout your house are usually caused by loose connections. This guide will help you diagnose and fix the most common…
- Range Hood Fan Not Working? Easy Fixes for Common Issues — Fix a non-functional range hood fan by checking power, cleaning components, and inspecting basic electrical connections to restore ventilat…
- Your Windows Are Crying. Here's What They're Telling You. — Window condensation is more than an annoying fog; it's a clear sign that your home's indoor humidity is too high, a problem that can lead t…
Get the print-ready PDF of this guide
A clean, ad-free, printable version you can keep on your phone or pin to the workshop wall. Free with a FixlyGuide account.
- Print-optimized layout
- Tools, materials & every step included
- Saved to your account
Frequently asked questions
Can a wobbling ceiling fan fall?+
While rare, a severely wobbling ceiling fan with loose mounting hardware could potentially fall. It poses a safety risk due to the fan’s weight and rotation, especially if parts become dislodged. Addressing wobbling promptly ensures safety and prevents potential damage.
How tight should ceiling fan blades be?+
Ceiling fan blade screws should be snug, but not overtightened. The goal is to securely fasten the blades to the motor housing without stripping the screw threads or cracking the blade material. Check them periodically for looseness.
Can an old ceiling fan wobble more?+
Yes, older ceiling fans can be more prone to wobbling. Over time, materials can warp, screws can loosen, and the motor bearings can wear, all contributing to imbalance. Regular maintenance can help mitigate some of these issues.
When should I replace a wobbling ceiling fan?+
Consider replacing a wobbling ceiling fan if, after attempting all balancing and tightening steps, the wobble persists, or if the fan makes grinding noises, heats up excessively, or shows signs of electrical malfunction. Sometimes, a severely worn motor or bent part is beyond simple repair.

Discussion
Loading comments…