
Tools & materials you'll need
Affiliate linksAs an Amazon Associate FixlyGuide earns from qualifying purchases — at no extra cost to you. Prices and availability are accurate as of publication and subject to change.
Quick Answer
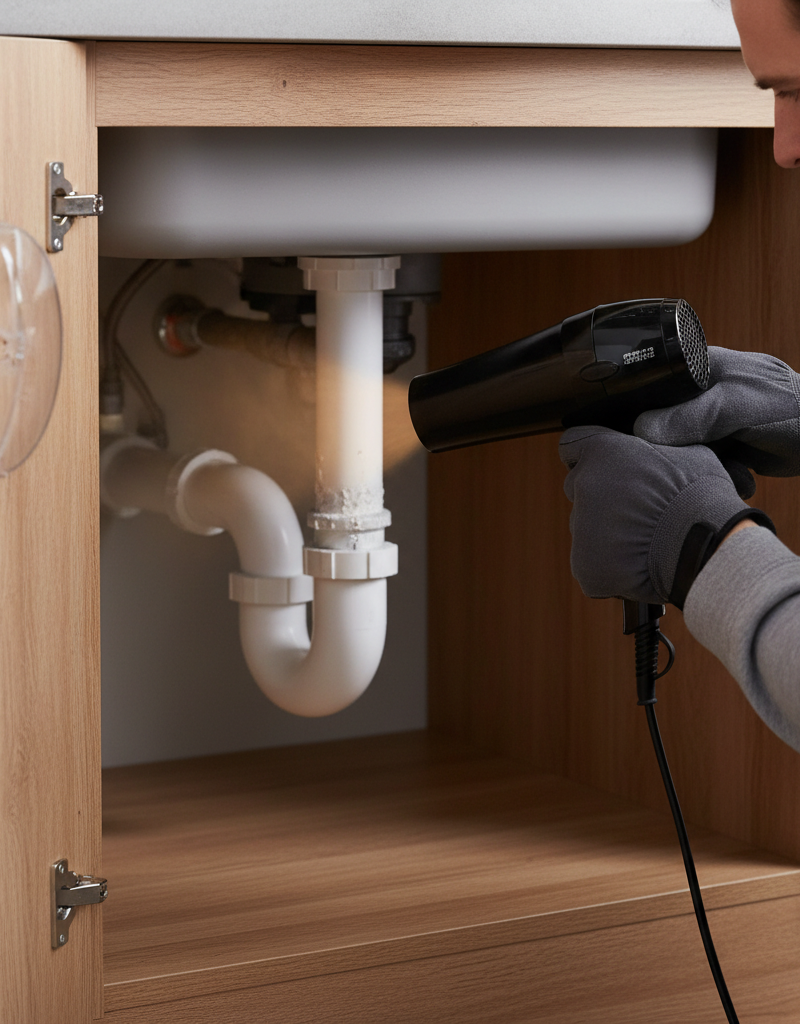
To safely thaw a frozen pipe, locate the frozen section and use a hairdryer, heat gun on a low setting, or warm towels to apply gradual heat. Start heating near the faucet and move towards the blockage to allow water to drain, preventing pressure buildup. Ensure the water supply is shut off to the house before you begin, and open nearby faucets to relieve pressure once thawing starts.
The Problem
Frozen pipes are a common winter problem, especially in older homes or areas with poor insulation. When water freezes inside a pipe, it expands, creating pressure that can lead to cracks or bursts. This can cause significant water damage, costly repairs, and a major inconvenience. Addressing a frozen pipe quickly and safely is crucial to prevent further damage.
Step-by-Step Fix
Safety Note: Never use an open flame device (like a propane torch) or high-heat direct contact (like a blowtorch) to thaw pipes, as this can damage pipes, lead to fire, or cause scalding steam. Ensure the area is well-ventilated, and wear appropriate protective gear.
- Shut Off the Water Supply: The first and most critical step is to turn off the main water supply to your house. This prevents a flood if the pipe has already burst or bursts during the thawing process. Open all faucets fed by the frozen pipe to relieve pressure.
- Locate the Frozen Section: Look for visible signs like frost on the pipe, a bulge, or an area that feels colder than surrounding pipes. Pipes in unheated areas like basements, crawl spaces, exterior walls, or under sinks are common culprits.
- Prepare the Area: Clear away any items around the frozen pipe to ensure you have good access. Place old towels or a bucket under the pipe to catch any drips or water as the ice melts.
- Apply Gradual Heat:
- Hairdryer: The safest and most common method. Set it to a medium or high setting and direct the warm air at the frozen section. Keep the hairdryer moving to distribute heat evenly.
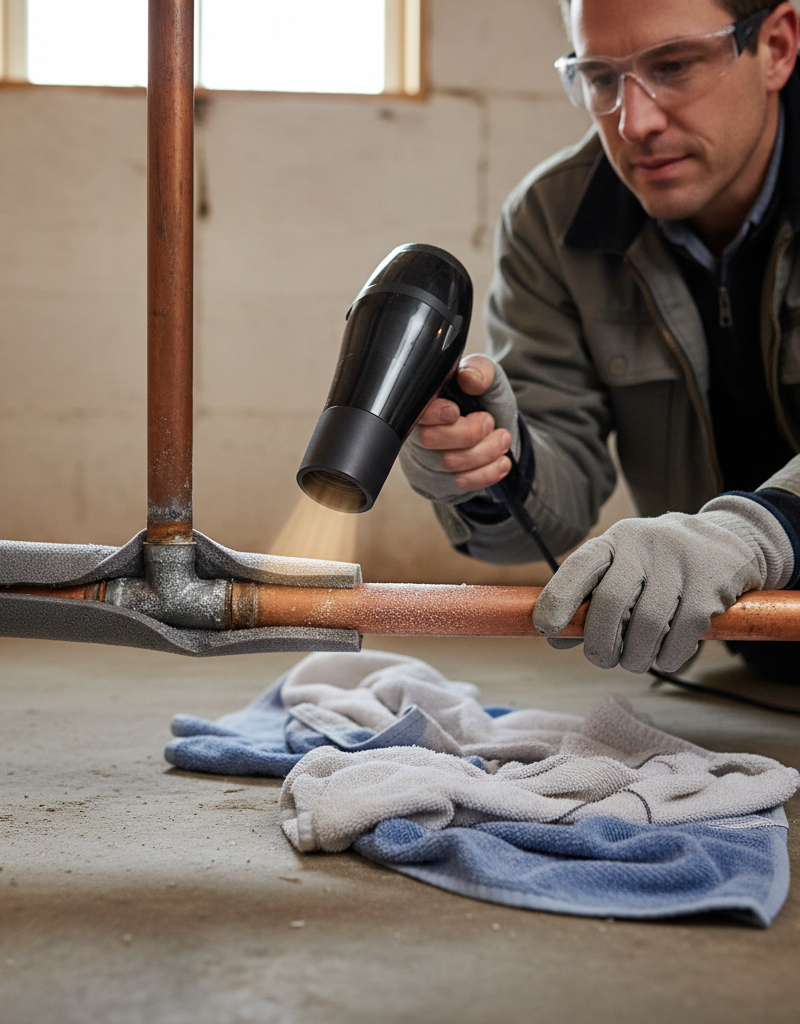
- Heat Gun: If using a heat gun, set it to its lowest setting. Keep it moving constantly and at a distance of at least 6-8 inches from the pipe to avoid overheating and damaging the pipe.
- Warm Towels: Soak towels in hot water (not boiling), wring them out, and wrap them around the frozen section. Replace with fresh warm towels as they cool.
- Space Heater: For larger areas or multiple frozen pipes, a portable space heater can warm the entire room. Position it to direct heat towards the affected pipes but ensure it's not too close to flammable materials.
- Thaw from the Faucet Side: Always start applying heat closest to the faucet or fixture that the pipe feeds. As the ice melts, water needs a place to go. Working backward towards the main water supply ensures that the melting ice has an escape route, preventing pressure buildup.
- Check for Water Flow: Once you notice water beginning to drip or flow from the open faucet, you're making progress. Continue applying heat until the water flow is fully restored.
- Inspect for Leaks: After the pipe is thawed and water is flowing normally, carefully inspect the entire length of the thawed pipe for any cracks, bulges, or leaks. A freeze-thaw cycle can weaken older pipes, making them prone to splitting.
- Restore Water Supply: If no leaks are visible, slowly turn the main water supply back on. Listen and watch for any signs of new leaks. If you detect a leak, immediately shut off the water supply and call a professional.
Common Causes
- Poor Insulation: Pipes running through unheated crawl spaces, attics, basements, or exterior walls are particularly vulnerable if not properly insulated.
- Sudden Temperature Drops: A sudden, prolonged drop in outdoor temperatures can cause pipes to freeze, especially if they are exposed.
- Drafts and Open Vents: Cold air entering through open foundation vents, cracks in walls, or unsealed openings can freeze nearby pipes.
- Thermostat Settings: Keeping your thermostat too low, especially when away from home, can allow indoor temperatures to drop enough for pipes to freeze.
- Hose Bibs: Outdoor hose bibs not properly winterized can freeze, and the freeze can extend back into the interior plumbing.
Tips & Prevention
- Insulate Pipes: Wrap exposed pipes in unheated areas with foam pipe insulation. You can find this at any hardware store.
- Seal Leaks: Seal cracks and openings in your home's foundation and exterior walls to prevent cold air infiltration.
- Drip Faucets: During extreme cold snaps, allow a trickle of cold water to drip from faucets connected to pipes vulnerable to freezing. Moving water is less likely to freeze.
- Open Cabinet Doors: On very cold nights, open cabinet doors under sinks on exterior walls to allow warmer room air to circulate around pipes.
- Maintain Heat: Keep your thermostat set to at least 55°F (13°C), even when you're away from home.
- Disconnect Hoses: Disconnect and drain garden hoses from outdoor spigots before winter. If you have an older hose bib, consider installing a "frost-free" type.
When to Call a Professional
While thawing a frozen pipe yourself is often manageable, there are situations where calling a licensed plumber is essential. If you cannot locate the frozen section, suspect a pipe has burst or is leaking, or if the pipe is inaccessible (e.g., behind a wall), contact a professional immediately. Attempting to fix a burst pipe without proper knowledge can lead to extensive water damage and costly repairs.
Related Articles
Keep troubleshooting with these hand-picked guides from FixlyGuide:
- The 3 Hidden Dangers of Frozen Pipes (And How to Thaw Them Safely) — Safely thawing a frozen pipe is critical to prevent costly damage, but many DIYers overlook hidden risks and choose ineffective methods.
- Your Frozen Pipe Could Flood 10,000 Gallons. Here's Why. — Thawing a frozen pipe safely is crucial to prevent bursting and water damage. This guide shows you how to identify, locate, and thaw frozen…
- The #1 Mistake Homeowners Make When Their AC Drain Clogs (And The $5 Fix) — Discover the most common error homeowners make when tackling a clogged AC drain line and learn a simple, inexpensive solution to prevent co…
- How to Quiet Noisy Water Pipes Hitting Walls — Loud banging or hammering in your walls when you use water is often caused by unsecured pipes, a common issue known as "water hammer" that…
- How to Fix a Leaky Single-Handle Faucet: A DIY Guide — Fixing a leaky single-handle faucet often involves replacing a worn-out O-ring or cartridge, a straightforward DIY task that can save water…
- The 5 Silent Signals Your Light Switch Is a Fire Risk — A hot light switch can indicate a common electrical issue, but it needs prompt attention to prevent potential hazards. This guide explains…
Get the print-ready PDF of this guide
A clean, ad-free, printable version you can keep on your phone or pin to the workshop wall. Free with a FixlyGuide account.
- Print-optimized layout
- Tools, materials & every step included
- Saved to your account
Frequently asked questions
How do you tell if a pipe is frozen?+
The most obvious sign is a lack of water flow from a faucet. You might also see frost on the outside of pipes, or a section of pipe that feels significantly colder to the touch than surrounding pipes. Sometimes, a slight bulging can indicate a frozen section.
What happens if a frozen pipe bursts?+
If a frozen pipe bursts, it can cause significant water damage to your home, including ceilings, walls, flooring, and personal belongings. It can also lead to mold growth and structural issues if not addressed quickly. The repair costs can be very high.
Can I use a blowtorch to thaw a pipe?+
No, never use a blowtorch or any open flame device to thaw a frozen pipe. This is extremely dangerous and can easily damage the pipe, melt solder joints, or even start a house fire. Only use safe, gradual heat sources like a hairdryer or heat gun on a low setting.
How can I prevent pipes from freezing in the future?+
Prevention is key. Insulate exposed pipes, seal air leaks around your home, keep your thermostat set to at least 55°F (13°C) even when away, and consider allowing faucets to drip slightly during extreme cold snaps to keep water moving.

Discussion
Loading comments…