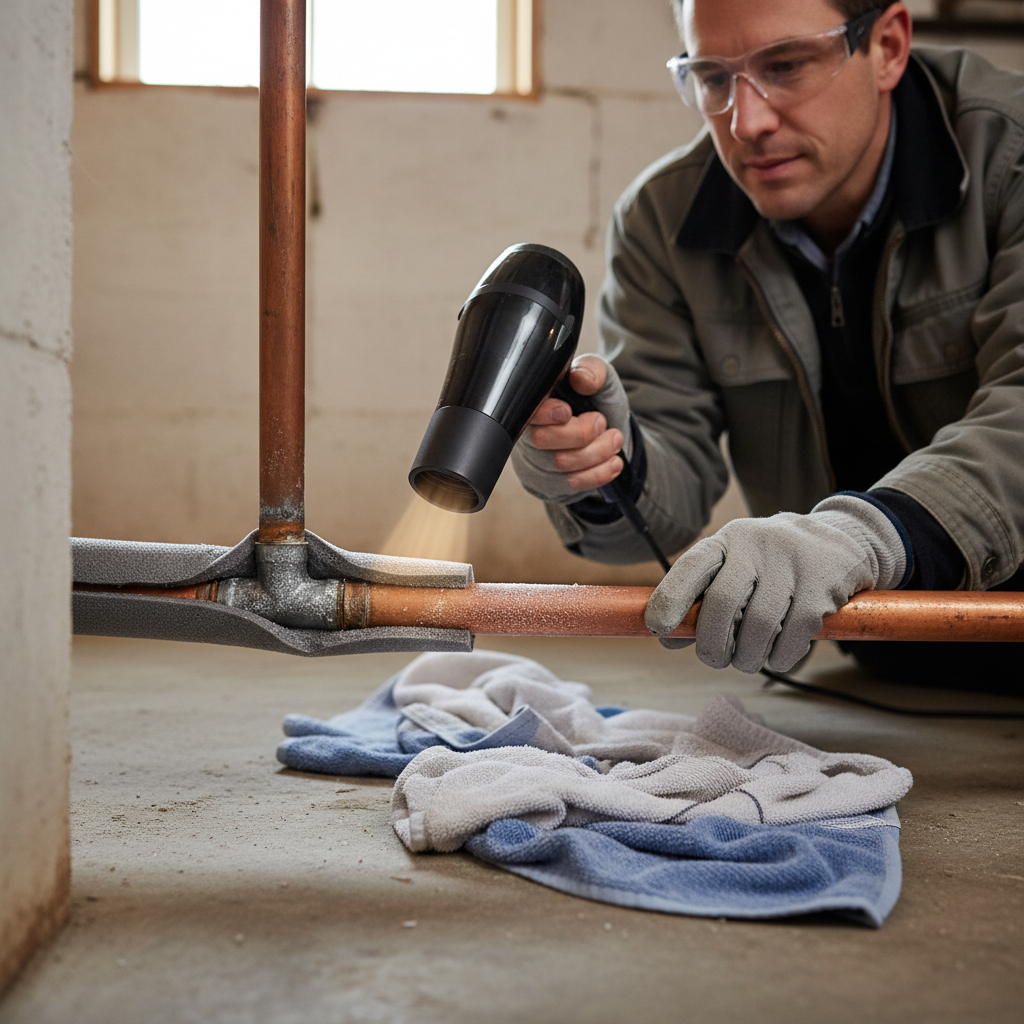
- Hair Dryer: This is often the safest and most common method. Set it to a high heat setting but keep it moving. Hold it about 6-12 inches from the pipe.
- Portable Space Heater: Position a small space heater near the frozen section, ensuring it's at a safe distance from any flammable materials. This provides more ambient heat but can take longer. Do NOT leave space heaters unattended.
- Warm Towels: Wrap towels soaked in hot water around the pipe. This is a slower method but can be effective for smaller sections. Replace towels as they cool.
Plumbing · Pipe damage
| Project category | Plumbing |
|---|---|
| Problem type | Pipe damage |
| Trade required | Plumbing |
| Urgency | Emergency — act now |
| Safety risk | High safety risk |
| DIY suitability | Licensed pro only |
| Cost category | High cost |
| Typical timeline | Emergency shutoff now; repipes commonly 2–5 days |
| Contractor type | Licensed plumber |
Repair option
Cut out and replace the damaged section with a coupling or new run.
Replacement option
Whole-home repipe when the material itself is the problem.
Common causes
- Freeze-thaw expansion in an uninsulated run
- Corrosion in aging galvanized or polybutylene
- Shifting foundation stressing a slab line
Relevant tools:emergency checklistcompare quotes
Published July 20, 2026Last updated August 17, 2026
Tools & materials you'll need
Affiliate linksAs an Amazon Associate FixlyGuide earns from qualifying purchases — at no extra cost to you. Prices and availability are accurate as of publication and subject to change.
Quick Answer
Thawing a frozen pipe safely involves swiftly locating the ice blockage and applying controlled, indirect heat using tools like a hairdryer or a heat gun set to a low setting. It's critical to open a faucet served by the pipe before beginning to allow melting water to escape and relieve pressure. Always watch for any signs of leaks during and after thawing, as frozen pipes can burst, leading to extensive water damage if not addressed promptly and correctly.
The Problem
You wake up one cold morning, turn on the faucet, and nothing happens—or perhaps just a trickle. The likely culprit in freezing temperatures is a frozen water pipe. Not only does this cut off your water supply, but it also poses a serious threat: bursting. As water freezes, it expands, creating immense pressure within the pipe. This pressure can cause the pipe to split, leading to catastrophic flooding, expensive repairs, and potential structural damage once the ice thaws. The problem isn't just the inconvenience; it's the ticking time bomb of a potential leak that could cause thousands of dollars in damage.
How It Works
Water pipes, whether copper, PEX, or PVC, are designed to carry water under pressure from your main supply line to your fixtures. When temperatures drop below freezing (32°F or 0°C), standing water inside these pipes can turn into ice. The critical factor isn't just the ice itself, but the pressure it creates. As water freezes, it expands by about 9%. If a pipe is full and the ice forms in a section (often near an exterior wall, in an unheated basement, or crawl space), the expanding ice creates a plug. This plug then pressurizes the water between the ice blockage and the closed faucet. This trapped water, with no place to go, experiences extreme pressure as more ice forms or if there's any continued expansion. It's this pressure, rather than the ice expanding against the pipe walls, that typically causes pipes to burst, usually at a weak point like a joint or a small crack. Once the pipe bursts, the integrity is compromised, and when the ice thaws, water will freely flow out of the rupture, often unseen until significant damage has occurred.
Step-by-Step Fix
1. Identify the Frozen Area — The first step is to pinpoint the exact location of the ice blockage. Look for sections of pipe that are exposed to cold air, such as pipes running along exterior walls, in unheated basements, crawl spaces, or attics. These areas are most susceptible to freezing. You might see frost on the outside of the pipe, or it might feel unusually cold to the touch compared to other sections. If you can't see the pipes, listen for any dripping sounds, as this could indicate a small leak where the pipe might have already burst.
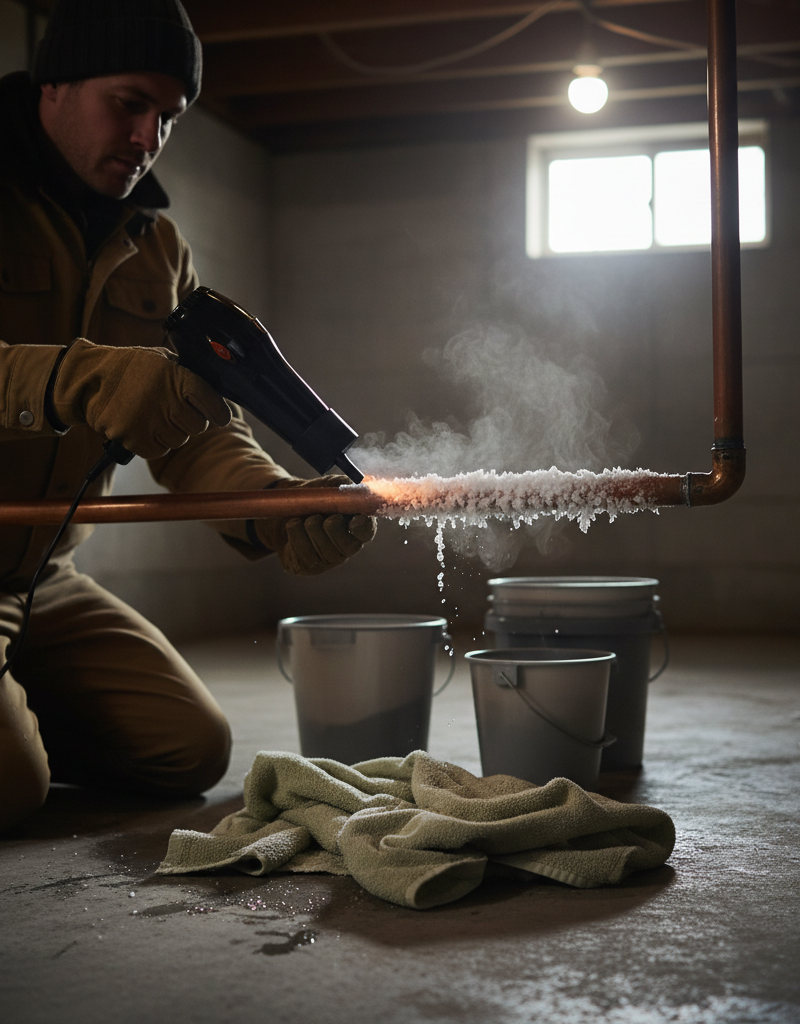
2. Prepare the Area — Before you begin thawing, clear the area around the frozen pipe. Remove any boxes, insulation (if accessible and not part of the pipe itself), or anything that obstructs access or could be a fire hazard. Lay down old towels or blankets to absorb any melting ice or potential leaks. Have a bucket ready, just in case.
3. Open a Faucet — Locate a faucet that is supplied by the frozen pipe and open it fully. This step is crucial. As the ice melts, water needs a place to escape, which relieves pressure in the pipe and helps speed up the thawing process. If there's already a significant blockage, you might only get a drip or no water at all, but keep the faucet open.
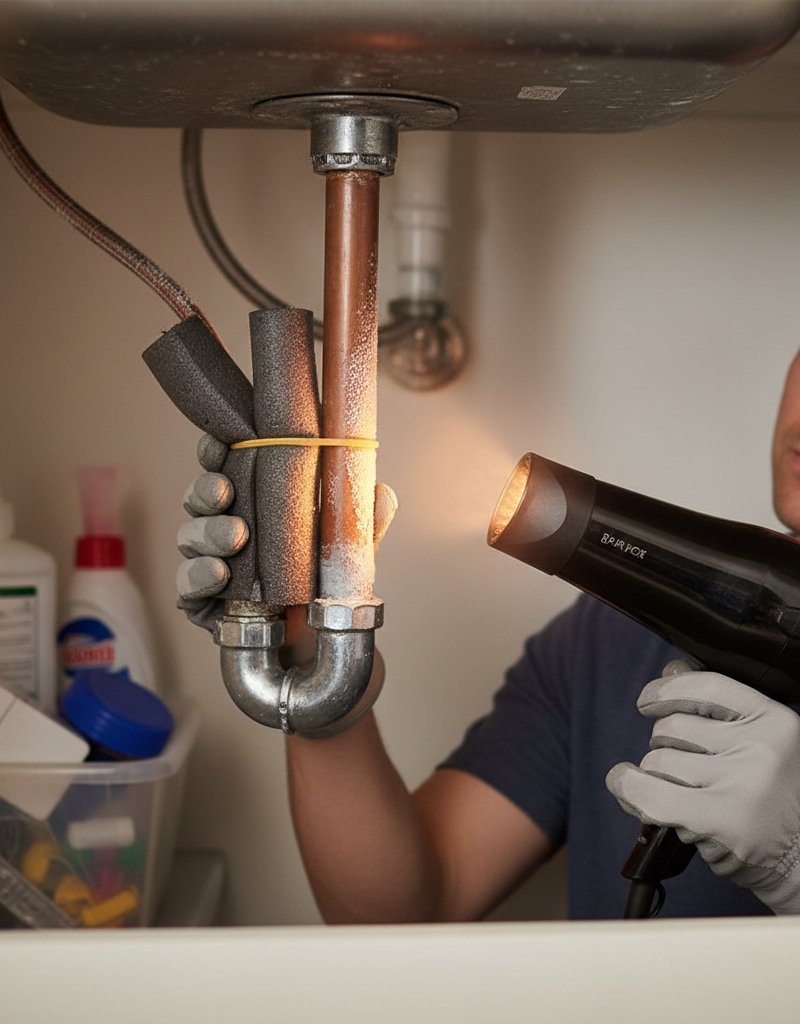
4. Apply Gentle Heat — Begin applying heat to the frozen section of the pipe. Start from the faucet end and work your way back towards the main water supply. This allows melting water to drain out of the open faucet, rather than trapping it and potentially increasing pressure. Use one of the following methods, moving the heat source continuously to prevent localized overheating:
- Hair Dryer: This is often the safest and most common method. Set it to a high heat setting but keep it moving. Hold it about 6-12 inches from the pipe.
- Heat Gun: Use with extreme caution on a low setting. Heat guns can get very hot and can scorch paint, melt plastic pipes, or even start fires if held in one spot for too long. Keep it moving constantly and never point it directly at a fixture seal.
- Portable Space Heater: Position a small space heater near the frozen section, ensuring it's at a safe distance from any flammable materials. This provides more ambient heat but can take longer. Do NOT leave space heaters unattended.
- Warm Towels: Wrap towels soaked in hot water around the pipe. This is a slower method but can be effective for smaller sections. Replace towels as they cool.
5. Monitor for Leaks — As the pipe thaws, keep a close eye on the entire section for any drips or wet spots. If you see any, immediately turn off your main water supply. A leak indicates a burst pipe, and continuing to thaw could lead to a significant flood. Mark the leak's location for professional repair.
6. Gradually Restore Water Pressure — Once water starts flowing freely from the open faucet, indicating the pipe is thawed, slowly close the faucet. Check all other faucets and fixtures connected to that pipe to ensure water flow has returned to normal. Continue to monitor for leaks for several hours to ensure no hidden damage occurred during the freeze.
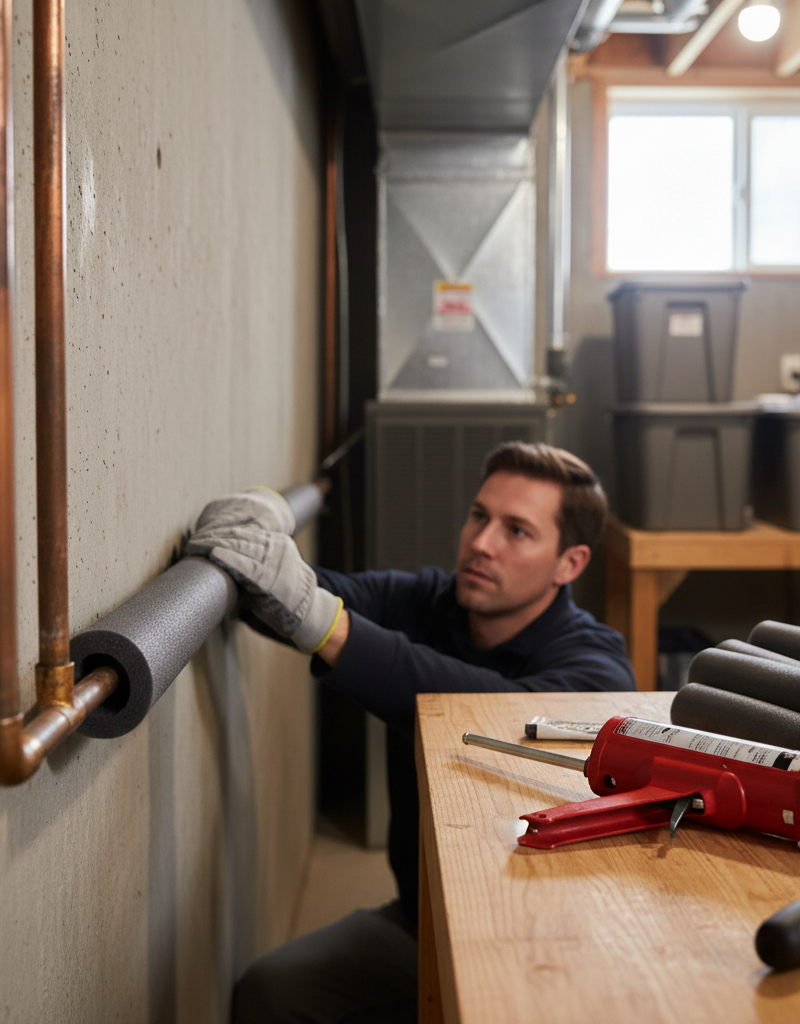
7. Insulate & Prevent Re-Freezing — Once the pipe is thawed and leak-free, take steps to prevent it from freezing again. Wrap the exposed pipe with foam insulation, heat tape (ensure it's suitable for your type of pipe and follow manufacturer instructions), or even old blankets in a pinch. Consider improving insulation in the cold area or sealing air leaks.
Common Causes
- Lack of Insulation: Pipes running through uninsulated or poorly insulated areas (crawl spaces, attics, basements, exterior walls) are highly susceptible to freezing when outdoor temperatures plummet.
- Exterior Wall Placement: Pipes located on outer walls, especially those behind kitchen or bathroom cabinets, lose heat more quickly to the cold outside air.
- Drafts and Air Leaks: Cold air seeping in through cracks, gaps around utility penetrations, or unsealed vents can expose pipes to freezing temperatures.
- Sudden Temperature Drops: A sudden, drastic drop in ambient temperature, particularly if sustained for several hours, can overwhelm whatever existing insulation a pipe might have.
- Leaving Water Off: If you're going away during cold weather and turn off your main water supply but don't drain your pipes, any residual water can freeze, especially in low-lying sections.
- Unheated Garages/Sheds: Pipes running through attached or detached garages, sheds, or outbuildings that are unheated pose a significant freezing risk.
Common Mistakes
- Using an Open Flame: Never use a propane torch, blowtorch, or any other open flame to thaw a pipe. This is an extreme fire hazard and can cause the pipe to heat unevenly and burst, or even melt plastic pipes.
- Applying Heat to a Closed System: Thawing a pipe without an open faucet nearby creates a pressure cooker effect. As the ice melts, the trapped water expands, potentially rupturing the pipe.
- Ignoring the Main Water Shut-Off: Not knowing where your main water shut-off valve is or failing to turn it off after discovering a burst pipe can lead to uncontrolled flooding.
- Thawing Too Quickly: Applying intense, localized heat too quickly can shock the pipe material, potentially causing it to crack or warp, especially with plastic pipes.
- Leaving a Space Heater Unattended: While space heaters can help, they are a fire risk if left unsupervised or placed too close to combustible materials.
- Not Checking for Leaks Afterwards: Assuming a pipe is fine after thawing without thoroughly checking for leaks is a recipe for disaster. Small cracks might not be immediately obvious until pressure is fully restored.
Cost & Time Breakdown
| Task | DIY Cost | Pro Cost | Time |
|---|---|---|---|
| Identify frozen section | $0 | Included with service | 10–30 minutes |
| Thawing (hair dryer/heat gun) | $0–$30 (if buying tool) | Included with service | 30 minutes – 3 hours |
| Leak check & clean-up | $0 | Included with service | 15–30 minutes |
| Minor insulation (DIY) | $10–$50 | $100–$250 (materials + labor) | 30 minutes – 1 hour |
| Burst pipe repair | Not recommended | $200–$1,000+ | 2–4+ hours |
| Water damage clean up | $50–$500+ (DIY) | $1,000–$10,000+ (restoration) | Days to weeks |
Tips & Prevention
- Insulate Exposed Pipes: Wrap any pipes in unheated areas (basements, crawl spaces, attics, exterior walls) with foam pipe insulation, heat tape (ensure proper installation), or even old newspapers and tape in an emergency.
- Seal Air Leaks: Caulk cracks and openings in your home's foundation and exterior walls, especially where pipes enter the house. Seal around windows and doors.
- Open Cabinet Doors: On very cold nights, open kitchen and bathroom cabinet doors to allow warmer air to circulate around plumbing under sinks and along exterior walls.
- Drip Faucets: If temperatures are expected to drop below freezing for an extended period, allow distant faucets (especially those on exterior walls) to drip slowly. The continuous movement of water can help prevent freezing. A steady drip of cold water is usually sufficient.
- Disconnect Hoses: Disconnect garden hoses from outdoor spigots before winter. Failure to do so can cause water in the spigot and connecting pipes to freeze and burst.
- Know Your Main Shut-Off: Ensure everyone in your household knows where the main water shut-off valve is and how to turn it off quickly in an emergency.
When to Call a Professional
While thawing a frozen pipe can often be a DIY task, there are critical situations when you must immediately call a licensed plumber. If you discover a visible leak or hear the sound of running water after thawing (or even before), it's a clear sign the pipe has already burst. Turn off your main water supply immediately to prevent flooding and call a professional. You should also call a plumber if you cannot locate the frozen section of the pipe, if the frozen pipe is behind a wall or ceiling, or if your attempts to thaw the pipe using safe methods have been unsuccessful after several hours. A professional has specialized tools, like pipe thawing machines, that can safely thaw pipes in inaccessible locations without damaging your home. Remember, risking further damage to your plumbing system or your home is not worth the potential savings of a DIY repair when the stakes are this high.
Related Articles
Keep troubleshooting with these hand-picked guides from FixlyGuide:
- The #1 Mistake Homeowners Make When Protecting Pipes From Freezing — Preventing frozen pipes is crucial in winter; many homeowners make a common mistake that leaves their plumbing vulnerable.
- The #1 Mistake Homeowners Make When Caulking a Bathroom Sink (And How to Fix It) — Discover the most common caulk mistake homeowners make around bathroom sinks and follow simple steps to achieve a lasting, watertight seal.
- The 5-Minute Trick to Restore Your Kitchen Sink Sprayer's Lost Pressure — Restore your kitchen sink sprayer's low pressure with a quick, simple trick that often takes less than five minutes and requires no special…
- The 90-Minute Hidden Danger of a Frozen Pipe (And the DIY Fix) — Thawing a frozen pipe quickly and safely is crucial to prevent bursting and extensive water damage to your home.
- The 3 Hidden Reasons Your Pipes Freeze (And How to Thaw Them Fast) — Discover the real culprits behind frozen pipes and learn a step-by-step method to safely thaw them, preventing costly damage.
- The #1 Hidden Culprit Behind Your Whole-House Low Water Pressure (It's Not Your City!) — Discover the most common, often overlooked cause of low water pressure throughout your entire home and how to fix it yourself.
Should you do this yourself?
Answer five quick questions before you start. Safety outranks savings every time.
Your experience with work like this
How high do you have to work?
Does the job involve any of these?
Will it need a permit?
Specialty tools
Free and instant. Educational guidance only — not a quote, inspection, or professional diagnosis.
What should this project cost?
Enter your project details for a realistic cost range before you call anyone.
Common repairs run $150–$650; repipes and water-heater replacements reach $1,500–$4,500.
- Regional adjustment
- National average
- Labor share (typical)
- ~$754
- Quotes to collect
- 3 written estimates
Educational estimate based on national averages — not a binding quote. Always confirm with written local estimates.
Fixly Project Decision Box
- DIY difficulty
- Moderate
- Estimated time
- 30 minutes – half a day
- Cost level
- Moderate
Main tools / materials
- Adjustable wrench
- Plunger or drain auger
- Bucket and towels
- Thread tape
When to stop and call a pro
- Water you cannot shut off at the fixture or main
- Sewage backing up into more than one fixture
- Water near electrical panels or outlets
- Gas water heater work beyond relighting a pilot
Need professional help?
Get a Licensed PlumberBefore you start
Check the difficulty, permits, and safety risk — then decide whether to call a pro.
- Estimate this projectGet a cost range for your scope and ZIP before you call anyone.Open
- Get local estimatesSend one request and compare written estimates from vetted pros.Open
Free, no signup required. Estimates are educational guidance, not a quote or an inspection.
Frequently asked questions
How long does it take to thaw a frozen pipe?+
The time required to thaw a frozen pipe varies significantly depending on the pipe's location, the extent of the freeze, and the method of thawing. A small, accessible section might thaw in 30 minutes with a hairdryer, while a long section or one behind a wall could take several hours or even require professional intervention.
Can I use a torch to thaw a frozen pipe?+
Absolutely not. Using an open flame torch to thaw a frozen pipe is extremely dangerous. It poses a severe fire risk, can melt plastic pipes, and cause metal pipes to heat unevenly and burst. Always opt for safer heat sources like a hairdryer, heat gun on a low setting, or warm towels.
What happens if a frozen pipe bursts?+
If a frozen pipe bursts, it will leak or gush water once the ice thaws, potentially causing severe water damage to your home's structure, flooring, ceilings, and belongings. This can lead to costly repairs and even mold growth if not addressed promptly and professionally. The financial impact can be thousands of dollars in damages.
Discussion
Loading comments…