- Start by turning on all the faucets in your home. If only one or a few aren’t working, that’s your clue.
- Trace the water supply lines from those dead faucets back through the house. Pay special attention to unheated areas: crawl spaces, basements, exterior walls, garages, and under sinks on outside walls.
- Look for frost on the pipe, a bulge in the line, or even condensation. Sometimes you can feel one section that’s way colder than the rest.
Plumbing · Pipe damage
| Project category | Plumbing |
|---|---|
| Problem type | Pipe damage |
| Trade required | Plumbing |
| Urgency | Emergency — act now |
| Safety risk | High safety risk |
| DIY suitability | Licensed pro only |
| Cost category | High cost |
| Typical timeline | Emergency shutoff now; repipes commonly 2–5 days |
| Contractor type | Licensed plumber |
Repair option
Cut out and replace the damaged section with a coupling or new run.
Replacement option
Whole-home repipe when the material itself is the problem.
Common causes
- Freeze-thaw expansion in an uninsulated run
- Corrosion in aging galvanized or polybutylene
- Shifting foundation stressing a slab line
Relevant tools:emergency checklistcompare quotes
Published August 2, 2026Last updated August 17, 2026
Tools & materials you'll need
Affiliate linksAs an Amazon Associate FixlyGuide earns from qualifying purchases — at no extra cost to you. Prices and availability are accurate as of publication and subject to change.
Quick Answer
Nobody wants a burst pipe. It’s a homeowner’s nightmare, right up there with a furnace dying in January. If you’ve got a frozen pipe, you need to move fast, but you can’t get sloppy about it. The trick is simple: apply gentle, steady heat to the frozen section, and work from the faucet end back toward the main freeze. Keep a faucet open while you’re doing it—it gives the melting ice a place to go and lets you know when the water’s back. Skip the blowtorch. That thing’s trouble.
The Problem
When water freezes, it expands. We all learned that back in school, but in your plumbing that expansion can create crazy pressure, often over 2,000 pounds per square inch. That’s enough to split a solid copper pipe, never mind PEX or PVC. Then when that ice finally lets go, you’ve got a mess on your hands. I’ve seen it plenty of times, usually in the middle of winter in an unheated crawlspace or utility room. Homeowners call me in a panic, water spraying everywhere, and the damage is already done. The whole game is to thaw that pipe before it bursts, so you’re not dealing with a huge headache and an even bigger repair bill.
How It Works
Your home’s plumbing depends on water moving through it. When temperatures drop below freezing (32°F or 0°C), any standing water in pipes—especially the ones running through unheated spots like exterior walls, crawl spaces, or attics—can freeze solid. Most pipes that get used all the time are fine. The troublemakers are the lines feeding rarely used outdoor spigots, spare bathrooms, or long pipe runs buried in a poorly insulated wall. Those are the ones that bite you.
Once a section freezes, it makes a blockage. As the water behind that blockage keeps freezing and expanding, pressure builds up between the ice plug and the closed faucet. That’s where the real danger is. It’s not usually the first bit of ice that splits the pipe—it’s the pressure that keeps piling on farther back in the line. Think of a cork jammed in a bottle, except the cork’s swelling with a pile of force. That’s why thawing from the faucet end matters so much. It gives that pressure somewhere to go. I’ve had folks tell me to just crank the heat in the house and wait it out, but that’s like standing around while a fuse burns down. You’ve got to get after it.
Step-by-Step Fix
1. Identify the Frozen Pipe — First things first, you’ve got to find the culprit.
- Start by turning on all the faucets in your home. If only one or a few aren’t working, that’s your clue.
- Trace the water supply lines from those dead faucets back through the house. Pay special attention to unheated areas: crawl spaces, basements, exterior walls, garages, and under sinks on outside walls.
- Look for frost on the pipe, a bulge in the line, or even condensation. Sometimes you can feel one section that’s way colder than the rest.
2. Turn Off the Main Water Supply (If You Suspect a Burst) — Safety first, always.
- If you hear hissing, see dripping, or spot any sign of a split pipe, shut off your main water valve right away. That’ll keep a thaw from turning into a flood.
- Find the main shut-off valve – it’s usually in the basement, crawl space, or near your water meter. Most homes have a gate valve you turn clockwise until it’s tight.
- If you can’t find it or you’re not sure, call a pro. No sense guessing with water pouring through your house.
3. Open the Faucet — Give that melting ice somewhere to go.
- Go to the faucet supplied by the frozen pipe and open both the hot and cold handles, just a trickle.
- Even if nothing comes out, leave it open. That gives steam and meltwater a path out, helps relieve pressure as you thaw, and tells you when you’re back in business.
4. Apply Gentle Heat — This isn’t a race; slow and steady wins.
- Start heating the section of pipe closest to the open faucet and work your way back toward the main freeze.
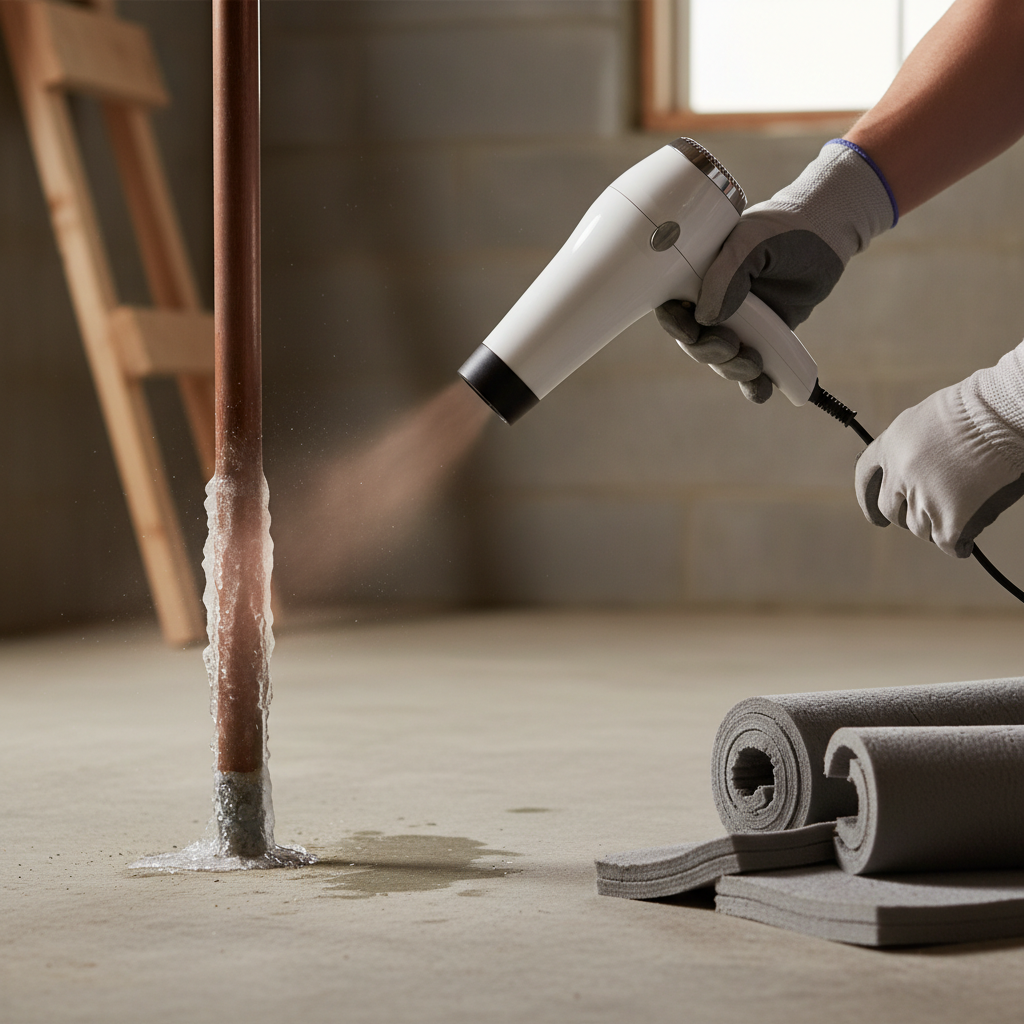
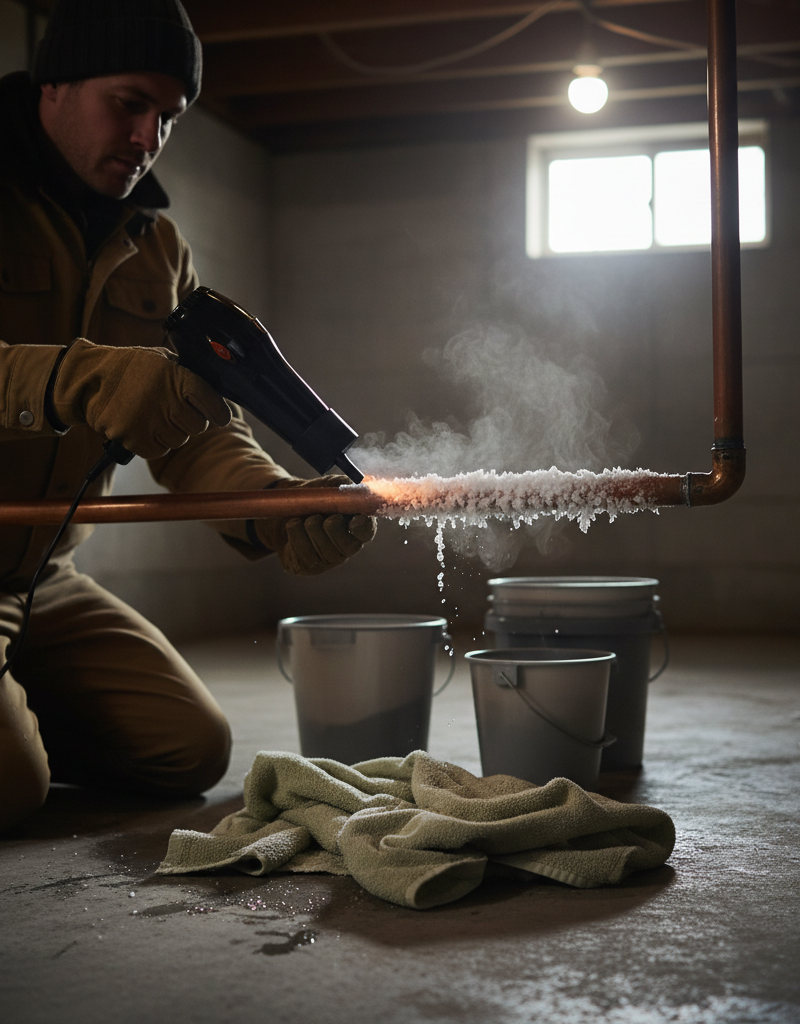
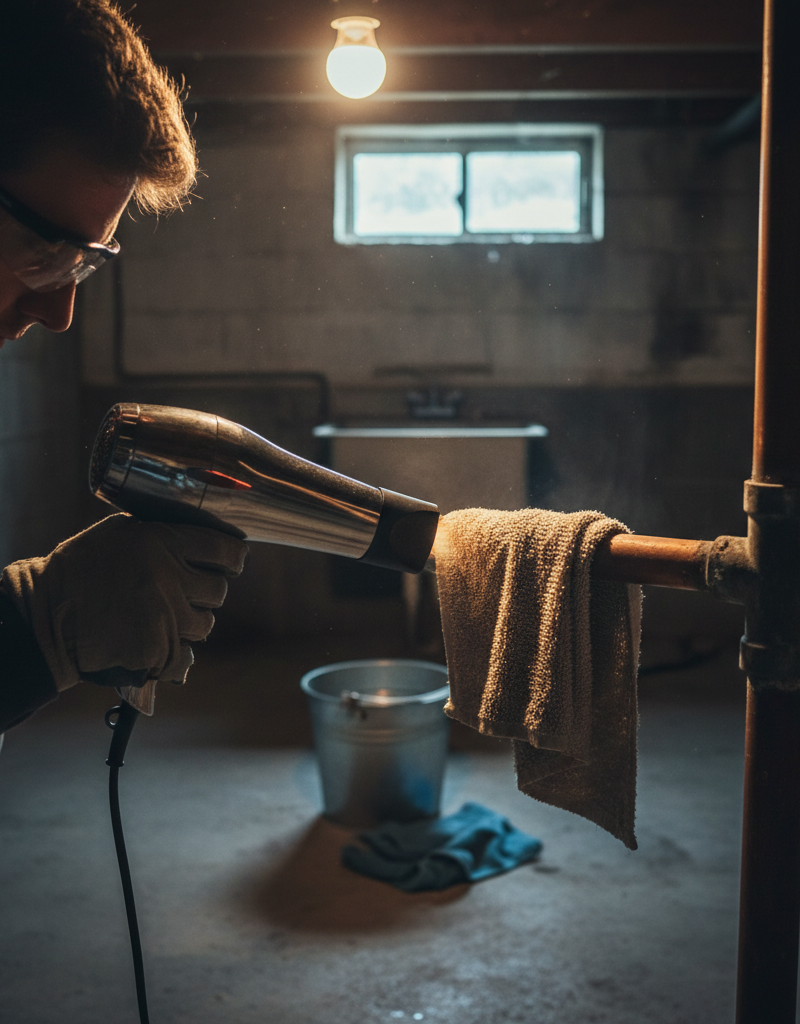
- Hairdryer: This is my go-to for most DIYers. Run it on high and keep it moving. Don’t park it in one spot too long—you’re warming the pipe, not cooking it.
- Heat Gun (on low setting): If you’ve got one, use it with a lot of caution. Keep it moving nonstop and never let it get too hot to touch. Heat guns can wreck pipes, especially plastic ones, if you get careless. I watched a DIYer melt a hole clear through a PVC drain pipe with one—ugly job.
- Hot Towels: Soak towels in hot water, wring them out, and wrap them around the frozen area. You’ll need to swap them out often since they cool fast. Slower, sure, but safe, especially near anything flammable.
- Portable Space Heater: You can aim one at the frozen area, but keep it at a safe distance (at least 3 feet) from anything that can burn. This works well on bigger, exposed sections of pipe in an unfinished basement or garage.
- Avoid: Never, ever use an open flame device like a propane torch or a blowtorch. You can burn the house down or superheat the water inside the pipe and make it burst. I’ve yanked out pipes charred black from folks trying to rush the job with a torch—it’s just not worth it.
5. Be Patient and Watch for Water Flow — This might take a while.
- Keep applying heat until water starts flowing freely from the open faucet. That can take 15 minutes to over an hour, depending on how bad the freeze is and how much pipe is involved.
- Once water’s moving, let it run for a few minutes to make sure the blockage is gone and to flush out any leftover ice.
6. Check for Leaks — The final, crucial step.
- Once the pipe is thawed and water is running normally, inspect the whole thawed section for cracks, bulges, or leaks.
- Run your hand along the pipe and feel for wet spots. Even a tiny pinhole leak can turn into real damage over time.
- If you find a leak, shut off the main water supply again and call a plumber immediately. Don’t try to patch a burst pipe yourself unless you really know what you’re doing—it’s usually just a temporary band-aid.
Common Causes
- Poor Insulation: Pipes in unheated attics, crawl spaces, garages, or exterior walls without enough insulation are sitting ducks. I can’t tell you how many times I’ve opened a wall and found a perfectly good pipe just waiting to freeze because nobody insulated it.
- Sudden Temperature Drops: A hard, unexpected cold snap can catch even decent prep off guard. Temperatures dropping below 20°F (-6°C) for several hours are especially rough.
- Drafts and Air Leaks: Gaps around wiring, plumbing penetrations, dryer vents, or foundation cracks can let freezing air hit pipes that ought to be protected. A draft from an open basement window can do it too.
- Vacant Homes: Pipes in empty houses are at higher risk because nobody’s using water and the heat may be set low—or off altogether.
- Outdoor Faucets Left On: If you forget to pull the garden hose and drain the outdoor spigot, trapped water can freeze and creep back into the interior plumbing.
Common Mistakes
- Using an Open Flame: This is the biggest mistake, hands down. Blowtorches, propane torches, even a match, can start a fire or split the pipe from heating too fast. I had a job out in Springfield last winter where the guy tried a propane torch on a copper pipe and ended up melting through a plastic drain line right beside it. Total nightmare.
- Thawing Too Quickly: If you heat it too fast, the water inside can flash to steam, spike the pressure, and burst the pipe. Gentle heat wins every time.
- Forgetting to Open a Faucet: If you thaw the pipe without opening the faucet it feeds, the meltwater has nowhere to go and pressure can build up. That’s bad news.
- Ignoring the Problem: Hoping it’ll thaw by itself is a recipe for trouble. The longer it stays frozen, the better the odds it bursts.
- Not Checking for Leaks Afterwards: A pipe can fail in a sneaky way, with a hairline crack that only drips at first. Always check it carefully after thawing.
- Shutting Off All Water Too Soon: If you don’t think the pipe has burst, don’t kill the main water right away. Leaving the faucet open during thawing helps relieve pressure.
Cost & Time Breakdown
| Task | DIY Cost | Pro Cost | Time |
|---|---|---|---|
| Thaw frozen pipe | $0–$15 | $150–$400 | 20 min – 1 hr |
| Repair small pipe leak | $10–$50 | $200–$600 | 1–2 hours |
| Repair major burst pipe | Not recommended | $500–$2,000+ | 3–8 hours |
| Water damage cleanup/restoration | Not applicable | $1,000–$10,000+ | Days to weeks |
Tips & Prevention
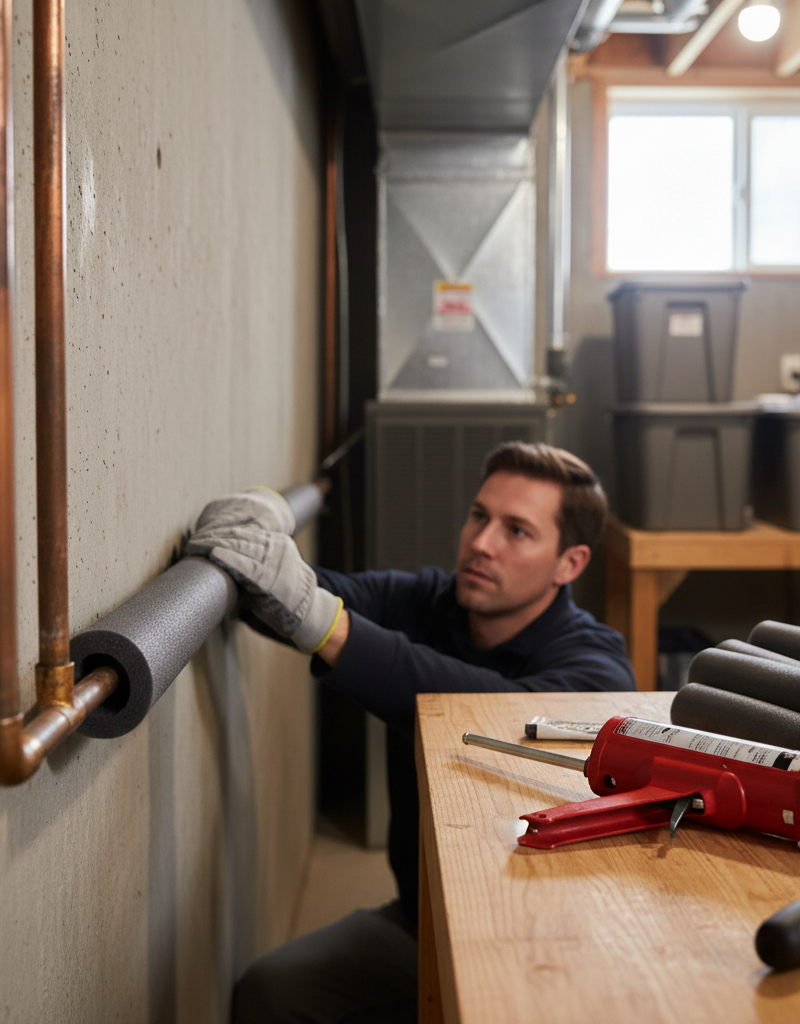
- Insulate Exposed Pipes: Wrap any pipes in unheated areas—basements, crawl spaces, attics, outside walls—with foam pipe insulation. It’s cheap and easy. You can grab it at any hardware store for a few bucks a roll.
- Disconnect Hoses: In the fall, always pull garden hoses off outdoor spigots and drain the spigot. If your outdoor spigot has a shut-off valve inside the house, close it and drain that line too.
- Seal Air Leaks: Caulk around spots where pipes or wires enter the home. Check around windows and doors in basements or utility rooms. Even a small draft can freeze a pipe.
- Keep Cabinet Doors Open: For sinks on exterior walls, open the cabinet doors below them during cold snaps so warmer air can get around the pipes.
- Drip Faucets During Cold Snaps: If temps are headed below 20°F, let a few faucets—especially the ones on exterior walls—drip slowly. A pencil-lead thin stream is a lot harder to freeze than still water.
- Maintain Indoor Temperature: If you’re leaving for winter, don’t shut the heat off completely. Set the thermostat to at least 55°F (13°C) so your pipes don’t freeze up.
- Know Your Shut-Off Valve: Make sure everyone in the house knows where the main water shut-off valve is and how to use it. In an emergency, that knowledge can save you a pile of water damage.
When to Call a Professional
Look, I’m all for DIY, but some jobs are just too risky or too messy for the average homeowner. If the pipe’s frozen deep in a wall or ceiling and you can’t get to it, that’s a licensed plumber job. Trying to start cutting open walls without knowing what’s behind them can lead to more damage, electrical problems, or even structural headaches. And if you think the pipe already burst and you’ve shut off the main water, don’t stall—call a pro right away. A licensed plumber can find the damaged section, repair or replace it the right way, and usually has pipe-thawing gear that works faster and safer than the DIY stuff. I pulled a water heater in Frisco last month that had exactly this kind of freeze damage behind it—looked small at first, but once we opened it up, the mess had spread farther than the homeowner expected. Ignoring a burst pipe or slapping on a bad patch just turns one problem into three. Don’t risk thousands in water damage to save a couple hundred on a service call.
Related Articles
Keep troubleshooting with these hand-picked guides from FixlyGuide:
- The 90-Minute Hidden Danger of a Frozen Pipe (And the DIY Fix) — Thawing a frozen pipe quickly and safely is crucial to prevent bursting and extensive water damage to your home.
- The 3 Hidden Reasons Your Pipes Freeze (and How to Thaw Them Fast) — Discover the real culprits behind frozen pipes and learn safe, effective methods to thaw them quickly, preventing costly damage to your hom…
- The 3 Hidden Dangers of Frozen Pipes (And How to Thaw Them Safely) — Frozen pipes can burst, causing extensive water damage. Learn to safely thaw them and prevent costly repairs.
- The 3 Hidden Reasons Your Pipes Freeze (And How to Thaw Them Fast) — Discover the real culprits behind frozen pipes and learn a step-by-step method to safely thaw them, preventing costly damage.
- The $5 Secret to Silencing That Annoying Dripping Faucet (Single-Handle Fix) — Stop a dripping single-handle faucet with a simple and inexpensive DIY fix by replacing a worn-out o-ring or washer.
- The #1 Hidden Culprit Behind Your Whole-House Low Water Pressure (It's Not Your City!) — Discover the most common, often overlooked cause of low water pressure throughout your entire home and how to fix it yourself.
Should you do this yourself?
Answer five quick questions before you start. Safety outranks savings every time.
Your experience with work like this
How high do you have to work?
Does the job involve any of these?
Will it need a permit?
Specialty tools
Free and instant. Educational guidance only — not a quote, inspection, or professional diagnosis.
Questions to ask before you sign
Ask every contractor the same questions and the cheapest bid stops looking cheapest. Check them off as you go — your progress is saved on this device.
Free, no signup. Bring this to every walkthrough so you compare bids on the same terms.
What should this project cost?
Enter your project details for a realistic cost range before you call anyone.
Common repairs run $150–$650; repipes and water-heater replacements reach $1,500–$4,500.
- Regional adjustment
- National average
- Labor share (typical)
- ~$754
- Quotes to collect
- 3 written estimates
Educational estimate based on national averages — not a binding quote. Always confirm with written local estimates.
Fixly Project Decision Box
- DIY difficulty
- Moderate
- Estimated time
- 30 minutes – half a day
- Cost level
- Moderate
Main tools / materials
- Adjustable wrench
- Plunger or drain auger
- Bucket and towels
- Thread tape
When to stop and call a pro
- Water you cannot shut off at the fixture or main
- Sewage backing up into more than one fixture
- Water near electrical panels or outlets
- Gas water heater work beyond relighting a pilot
Need professional help?
Get a Licensed PlumberHandle this before it gets worse
First steps that limit damage, then a way to reach a qualified pro.
- Emergency repair checklistThe first steps that limit damage before a pro arrives.Open
- Get local estimatesSend one request and compare written estimates from vetted pros.Open
- Estimate this projectGet a cost range for your scope and ZIP before you call anyone.Open
Free, no signup required. Estimates are educational guidance, not a quote or an inspection.
Frequently asked questions
How quickly can a pipe freeze?+
A pipe can freeze in as little as 4-6 hours if temperatures are consistently below 20°F (-6°C) and there's little to no water movement. Factors like wind chill and pipe exposure can accelerate the process.
What's the safest way to thaw a pipe?+
The safest methods involve gradual, gentle heat application. A hairdryer on a high setting, a heat gun on low, or hot towels are your best bets. Always work from the faucet end back towards the freeze.
Can I use boiling water to thaw a pipe?+
Pouring boiling water directly on a frozen pipe is generally not recommended. The rapid temperature change can cause some pipe materials, especially PVC or PEX, to crack or burst. Hot towels are a safer alternative.
How do I know if my pipe has burst?+
Signs of a burst pipe include a sudden drop in water pressure, visible cracks or bulges in the pipe, dripping or spraying water once the pipe begins to thaw, or the sound of rushing water within your walls. If you suspect a burst, shut off your main water immediately.
Should I turn off my main water supply if a pipe is frozen?+
Only turn off your main water supply if you suspect the pipe has already burst. If it's just frozen, leave the main water on and open the affected faucet. This allows melting ice to escape and relieves pressure.
How long does it take to thaw a frozen pipe?+
Thawing time varies widely depending on the length and severity of the freeze. It could take 15-20 minutes for a small section or over an hour for a deeply frozen pipe. Patience is key.
Can a frozen pipe thaw on its own?+
Yes, a frozen pipe can thaw on its own if temperatures rise significantly. However, waiting for this to happen is risky because the pipe could burst while still frozen or during the natural thawing process due to internal pressure. It's always best to actively thaw it.
What temperature do pipes freeze?+
Water freezes at 32°F (0°C). However, pipes typically don't freeze until the ambient air temperature consistently drops to 20°F (-6°C) or lower for several hours. Uninsulated pipes in windy conditions can freeze faster.
Are plastic pipes less likely to burst when frozen?+
While PEX plastic pipes have more flexibility than copper, making them more resistant to bursting from freezing, they are not immune. They can still be damaged, especially at fittings, and PVC pipes are much more rigid and susceptible to cracking.
Discussion
Loading comments…