- Lack of Insulation: Pipes in unheated spaces like crawl spaces, attics, garages, or exterior walls are prime targets. If the insulation around them is old, thin, or missing, they’ll freeze easy.
- Sudden Temperature Drops: A fast, hard temperature drop — especially overnight — doesn’t give your house much chance to hold heat, and pipes pay for it.
- Thermostat Set Too Low/Off: If you’re gone or trying to save a few bucks, setting the thermostat too low (below 55°F or 13°C) can let wall cavities and hidden pipes get cold enough to freeze.
- Open Garage Doors/Windows: Leave a garage door open on a freezing day and the temp can fall like a rock in nearby utility rooms or walls. Same deal with windows cracked open.
- Exposed Outdoor Faucets/Hoses: Forgetting to disconnect and drain hoses, or not winterizing outdoor spigots, is a classic way to freeze the line back into the house.
Plumbing · Pipe damage
| Project category | Plumbing |
|---|---|
| Problem type | Pipe damage |
| Trade required | Plumbing |
| Urgency | Emergency — act now |
| Safety risk | High safety risk |
| DIY suitability | Licensed pro only |
| Cost category | High cost |
| Typical timeline | Emergency shutoff now; repipes commonly 2–5 days |
| Contractor type | Licensed plumber |
Repair option
Cut out and replace the damaged section with a coupling or new run.
Replacement option
Whole-home repipe when the material itself is the problem.
Common causes
- Freeze-thaw expansion in an uninsulated run
- Corrosion in aging galvanized or polybutylene
- Shifting foundation stressing a slab line
Relevant tools:emergency checklistcompare quotes
Published July 29, 2026Last updated August 17, 2026
Tools & materials you'll need
Affiliate linksAs an Amazon Associate FixlyGuide earns from qualifying purchases — at no extra cost to you. Prices and availability are accurate as of publication and subject to change.
Quick Answer
Nobody wants a burst pipe in the middle of winter. Been there, seen it, hated it. The good news is, most frozen pipes can be thawed safely at home with basic tools and a little patience. Your job is to put gentle, indirect heat on the frozen section. The trick is knowing where to look, how to warm it without starting a fire or cooking the pipe, and when it’s time to call a pro. Start by finding the problem spot, then warm the pipe slowly until the water starts moving again. Don’t rush it, and for the love of all things plumbing, don’t grab a blowtorch.
The Problem
Every deep freeze does the same dance: the temperature drops, and suddenly you’ve got nothing out of a faucet, or just a sad little trickle where there should be a decent flow. That’s usually your frozen pipe waving a red flag. When water freezes, it expands, and that expansion puts a ton of pressure on the line. A tiny crack can turn into a full-blown gusher pretty quick once the ice lets go, wrecking ceilings, floors, and anything else underneath. I can’t tell you how many homes I’ve walked into where the damage was way worse than the freeze because somebody ignored it or tried to thaw it with something stupid.
A frozen pipe isn’t always an emergency, but it’s still a live wire. The real issue isn’t just the ice — it’s the pressure building behind it. I once pulled into a place in Maplewood where a basement pipe had been frozen for three days. When it finally gave way, it was like somebody opened a fire hydrant indoors. So yeah, if you’ve got a frozen pipe, you need to move, and you need to move smart.
How It Works
When the temperature outside drops below freezing (32°F or 0°C), any water in your pipes that’s exposed to that cold can turn into ice. That usually happens in unheated spots like crawl spaces, basements, outside walls, or even inside cabinets along exterior walls. Water expands by about 9% when it freezes. That doesn’t sound like much, but inside a rigid copper or PEX pipe, it’s plenty. The pressure doesn’t just come from the ice expanding on its own; it also comes from the water trapped between the ice plug and the closed faucet. As the plug grows, it creates hydraulic pressure that can hit hundreds of pounds per square inch (PSI), which is way more than most residential systems are built for (typically 40-80 PSI).
That pressure can crack even solid copper or pop fittings loose. What most homeowners don’t realize is the pipe often bursts before you notice any freeze signs, or right when the ice starts melting and the pressure finally releases. That’s why waiting for warmer weather is a bad bet. You’ve got to thaw it gradually and in the right spot so the ice melts slowly and the pressure gets relieved safely. You’re basically working backward from the faucet so the water has somewhere to go.
Step-by-Step Fix
Before you do anything, find your main water shut-off valve and make sure you know how to use it. If that pipe lets go while you’re working, you’ll want the water off fast. Trust me — that’s the first thing I do on a frozen-pipe call.
-
Safety First — Assess the Situation — Find the frozen section. Look for frost on the pipe, bulges, or even listen for a faint humming sound from the ice. Check exposed pipes in basements, crawl spaces, under sinks on exterior walls, and your water meter if it’s outside. If you see cracks or a serious bulge, stop right there and call a plumber. That pipe’s probably already toast, and thawing it is just gonna make a mess. If you’re not sure, or if it’s a hot water line, slow down and think it through — you may want to shut off the water heater for a bit so it’s not cycling and stressing itself.
-
Shut Off Your Water & Open Faucets — Before you bring any heat near it, find the main water shut-off valve (usually by the meter or where the main line comes into the house) and turn it off. This part matters. If the pipe bursts while you’re thawing it, you won’t flood the place. Then open the faucet that the frozen pipe feeds. That gives melting water a path out, which drops pressure and helps the thaw move faster. Leave that faucet open until the water’s running normally again.
-
Apply Gentle Heat (Non-Flammable Methods Only) — This is where patience pays off. You’re not trying to blast the pipe. You’re warming it gently. Start at the faucet side and work back toward the main supply if you can. That way the meltwater has an exit. Here’s what I’d use:
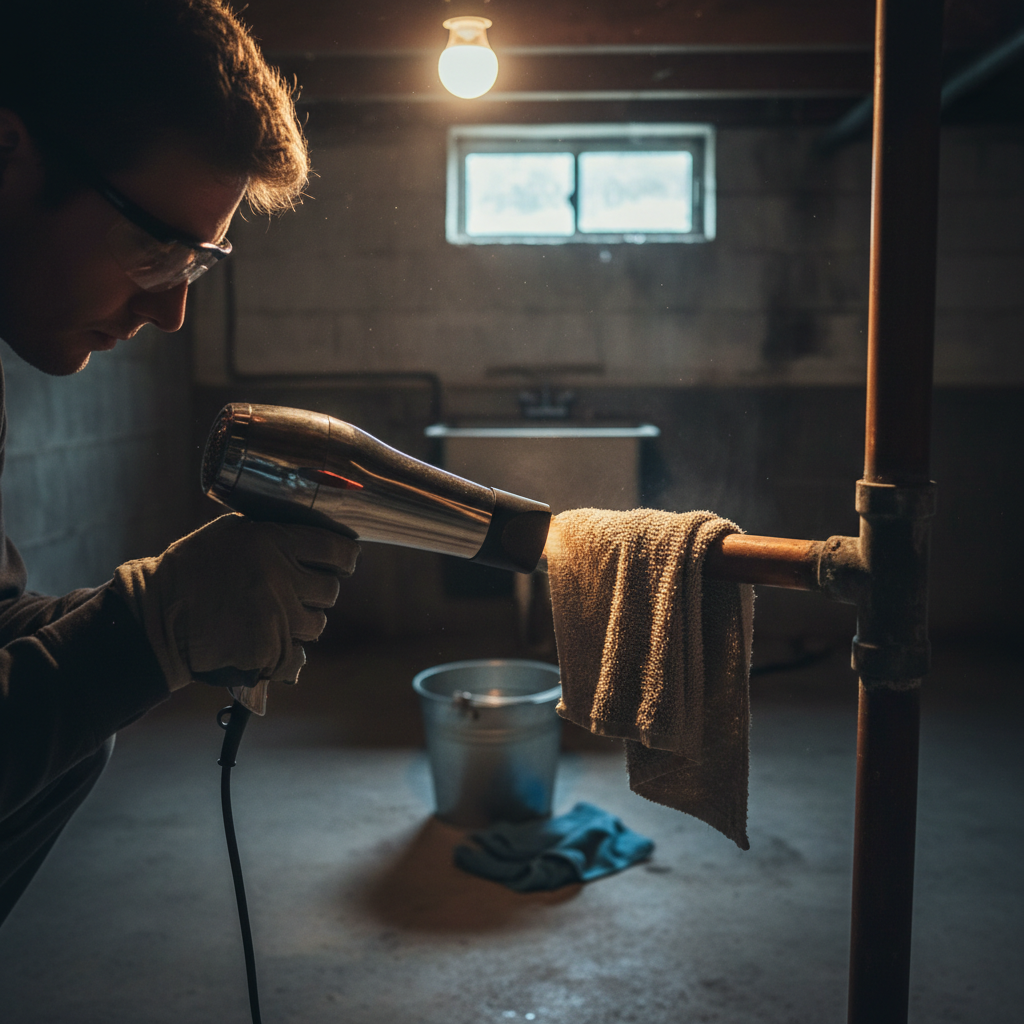
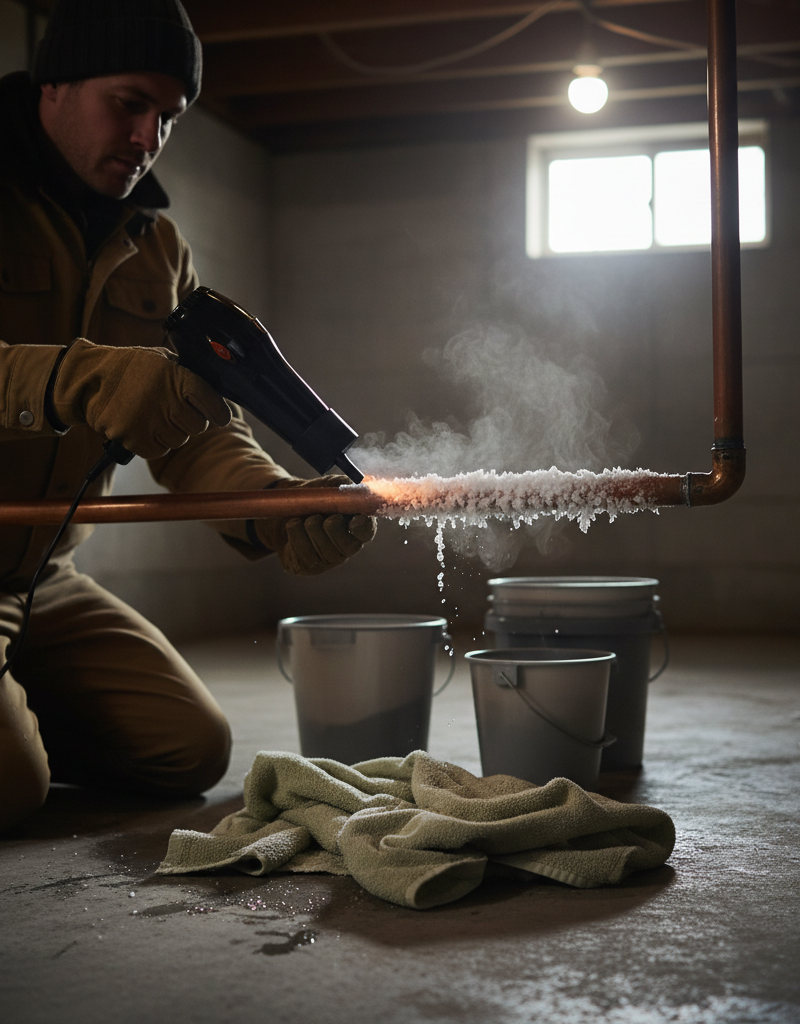
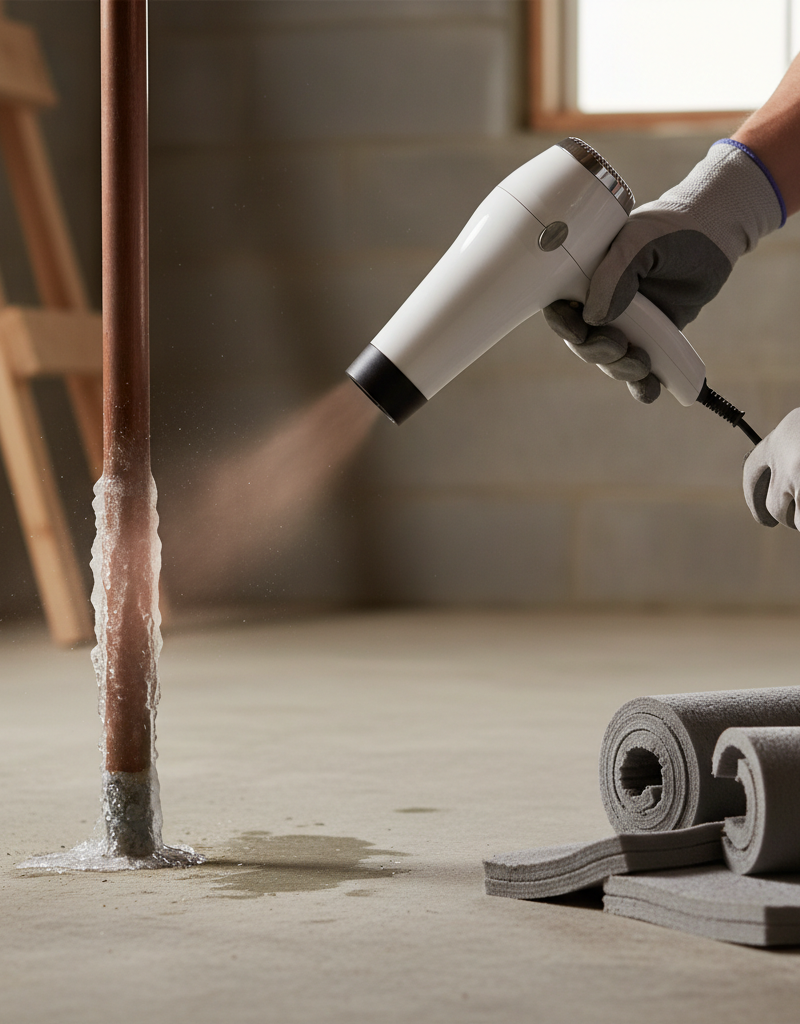
- Hair Dryer: My usual pick for DIY folks. Set it on medium or high heat and keep sweeping it back and forth across the frozen section. Don’t camp out in one spot — that’s how you cook PEX, PVC, or nearby trim. This can take 15-30 minutes for a small section.
- Heat Gun (Low Setting): Faster than a hair dryer, but you’ve gotta respect it. Set it to the lowest heat. Hold it at least 6-8 inches away and keep it moving. I’ve seen folks scorch joists and warp PEX because they got impatient. Don’t sit on soldered joints too long either, or you can soften the solder.
- Hot Towels: Good choice in tight spots or near anything flammable. Soak towels in hot water, wring them out so they’re not dripping all over, and wrap them around the pipe. Swap them out every 5-10 minutes. Slower? Sure. Safer? You bet. For stubborn freezes, wrap the hot towel and then cover it with a dry towel or blanket to hold the heat in.
- Portable Space Heater: Handy for warming the whole room or enclosed area where the pipe lives. Works well in crawl spaces and basements. Keep it at least 3 feet away from anything flammable, and don’t point it straight at one little spot. It’s slower, but it gets there.
-
Monitor Water Flow — Keep checking that open faucet. You’ll probably hear gurgling or see a weak trickle first. That’s what you want to see. It means the ice is letting go and the pressure’s dropping. Keep heating until you get a steady stream. Don’t shut that faucet yet.
-
Check for Leaks Thoroughly — Once water’s flowing, before you close the faucet, inspect the thawed pipe carefully for leaks. Look for drips, wet spots, or condensation. Pay close attention to joints and any place that was frosty or bulged earlier. If you find a leak, shut off the main water right away and call a plumber. That section may need repair or replacement. Even a tiny drip can turn into a headache later.
-
Restore Full Water Pressure and Monitor — If everything looks dry, close the open faucet slowly, then go back to the main shut-off valve and turn it back on slowly. Once the water’s back, run the affected faucets for a few minutes to get full pressure and push out any air. Keep an eye on the thawed area for the next few hours and even the next couple days for delayed leaks. Sometimes a hairline crack won’t show itself right away.
Common Causes
- Lack of Insulation: Pipes in unheated spaces like crawl spaces, attics, garages, or exterior walls are prime targets. If the insulation around them is old, thin, or missing, they’ll freeze easy.
- Sudden Temperature Drops: A fast, hard temperature drop — especially overnight — doesn’t give your house much chance to hold heat, and pipes pay for it.
- Thermostat Set Too Low/Off: If you’re gone or trying to save a few bucks, setting the thermostat too low (below 55°F or 13°C) can let wall cavities and hidden pipes get cold enough to freeze.
- Open Garage Doors/Windows: Leave a garage door open on a freezing day and the temp can fall like a rock in nearby utility rooms or walls. Same deal with windows cracked open.
- Exposed Outdoor Faucets/Hoses: Forgetting to disconnect and drain hoses, or not winterizing outdoor spigots, is a classic way to freeze the line back into the house.
- Poorly Sealed Foundation Vents/Crawl Spaces: Gaps and cracks around the foundation, or crawl space vents left open, let cold air blast right onto pipes under the house.
Common Mistakes
- Using an Open Flame: Never, ever use a blowtorch, propane torch, kerosene heater, or any open flame on a frozen pipe. You’re flirting with a house fire, melting plastic pipe, or boiling water so fast in a metal pipe it can burst. I’ve been to enough fire scenes from this kind of nonsense to say it plain: no dice.
- Applying Too Much Heat, Too Fast: Overheating pipes — especially PVC or PEX — can wreck them even if they don’t burst on the spot. It can also blister paint or light off nearby material. Keep your distance and keep the heat source moving.
- Forgetting to Shut Off Main Water: If that pipe bursts while you’re thawing it and the water’s still on, you’ve got a flood on your hands. Always shut off the main supply first. No exceptions.
- Leaving the Faucet Closed: Melted water needs somewhere to go. If you’re thawing a pipe with the faucet shut, you’re trapping that water and keeping the pressure built up. Open it all the way.
- Thawing from the Wrong End: Start from the faucet side, or as close to it as you can, and work back toward the main supply. That gives meltwater a clear path out and cuts pressure. Starting in the middle can trap water and make the problem worse.
- Ignoring the Signs of a Burst Pipe: If you’ve got a big bulge, a split, or water already leaking before you start thawing, the pipe’s already failed. Don’t mess around with it; shut off the water and call a plumber.
Cost & Time Breakdown
| Task | DIY Cost | Pro Cost | Time |
|---|---|---|---|
| Hairdryer thawing | $0 (if owned) | N/A | 15-45 minutes |
| Towel thawing | $0 (if owned) | N/A | 30-90 minutes |
| Space heater thawing | $0 (if owned) | N/A | 1-3 hours |
| Minor pipe repair (burst PEX) | $10-$30 (parts) | $200-$500 (labor+parts) | 1-2 hours (DIY) |
| Burst pipe emergency call | N/A | $400-$1000+ | 2-4 hours (Pro) |
| Water damage clean up | Varies (DIY) | $500-$5000+ | Days to weeks |
Tips & Prevention
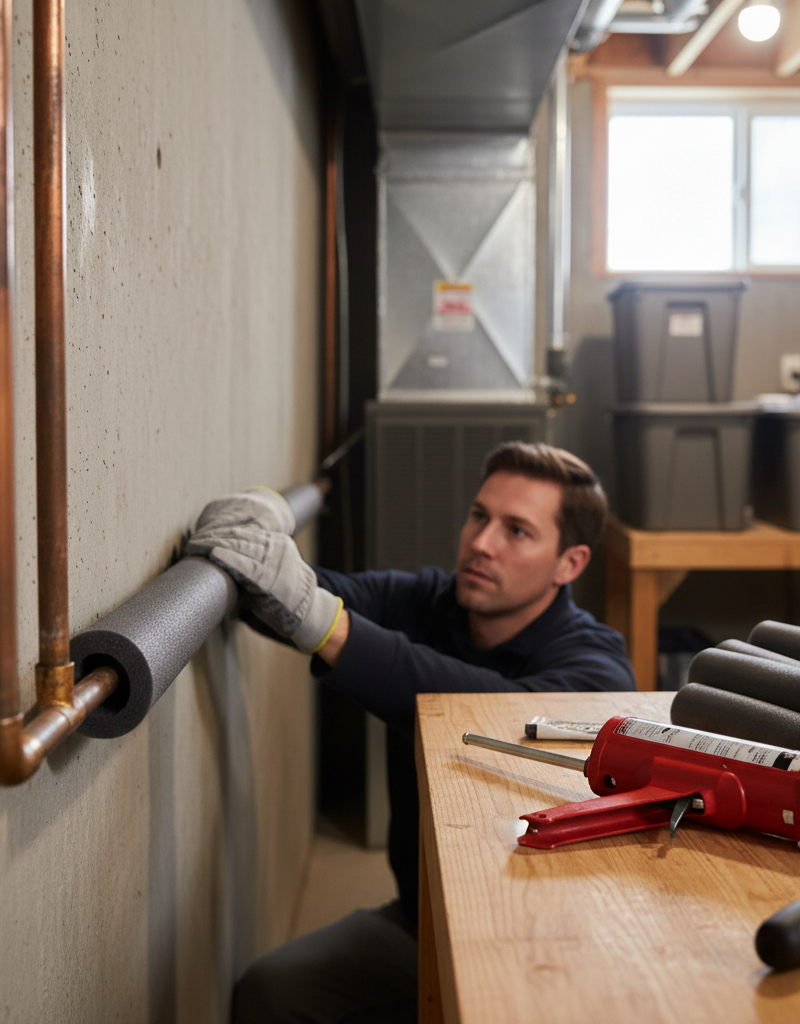
- Insulate Exposed Pipes: Wrap pipes in unheated areas — crawl spaces, attics, basements, outside walls — with foam pipe insulation. It’s cheap, and it’s easy. You can usually grab a 6-foot section for about $3-5 at any home store.
- Seal Air Leaks: Caulk around pipe penetrations through exterior walls or near foundation vents. Shut off crawl space vents in winter. Even a little draft can freeze a pipe that ought to be fine.
- Maintain Thermostat Settings: During cold snaps, keep the thermostat at least 55°F (13°C), even if you’re away. That gives the walls enough background heat to help protect the pipes.
- Open Cabinet Doors: For sinks on exterior walls, open the cabinet doors under them so warmer room air can get around the plumbing. Leave them open on really cold nights.
- Drip Faucets During Arctic Blasts: If the forecast is calling for single digits or lower, let a few faucets — especially the ones on exterior walls — drip cold water slowly. A slow drip (about 5-10 drops per minute) keeps water moving, which makes freezing harder and relieves pressure if it starts to freeze.
- Disconnect Hoses & Winterize Spigots: Always pull garden hoses off in the fall. If you’ve got older outdoor spigots, make sure they are
Related Articles
Keep troubleshooting with these hand-picked guides from FixlyGuide:
- The 90-Minute Hidden Danger of a Frozen Pipe (And the DIY Fix) — Thawing a frozen pipe quickly and safely is crucial to prevent bursting and extensive water damage to your home.
- The 3 Hidden Dangers of Frozen Pipes (And How to Thaw Them Safely) — Safely thawing a frozen pipe is crucial to prevent bursting, water damage, and costly repairs; acting quickly and correctly can save your h…
- The 3 Hidden Dangers of Frozen Pipes (And How to Thaw Them Safely) — Frozen pipes can burst, causing extensive water damage. Learn to safely thaw them and prevent costly repairs.
- The $5 Secret to Fixing a Clogged AC Drain Line (and Avoiding a Costly Flood) — A clogged AC drain line can lead to water damage and mold, but a simple, inexpensive DIY fix can prevent costly repairs.
- The $7 Trick That Unclogs Your AC Drain Line (and Prevents Nasty Surprises) — Discover the simple, inexpensive method to clear your AC's clogged drain line and prevent costly water damage and reduced cooling efficienc…
- Wind Lifted Your Shingles? The 7 Immediate Steps to Prevent Roof Leaks — Discover the crucial steps to take immediately after a storm rips shingles from your roof to prevent costly water damage and temporary repa…
What should this project cost?
Enter your project details for a realistic cost range before you call anyone.
Common repairs run $150–$650; repipes and water-heater replacements reach $1,500–$4,500.
- Regional adjustment
- National average
- Labor share (typical)
- ~$754
- Quotes to collect
- 3 written estimates
Educational estimate based on national averages — not a binding quote. Always confirm with written local estimates.
Fixly Project Decision Box
- DIY difficulty
- Moderate
- Estimated time
- 30 minutes – half a day
- Cost level
- Moderate
Main tools / materials
- Adjustable wrench
- Plunger or drain auger
- Bucket and towels
- Thread tape
When to stop and call a pro
- Water you cannot shut off at the fixture or main
- Sewage backing up into more than one fixture
- Water near electrical panels or outlets
- Gas water heater work beyond relighting a pilot
Need professional help?
Get a Licensed PlumberGet the print-ready PDF of this guide
A clean, ad-free, printable version you can keep on your phone or pin to the workshop wall. Free with a FixlyGuide account.
- Print-optimized layout
- Tools, materials & every step included
- Saved to your account
Frequently asked questions
How quickly can a pipe freeze?+
In extreme cold (below 20°F or -6°C), exposed pipes can freeze solid in as little as 4-6 hours, especially if there's no insulation or water movement. The speed depends heavily on insulation, wind chill, and water flow.
What areas are most prone to pipe freezing?+
Pipes in unheated basements, crawl spaces, attics, garages, and those running along exterior walls or under cabinets against outside walls are most vulnerable. Outdoor spigots and sprinkler lines are also common culprits.
Can I use a torch to thaw a pipe?+
Absolutely not. Using a torch or any open flame is extremely dangerous. It can cause a house fire, melt PVC or PEX pipes, or even cause metal pipes to explode due to rapid steam expansion. Stick to gentle heat sources.
Should I turn off my main water supply before thawing?+
Yes, always turn off your main water supply first. This is crucial. If the pipe has already burst or cracks during thawing, shutting off the water prevents significant flooding and water damage to your home.
How do I know if my pipe has already burst?+
Look for visible cracks, splits, or significant bulges in the pipe. If you see water leaking even before you start thawing, or if there's significant water damage nearby, the pipe has likely already burst. In this case, call a plumber immediately.
How long does it take to thaw a frozen pipe?+
The time varies depending on the severity of the freeze and the method used. A small section might thaw in 15-30 minutes with a hairdryer, while a larger, deeply frozen section could take a few hours with a space heater or hot towels. Patience is key.
What's the best way to prevent pipes from freezing?+
Insulate exposed pipes, seal air leaks near pipes, keep your thermostat set to at least 55°F (13°C) during cold snaps, open cabinet doors under sinks on exterior walls, and disconnect outdoor hoses. For extreme cold, consider a slow drip from vulnerable faucets.
What if only a trickle of water comes out after thawing?+
A trickle is a good sign, meaning the ice is melting. Keep applying heat and let the faucet run. There might still be an ice blockage further down the line or a significant air lock. Continue until you get a strong, steady flow of water.
When should I call a professional plumber for a frozen pipe?+
Call a plumber immediately if you can't locate the frozen section, suspect a pipe has already burst (visible cracks/leaks), can't shut off your main water, or if multiple pipes are frozen. Don't hesitate if the DIY methods aren't working or if you feel unsafe.
Can PEX pipes freeze and burst like copper?+
Yes, PEX pipes can freeze. However, PEX is generally more flexible and can tolerate some expansion from freezing better than rigid copper or PVC, often stretching instead of bursting immediately. But it can still fail, especially at fittings, so don't assume it's immune to freeze damage.
Discussion
Loading comments…