
Tools & materials you'll need
Affiliate links- AmazonScrewdriver Set (Phillips & Flathead)1 · For removing door panels and hinge screws.
- AmazonNut Driver Set1 · Some models use hex-head screws.
- AmazonWork Gloves1 pair · To protect hands from sharp metal edges.
- AmazonFlashlight or Headlamp1 · For inspecting hinge receptacles and dark corners.
- AmazonPhone or Camera1 · Crucial for taking pictures during disassembly for reference.
- AmazonPliers1 · Helpful for removing debris from hinge slots.
As an Amazon Associate FixlyGuide earns from qualifying purchases — at no extra cost to you. Prices and availability are accurate as of publication and subject to change.
'''
Quick Answer
When your oven door won't latch for the self-clean cycle, it's usually because the door hinges are bent or misaligned, preventing the lock from engaging. This misalignment disrupts the signal to the oven's control board that the door is securely closed. You can often fix this by removing the oven door, inspecting the hinges for damage, and replacing them if they are bent.
The Problem
You've prepared for the smoke and fumes, opened the windows, and are ready to run the self-clean cycle. You press the button, the oven beeps, but then... nothing. Instead of the familiar whir of the locking motor, you get a blinking light, a "door" or "loc" error on the display, and a profound sense of appliance betrayal. The oven stubbornly refuses to begin its high-heat cleaning process. You might notice the door doesn't feel quite right—it may seem slightly ajar, have a larger gap at the top than the bottom, or feel loose when you jiggle it.
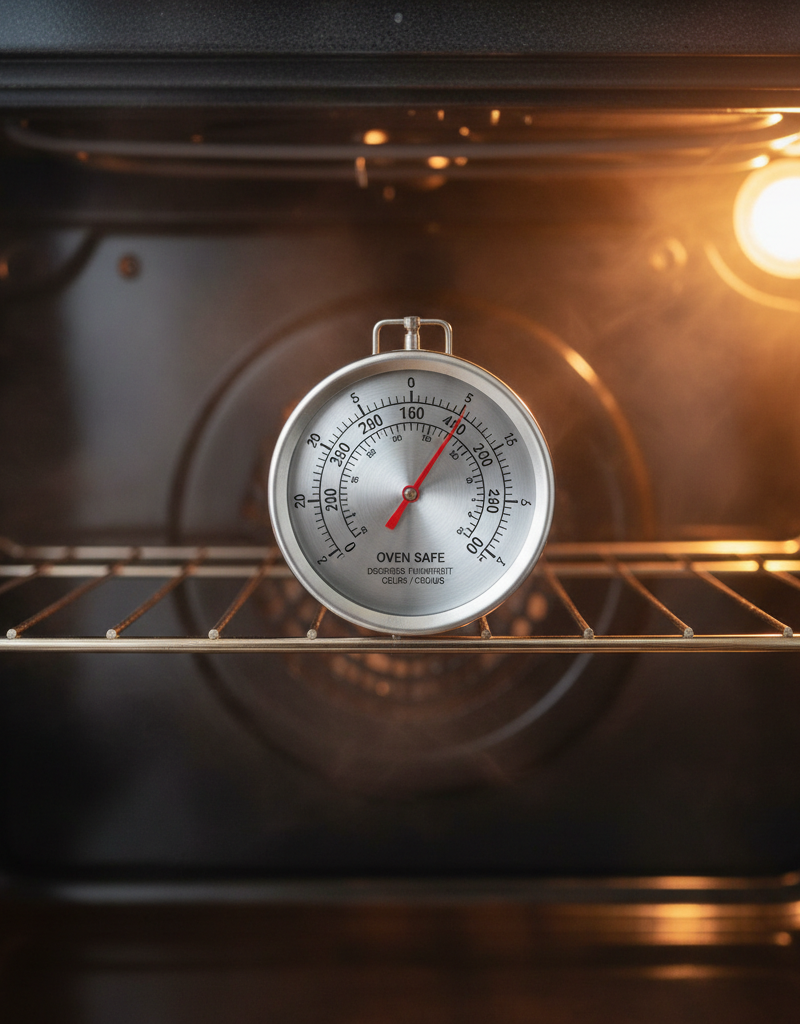
This isn't just an inconvenience; it's a critical safety feature in action. The self-clean cycle operates at extreme temperatures, typically between 800°F and 1000°F, to incinerate food residue. At these temperatures, an unsealed door would pose a severe fire risk and a danger to anyone nearby. The oven's internal computer, or control board, knows this. It requires absolute confirmation that the door is closed and locked before it will even begin to heat up. When it doesn't receive that confirmation, it halts the process and displays an error. The root of this communication breakdown very often lies not with the lock or the sensor itself, but with the simple, mechanical hinges that hold the door in place.
How It Works
Understanding why a bent hinge prevents the self-clean cycle requires looking at the chain of command your oven follows. It's a surprisingly logical sequence of mechanical and electronic checks.
First, there's the door switch. This is a small but vital sensor, usually a plunger-style button or a small lever located on the oven frame, just inside the opening. When the door closes, a small protrusion or "striker" on the door itself presses this switch. A perfectly aligned door presses the switch with the exact amount of force required. This action completes a circuit, sending an electronic "all clear" signal to the main control board. The board now knows the door is physically shut.
Next, when you initiate the self-clean cycle, the control board's first action is to engage the motorized door lock. This is typically a metal hook or pin, driven by a small motor, that moves into a receptacle on the door, physically preventing it from being opened. This lock also has its own switch. Once the lock is fully extended and engaged, its switch sends a second "all clear" signal to the control board.
Only after receiving both signals—one from the door switch confirming it's closed, and one from the lock switch confirming it's locked—will the control board proceed to power up the heating elements for the high-temperature cycle.
A bent or worn-out hinge disrupts this entire sequence at the very first step. If a hinge is bent, the door will sag or sit crookedly on the frame. Even a deviation of 1/8 of an inch is enough. This misalignment prevents the striker on the door from making proper contact with the door switch. It might not press the switch at all, or it might not press it far enough to fully engage it. The control board never receives the initial "door closed" signal. As a result, it refuses to send power to the locking motor, and the entire self-clean process is aborted before it can even start. The error code on your screen is the oven's way of telling you, "I can't confirm the door is closed, so I'm not starting this potentially dangerous process."
SAFETY WARNING
Before starting any diagnostic or repair work, you MUST disconnect your oven from its power source. For electric ovens, unplug it from the wall outlet or turn off the corresponding breaker in your home's electrical panel. For gas ovens, shut off the gas supply valve AND disconnect the electrical power. Ovens hold a significant electrical charge even when off, and this step is non-negotiable for your safety.
Step-by-Step Fix
1. Confirm the Diagnosis and Check for Obstructions Before you remove the door, do a final check. Open the door and inspect the oven gasket. Is it torn, brittle, or out of place? Is there any baked-on grime or a forgotten piece of foil creating an obstruction? Clean the oven face and the inside of the door thoroughly. Locate the door switch (the small plunger on the frame) and press it manually. You should hear a faint "click." Now, close the door and observe its alignment carefully. Does the top edge sit flush with the control panel? Is the gap even all the way around? If you see a noticeable sag or a crooked fit, you can be confident the hinges are the prime suspect.
2. Remove the Oven Door This is often the most intimidating step, but it's designed to be user-accessible. Open the door to the fully open, horizontal position. Look at the hinges where they enter the oven frame. You will see a small locking mechanism on each hinge. These are typically small levers you flip forward or clips you slide into place. Once you engage the lock on both hinges, it prevents the powerful internal spring from snapping the hinge shut. With the locks engaged, slowly raise the door to a partially closed position (about a 3-4 inch opening). You will feel the point where the tension releases. Now, firmly grip the door on both sides and lift it up and away from the oven. It will be heavier than you expect (30-50 lbs), so having an assistant is highly recommended.
3. Inspect the Hinges and Receptacles Lay the door on a soft, protected surface like a thick blanket or cardboard to avoid scratching the glass or handle. Now, carefully examine the two hinges. Look for any signs of bending or warping. Compare the left and right hinge; they should be perfect mirror images. A common failure point is a slight bend in the long metal arm that inserts into the oven. Lay a straight edge or ruler along the hinge to check for straightness. If one is even slightly bowed compared to the other, you have found your problem. While the door is off, also use a flashlight to inspect the hinge receptacles in the oven frame. Clear out any debris or broken metal fragments with pliers or a vacuum.
4. Order the Correct Replacement Hinges Do not try to bend a hinge back into shape. The metal has been fatigued, and it will never regain its original strength or precise geometry. It will fail again. You must replace them. Find your oven's model number, which is usually printed on a metal tag or sticker located along the frame of the oven cavity (visible when you open the door), on the side of the door itself, or inside the bottom storage drawer. Type this model number into an online appliance parts supplier to find the exact OEM (Original Equipment Manufacturer) replacement hinges. It is critical to buy them as a pair to ensure even tension and proper alignment.
5. Disassemble the Door and Remove Old Hinges This process varies by manufacturer, so grab your phone and take pictures at every stage. Typically, you will need to place the door with its exterior side down. You will see a series of screws along the bottom and sides that hold the inner door panel to the outer panel. Carefully remove these screws. The inner panel, often holding the interior glass, can then be lifted off. This will expose the hinge assemblies, which are usually screwed into the door's frame. Unscrew and remove the old hinges.
6. Install the New Hinges Position the new hinges exactly where the old ones were and secure them with the screws you just removed. Ensure they are seated properly and tightened securely. This is a good time to clean the inside of the door glass panels, as they are now accessible. Be careful, as the edges of the metal panels and glass can be sharp; work gloves are a good idea.
7. Reassemble the Oven Door Carefully place the inner door panel back onto the outer door. Refer to your photos to make sure everything is aligned correctly. Re-insert and tighten all the screws you removed. Be careful not to over-tighten, which could crack the plastic frame or, in a worst-case scenario, the glass. The screws should be snug and firm.
8. Reinstall the Oven Door With your new hinges installed on the door, you can now reinstall it. Pick the door up, align the hinge arms with the receptacles in the oven frame, and slide them in at the same angle you used for removal. The hinges should slide all the way in. Once they are fully seated, open the door to the fully horizontal position. This will allow you to disengage the hinge locks you set in step 2. Flip the levers back or slide the clips out of the way.
9. Test the Door Alignment and Feel Slowly close the door. It should move smoothly and feel much more solid than before. The powerful springs in the new hinges should provide firm, consistent tension. Close it completely and check the alignment again. The door should now sit perfectly flush against the oven frame, with an even seal all the way around. There should be no sag or wobble.
10. Restore Power and Test the Self-Clean Latch Go to your breaker box and restore power to the oven (or plug it back in). Set the clock on the oven. Now for the moment of truth. Press the self-clean button. You should hear the satisfying whir of the latch motor as the locking pin extends and engages. The "locked" indicator should light up, and the oven will begin its preheating for the cleaning cycle. If this happens, you have successfully fixed the problem and saved yourself a significant repair bill.
Common Causes
- Leaning on the Door: This is the number one cause of bent oven hinges. The oven door is not a shelf or a stool. Resting heavy casserole dishes on it or allowing children to stand on it puts immense stress on the hinges, inevitably bending them over time.
- Forcing the Door Closed: Slamming the oven door shut or forcing it closed against a misplaced rack or pan can jar the hinges and lead to misalignment and damage.
- Normal Wear and Tear: Oven hinges contain powerful springs that are under constant tension. Over thousands of open-and-close cycles spanning many years, these springs can weaken, fatigue, or even snap, causing the door to sag or slam shut.
- Aggressive Cleaning: Pushing or pulling hard on the door while scrubbing the interior can put sideways stress on the hinges, contributing to their failure.
- Original Installation Error: Less commonly, the oven may have been installed with the door slightly misaligned from the factory, leading to premature wear on one or both hinges.
Common Mistakes to Avoid
- Attempting to bend the hinge back. This is a temporary fix at best. The metal is already weakened and will quickly bend again or break entirely. Always replace with new parts.
- Forgetting to lock the hinges before door removal. If you fail to engage the hinge locks, the powerful springs can cause the hinge to snap shut with incredible force, potentially causing serious injury or damaging the oven frame.
- Not disconnecting power. This is a critical safety failure. Appliance repair always begins with disconnecting the power source to eliminate the risk of electric shock.
- Ordering the wrong parts. Double-check your oven's model number. Hinges are not universal; even similar-looking ones can have different dimensions and spring tensions.
- Over-tightening screws during reassembly. This can crack the door frame or the glass panels. Screws should be snug and secure, not torqued down with excessive force.
- Losing track of screws. Use magnetic trays or label small bags to keep track of the different screws you remove from the door. Taking photos during disassembly is your best guide for reassembly.
Cost & Time Breakdown
| Task | DIY Cost | Pro Cost | Time |
|---|---|---|---|
| Diagnosis & Inspection | $0 | $100 - $150 (Service Fee) | 15-20 minutes |
| Purchase Replacement Hinges | $40 - $120 (for a pair) | $80 - $200 (Parts + Markup) | 30 minutes (online) |
| Hinge Replacement Labor | $0 | $150 - $250 | 1 - 2 hours |
| Full Door Cleaning (optional) | $0 | N/A | 30 minutes |
| TOTALS | $40 - $120 | $330 - $600 | 1.5 - 2.5 hours |
Tips & Prevention
- Institute a "No Leaning" rule. Make everyone in the household aware that the oven door is not designed to support weight. Use the countertop for resting hot dishes.
- Close the door gently. Avoid slamming the door. Guide it closed until the latch engages.
- Perform quarterly alignment checks. Simply look at your oven door from the side. If you see it starting to sag, you can address the hinge issue before it gets worse.
- Clean the gasket and frame. Periodically wipe down the oven gasket and the frame it seals against to ensure no hardened spills are preventing a clean closure.
- Use care during cleaning. When you remove the door for a deep clean, handle it carefully and set it down in a safe, protected area.
When to Call a Professional
While replacing oven hinges is a very manageable DIY project for many, there are clear situations where calling a qualified appliance repair technician is the smarter choice. If you've replaced the hinges and the door is perfectly aligned, but the self-clean cycle still won't engage, the problem lies elsewhere. The issue could be a faulty door switch, a failed locking motor, or a problem with the main control board—all of which require electrical testing and diagnosis.
If you hear the lock motor buzz or click but fail to move, it's likely the motor itself has failed. Furthermore, if upon inspection you find that the oven frame itself (the hinge receptacle) is cracked, bent, or damaged, this is a much more complex repair that is beyond the scope of a simple hinge replacement. Finally, if you are simply not comfortable with the idea of taking the oven door apart, that is perfectly reasonable. They can be heavy and contain multiple layers of glass that can be tricky to reassemble. For high-end, European, or overly complex oven models, deferring to a professional can prevent costly mistakes and ensure the job is done safely and correctly. '''
Frequently asked questions
Can I just bend the oven hinge back into shape?+
No, this is not recommended. Bending the hinge back weakens the metal, and it will almost certainly fail again quickly. The only reliable, long-term solution is to replace the hinges.
Is it safe to use the oven if the door doesn't close perfectly?+
For regular baking and roasting, a small gap can lead to temperature instability and inefficient cooking. For the self-clean cycle, it is a major safety hazard, and the oven's safety features will prevent the cycle from starting.
My oven door slams shut instead of closing smoothly. Is this related?+
Yes, absolutely. A door that slams shut or won't stay open in a partially broiled position is a classic symptom of a failed or broken spring mechanism inside the hinge. The hinges should be replaced.
What if I replace the hinges and the self-clean still doesn't work?+
If your door is now perfectly aligned and the problem persists, the issue is likely electrical. The most common culprits would be a faulty door position switch, a failed latch motor, or a problem on the main control board, which will require professional diagnosis.


Discussion
Loading comments…