Tools & materials you'll need
Affiliate links- AmazonWaterproof Gloves1 pair · Protect your hands during application.
- AmazonSafety Goggles1 pair · Protect your eyes from splashes.
- AmazonSmall Bucket or Bowl1 · For mixing the paste.
- AmazonSmall Spatula or Putty Knife1 · For applying the paste neatly.
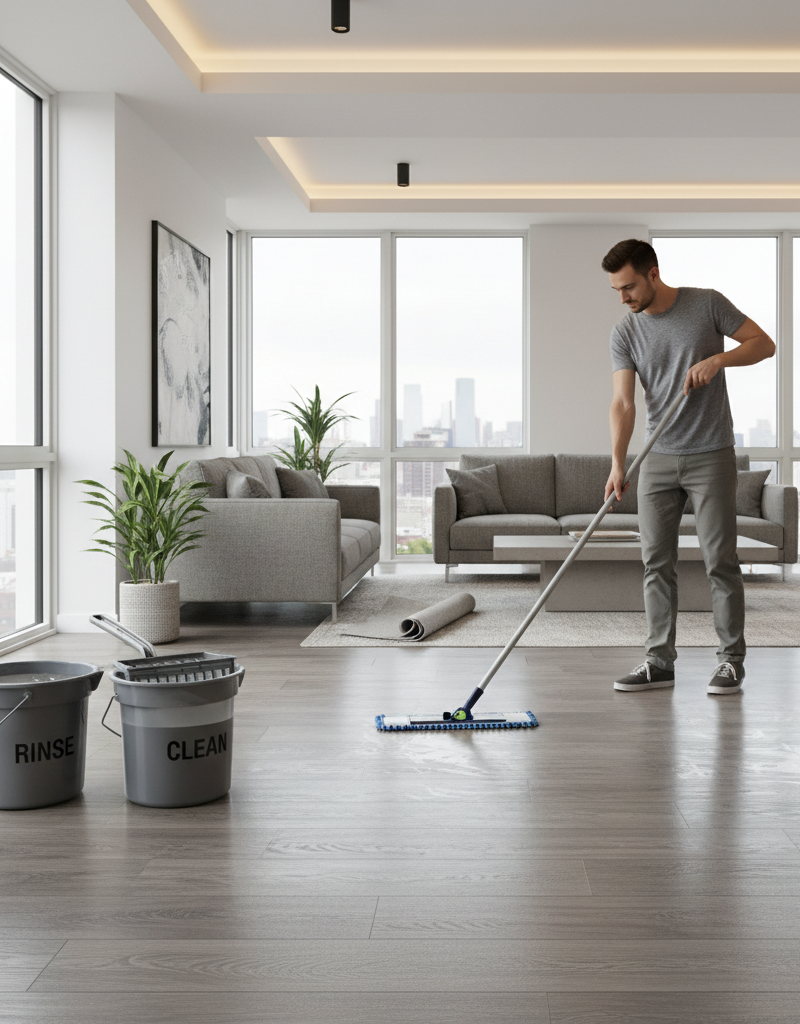
- AmazonMop and Buckets1 · A two-bucket system is recommended.
- AmazonMicrofiber Cloths3-4
As an Amazon Associate FixlyGuide earns from qualifying purchases — at no extra cost to you. Prices and availability are accurate as of publication and subject to change.
Quick Answer
Your grout turns dark quickly because it's a porous material, readily absorbing dirt, oils, and moisture from your floors. An effective, low-effort solution is to create a thick paste of oxygen bleach and water, apply it to the grout lines, and let it sit for several hours to break down stains chemically before a simple wipe-down.
The Problem
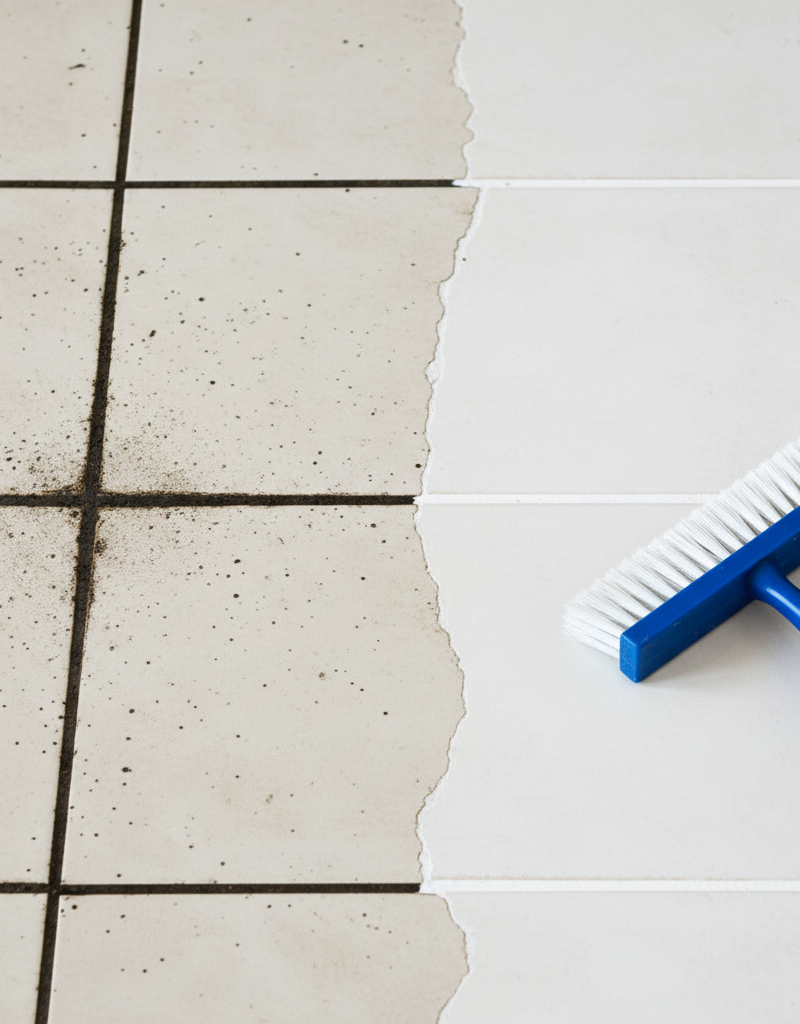
It’s a frustratingly common scenario for homeowners: just a few months after a deep clean or even a fresh tile installation, those once-pristine grout lines are now a dingy, dark, and embarrassing mess. You mop regularly, you wipe up spills, yet the grout seems to have a magnetic attraction to dirt. The discoloration is most noticeable in high-traffic areas like the kitchen, entryway, and bathrooms, where foot traffic, spills, and moisture are constant. It makes your entire floor look old and unkempt, no matter how clean the tiles themselves are. You’ve probably tried scrubbing with various household cleaners, maybe even a stiff-bristled brush, only to find the results are temporary and exhausting. The dark stains stubbornly remain, embedded deep within the grout, and the sheer amount of physical effort required to see even a minor improvement is enough to make anyone give up. What you’re seeing isn't just surface dirt; it's a sign that the porous structure of your grout has been compromised and is now acting like a sponge.
How It Works
The magic behind this brush-free method lies in the chemical power of oxygen bleach. Unlike chlorine bleach, which can damage colored grout and emit harsh fumes, oxygen bleach (the active ingredient is sodium percarbonate) is a gentler, more environmentally friendly alternative. When you mix the powdered oxygen bleach with water, it undergoes a chemical reaction and releases oxygen bubbles. This process is scientifically known as oxidation. These oxygen ions are highly effective at breaking down the chemical bonds of organic stains like dirt, grease, food spills, and even mold and mildew.
By creating a thick paste, you’re not just applying a cleaner; you're creating a concentrated, long-lasting treatment. The paste consistency prevents the cleaning agent from evaporating quickly or running off the grout lines. Instead, it clings to the grout, allowing the oxygen-releasing reaction to work continuously for several hours. This extended dwell time is the critical factor. It gives the oxygen bubbles the time they need to penetrate deep into the porous grout, lifting the embedded grime from the inside out. The process does the "scrubbing" for you on a microscopic level, breaking down the stain molecules into smaller, water-soluble particles that can be easily wiped away. It’s a game of chemistry, not brute force, that restores the grout to its original color.
Step-by-Step Fix
1. Thoroughly Sweep and Vacuum — Before you apply any cleaner, you must remove all loose debris. Use a broom or a vacuum with a hard floor attachment to clear the entire tiled area of dust, hair, crumbs, and any other surface-level dirt. This prevents you from turning loose dirt into mud during the cleaning process and allows the paste to make direct contact with the embedded stains in the grout.
2. Pre-Clean with a pH-Neutral Cleaner — Mop the floor with a pH-neutral tile and grout cleaner mixed with warm water, following the manufacturer's instructions. This step removes the top layer of grease and grime, which can act as a barrier to the oxygen bleach paste. Pay extra attention to any sticky spots or visible spills. Allow the floor to dry completely before proceeding to the next step. A wet floor will dilute the paste and reduce its effectiveness.
3. Mix the Oxygen Bleach Paste — In a small bucket or bowl, mix a 2-to-1 ratio of powdered oxygen bleach to water. For example, start with one cup of oxygen bleach and add half a cup of warm water. Stir the mixture thoroughly until it forms a thick, consistent paste, similar in texture to cake frosting or peanut butter. If it’s too runny, add more powder; if it’s too thick, add a few drops of water at a time.
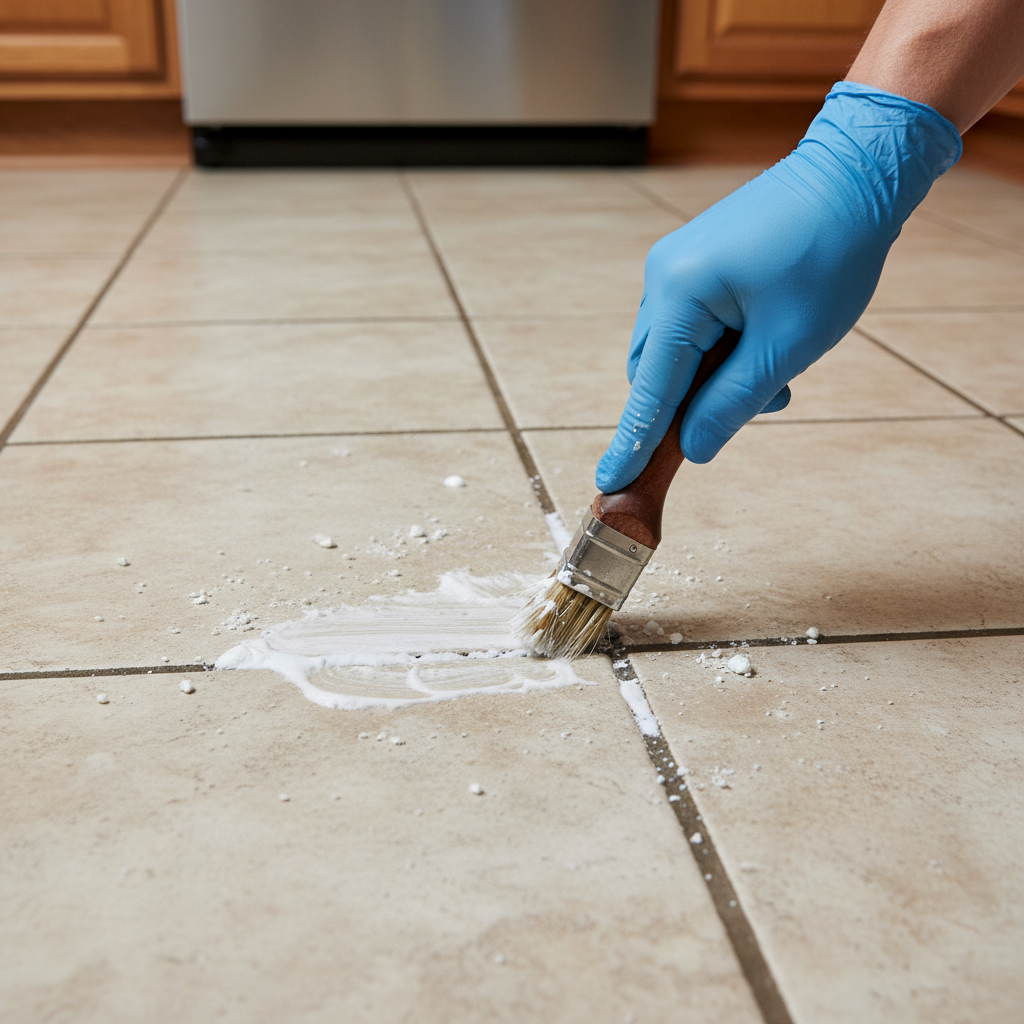
4. Apply the Paste to Grout Lines — Using a small spatula, a flexible putty knife, or even your gloved fingers, carefully apply the paste directly onto the dark grout lines. Be generous with the application, ensuring the entire grout line is completely covered with a thick layer (about 1/8 to 1/4 inch thick). Focus only on the grout, trying to minimize the amount of paste that gets on the tile surface.
5. Let the Paste Dwell — This is the most crucial step. Allow the paste to sit undisturbed on the grout lines for a minimum of 2 to 4 hours. For deeply set, stubborn stains, you can let it sit for as long as 6 to 8 hours, or even overnight. The longer the dwell time, the more opportunity the oxygen has to penetrate and break down the stains. Do not walk on the floor during this time.
6. Light Agitation on Stubborn Spots — After the dwell time, inspect the grout. Most of the discoloration should be gone. For any remaining trouble spots, use a nylon-bristled grout brush or an old toothbrush to gently scrub the area for a few seconds. The paste will have loosened the stain significantly, so minimal effort should be required.
7. First Wipe-Down with a Damp Cloth — Moisten a microfiber cloth or sponge with clean, warm water. Wring it out so it's damp, not soaking wet. Wipe away the paste from a small section of the grout. You should see a dramatic difference in the color. Continue this process, working in small sections and rinsing your cloth frequently in clean water, to remove the bulk of the paste residue.
8. Mop the Entire Floor — Once all the paste has been wiped up, mop the entire floor with clean, warm water. This removes any final traces of the oxygen bleach residue and ensures the floor is clean and safe to walk on once dry. Go over the area a second time with just water if you see any hazy or powdery residue remaining on the tiles.
9. Dry and Inspect — Allow the floor to air dry completely, or speed up the process with a dry microfiber cloth or a fan. Once dry, inspect your work. The grout lines should be significantly lighter and more uniform in color. For any exceptionally stubborn stains that remain, you can repeat the process in that specific area.
10. Seal the Grout — Wait at least 24-48 hours for the grout to fully cure and dry out. Then, apply a high-quality, penetrating grout sealer according to the manufacturer’s directions. This final, critical step creates an invisible barrier, preventing dirt and moisture from penetrating the grout in the future and making your cleaning efforts last much, much longer.
Common Causes
- Unsealed or Poorly Sealed Grout: Grout is naturally porous like a sponge. If it isn’t sealed after installation (or if the sealer has worn away), it will absorb any liquid and dirt that comes into contact with it.
- Moisture Absorption: In kitchens and bathrooms, constant exposure to water, steam, and humidity allows mildew and mold to grow within the damp, porous grout, causing dark, splotchy discoloration.
- Dirty Mop Water: The most common culprit. When you mop your floor, the dirty water collects in the recessed grout lines. As the water evaporates, it leaves behind a concentrated line of dirt and grime, effectively staining the grout over time.
- Oily Residues: Kitchen grout is especially susceptible to darkening from airborne cooking oils, grease splatters, and food spills, which are sticky and attract more dirt.
- Improper Cleaners: Using harsh, acidic cleaners can break down existing sealer and even etch the grout itself, making it more porous and prone to staining. Cleaners that leave behind a sticky residue will also attract dirt.
Common Mistakes
- Scrubbing Too Hard: Using a wire-bristled brush or excessive force can erode the grout, creating channels and pits where dirt can become even more deeply embedded.
- Using Chlorine Bleach: While effective at whitening, chlorine bleach can break down grout over time, strip the color from colored grout, and damage the integrity of the sealer. It also produces harsh, toxic fumes.
- Not Cleaning the Floor First: Applying the paste over loose dirt and debris will just create a muddy mess and prevent the oxygen bleach from reaching the actual stains.
- Mixing Cleaners: Never mix oxygen bleach (or any cleaning product) with other chemicals, especially ammonia-based cleaners. This can create dangerous, toxic gases. Use one product at a time and rinse thoroughly in between.
- Skipping the Sealer: Cleaning your grout without sealing it afterward is a recipe for frustration. You are simply leaving the pores open and vulnerable to getting just as dirty again in a short amount of time.
- Applying to a Wet Floor: Any standing water or moisture in the grout lines will dilute your paste, severely reducing its chemical cleaning power.
Cost & Time Breakdown
| Task | DIY Cost | Pro Cost | Time |
|---|---|---|---|
| Deep Cleaning Grout (150 sq ft) | $20 - $35 | $150 - $250 | 4 - 8 hours |
| Sweeping & Mopping | $0 (existing supplies) | N/A | 20-30 minutes |
| Applying Oxygen Bleach Paste | $15 - $25 | N/A | 1 - 2 hours |
| Removing Paste & Final Rinse | $0 | N/A | 45 - 60 minutes |
| Grout Sealing (150 sq ft) | $15 - $30 | $150 - $200 | 1 - 2 hours |
Tips & Prevention
- Seal Your Grout Annually: Mark it on your calendar. Sealing your grout in high-traffic areas every 12-18 months is the single most effective way to keep it clean.
- Swap Your Mop Water Frequently: When mopping, use two buckets: one for the cleaning solution and one for rinsing the dirty mop head. This prevents you from spreading dirty water back into the grout lines.
- Spot Clean Spills Immediately: Don't let spills sit. The quicker you wipe up sauces, coffee, or juice, the less time they have to soak into the grout.
- Use Doormats: Place high-quality doormats at all entryways to your home to trap dirt, grit, and oils from shoes before they get tracked onto your tile floors.
- Vacuum More, Mop Less: For daily cleaning, a quick vacuum or sweep is often better than mopping. This removes abrasive dirt without introducing moisture into the grout lines.
When to Call a Professional
While the oxygen bleach paste method is highly effective for most common grout discoloration, there are situations where a professional approach is warranted. If your grout is cracked, crumbling, or missing in sections, cleaning alone won't solve the problem; the grout needs to be repaired or replaced. A professional can grind out the old, damaged grout and install new, durable epoxy or urethane grout that is inherently stain-resistant. Furthermore, if you suspect the discoloration is due to a deeper issue, like water seeping up through the subfloor, a professional can diagnose the source of the moisture. Ignoring such a problem could lead to much more significant damage. Finally, for extremely large tiled areas (over 500 sq ft), the labor involved can be overwhelming. A professional company has truck-mounted, high-pressure, hot water extraction systems that can deep clean and seal a vast area in a fraction of the time it would take a homeowner, delivering impressively uniform results.
Frequently asked questions
Is oxygen bleach safe for all types of grout?+
Yes, oxygen bleach is generally safe for both white and colored cement-based grout. Unlike chlorine bleach, it does not typically cause discoloration. However, it is always recommended to test the paste on a small, inconspicuous area first.
How often should I deep clean my grout lines this way?+
If you seal your grout properly, you should only need to do this deep cleaning every 1-2 years, or as needed for stubborn stains. Regular mopping with a pH-neutral cleaner should be sufficient for routine maintenance.
Can I use this oxygen bleach paste on wall tile in my shower?+
Absolutely. The paste consistency makes it ideal for vertical surfaces as it will cling to the grout lines without running down immediately. It's very effective at removing soap scum and mildew from shower grout.
What's the difference between oxygen bleach and baking soda?+
Baking soda is a mild abrasive that cleans physically by scrubbing. Oxygen bleach is a chemical cleaner that works through oxidation, breaking down stains on a molecular level. For deep, set-in stains, oxygen bleach is significantly more powerful.

Discussion
Loading comments…