
Tools & materials you'll need
Affiliate links- AmazonMicrofiber Pads2-3 · Use separate pads for cleaning and applying sealant.
- AmazonBona Hardwood Floor Cleaner1 32oz Bottle · Or another pH-neutral, residue-free hardwood cleaner.
- AmazonKrud Kutter Original ConcentrateOptional, for spot-treating greasy areas.
- AmazonZep Hardwood and Laminate Refinisher1 32oz Bottle · Or a similar water-based polyurethane/acrylic floor restorer.
- AmazonMicrofiber Applicator Pad1 · Crucial for a smooth, thin application of the sealant.
- AmazonPainter's Tape1 roll
- AmazonNitrile Gloves1 pair
- AmazonFelt Furniture PadsApply to all furniture before returning to the room.
As an Amazon Associate FixlyGuide earns from qualifying purchases — at no extra cost to you. Prices and availability are accurate as of publication and subject to change.
Quick Answer
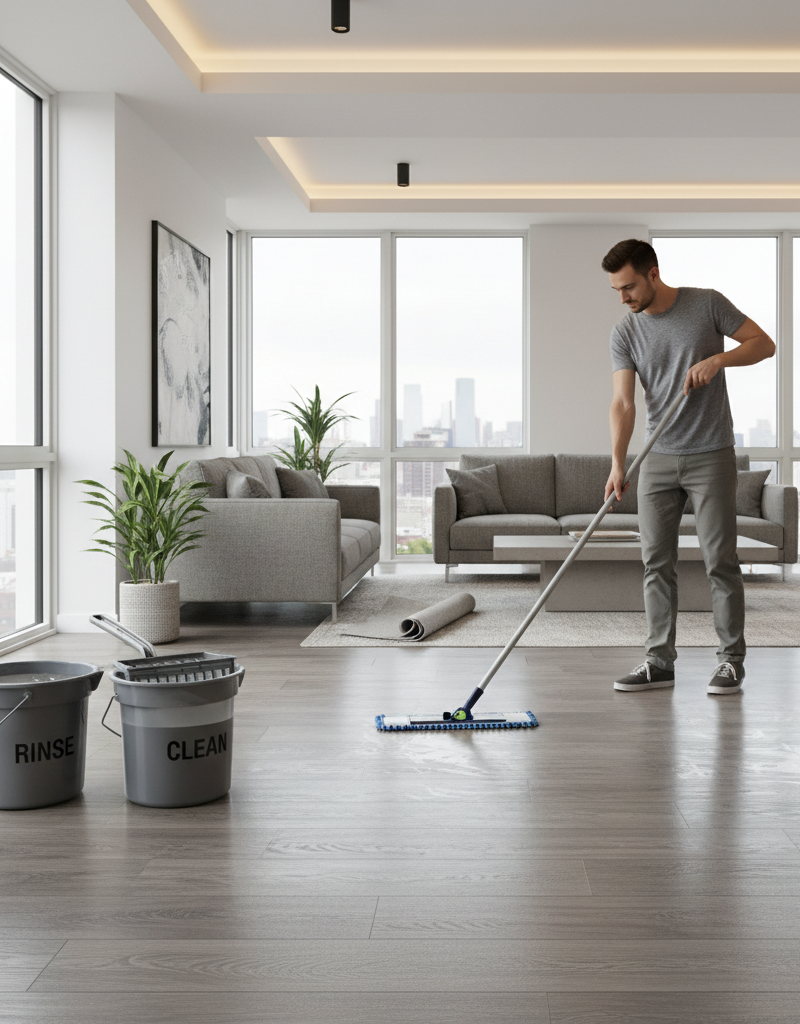
To safely clean and reseal hardwood floors without causing damage, begin by completely clearing the room and vacuuming all dust and debris with a soft-bristled head. Next, deep clean the floor using a microfiber mop lightly spritzed with a pH-neutral hardwood cleaner, such as Bona Hardwood Floor Cleaner; avoid saturating the wood. For stubborn spots, a targeted cleaner like Krud Kutter may be used sparingly. After the floor is immaculately clean and has dried completely, apply a very thin, even coat of a water-based polyurethane floor restorative finish, like Zep Hardwood and Laminate Refinisher or a Rejuvenate product. Work in small sections, apply with a new microfiber applicator pad, and maintain a wet edge to prevent lap marks. Allow the first coat to dry for at least 2 hours before applying a second coat, and let the final finish cure for 24-48 hours before returning furniture.
Why This Works
Understanding the science behind cleaning hardwood is crucial to avoiding a dull, sticky, or damaged finish. Modern hardwood floors are almost exclusively sealed with polyurethane—a durable, plastic-like coating that protects the wood beneath. The goal is to clean and restore this finish, not the wood itself.
The primary enemy of a glossy floor is twofold: microscopic abrasive grit and an accumulation of the wrong kind of residue. Dirt, sand, and dust act like fine-grit sandpaper underfoot, scratching and dulling the polyurethane. The second issue comes from improper cleaning. Cleaners that aren't pH-neutral can chemically damage the finish. Highly acidic solutions (like vinegar, with a pH of 2-3) or highly alkaline ones (like ammonia or many all-purpose cleaners, pH 11-12) can slowly etch and break down the polyurethane, leading to premature dullness and wear. Soapy cleaners, like oil soaps, are equally problematic. They leave behind a sticky, surfactant-based residue that attracts dirt and dulls the surface, creating a hazy film that’s difficult to remove.
This is why a product like Bona Hardwood Floor Cleaner (with a pH of ~7.0, a neutral pH) is so effective. It uses a combination of water, a non-ionic surfactant, and a solvent (dipropylene glycol butyl ether) to dissolve grime without leaving a residue or chemically altering the finish. The surfactant molecules have a water-loving (hydrophilic) head and an oil-loving (lipophilic) tail. The oil-loving tail attaches to greasy dirt, while the water-loving head allows it to be suspended and wiped away by the microfiber mop.
Once the floor is truly clean, we address the dullness, which is caused by those micro-scratches. A full refinishing involves sanding the polyurethane off entirely and starting over—a major, expensive job. A "screen and recoat" or, in our DIY case, a "reseal," offers a middle ground. Products like Zep Hardwood and Laminate Refinisher are essentially water-based acrylic or polyurethane blends. They are not as thick or durable as the original factory finish, but they are designed to fill in microscopic scratches and bond with the existing polyurethane layer. This creates a new, smooth, uniform surface that light reflects off evenly, restoring the perception of depth and shine. The key is applying it in incredibly thin layers. A thick coat will look plastic-y, have trouble self-leveling, and will be more prone to peeling. Multiple thin coats create a stronger, more durable, and more attractive finish.
What You Need
- Vacuum Cleaner with Soft-Bristle Head: To remove all surface grit without scratching the floor.
- Microfiber Mop: A flat-head mop with at least two (2) clean, high-quality microfiber pads.
- pH-Neutral Hardwood Floor Cleaner: One (1) 32oz spray bottle of a professional-grade cleaner. Examples: Bona Hardwood Floor Cleaner, Zep Hardwood & Laminate Cleaner.
- Targeted Degreaser (Optional): A small bottle of a powerful but safe degreaser for stubborn spots. Example: Krud Kutter Original Concentrate.
- Water-Based Polyurethane Restorer/Sealant: One (1) 32oz bottle is typically enough for 500-600 sq ft. Examples: Zep Hardwood and Laminate Refinisher, Rejuvenate Professional Wood Floor Restorer.
- Microfiber Applicator Pad: A clean, dedicated pad for applying the sealant. Often sold with the sealant product.
- Painter's Tape: To protect baseboards.
- Bucket of Water: For rinsing pads (for cleaning only, not the sealant applicator).
- Nitrile Gloves: To protect your hands from cleaners and sealants.
- Good Ventilation: Open windows and/or fans.
Step-by-Step Method
-
Clear and Prep the Room — Remove every piece of furniture, rugs, and any other items from the floor. This is a great time to place felt pads on the bottom of all furniture legs before it comes back into the room.
-
Tape Off Baseboards — Using painter's tape, carefully mask off the bottom edge of your baseboards and any transition strips. This protects them from the sealant and creates a clean, professional-looking line.
-
Thoroughly Vacuum the Surface — Go over the entire floor with a vacuum using a soft-bristle attachment or a dedicated hard floor head. Pay special attention to corners and edges where dust congregates. This step is critical; any remaining grit will be ground into the floor during cleaning or sealed under the new finish.
-
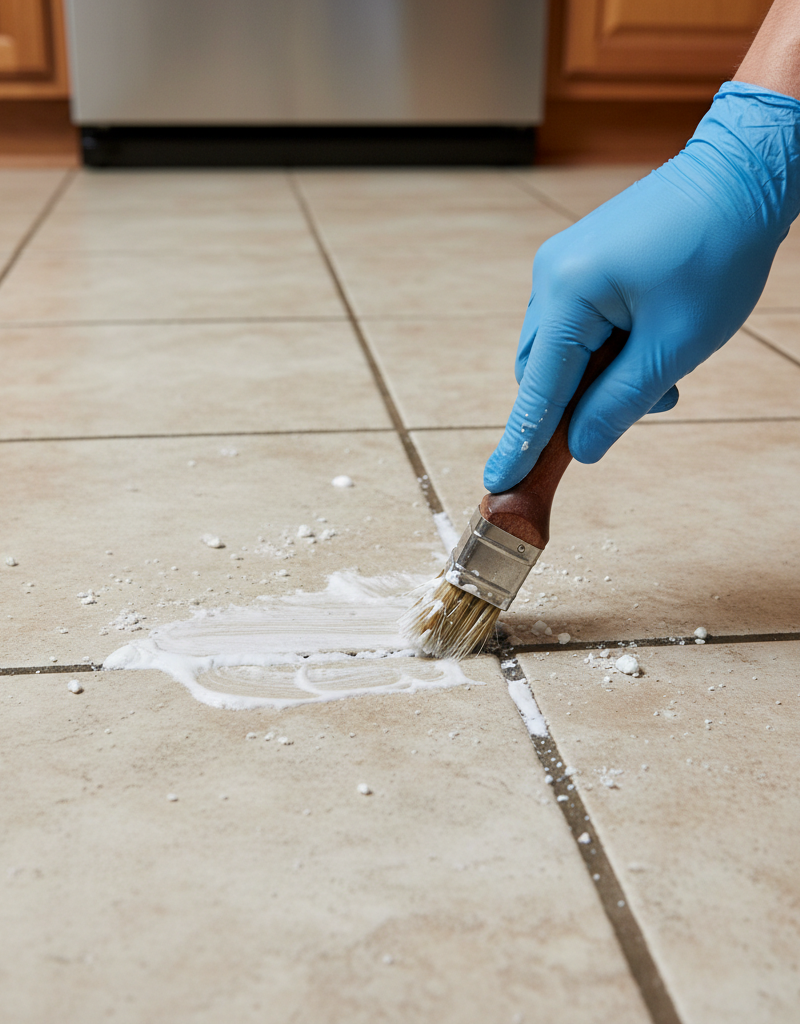
Target Stubborn Spots — Inspect the floor for any greasy spots, scuffs, or old sticker residue. Apply a small amount of Krud Kutter directly to a microfiber cloth (not the floor), and gently rub the spot until it dissolves. Immediately follow up with a water-dampened cloth to remove any residue from the degreaser itself.
-
Perform the Deep Clean — Attach a clean microfiber pad to your mop. Lightly mist a 4x4 foot section of the floor with the Bona Hardwood Floor Cleaner. Do not pour cleaner directly onto the floor. Mop with the grain of the wood, allowing the cleaner's surfactants time to break down dirt. The pad should be damp, not soaking wet. There's no need to rinse; the formula is designed to evaporate without residue.
-
Check Your Work and Dry — As you clean, swap to a fresh microfiber pad if the first one becomes visibly soiled. A dirty pad just spreads grime around. Once the entire floor is cleaned, let it air dry completely. This may take 30-60 minutes. Check the surface from a low angle to ensure no hazy patches or cleaner residues remain.
-
Apply the First Coat of Sealant — Start in the corner furthest from your exit. Squirt a small, S-shaped line of the Zep or Rejuvenate sealant onto the floor. Attach a new, clean microfiber applicator pad to your mop head. Gently place the pad on the sealant and begin spreading it in a smooth, even, thin coat, always moving with the grain of the wood. Do not overwork the product or an area you just coated.
-
Maintain a Wet Edge — As you move across the floor, slightly overlap your strokes and maintain a "wet edge" to prevent lap marks where sections meet. Work methodically in small, manageable sections (e.g., 5x5 feet) across the room, planning your path so you don't have to walk over a freshly sealed area. The coat should be whisper-thin.
-
Dry and Recoat — Let the first coat dry. This typically takes 1-2 hours in a well-ventilated room. It will be dry to the touch, but it is not yet cured. Once dry, apply a second coat in the same manner as the first, this time moving perpendicular to the first coat if possible, to ensure complete coverage. This second coat is key for a durable, even shine.
-
Allow for Final Curing — Let the final coat dry for at least 24 hours before allowing light foot traffic (socks only). Wait a full 48-72 hours before returning furniture to the room. Full cure, where the finish achieves maximum hardness, can take up to a week, so be gentle during this period.
Common Mistakes
- Using Too Much Water: "Damp-mopping" is key. Pouring water or cleaner directly on the floor can cause it to seep between boards, leading to wood swelling, cupping, and permanent damage.
- Cleaning with Vinegar or Soap: The acidity of vinegar etches the finish, and soap-based cleaners leave a residue that dulls the floor and attracts dirt. Stick to pH-neutral cleaners specifically formulated for hardwood.
- Not Vacuuming Meticulously: Skipping or rushing the vacuuming step grinds existing grit into the floor, creating more scratches. It can also trap debris under your new coat of sealant.
- Applying Sealant Too Thickly: A thick coat will not self-level properly, leading to a streaky, plastic-like appearance. It can also dry improperly and may be more prone to peeling. Two thin coats are always better than one thick coat.
- Not Planning an Exit Strategy: Failing to plan your application path when sealing can literally leave you painted into a corner, forcing you to walk over your fresh work and ruin the finish.
- Skipping the Test Spot: Always test the sealant in an inconspicuous area, like inside a closet, to ensure it adheres properly to your existing finish and provides the sheen you want.
Cost & Time Breakdown
| Task | DIY Cost | Pro Cost (Screen & Recoat) | Time Commitment |
|---|---|---|---|
| Supplies Purchase | $70 - $120 | Included in service | 1 hour |
| Room Prep & Cleaning | $0 (Labor) | Included in service | 2-3 hours |
| Sealant Application | $0 (Labor) | $1.50 - $3.00 / sq ft | 2 hours (for a 500 sq ft area, 2 coats) |
| Drying & Curing Time | $0 | $0 | 24-72 hours (no room access) |
| Total (for 500 sq ft) | $70 - $120 | $750 - $1,500 | 4-6 hours active, 3 days total project time |
Prevention & Maintenance
- Use Doormats: Place high-quality mats both outside and inside every exterior door to trap grit and moisture before it reaches your floors.
- Adopt a "No Shoes" Policy: Shoes track in abrasive particles and can scuff the finish. Encourage residents and guests to wear socks or slippers.
- Use Furniture Pads: Apply felt pads to the feet of all furniture—chairs, tables, sofas. Regularly check them for wear and embedded grit.
- Clean Spills Immediately: Use a dry paper towel or cloth to blot up any spills. For sticky spills, use your pH-neutral cleaner on a cloth, then wipe with a clean, water-dampened cloth.
- Dust Mop Regularly: Use a dry microfiber dust mop or vacuum once or twice a week to remove surface dust before it becomes a problem. This is more important than weekly wet mopping.
- Avoid Rolling Chairs with Plastic Casters: The hard plastic wheels of office chairs can destroy a hardwood finish. Use a protective chair mat or replace the casters with soft, rubber-like wheels made for hardwood.
When to Call a Professional
This DIY recoating method is ideal for floors that are dull with minor surface scratches but have an otherwise intact finish. However, you should call a flooring professional if you see signs of more significant damage. If your floor has deep scratches that have penetrated the polyurethane and exposed the bare wood (the scratch looks light-colored or woody), this method won't work. If the finish is peeling, flaking, or has "alligatored" (cracked into a pattern resembling reptile skin), the old finish has failed and must be completely sanded off. Furthermore, if you have boards that are cupping (edges are higher than the center), warping, or have wide gaps, you may have a subfloor or moisture issue that needs to be addressed before any refinishing can occur. A professional can assess whether a more aggressive "screen and recoat" or a full sand-and-refinish is necessary to truly restore your floors.
Get the print-ready PDF of this guide
A clean, ad-free, printable version you can keep on your phone or pin to the workshop wall. Free with a FixlyGuide account.
- Print-optimized layout
- Tools, materials & every step included
- Saved to your account
Frequently asked questions
How often should I reseal my hardwood floors like this?+
For high-traffic areas, a DIY reseal or 'recoat' can be done every 1-2 years to maintain protection and shine. In low-traffic rooms, you might only need to do it every 3-5 years. Watch for signs of dullness as your primary indicator.
Can I use a steam mop to clean my hardwood floors first?+
No, you should absolutely never use a steam mop on hardwood floors. The high heat and moisture can damage the polyurethane finish and force water between the boards, causing the wood to swell, warp, and cup. Stick to a damp microfiber mop.
What's the difference between this and a full 'sand and refinish'?+
This method, often called a 'chemical etch and recoat' or just 'recoating', adds a new layer of protection on top of your existing finish. A 'sand and refinish' is a much more intensive process that involves mechanically sanding off the entire old finish and several layers of wood, then applying multiple new coats of stain and sealant. Sanding is for floors with deep scratches, stains in the wood, or widespread finish failure.
Will this process get rid of deep scratches?+
No. This DIY recoating process is designed to fill in microscopic surface scratches that cause a dull appearance. It will not fill in deep gouges or scratches that have penetrated through the finish to the raw wood. Those require either targeted wood filler and staining or a full professional sanding and refinishing.

Discussion
Loading comments…