Tools & materials you'll need
Affiliate links- Amazon2 Mop Buckets2 · One for the cleaning solution, one for clean rinse water. One can be a dedicated mop bucket with wringer.
- AmazonMicrofiber Mop1 · A flat-headed mop is ideal for LVP. A string mop also works.
- AmazonVacuum or Dust Mop1 · For removing all loose debris before mopping.
- AmazonDry Microfiber Cloths2 · (Optional) For spot-drying or buffing for an extra-perfect finish.
As an Amazon Associate FixlyGuide earns from qualifying purchases — at no extra cost to you. Prices and availability are accurate as of publication and subject to change.
Quick Answer
Your luxury vinyl plank (LVP) floors look streaky because your mopping method is spreading a thin layer of dirty water and residue across the surface. This film, composed of old cleaner, dissolved dirt, and hard water minerals, dries into a dull, streaky haze. To fix this, you must switch to a pH-neutral cleaner and adopt the two-bucket cleaning method to ensure you're always mopping with genuinely clean water.
The Problem
You invested in luxury vinyl plank flooring for its durability, waterproof qualities, and stunningly realistic wood or stone look. Yet, after every cleaning, you're left with a frustrating, dull haze and a network of unsightly streaks that catch the light just so. The floor looks dirtier than before you started. You've tried different cleaners, mopped in different directions, and maybe even gotten on your hands and knees to wipe it dry, but the streaky, cloudy finish returns every time. This common issue undermines the beauty of your LVP, making it look cheap and poorly maintained, despite your best efforts. The core of the problem lies not with the floor itself, but with the traditional, and flawed, way most of us were taught to mop.
How It Works
To understand why LVP streaks, you need to understand its surface. LVP is non-porous and features a protective top layer called the "wear layer," typically made of urethane. This layer is what gives the floor its durability and sheen. The problem with traditional single-bucket mopping is simple: you start with clean water, but the first time you rinse your dirty mop in the bucket, you contaminate your entire water supply. From that point forward, you are essentially mopping with a diluted soup of dirt, grime, and old cleaning solution.
As you mop, a thin film of this dirty water is left behind. The water evaporates, but the dissolved dirt, minerals from your tap water (especially if you have hard water), and the cleaning agents themselves do not. They dry onto the non-porous wear layer, creating a microscopic layer of residue. This residue scatters light instead of reflecting it uniformly, which our eyes perceive as a dull haze or streaks. Cleaners with additives like acrylic "shine enhancers" or waxes are even worse, as they are specifically designed to leave a film—a film that builds up over time, attracting more dirt and becoming impossible to clean without stripping.
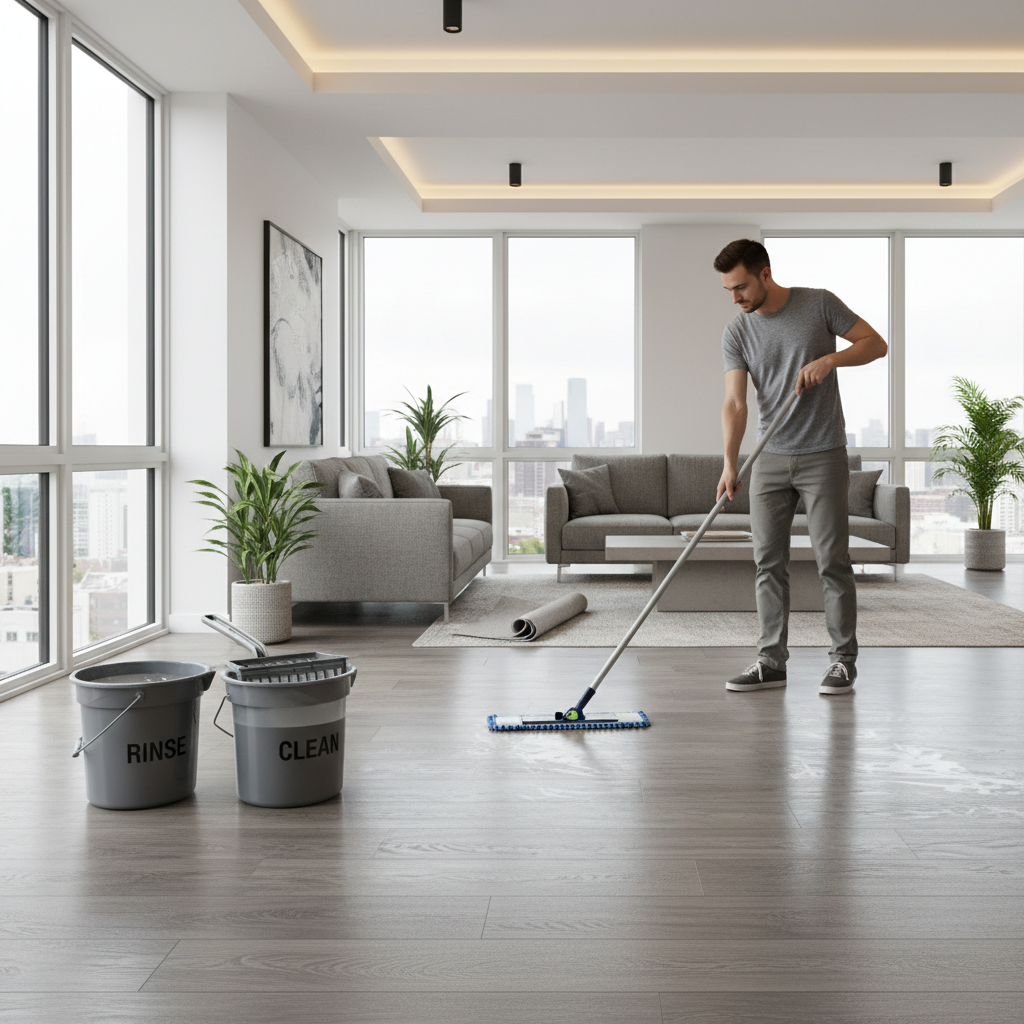
The two-bucket method solves this by physically separating your clean rinse water from the dirty, wrung-out water, ensuring your mop is as clean as possible every time it touches the floor.
SAFETY NOTE: Always wear gloves to protect your skin from cleaning solutions and dirty water. Ensure the room is well-ventilated by opening windows or using a fan. Never mix different cleaning chemicals, especially bleach and ammonia-based cleaners, as this can create toxic gas. Before using a new cleaner on your floor, test it on a small, inconspicuous area, like inside a closet or under a large piece of furniture, to ensure it doesn't cause discoloration or damage to the wear layer.
Step-by-Step Fix: The Two-Bucket Method for a Streak-Free Finish
This professional method is the definitive answer to streaky LVP floors. It isolates dirt and ensures you’re only applying clean solution to the floor surface.
1. Prepare the Floor — Before any water touches the floor, it's critical to remove all loose debris. Use a vacuum with a hard-floor setting (ensure the beater bar is off to prevent scratching) or a microfiber dust mop to thoroughly sweep the entire area. Pay close attention to corners and edges where dust and hair accumulate. This step prevents you from turning dry dirt into wet mud.
2. Assemble Your Buckets — Take two separate, clearly distinguishable mop buckets. Designate one as your "Solution Bucket" and the other as your "Rinse Bucket." If you only have one mop bucket with a wringer, you can use any standard 3-5 gallon bucket for your clean solution.
3. Fill the Buckets — Fill the "Solution Bucket" with approximately one gallon of cool or lukewarm water and your chosen pH-neutral cleaner, following the manufacturer's dilution instructions precisely. Using too much cleaner is a primary cause of residue. Fill the "Rinse Bucket" with one gallon of clean, plain cool water. Do not add any cleaner to the rinse bucket.
4. Submerge and Wring — Dip your clean microfiber mop head into the "Solution Bucket." Lift it out, allowing excess solution to drip off, and place it into the wringer on your "Rinse Bucket." Wring the mop head out thoroughly until it is just damp, not soaking wet. Oversaturating LVP can allow water to seep into the seams over time, even on waterproof products.
5. Mop in Sections — Begin mopping in the farthest corner of the room, working your way towards the exit so you don't walk over your clean floor. Mop a small, manageable section at a time, for example, a 5x5 foot area. This ensures the solution doesn't dry on the floor before you can properly clean the area.
6. The First Rinse: Cleaning the Mop — After mopping your first small section, your mop has picked up dirt. Do NOT put it back in the solution bucket. Instead, take the dirty mop head directly to the "Rinse Bucket." Plunge it into the clean water and agitate it vigorously to release all the dirt and grime it just collected. You will see the rinse water start to become cloudy or dirty; this is proof the system is working.
7. The Wring-Out — After thoroughly rinsing the mop in the "Rinse Bucket," lift it into the wringer and press out as much of the dirty water as possible. Your goal is to get the mop head as clean and dry as you can before it goes back into your clean solution.
8. The Second Rinse: Recharging the Mop — Now, with a rinsed and wrung-out mop head, you can return to the "Solution Bucket." Dip the mop to soak up fresh, clean cleaning solution. Then, return to the wringer on your "Rinse Bucket" and wring it out again until it's perfectly damp for the next section of flooring.
9. Repeat the Process — Continue this cycle across the entire floor: mop a section, rinse the dirty mop in the "Rinse Bucket," wring it out, recharge it in the "Solution Bucket," wring it out again, and mop the next section. You will notice your "Solution Bucket" stays remarkably clean throughout the process, while the "Rinse Bucket" gets progressively filthier. This is the magic of the two-bucket method.
10. Final Drying (If Needed) — A properly wrung mop on a non-porous surface like LVP should air-dry very quickly, often within minutes, without streaks. If you find any areas are too wet or you want to be extra certain of a perfect finish, you can go over the floor with a dry microfiber cloth or a dry mop head to buff it dry.
Common Causes of Streaky LVP
- Wrong Cleaner: Using cleaners that are not pH-neutral. High-alkaline or acidic cleaners can degrade the urethane wear layer over time. Cleaners with waxes, oils, or "shine" polymers (like Mop & Glo) are the biggest culprits, as they are designed to leave a residue that builds up and attracts dirt.
- Too Much Cleaner: Even with a proper pH-neutral cleaner, using more than the recommended dilution creates a soap residue that dries to a streaky finish.
- Dirty Water Mopping: The fundamental flaw of the single-bucket method. Every time you rinse the mop, you transfer dirt to your cleaning water, and then you spread that diluted grime right back onto the floor.
- Hard Water: The high concentration of minerals (calcium, magnesium) in hard water can leave behind mineral deposits on the surface as the water evaporates. This is often visible as a chalky, white haze.
- Skipping Prep: Not vacuuming or sweeping before mopping grinds loose dirt, sand, and grit into the floor and turns it into a muddy slurry that you then spread with the mop.
- Old or Saturated Residue: If you've been using the wrong cleaner for years, there may be a significant buildup on the floor that one good cleaning won't remove. This requires stripping.
Common Mistakes to Avoid
- Using a Steam Mop: While tempting, the intense heat and high-pressure steam can potentially damage the adhesive, cause planks to swell or warp at the edges, and dull the finish of your LVP. Most LVP manufacturer warranties are voided by the use of steam cleaners.
- Choosing a "Mop and Shine" Product: These products work by leaving a layer of acrylic polymer on the floor to create a glossy look. This layer is sticky, attracts dirt, and builds up over time, creating a dull, yellowed, and streaky mess that is very difficult to remove.
- Pouring Cleaner Directly Onto the Floor: This guarantees you will use far too much product, leading to concentrated spots of residue that are difficult to rinse away.
- Using Hot Water: Many people believe hot water cleans better, but for LVP, it's unnecessary and can even be detrimental. Hot water can make some cleaning agents evaporate too quickly, leaving solids behind, and may have a negative effect on the planks' vinyl composition over the long term. Cool or lukewarm water is best.
- Using Abrasive Tools: Never use steel wool, abrasive scouring pads, or brushes with hard bristles on LVP. These will permanently scratch and dull the protective wear layer.
- Letting Spills Sit: While LVP is waterproof, acidic or staining substances like wine, mustard, or coffee should be cleaned up immediately to prevent potential staining or damage to the wear layer.
Cost & Time Breakdown
This table breaks down the costs and time for both a one-time deep cleaning/stripping and routine maintenance using the two-bucket method.
| Task | DIY Cost | Pro Cost | Time Commitment |
|---|---|---|---|
| Initial Residue Stripping | $30 - $50 (for stripper, pads) | $150 - $300 (0.75-$1.50/sq ft) | 2 - 4 hours |
| Two-Bucket Method Setup | $25 - $60 (buckets, mop, cleaner) | N/A | 15 minutes |
| Routine Mopping (1,000 sq ft) | $2 (cost of cleaner) | $100 - $180 (cleaning service) | 45 - 60 minutes |
| Quarterly Deep Clean | $5 (cost of cleaner) | $120 - $200 | 1.5 - 2 hours |
Tips & Prevention
- Invest in a Good Mop: A high-quality microfiber flat mop or string mop is essential. Microfiber is excellent at grabbing and holding onto dirt particles. Have at least two or three clean mop heads on hand.
- Use pH-Neutral Cleaners: Look for cleaners specifically labeled for LVP, vinyl, or laminate that state they are "pH-neutral," "film-free," or "residue-free." Plain water with a splash of white vinegar (1 cup per gallon) can also work, but commercial neutral cleaners are often better formulated.
- Place Walk-Off Mats: Use high-quality mats at all exterior doors to trap dirt, grit, and moisture before they are tracked onto your floor. This will drastically reduce the amount of dirt you need to clean.
- Use Felt Pads: Apply felt pads to the bottom of all furniture legs (chairs, tables, sofas) to prevent scratching and scuffing as furniture moves.
- Clean Mop Heads After Use: Immediately after you finish mopping, rinse the mop head thoroughly until the water runs clear, then hang it up to dry completely. A machine-washable mop head is a great convenience.
When to Call a Professional
If your floors remain streaky, dull, or sticky even after a thorough cleaning with the two-bucket method and a pH-neutral cleaner, you likely have a significant buildup of old cleaning residue from months or years of using shine-enhancing or improper products. A professional floor care company can use a floor machine with a gentle stripping solution to safely remove this buildup without harming the LVP's wear layer. This process resets the floor to its factory finish. You should also call a professional if you see signs of physical damage, such as deep scratches that have penetrated the wear layer, peeling or curling at the edges of planks, or signs of water damage, as these are issues that cleaning cannot fix and may require plank replacement or repairs.
Frequently asked questions
Can I use a steam mop on my luxury vinyl plank flooring?+
No, it is strongly advised not to use a steam mop on LVP. The high heat and pressure can damage the wear layer, dull the finish, weaken the adhesive, and cause the edges of the planks to curl or warp. Using a steam cleaner will void the warranty for most LVP manufacturers.
What is the best DIY cleaner for LVP floors to avoid streaks?+
The simplest and often very effective DIY cleaner is a solution of 1/2 to 1 cup of white vinegar per gallon of cool water. The vinegar acts as a gentle cleaning agent and helps to rinse cleanly without leaving mineral deposits, especially if you have hard water. For regular dirt, this is an excellent, residue-free option.
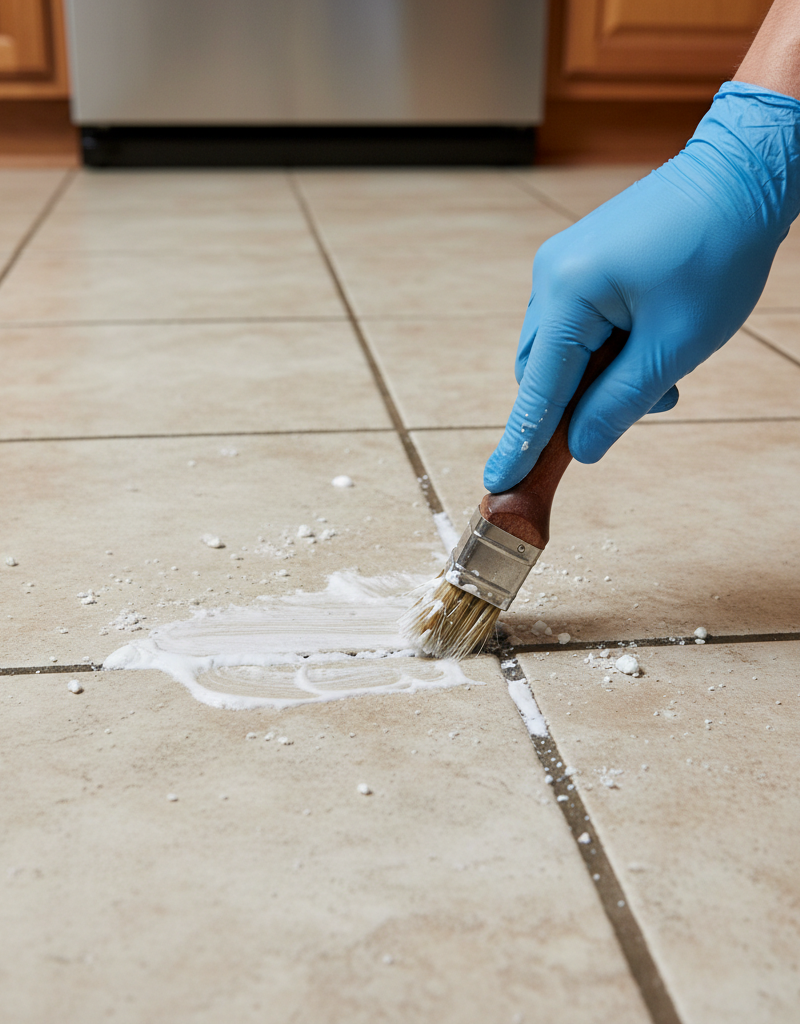
How can I remove the waxy, sticky buildup from old cleaners?+
To remove heavy buildup, you'll need to strip the floor. You can do this by mixing a solution of 1 cup of ammonia to 1 gallon of water (ENSURE ventilation and NO other chemicals are present). Apply in a small section, let it sit for 5-10 minutes, then scrub with a soft-bristled brush. Wipe up the residue and immediately rinse the area with a separate mop and clean water. Test in a hidden spot first. For severe cases, hiring a professional with a floor machine is safer and more effective.
How often should I mop my LVP floors using the two-bucket method?+
The frequency depends on foot traffic. For high-traffic areas like kitchens and entryways, mopping once a week is a good rule of thumb. For lower-traffic areas like bedrooms, mopping every two to four weeks is usually sufficient. Always vacuum or sweep before mopping.


Discussion
Loading comments…