Tools & materials you'll need
Affiliate links- AmazonWhite VinegarFor creating a 50/50 cleaning solution with water.
- AmazonDish SoapA gentle, effective degreaser when mixed with warm water.
- AmazonMineral Oil or Olive OilOptional, for polishing and conditioning the surface.
- AmazonBaking SodaOptional, for creating a paste to tackle tough, burnt-on spots.
- AmazonCommercial Stainless Steel CleanerA good alternative to homemade solutions, formulated to be pH-neutral.
As an Amazon Associate FixlyGuide earns from qualifying purchases — at no extra cost to you. Prices and availability are accurate as of publication and subject to change.
Quick Answer
Stainless steel appliances streak because cleaning motions often go against the metal's 'grain'—tiny, directional grooves from the manufacturing process. Wiping against this grain traps cleaner and moisture, causing streaks. To fix this, identify the grain's direction (vertical or horizontal) and always wipe and polish exclusively in that same direction using a microfiber cloth for a flawless, factory-fresh finish.
The Problem
You invested in the sleek, modern look of stainless steel appliances, expecting them to be the gleaming centerpiece of your kitchen. Instead, they've become a source of daily frustration. You wipe down the refrigerator door, and five minutes later, it’s a mess of fingerprints and smudges. You give the dishwasher a thorough cleaning, only to be left with a hazy, streaky finish that looks worse than when you started. The streaks catch the light, highlighting every wipe mark and drip. It feels like a never-ending battle against smudges, water spots, and the ghost of every cleaning attempt.
This isn't a reflection of your cleaning skills. The issue lies not in the effort but in the technique. Most homeowners intuitively wipe in circles or use convenient up-and-down motions, unaware that they are working against the very nature of the material. This common mistake is the primary culprit behind the maddening streaks that plague so many kitchens.
How It Works
To understand why stainless steel streaks, you have to understand its microscopic structure. Much like a piece of wood, every stainless steel appliance has a "grain." These are not visible, decorative patterns but rather the result of the manufacturing process where the steel sheet is passed through massive, brushing rollers. This process creates millions of faint, parallel grooves on the surface. You can't always see them clearly, but they are there.
The direction of this grain (usually vertical or horizontal) is the secret to a streak-free shine. When you wipe against the grain (e.g., in a circular motion or side-to-side on a vertical grain), your cloth skips across the tops of these tiny grooves. This action pushes dirt, oil, and cleaning residue down into the grooves instead of lifting it away. As the cleaner evaporates, this trapped residue remains, creating the hazy, streaky appearance you despise. It refracts light unevenly, making the surface look dirty even when it’s clean.
Conversely, when you wipe with the grain, your cloth moves parallel to these grooves. It can reach down into them, effectively pulling out all the grime, moisture, and leftover cleaner in one clean sweep. The entire surface is wiped uniformly, allowing it to dry without any trapped particulates. Polishing with the grain then smooths the surface in its natural direction, creating a consistent, reflective sheen that looks flawless.
The material itself is an iron alloy containing a minimum of 10.5% chromium. This chromium reacts with oxygen in the air to form a thin, invisible, and incredibly durable passive layer of chromium oxide on the surface. This layer is what prevents rust and corrosion, making the steel "stainless." Using harsh, abrasive cleaners (like those with chlorine or ammonia) or scouring pads can scratch and damage this protective layer, leading to discoloration and even rust over time. Gentle cleaning with the grain preserves this crucial layer, ensuring the longevity and beauty of your appliance.
Step-by-Step Fix
SAFETY NOTE: For small appliances, unplug them before cleaning to prevent accidental activation. While cleaning products are generally safe, wearing rubber gloves can protect sensitive skin from drying out.
-
Find the Grain Direction. This is the most crucial step. Stand back from the appliance and then get close. Look for faint, fine lines running either vertically (up and down) or horizontally (side to side). On a refrigerator, the grain is often vertical on the main doors and horizontal on handles or dispenser areas. If you can't see it, lightly run your finger or a dry microfiber cloth across the surface; it will feel slightly rougher when you go against the grain.
-
Choose Your Cleaner. You have several effective options. A dedicated pH-neutral stainless steel cleaner is formulated to cut through grease without leaving residue. Alternatively, a 50/50 solution of white vinegar and water in a spray bottle is a great degreaser. For a simple and gentle clean, a few drops of dish soap in a bowl of warm water works well.
-
Apply Cleaner to Your Cloth. Never spray cleaner directly onto the appliance. This causes it to run and drip, creating an uneven application and forcing you to use more product than necessary. Instead, lightly dampen a clean microfiber cloth with your chosen cleaning solution. The cloth should be damp, not sopping wet.
-
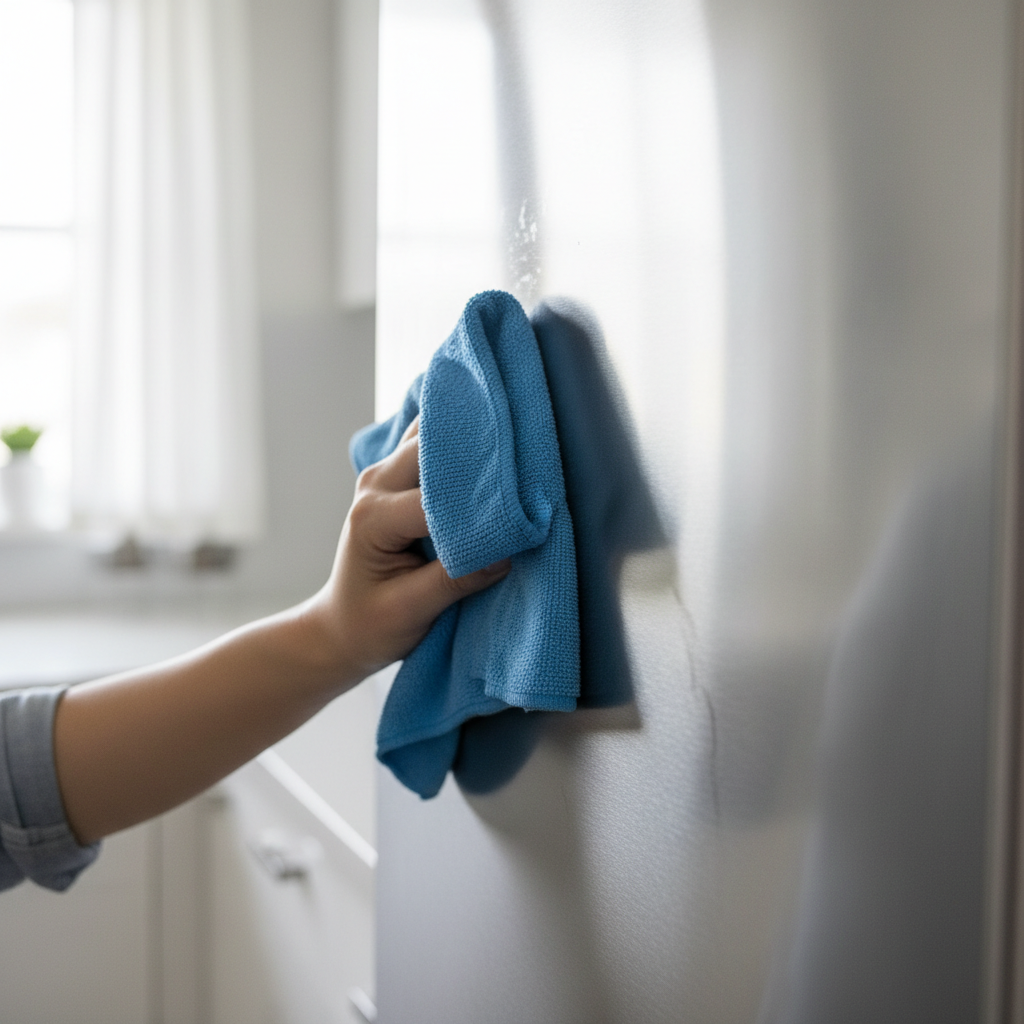
Perform the Initial Wipe-Down (With the Grain). Starting at the top of the appliance, wipe in the direction of the grain. Use a long, continuous motion from one edge to the other (e.g., top to bottom for a vertical grain). This initial pass removes the surface layer of dust, fingerprints, and grime.
-
Address Stubborn Spots. For baked-on food or greasy splatters, you may need a bit more targeted effort. Apply a small amount of your cleaner directly to the spot and let it sit for 30-60 seconds to break down the grime. Then, use your microfiber cloth to scrub gently with the grain until the spot is gone. For very tough spots, a paste of baking soda and water can be used, but scrub very lightly to avoid scratching.
-
Rinse if Necessary. If you used a soap or vinegar solution, it's important to "rinse" the surface. Dampen a second, clean microfiber cloth with plain water (distilled water is best to prevent mineral spots) and wipe the entire appliance down with the grain to remove any soap or vinegar residue.
-
Buff Completely Dry. This step is non-negotiable for a streak-free finish. Take a third, completely clean and dry microfiber cloth. Using the same with-the-grain motion, thoroughly buff the entire surface. This removes all remaining moisture, which is the final source of potential streaks and water spots. Apply firm but gentle pressure.
-
Condition and Polish (Optional but Recommended). For a finishing touch that repels future fingerprints, apply a conditioner. Pour a small amount—a nickel-sized drop—of a food-safe mineral oil, olive oil, or a specialized stainless steel polish onto a clean, dry cloth. Wipe it onto the appliance with the grain, creating a very thin, even layer. This fills in the microscopic grooves and creates a uniform, protective barrier.
-
Final Buff. With a final clean cloth, give the surface one last buff with the grain to remove any excess oil and even out the shine. The surface should feel smooth and look pristine, not greasy.
Common Causes
- Cleaning Against the Grain: The number-one cause, which pushes dirt and cleaner into the metal's microscopic grooves.
- Using Abrasive Materials: Paper towels, scouring pads, and steel wool create micro-scratches that trap dirt and ruin the finish.
- Circular Wiping Motions: This popular but incorrect method guarantees you are moving against the grain at multiple points, causing streaks.
- Hard Water: The mineral deposits (calcium, magnesium) in tap water can leave behind white, chalky spots and streaks after the water evaporates.
- Using Harsh Chemicals: All-purpose cleaners containing chlorine, bleach, or ammonia can chemically alter and stain the surface, sometimes permanently.
- Excess Cleaner: Spraying cleaner directly on the surface or using too much leaves a residue film that is difficult to remove and appears as a hazy streak.
- Grease and Oil Buildup: Airborne grease from cooking coats the appliance surface, attracting dust and making it harder to clean without streaking.
Common Mistakes
- Forgetting to buff dry. Air-drying allows water spots and streaks from leftover cleaner to form.
- Using Windex or other glass cleaners. Most contain ammonia, which can damage the chromium oxide layer and cause permanent discoloration over time.
- Scrubbing aggressively. Trying to remove a tough spot with brute force and an abrasive sponge is a recipe for deep, unsightly scratches.
- Cleaning a warm surface. Never clean an oven or stovetop right after use. The heat can cause the cleaner to evaporate too quickly, baking the residue onto the surface.
- Using a dirty cloth. Reusing a greasy or dusty cloth simply spreads the grime around instead of removing it.
- Ignoring the small parts. Cleaning the main doors but forgetting the handles, dispenser areas, and edges results in an uneven appearance.
Cost & Time Breakdown
| Task | DIY Cost | Pro Cost | Time |
|---|---|---|---|
| Routine Daily Wiping | $0.10 (water/cloth) | N/A | 1-2 minutes |
| Weekly Cleaning (per appliance) | $0.50 - $1.00 (cleaner) | N/A | 5-10 minutes |
| Deep Clean & Polish (per appliance) | $1.00 - $2.00 (cleaner/oil) | $50 - $75 | 15-20 minutes |
| Professional Kitchen Cleaning | N/A | $150 - $300 (full kitchen) | 2-4 hours |
Tips & Prevention
- Microfiber is King: Dedicate a set of high-quality microfiber cloths just for your stainless steel—one for cleaning, one for rinsing, one for drying, and one for polishing.
- Act Fast: The sooner you wipe up a spill, splatter, or fingerprint, the easier it is to remove without a full-scale cleaning.
- Use Distilled Water: If your home has hard water, using distilled water for your cleaning solution will eliminate mineral deposits and water spots.
- Regular Polishing: A weekly application of a thin coat of mineral oil or a designated polish will make the surface more resistant to fingerprints and smudges.
- Clean Vent Hood Filters: Regularly cleaning the grease filter in your range hood will significantly reduce the amount of airborne grease that settles on your appliances.
- Educate the Household: Briefly show family members how to find the grain and wipe up their own smudges correctly. A quick lesson can save you a lot of cleaning time.
When to Call a Professional
While most streaking and smudging issues are solved with proper technique, some situations warrant a call to a professional appliance refinishing or restoration service. If your appliance has deep scratches that can’t be buffed out, it’s best to call a pro. They have specialized sanding and polishing compounds that can sometimes resurface the metal without making the damage worse. Similarly, if you notice distinct rust spots (often caused by prolonged contact with other metals or harsh chemical damage), a professional can assess if the protective layer can be restored. Finally, if a harsh chemical has caused significant, widespread discoloration or etching, a homeowner fix is unlikely to work. A pro can determine if the panel can be salvaged or if it needs to be replaced entirely, a job that requires specific parts and expertise. Trying to fix these major issues yourself often leads to more noticeable and permanent damage.
Get the print-ready PDF of this guide
A clean, ad-free, printable version you can keep on your phone or pin to the workshop wall. We'll also send occasional weekly tips matched to your home situation.
- Print-optimized layout
- Tools, materials & every step included
- Unsubscribe anytime
Recommended for DIYers & woodworkers
Sponsored
The Top 20 Tools for Workshops of Any Budget
No stationary machines or power tools required — plus 3 fundamental tools that can't be bought at any price.
Get the free guide
Ted's Woodworking — The #1 Woodworking Resource
Detailed instructions, dimensioned drawings, materials & cutting lists, and 3D schematics for every skill level.
See the plansSponsored: links above are affiliate links. FixlyGuide may earn a commission on qualifying purchases — at no extra cost to you.
Frequently asked questions
Can I use Windex or other glass cleaners on my stainless steel appliances?+
No, you should never use Windex or other glass cleaners on stainless steel. Most contain ammonia or alcohol, which can damage the protective chromium oxide layer, leading to permanent staining or discoloration over time. Stick to pH-neutral cleaners, vinegar solutions, or simple dish soap.
How can I remove deep scratches from stainless steel?+
For minor scuffs, you can sometimes use a non-abrasive scratch removal kit designed for stainless steel, always working with the grain. However, for deep scratches that you can easily feel with a fingernail, it is highly recommended to call a professional appliance refinishing service. They have the proper tools and compounds to sand and re-grain the surface without causing further damage.
Is it true that vinegar is bad for stainless steel?+
Vinegar is acidic, but when diluted (typically a 50/50 solution with water) and used correctly, it is safe and highly effective for cleaning and degreasing stainless steel. The key is to wipe it off with a damp cloth and not let it sit on the surface for extended periods. Always finish by buffing the appliance dry.
What is the difference between fingerprint-resistant and regular stainless steel?+
Fingerprint-resistant stainless steel has a special oleophobic (oil-repelling) coating applied at the factory. This clear coat helps prevent the oils from your skin from sticking to the surface. While it's more forgiving, it is not smudge-proof and should still be cleaned using the same with-the-grain technique and non-abrasive cleaners to protect the coating.


Discussion
Loading comments…