Tools & materials you'll need
Affiliate links- AmazonGrout Brush1 · Must have stiff bristles shaped for grout joints.
- AmazonSealer Applicator Bottle or Small Artist's Brush1 · For precise application of sealer to grout lines.
- AmazonNitrile Gloves1 pair · To protect hands from chemicals.
- AmazonSafety Glasses1 pair · To protect eyes from splashes.
- AmazonMicrofiber Cloths3-4 · For cleaning, rinsing, and buffing off excess sealer.
- AmazonBucket1 · For holding clean rinse water.
- AmazonSqueegee1 · Optional, for daily prevention.
As an Amazon Associate FixlyGuide earns from qualifying purchases — at no extra cost to you. Prices and availability are accurate as of publication and subject to change.
Quick Answer
Grout is a porous material that absorbs water, soap scum, and body oils, creating the perfect breeding ground for mold and mildew. Sealing your grout every 6 to 12 months with a quality penetrating sealer makes the grout lines waterproof. This simple maintenance task is the single most effective way to prevent 90% of common bathroom mold, stopping costly and unhealthy infestations before they begin.
The Problem
It’s a frustratingly common bathroom battle: you scrub your tile until it shines, but within weeks, the grout lines are laced with black, gray, or pinkish specks. That persistent discoloration isn't just dirt; it's an active colony of mold or mildew, and it’s thriving in your shower. The grout, which started as a crisp, clean frame for your beautiful tile, now looks perpetually dirty, making the entire room feel unhygienic no matter how often you clean.
This isn't just a cosmetic issue. Moldy grout releases spores into the air, which can trigger allergies, asthma, and other respiratory issues. The musty odor is unpleasant and can permeate your entire home. More insidiously, this is a sign of a deeper problem: water penetration. Because standard cement-based grout is porous like a sponge, it soaks up water from every shower. This constant moisture can eventually work its way behind the tile, leading to catastrophic and an expensive-to-fix water damage, rotted studs, and widespread, hidden mold growth within your walls. Simply put, stained and moldy grout is the canary in the coal mine for bigger bathroom problems.
How It Works
To understand why sealing is so effective, you need to understand the nature of grout itself. Most tile installations use cementitious grout, which is essentially a mixture of cement, sand, and water. On a microscopic level, its surface is a landscape of tiny pores and capillaries. When water, soap scum, body oils, and minerals hit this surface, they don't just sit on top; they soak in. This moisture, combined with the warmth of a bathroom and the "food" provided by soap and organic matter, creates a perfect petri dish for mold and mildew to flourish.
Applying a grout sealer fundamentally changes the equation. The best sealers for this job are "penetrating" or "impregnating" sealers. These are solvent- or water-based liquids containing polymers—typically advanced fluoropolymers, siloxanes, or siliconates. When you apply the sealer, the liquid carrier absorbs into the grout's porous structure. The carrier then evaporates, leaving the polymer molecules behind to cure and bond with the cement and sand particles. These polymers effectively line the inside of every pore, creating a hydrophobic (water-repelling) barrier without changing the grout's appearance.
Instead of soaking in, water now beads up on the surface, just like on a freshly waxed car. Because water can no longer penetrate, the grout stays dry, and mold has no moisture to grow. It also prevents stains from soap scum and minerals from setting in, making routine cleaning dramatically easier. Sealing doesn't form a thick film on top (like a membrane-forming sealer, which is better for textured stone); it works from within, making it the invisible shield that prevents 90% of moisture-related grout problems.
Step-by-Step Fix
SAFETY NOTE: Ensure your bathroom is extremely well-ventilated by opening a window and running the exhaust fan. Wear nitrile gloves to protect your skin from cleaners and sealers, and safety glasses to prevent splashes from getting in your eyes. If using potent cleaners, an N95 respirator is recommended.
1. Safety and Prep — Before you begin, clear everything out of your shower or off the floor area. Remove shampoo bottles, soap dishes, and floor mats. For maximum safety when working in a shower, you can turn off the circuit breaker to the bathroom to de-energize the exhaust fan and any nearby outlets or lights, though this is often unnecessary unless you are spraying cleaner directly overhead near electrical fixtures.
2. Gather Your Tools & Materials — Assemble everything you need before you start to ensure a smooth workflow. You’ll need a pH-neutral cleaner for light-duty work or a more powerful alkaline grout cleaner for heavy-duty jobs, a stiff-bristled grout brush (not a generic scrub brush), a few microfiber cloths, a small bucket of clean water, your chosen penetrating grout sealer, and a small applicator brush or a sealer applicator bottle with a built-in brush tip.
3. Perform an Initial Surface Clean — Start by spraying the entire tiled surface with your pH-neutral tile cleaner and wiping it down. The goal here is to remove the top layer of loose hair, dust, and easy-to-clean soap scum. This allows your deep cleaner to focus directly on the grout lines in the next step.
4. Choose and Apply the Right Grout Cleaner — For moderate dirt and soap scum, an alkaline grout cleaner (with a pH above 7) is ideal. Products like Aqua Mix Heavy-Duty Tile & Grout Cleaner are excellent. They are specifically designed to break down oils and soap without damaging the grout. For stubborn black or pink stains, a cleaner with oxygenated bleach (hydrogen peroxide) is a safe and effective choice. Avoid chlorine bleach, which is harsh and can damage grout over time. Spray the cleaner liberally onto the grout lines and let it dwell for 5-10 minutes, per the manufacturer's instructions. Do not let it dry on the surface.
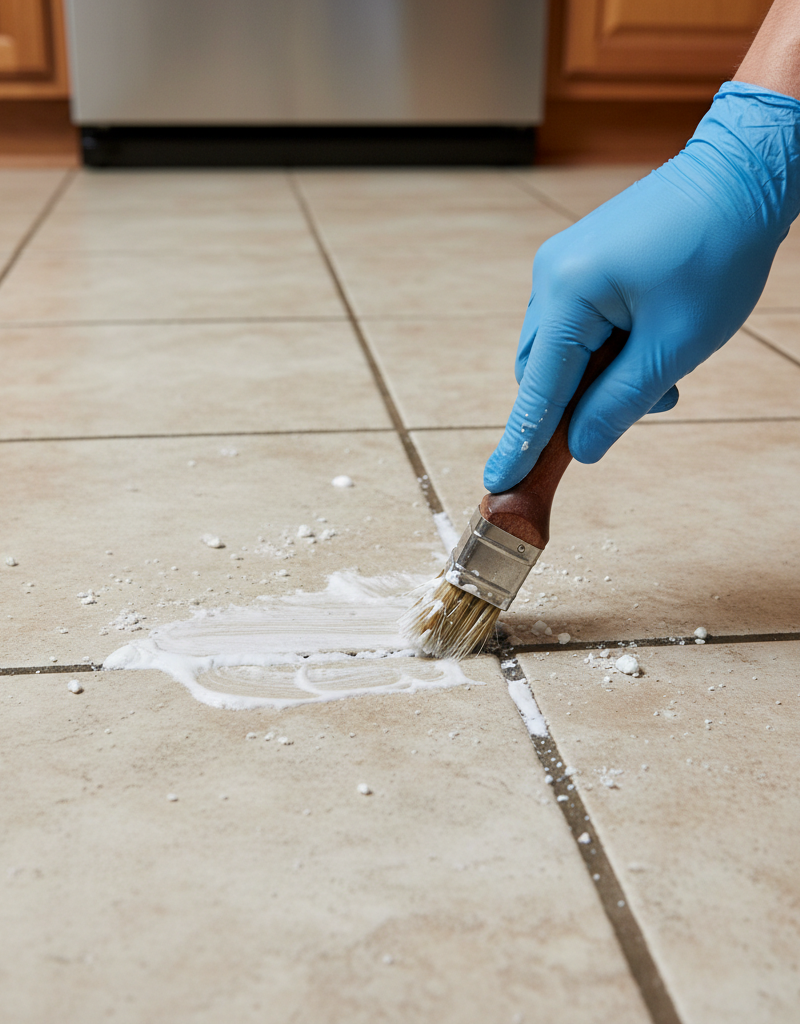
5. Scrub the Grout Lines Vigorously — This is the most labor-intensive step. Using your dedicated grout brush, which has stiff bristles shaped to fit into the joint, scrub each grout line back and forth. You will see the dirt and grime lifting out of the grout’s pores. Apply firm pressure. For corners and tight spots, an old toothbrush can be useful. Work in small, manageable sections of about 3x3 feet at a time.
6. Rinse and Rinse Again — This step is absolutely critical and where many people go wrong. Use a clean microfiber cloth and your bucket of fresh water to wipe away all the cleaner and loosened grime. Rinse your cloth frequently in the bucket and change the bucket water several times. Any cleaning residue left behind will prevent the sealer from bonding properly. Once you think it’s clean, rinse it one more time.
7. Let the Grout Dry Completely — The grout must be bone dry before you can seal it. Trapping moisture under a sealer is a recipe for failure and can cause a cloudy appearance. Allow the grout to air dry for a minimum of 24 hours. To be absolutely sure, aim for 48 hours, especially in a humid environment. Use a fan to increase air circulation and speed up the process.
8. Select Your Penetrating Sealer — Choose a high-quality penetrating (impregnating) sealer from a reputable brand like Aqua Mix, Custom Building Products, or 511 Impregnator. These work as described above, protecting from within. Do not use a "membrane-forming" or "topical" sealer (which creates a film on top), as these can peel and flake in a wet environment like a shower. Note: If you have epoxy grout, it is non-porous and does not require sealing.
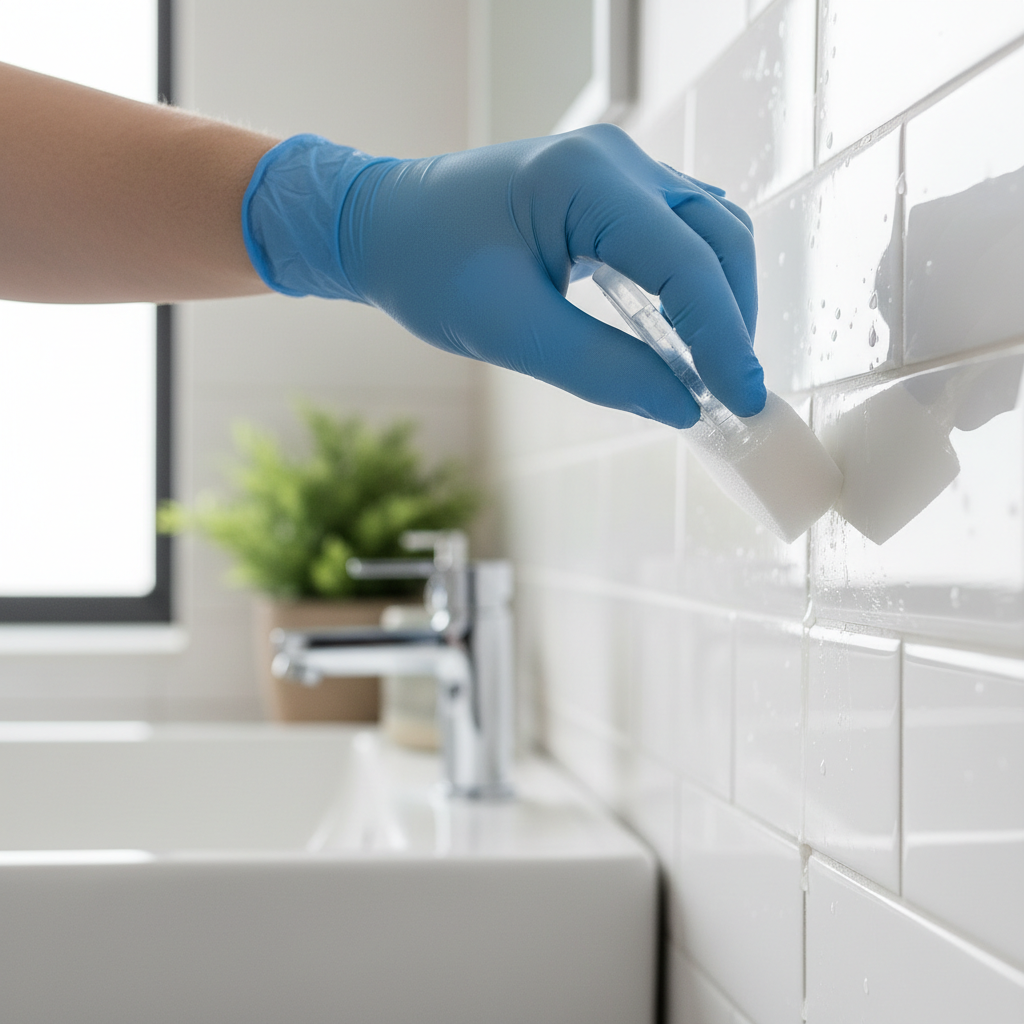
9. Apply Sealer to the Grout Lines — Application requires patience and a steady hand. The goal is to saturate the grout line without getting too much sealer on the tile face. You can use a small artist's brush, a foam brush, or an applicator bottle with a wheel or brush tip. Apply a liberal, even coat, allowing the porous grout to drink it in. Work in manageable sections.
10. Wipe Away Excess Sealer — Read your sealer’s instructions for the recommended waiting time, typically between 5 and 15 minutes. This allows the sealer to penetrate but is not so long that it dries on the tile surface. Use a clean, dry microfiber cloth to buff off any sealer from the face of the tile. If you wait too long, it will dry to a hazy film that is very difficult to remove.
11. Apply a Second Coat (Recommended) — Most professionals apply a second coat to ensure complete coverage. Follow the same process as the first coat, waiting the manufacturer-recommended time between coats (usually about an hour). To check if your grout is fully sealed, place a drop of water on a grout line. If it beads up, you’re protected. If it soaks in and darkens the grout, you need another coat in that area.
12. Allow the Sealer to Cure — The sealer needs time to fully cure and achieve its maximum water-repelling properties. This typically takes 24 to 72 hours. Protect the area from all water and traffic during this period. Do not use the shower or walk on the floor until the curing time specified by the manufacturer has passed.
Common Causes
- Unsealed or Poorly Sealed Grout: This is the number one cause. Cement-based grout is naturally porous and will absorb water if not sealed.
- Infrequent Sealing: Sealer isn't a one-and-done solution. It breaks down over time due to cleaning and traffic. High-use showers need sealing annually.
- Poor Ventilation: A bathroom that stays steamy and humid long after a shower creates a perfect, warm, damp environment for mold.
- Soap Scum & Body Oil Buildup: Mildew and mold feed on the organic matter in soap and body oils. The more buildup, the more food is available.
- Using the Wrong Cleaners: Harsh, acidic cleaners or chlorine bleach can eat away at the grout and the sealer, removing the protection and making the grout even more porous.
- Ignoring Small Spots: A tiny spot of pink mildew can quickly colonize an entire shower if not addressed promptly.
Common Mistakes
- Sealing Over Dirty Grout: This is a critical error. Sealing dirty, stained, or mildewed grout simply traps the discoloration and moisture underneath the sealer, making it impossible to clean later.
- Sealing Wet or Damp Grout: Applying sealer to grout that isn't 100% dry will result in a weak bond, a cloudy appearance, and premature failure of the sealer.
- Leaving Excess Sealer on the Tile: Letting sealer dry on the tile surface creates a stubborn, hazy film that can be more difficult to remove than the original grout stains.
- Using a Generic Scrub Brush: Kitchen or floor brushes have bristles that are too soft and wide to get deep into the grout joint, resulting in an incomplete clean.
- Not Rinsing Thoroughly: Leaving any cleaning agent residue on the grout will interfere with the sealer’s ability to penetrate and bond, compromising its effectiveness.
- Not Allowing for Full Cure Time: Exposing freshly sealed grout to water before it has fully cured (24-72 hours) will wash away the uncured polymers and nullify your hard work.
Cost & Time Breakdown
| Task | DIY Cost | Pro Cost | Time |
|---|---|---|---|
| Deep Cleaning Grout (100 sq ft shower) | $20 - $40 | $200 - $300 | 2-3 hours |
| Sealing Grout (100 sq ft shower) | $30 - $80 (includes cleaner, sealer, brush) | Included in cleaning service | 2 hours + drying time |
| Professional Grout Cleaning & Sealing | N/A | $300 - $600 | 4-6 hours |
| Minor Re-grouting (cracked sections) | $25 (grout mix, tools) | $150 - $250 | 2-4 hours |
| Annual Maintenance Cleaning | $15 (pH-neutral cleaner) | N/A | 20 minutes/week |
Tips & Prevention
- Squeegee After Every Shower: Use a small squeegee to wipe down tile walls and glass doors after every use. This removes the majority of water before it can soak into grout.
- Run Your Exhaust Fan: Keep your bathroom exhaust fan running for at least 30 minutes after you shower to pull humid air out of the room.
- Switch to Low-Residue Soap: Consider switching from bar soap to liquid soap or a low-residue bar soap, which leaves behind less organic film for mold to eat.
- Weekly Cleaning is Key: A quick spray and wipe-down with a pH-neutral, non-abrasive cleaner once a week prevents the initial buildup of soap scum.
- Fix Leaks Immediately: A dripping showerhead or leaky valve provides a constant source of moisture. Fix these small plumbing issues right away.
- Check Your Sealer Annually: Once a year, put a few drops of water on your grout lines in various places. If the water beads, the sealer is working. If it soaks in and darkens the grout, it's time to reseal.
When to Call a Professional
You should call a tile and grout professional if you notice issues beyond simple staining. If the grout is soft, crumbling, or has chunks missing, sealing it is not enough. These are signs of advanced deterioration, and the damaged sections must be removed and re-grouted to maintain a waterproof seal. If you have cleaned the grout thoroughly and stains remain, a pro may have access to commercial-grade steam equipment or stronger, professional-use-only cleaners that can restore the appearance.
Most importantly, if you see mold covering a large area (generally more than 10 square feet) or if the drywall around the tile feels soft or shows water staining, you may have a larger water intrusion issue behind the tile. In this case, a professional can assess the extent of the damage, which might require removing tile to repair the substrate. For widespread mold, a mold remediation specialist is recommended for safe removal and to protect your family's health.
Recommended for DIYers & woodworkers
Sponsored
The Top 20 Tools for Workshops of Any Budget
No stationary machines or power tools required — plus 3 fundamental tools that can't be bought at any price.
Get the free guide
Ted's Woodworking — The #1 Woodworking Resource
Detailed instructions, dimensioned drawings, materials & cutting lists, and 3D schematics for every skill level.
See the plansSponsored: links above are affiliate links. FixlyGuide may earn a commission on qualifying purchases — at no extra cost to you.
Frequently asked questions
How often do I really need to seal my grout?+
For high-traffic, high-moisture areas like a primary shower, you should reseal annually. For lower-moisture areas like a bathroom floor or kitchen backsplash, every 2-3 years is sufficient. The best way to know is to test it: place a drop of water on the grout. If it beads up, the sealer is still working. If it soaks in, it's time to reseal.
What's the difference between mold and mildew?+
Mildew is a type of fungus that grows on surfaces. It's typically powdery or downy and looks gray, white, or yellowish. Mold is also a fungus but tends to be fuzzy or slimy and can be black, green, or other dark colors. Mold often indicates a more significant moisture problem as it can penetrate deeper into materials, while mildew is more of a surface-level issue. Both should be cleaned promptly.
Can I just paint over stained grout?+
You can, but it's not the best solution. Products known as 'grout colorants' or 'grout paint' are essentially epoxy paints that cover the old grout. However, you must meticulously clean and kill all mold first; otherwise, the mold will continue to grow underneath and eventually ruin the paint. Sealing clean grout is a more durable, professional, and long-lasting solution than painting over the problem.
My grout is epoxy-based. Does it need to be sealed?+
No, epoxy grout does not need to be sealed. Unlike cement-based grout, epoxy grout is chemically cured and non-porous. It is inherently stain-resistant and waterproof, which is why it's a popular (though more expensive) choice for showers and kitchens.


Discussion
Loading comments…