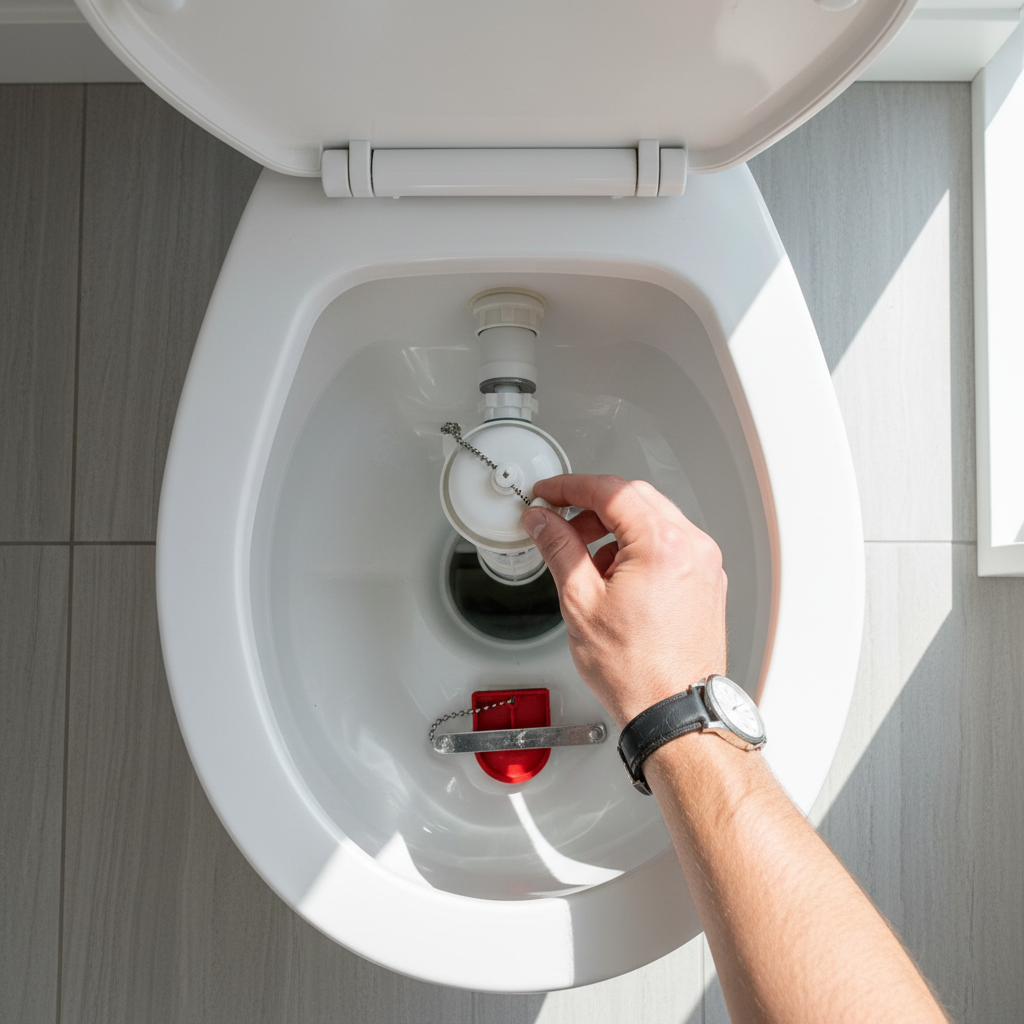
- Incorrect Float Height: This is the most common issue. If the float is set too high, the tank's water level will rise above the overflow tube, causing a constant, silent trickle of water into the bowl.
- Imperfect Flush Valve Seat: The rim where the flapper rests can become pitted, corroded, or coated with mineral deposits over time. A new flapper cannot create a perfect seal on a rough surface, allowing water to seep past it.
- Refill Tube Siphoning: If the small black refill tube is pushed too far down into the overflow pipe, it can sit below the water line and create a siphon that constantly drains water from the tank.
- Incorrect Flapper Chain Length: A chain that is too taught won't allow the flapper to seat fully. A chain that is too long can get tangled or caught under the flapper, breaking the seal.
Plumbing · Leak
| Project category | Plumbing |
|---|---|
| Problem type | Leak |
| Trade required | Plumbing |
| Urgency | Emergency — act now |
| Safety risk | High safety risk |
| DIY suitability | DIY for experienced homeowners |
| Cost category | Low cost |
| Typical timeline | Shut water off now; repair usually same or next day |
| Contractor type | Licensed plumber |
Repair option
Isolate at the shutoff, replace the failed component, and dry the cavity fully.
Replacement option
Repipe the run or the branch when corrosion is widespread.
Common causes
- Failed supply line or shutoff valve
- Worn washers, cartridges, or P-trap connections
- Pinhole corrosion in older copper
Relevant tools:emergency checklistdiy or hire a pro
Published July 7, 2026Last updated August 17, 2026
Tools & materials you'll need
Affiliate linksAs an Amazon Associate FixlyGuide earns from qualifying purchases — at no extra cost to you. Prices and availability are accurate as of publication and subject to change.
Quick Answer
If your toilet keeps running every few minutes after replacing the flapper, the issue is a slow leak from the tank into the bowl. This is usually caused by an improperly set fill valve float, a worn-out fill valve seal, or a corroded and pitted flush valve seat that prevents the new flapper from sealing perfectly. These problems allow water to seep out, causing the tank level to drop and forcing the fill valve to turn on intermittently to refill the lost water.
The Problem
You hear it in the middle of the night—a faint "hiss" as your toilet mysteriously refills for ten seconds, then falls silent. An hour later, it does it again. This maddening, intermittent running is often called "phantom flushing" or "ghost flushing," and it's a sign that your toilet has a slow, internal leak. While your first instinct might have been to replace the flapper—the most common culprit for a constantly running toilet—you’ve found that the problem persists. You're not imaging things, and you're right to be concerned.
This isn't just an annoyance; it's a significant waste of resources and money. A toilet that keeps running every few minutes is silently sending water from the tank down the drain, 24 hours a day. According to the EPA, a single leaking toilet can waste over 6,000 gallons per month, which is equivalent to more than 200 gallons per day. This can easily add $50, $100, or even more to your monthly water bill without any obvious sign of a leak on the floor. The sound you hear is the fill valve activating to replace the water that has secretly seeped from the tank into the bowl. The problem isn't that water is coming in; it's that water is slowly getting out, and the most common solutions beyond the flapper lie with the fill valve, the float, and the surface the flapper seals against.
How It Works
To understand why your toilet keeps running intermittently, you first need to understand the elegant, gravity-powered system inside your toilet tank. It's a finely balanced ecosystem of a few key parts that must work in perfect harmony.
At the bottom of the tank is the Flush Valve Assembly, a large plastic or brass fitting that creates the opening for water to rush into the bowl during a flush. The rim of this opening is called the Flush Valve Seat. Think of it as the door jamb. The Flapper is the "door" that plugs this opening. It's typically a rubber or silicone seal connected by a Lift Chain to the flush handle on the outside of the tank.
On the other side of the tank stands the Fill Valve (historically called a "ballcock"). This is the tall tower responsible for refilling the tank after a flush. It's connected directly to the water supply line coming from the wall. The fill valve is controlled by a Float, which can either be a large ball at the end of a metal arm or a plastic cup that moves up and down the fill valve's shaft. As the water level in the tank rises, it lifts the float. When the float reaches a preset height, it pushes a lever or mechanism inside the fill valve that shuts off the flow of water.
Finally, there is the Overflow Tube, a tall, open pipe that is part of the flush valve assembly. This is a crucial safety feature. Its purpose is to direct any excess water into the toilet bowl if the fill valve fails to shut off, preventing a tank overflow that would otherwise flood your bathroom. The water level in the tank should always be about an inch below the top of this tube.
The "phantom flush" occurs when this system is compromised. Water slowly leaks from the tank, past the flapper, and into the bowl. As the tank's water level gradually drops, so does the float. Once the float drops low enough, it triggers the fill valve to open for a few seconds, refilling the tank to its designated level. The valve then shuts off, and the silent, wasteful cycle begins all over again.
Step-by-Step Fix
Since you've already replaced the flapper, it's time to investigate the other three common culprits: the float height, the fill valve itself, and the flush valve seat. This diagnostic process will help you pinpoint the exact cause.
SAFETY NOTE: Always use caution when working on plumbing. While the water inside a toilet tank is clean, it's wise to wear gloves. Be gentle with components, as overtightening plastic parts or dropping a heavy tank lid can lead to cracks and more expensive repairs.
-
Safety First: Shut Off the Water — Before you begin any work, locate the water supply shutoff valve on the wall behind the toilet, usually a small oval-shaped handle. Turn it clockwise until it stops. Flush the toilet to drain nearly all the water from the tank.
-
Mark the Full Water Line — Before you emptied the tank (or after this process, when you turn the water back on), let the tank fill completely. Use a pencil to make a clear mark on the inside back wall of the tank precisely at the water level when the fill valve shuts off. This will be your critical reference point later.
-
Perform the Dye Test — With the tank full of water, add 5-10 drops of dark food coloring or a plumber's dye tablet. Do not flush the toilet. Now, wait for at least 30 minutes. After the time has passed, look in the toilet bowl. If you see any colored water in the bowl, you have definitively confirmed a leak from the tank to the bowl.
-
Check the Static Water Level — Look at your pencil mark and its relation to the overflow tube. The correct water level should be approximately 0.5 to 1 inch below the very top of the overflow tube. If the water level is high enough to be at or above the top of the tube, water is constantly trickling down the overflow, causing the fill valve to cycle. This is a float adjustment issue.
-
Adjust the Float Height — Lowering the float will cause the fill valve to shut off sooner, resulting in a lower water level in the tank.
- For Float Cup Style Fill Valves: These have a float that moves up and down the main shaft of the fill valve. You can lower the water level by either squeezing a spring clip and sliding the float down or by turning a long plastic adjustment screw (usually Phillips head or a thumb screw) counter-clockwise.
- For Float Ball Style Fill Valves: These have a large ball on a metal arm. You can lower the water level by gently bending the metal arm downward or by turning the adjustment screw located where the arm connects to the fill valve.
-
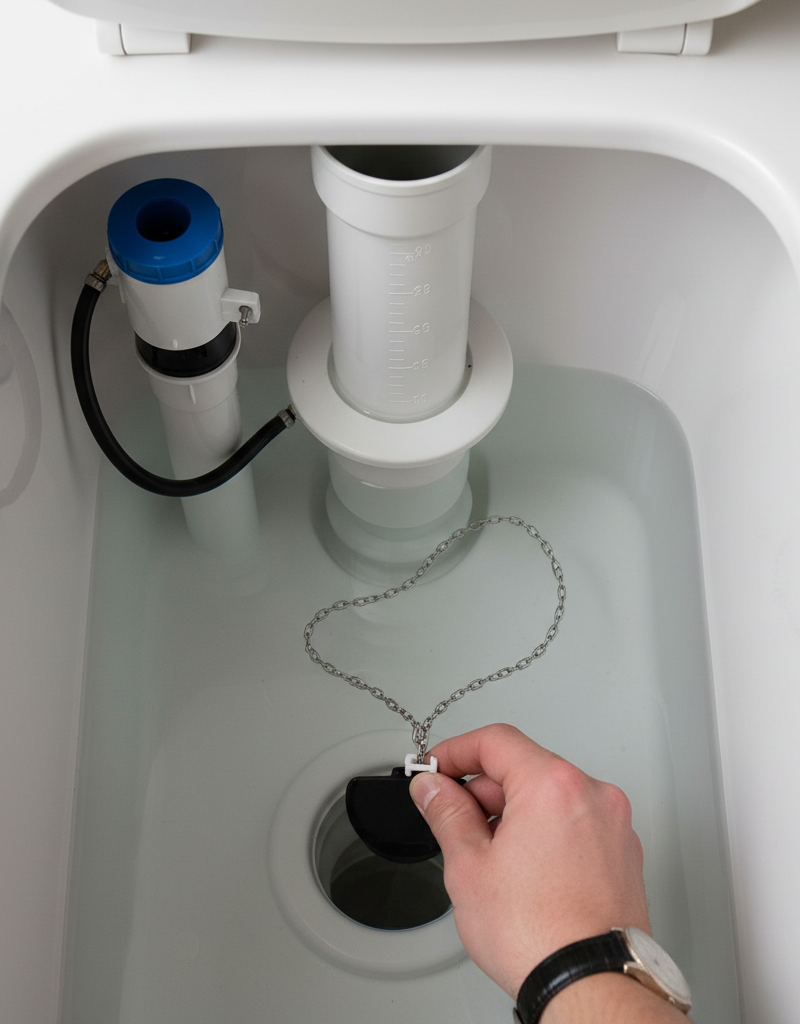
Inspect the Refill Tube Position — Find the small, flexible black rubber tube that runs from the fill valve to the overflow pipe. This tube's purpose is to send a small amount of water down the overflow during a refill to replenish the water in the bowl. The end of this tube must be positioned above the standing water level in the tank. If the tube end is pushed too far down into the overflow pipe and is submerged in water, it can create a siphon that slowly drains the tank. Simply reposition the tube using its clip so its opening is above the water line.
-
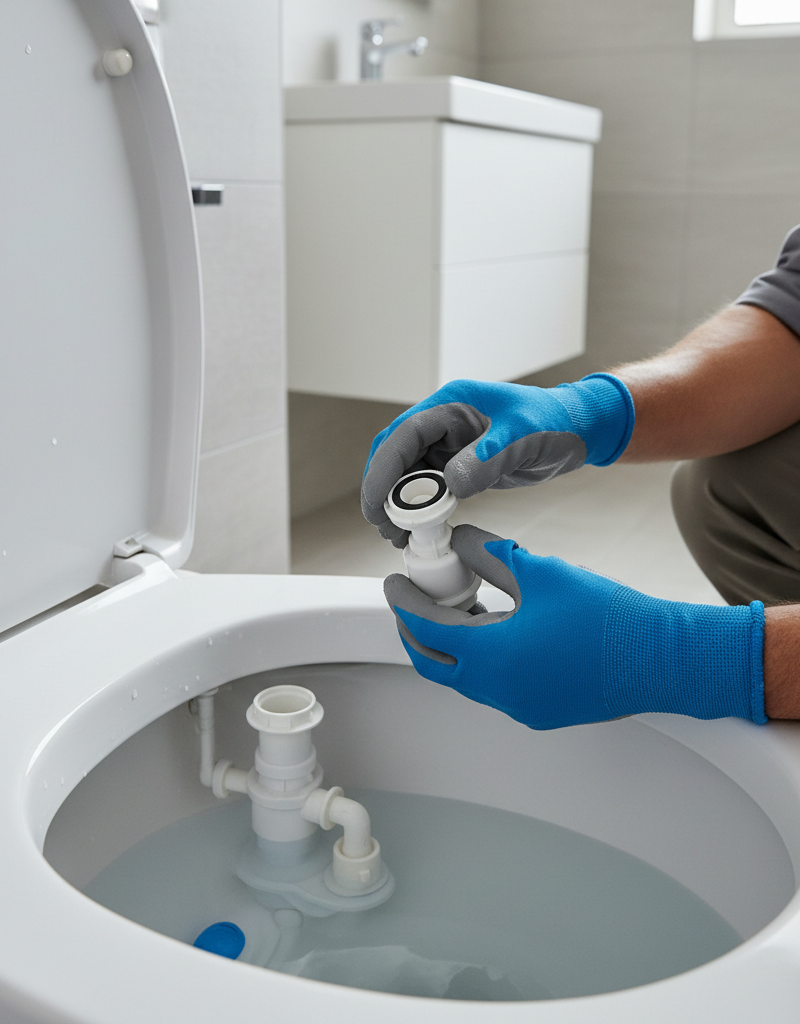
Clean the Fill Valve Seal — Mineral grit or sediment can get caught in the fill valve's internal diaphragm seal, preventing it from closing completely. With the water off, place an inverted cup over the top of the fill valve to act as a shield. Briefly turn the water supply on for a few seconds to flush debris out of the valve. For a deeper clean, shut off the water, unscrew or unclip the top cap of the fill valve, and carefully remove the seal. Rinse it under a faucet to remove any debris, then reassemble.
-
Inspect and Clean the Flush Valve Seat — Since you have a new flapper, the problem may be the surface it rests on. Drain the tank again. Use a sponge to dry the area around the flush valve opening. Now, carefully run your finger around the smooth, flat rim (the "seat") where the flapper sits. Feel for any nicks, scratches, mineral buildup, or corrosion. Even a tiny imperfection can break the seal.
-
Smooth the Flush Valve Seat — If you feel roughness, use a gentle abrasive to smooth it. For a plastic seat, a non-abrasive nylon scouring pad is best. For a brass seat, you can use very fine-grit emery cloth or steel wool. Rub just enough to remove the corrosion or buildup and create a uniformly smooth surface. Wipe away any residue with a damp cloth before re-installing the flapper.
-
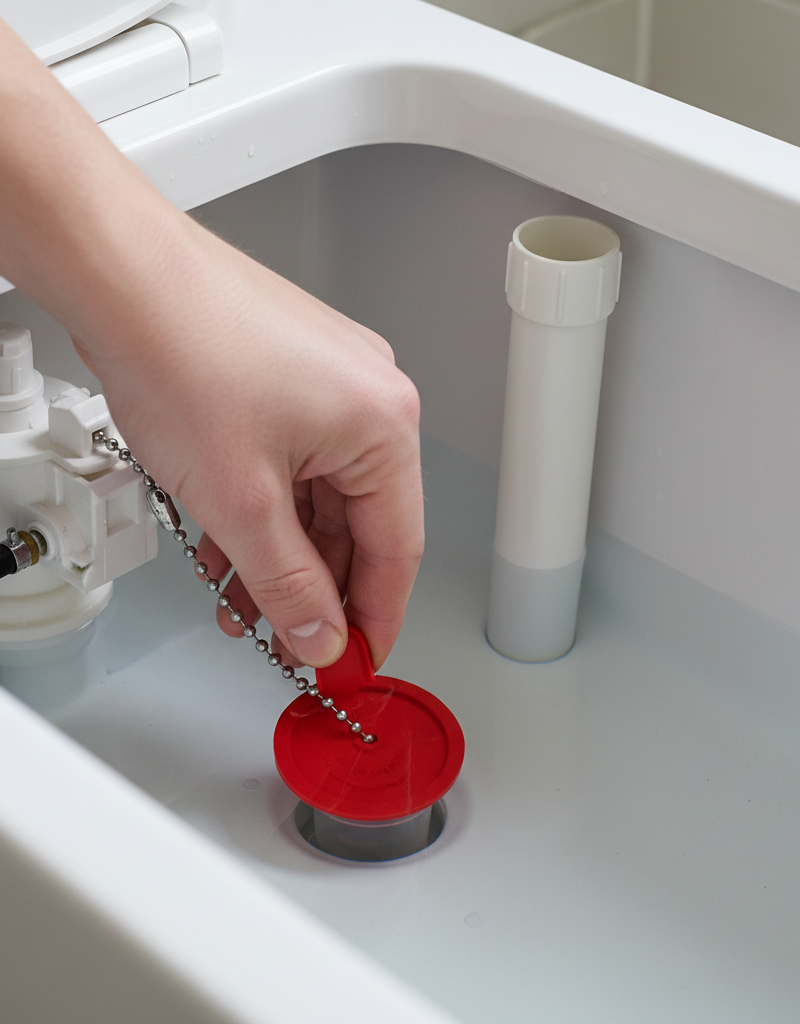
Check the Flapper Chain Length — A chain with too much slack can get caught underneath the flapper. A chain that is too tight will lift the flapper slightly off the seat, causing a constant leak. There should be only about 1/2 inch of slack in the chain when the flapper is closed. Adjust the clip position on the flush handle lever as needed.
-
Turn on Water and Test — Turn the water supply valve back on (counter-clockwise). Let the tank fill completely. Check that the new water level is about an inch below the overflow tube. Now, wait and listen. If you’ve addressed the correct problem, the phantom flushing should be gone. You can perform the dye test one more time to be absolutely sure.
Common Causes
If your toilet keeps running every few minutes, one of these underlying issues is almost certainly the culprit, especially after a flapper replacement.
- Incorrect Float Height: This is the most common issue. If the float is set too high, the tank's water level will rise above the overflow tube, causing a constant, silent trickle of water into the bowl.
- Degraded or Dirty Fill Valve Seal: Tiny particles of sediment, rust, or sand from the water lines can get lodged in the fill valve's internal seal, preventing it from shutting off completely. This causes the water level to slowly rise and spill into the overflow tube.
- Imperfect Flush Valve Seat: The rim where the flapper rests can become pitted, corroded, or coated with mineral deposits over time. A new flapper cannot create a perfect seal on a rough surface, allowing water to seep past it.
- Refill Tube Siphoning: If the small black refill tube is pushed too far down into the overflow pipe, it can sit below the water line and create a siphon that constantly drains water from the tank.
- Incorrect Flapper Chain Length: A chain that is too taught won't allow the flapper to seat fully. A chain that is too long can get tangled or caught under the flapper, breaking the seal.
Common Mistakes
When trying to fix an intermittently running toilet, homeowners can inadvertently make the problem worse or create new ones. Avoid these common mistakes:
- Focusing Only on the Flapper: The most frequent mistake is assuming the flapper is the only possible cause. A new flapper on a corroded seat is useless.
- Using Corrosive In-Tank Cleaners: Drop-in bleach or chemical tablets can make the bowl look clean, but they severely degrade the rubber and plastic components inside the tank, including the flapper and valve seals, leading to premature failure.
- Setting the Water Level Too High: After installing a new fill valve, many people fail to adjust the float, leaving the water level so high that it constantly drains down the overflow tube.
- Overtightening Connections: When replacing a fill valve or flush valve, overtightening the plastic nuts that secure the components to the tank can crack the porcelain, requiring a full toilet replacement.
- Not Flushing the Supply Line: When installing a new fill valve, it's crucial to flush the water supply line for a few seconds into a bucket before connecting it. This clears out any sediment that would otherwise immediately foul the new valve's seal.
Cost & Time Breakdown
Fixing a toilet that keeps running every few minutes is often a very low-cost DIY project. The price increases if you need a professional plumber or if you decide to replace entire components rather than just cleaning or adjusting them.
| Task | DIY Cost | Pro Cost | Average Time |
|---|---|---|---|
| Diagnostics (Dye Test, Inspection) | $0 - $5 (for dye) | $75 - $150 | 30-45 minutes |
| Adjusting Float & Refill Tube | $0 | $75 - $150 | 15-30 minutes |
| Cleaning Fill Valve & Flush Valve Seat | $5 (for a scouring pad) | $100 - $175 | 45-60 minutes |
| Replacing the Fill Valve | $15 - $40 | $150 - $250 | 1-2 hours |
| Replacing the Flush Valve (includes removing tank) | $20 - $50 (kit) | $200 - $350 | 2-4 hours |
| Complete Toilet Rebuild Kit (All Parts) | $30 - $60 | $250 - $400 | 2-4 hours |
Tips & Prevention
- Perform a Dye Test Annually: Once a year, put food coloring in your toilet tanks and wait 30 minutes without flushing. It's the fastest way to catch a silent leak before it impacts your water bill.
- Avoid In-Tank Bleach Tablets: Clean your bowl with a brush and a dedicated bowl cleaner. This will extend the life of all the rubber and plastic parts in your tank significantly.
- Clean the Seat During Flapper Replacement: Whenever you replace a flapper, make it a rule to also inspect and clean the flush valve seat it rests on.
- Listen to Your Toilet: Pay attention to the sounds your toilet makes. If you hear it running intermittently or for an excessively long time after a flush, it's time to investigate.
- Install a Modern Fill Valve: If you have an old float ball style fill valve, consider upgrading to a modern float-cup style valve. They are more efficient, easier to adjust, and less prone to problems.
When to Call a Professional
While most of these fixes are well within the grasp of a determined DIYer, there are times when calling a licensed plumber is the wisest course of action. If you have gone through all the diagnostic steps above—adjusting the float, cleaning the fill valve, and cleaning the flush valve seat—and the toilet still keeps running every few minutes, you may have a more complex issue, like a hairline crack in the flush valve tube or a warped tank.
You should also call a professional if the job requires removing the toilet tank from the bowl, such as for a full flush valve replacement. This task involves heavy lifting and the risk of improper re-installation, which can lead to major leaks. If you discover water on the floor around the base of the toilet, shut off the water and call a plumber immediately, as this indicates a failed wax ring or a crack in the toilet bowl itself, problems that are unrelated to the internal tank mechanisms.
What should this project cost?
Enter your project details for a realistic cost range before you call anyone.
Common repairs run $150–$650; repipes and water-heater replacements reach $1,500–$4,500.
- Regional adjustment
- National average
- Labor share (typical)
- ~$754
- Quotes to collect
- 3 written estimates
Educational estimate based on national averages — not a binding quote. Always confirm with written local estimates.
Fixly Project Decision Box
- DIY difficulty
- Moderate
- Estimated time
- 30 minutes – half a day
- Cost level
- Moderate
Main tools / materials
- Adjustable wrench
- Plunger or drain auger
- Bucket and towels
- Thread tape
When to stop and call a pro
- Water you cannot shut off at the fixture or main
- Sewage backing up into more than one fixture
- Water near electrical panels or outlets
- Gas water heater work beyond relighting a pilot
Need professional help?
Get a Licensed PlumberGet the print-ready PDF of this guide
A clean, ad-free, printable version you can keep on your phone or pin to the workshop wall. Free with a FixlyGuide account.
- Print-optimized layout
- Tools, materials & every step included
- Saved to your account
Frequently asked questions
Why does my toilet run for a few seconds then stop?+
This is commonly called a 'phantom flush.' It happens when water is slowly leaking from the tank into the bowl. When the water level drops low enough, the fill valve is triggered to turn on for a few seconds to refill the tank back to its proper level, and then it shuts off.
Can a brand new flapper be bad or faulty?+
While it's rare for a new flapper to be defective, it can happen. More often, the new flapper is the wrong size or style for your specific toilet model, or the flush valve seat it's trying to seal against is rough, corroded, or dirty, preventing a proper seal.
Exactly how much water does a toilet that runs intermittently waste?+
A toilet that runs every few minutes can waste a surprising amount of water, often over 200 gallons per day (or 6,000 gallons a month). This can add $50, $100, or more to your monthly water bill, depending on your local water rates.
Is it okay for the small toilet refill tube to be in the water?+
No, this is a common installation error. The tip of the small black refill tube must be positioned above the standing water level in the tank's overflow pipe. If the end of the tube is submerged in the water, it can create a siphon effect that slowly but surely drains water out of your tank, causing it to refill intermittently.
Discussion
Loading comments…