Tools & materials you'll need
Affiliate linksAs an Amazon Associate FixlyGuide earns from qualifying purchases — at no extra cost to you. Prices and availability are accurate as of publication and subject to change.
Quick Answer
Most running toilets stem from a few common culprits within the tank, primarily issues with the flapper valve or the fill valve. Often, a simple adjustment of the flapper chain or a quick cleaning of the flapper seat can resolve the problem, stopping the water waste in under a minute. For refill valve issues, minor adjustments or a quick replacement can restore your toilet to silent operation.
The Problem
A running toilet is more than just an annoying sound; it's a significant waterwaster, potentially adding hundreds of dollars to your annual water bill. A toilet that consistently runs means that fresh, clean water is continuously flowing from the tank into the bowl and then down the drain, even when not in use. This constant flow indicates that a component designed to stop the water after a flush isn't working correctly, leading to inefficiency and unnecessary expense. Homeowners often notice the sound first, a subtle hiss or gurgle, but the real impact is on their wallet and the environment.
How It Works
To understand why your toilet is running, it helps to know how a toilet tank operates. When you flush, the handle lifts a chain connected to a flapper valve at the bottom of the tank. This flapper opens, allowing water to rush from the tank into the bowl, initiating the flush. As the tank empties, the flapper falls back into place, sealing the tank's drain hole. Simultaneously, the fill valve (float mechanism) senses the dropping water level. Once the flapper seals, the fill valve opens, refilling the tank with water from the supply line. As the water level rises, a float (either a cup around the fill valve shaft or an arm with a ball) rises with it. When the water reaches the predetermined fill line, the float triggers the fill valve to shut off the water supply, and a refill tube directs a small amount of water into the overflow tube to replenish the toilet bowl's trap seal.
A running toilet occurs when one of these components fails to perform its job correctly. If the flapper doesn't seal completely, water leaks into the bowl, causing the float to drop slightly, opening the fill valve again and again in a cycle. If the fill valve itself is faulty or set too high, it might continuously try to fill the tank beyond its capacity, leading water to spill into the overflow tube. If the refill tube is stuck inside the overflow tube or is too long, it can siphon water out of the tank or trigger constant small refills. Understanding this cycle is key to diagnosing and fixing the problem.
Step-by-Step Fix
Step 1: Inspect the Flapper Chain — Ensure proper chain length and free movement.
Adjusting the flapper chain is often the quickest fix. Open the lid of your toilet tank. Observe the chain connecting the flush lever to the flapper at the bottom. It should have a slight amount of slack, typically about half an inch to an inch, when the flapper is fully closed. If the chain is too taut, it can prevent the flapper from sealing completely. If it's too loose, it might get caught under the flapper, also preventing a proper seal.
- To adjust: Unhook the chain from the flush lever arm and reattach it to a different link until the correct slack is achieved. Make sure the chain doesn't snag on any other components in the tank.
- If this doesn't work: Proceed to inspect the flapper itself and its seat.
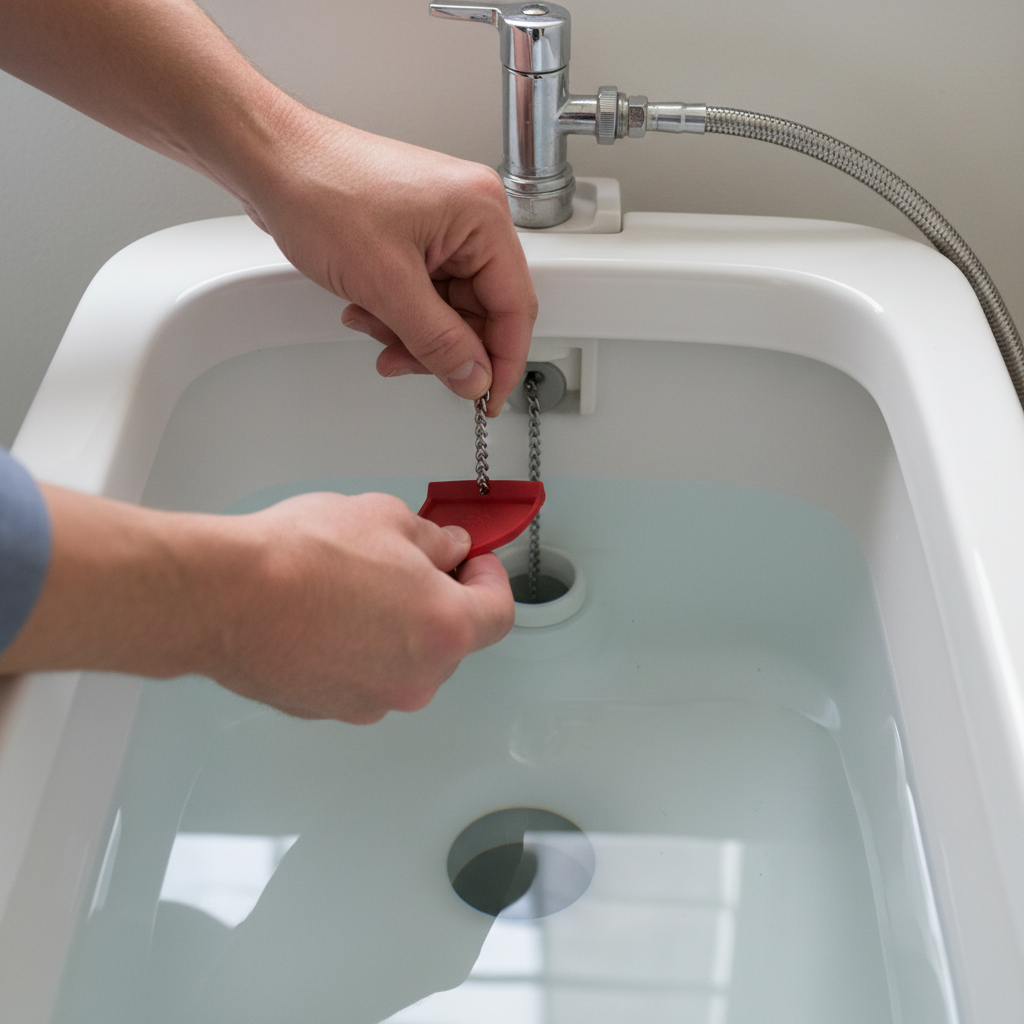
Step 2: Check and Clean the Flapper Valve and Seat — Remove debris that prevents a good seal.
The flapper valve is a common culprit. Over time, mineral deposits, grime, or even small debris can accumulate on the rubber flapper or the porcelain rim (the flapper seat) it rests on, preventing a watertight seal. Drop a few drops of food coloring into the tank (without flushing). Wait 15-20 minutes. If color appears in the bowl, you have a leak.
- To clean: With the water supply to the toilet turned off (valve usually on the wall behind the toilet), flush the toilet to empty the tank. Gently remove the flapper (it usually unhooks or slides off posts). Use a soft sponge or an old toothbrush and a mild cleaner (like white vinegar or dish soap) to thoroughly clean both sides of the flapper and the porcelain or plastic flapper seat where it rests. Inspect the flapper for any signs of cracking, warping, or deterioration. If it's damaged, it will need to be replaced.
- Tools: Sponge or old toothbrush, white vinegar.
Step 3: Replace a Worn Flapper Valve — Install a new flapper for a reliable seal.
If your flapper is old, stiff, cracked, or simply doesn't seal well after cleaning, it's time for a replacement. Flappers typically last 5-7 years, but hard water can shorten their lifespan. They are inexpensive and widely available at hardware stores.
- To replace: Turn off the water supply and flush the toilet. Unhook the old flapper from the flush lever chain and unclip or slide it off the overflow tube posts. Take the old flapper with you to the store to ensure you get a compatible replacement (universal flappers are also available but check compatibility). Install the new flapper by reversing the removal steps, ensuring it's properly seated and the chain has the correct tension (see Step 1).
- Tools: New flapper valve.
Step 4: Adjust the Fill Valve (Float Height) — Set the water level accurately.
The fill valve controls how high the water fills in the tank. If the water level is too high, it can spill into the overflow tube, causing the fill valve to continuously try to fill the tank. Look for the water level indicator line, often stamped or molded on the inside back wall of the tank. The water level should sit about 1 inch below the top of the overflow tube and at or slightly below the fill line.
- To adjust: Most modern fill valves have a simple adjustment screw or a clip that allows you to raise or lower the float cup. Turn the screw clockwise to lower the water level or counter-clockwise to raise it. For older ball-cock style floats, you may need to gently bend the float arm downwards. Flush the toilet after each adjustment to check the new water level.
- Safety: Do not overtighten adjustment screws.
Step 5: Check the Refill Tube — Ensure it's correctly positioned and not siphoning.
The refill tube is a small flexible tube that runs from the top of the fill valve into the overflow tube. Its purpose is to refill the toilet bowl with water after a flush, creating the water seal that prevents sewer gases from entering your home. If this tube is inserted too far down into the overflow tube, it can create a siphoning effect, continuously drawing water out of the tank even when the fill valve is off.
- To fix: Pull the refill tube out of the overflow tube so that it's only slightly inserted, typically about half an inch, and securely clipped to the top edge of the overflow tube. Ensure it’s not submerged in the water inside the overflow tube. If the tube is too long, you can carefully trim a small amount off the end with scissors, ensuring a clean cut.
- Tools: Scissors.
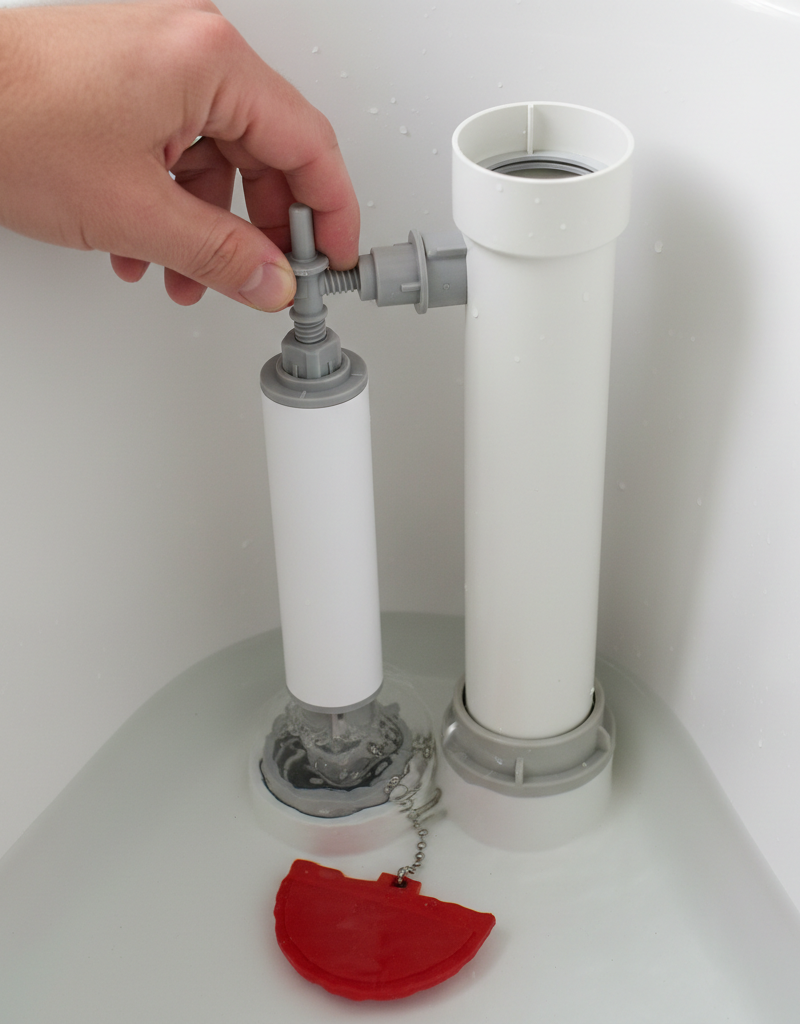
Step 6: Diagnose a Faulty Fill Valve — Test and replace if necessary.
If none of the above steps work and your toilet is still running, the fill valve itself might be defective. A faulty fill valve can fail to shut off the water completely, even when the float is at the correct height. To test, push down gently on the float mechanism when the tank is full. If the water stops running instantly, the fill valve is likely fine, and the issue is with the float adjustment or flapper. If the water continues to run or only slows slightly, the fill valve is probably the problem.
- To replace: This is a more involved step, but still very DIY-friendly. Turn off the water supply and flush the toilet to empty the tank. Disconnect the supply line from the bottom of the fill valve. Use a basin wrench or adjustable wrench to loosen and remove the large nut holding the fill valve in place under the tank. Lift out the old fill valve. Install the new fill valve, ensuring the large washer is correctly seated, and tighten the holding nut. Reconnect the supply line (hand-tighten, then a quarter turn with a wrench), and turn the water supply back on. Adjust the float height as described in Step 4.
- Tools: Adjustable wrench, basin wrench.
- If this doesn't work: You may have a more complex issue, and it's time to consider calling a professional plumber.
Common Causes
- Worn or Damaged Flapper Valve: The most frequent offender. Over time, the rubber stiffens, cracks, or loses its ability to form a watertight seal against the drain opening.
- Improper Flapper Chain Length: A chain that's too tight prevents the flapper from fully closing, while one that's too loose can get caught underneath it.
- Debris on Flapper Seat: Mineral buildup, rust, or small pieces of sediment can accumulate on the rim where the flapper rests, creating tiny gaps for water to leak through.
- Incorrect Water Level (Fill Valve Adjustment): If the fill valve is set to fill the tank too high, water continuously flows into the overflow tube, mimicking a running toilet.
- Faulty Fill Valve: The internal components of the fill valve mechanism can wear out, preventing it from completely shutting off the water supply once the tank is full.
- Misaligned or Siphoning Refill Tube: If the refill tube is inserted too far into the overflow pipe or is incorrectly positioned, it can create a siphoning action, continuously drawing water from the tank.
Common Mistakes
- Ignoring the problem: A running toilet can waste hundreds of gallons of water per day, leading to significantly higher water bills. Address it quickly!
- Over-tightening nuts and bolts: Plastic toilet components can crack or strip if you use too much force. Hand-tighten connections first, then give a quarter-turn with a wrench if needed.
- Using harsh chemicals: Avoid using abrasive cleaners or strong chemicals inside the toilet tank, as they can damage rubber components like the flapper and seals.
- Buying the wrong replacement parts: There are various types of flappers and fill valves. Take the old part with you to the hardware store or take pictures to ensure you get a compatible replacement.
- Adjusting only the chain: While a common fix, don't stop there if the problem persists. Check the flapper for wear and the fill valve for proper adjustment and function.
- Not turning off the water supply: Always turn off the water to the toilet before performing any work inside the tank to prevent accidental floods.
Cost & Time Breakdown
| Task | DIY Cost | Pro Cost | Time |
|---|---|---|---|
| Adjusting Flapper Chain | $0 | $75–$150 | 1–3 minutes |
| Cleaning Flapper/Seat | $0–$5 | $75–$150 | 5–10 minutes |
| Replacing Flapper Valve | $8–$20 | $100–$200 | 15–30 minutes |
| Adjusting Fill Valve | $0 | $75–$150 | 5–10 minutes |
| Replacing Fill Valve | $15–$30 | $150–$250 | 30–60 minutes |
| Diagnosing Complex Issues | $0 | $75–$150 (visit) | Varies |
Tips & Prevention
- Perform the Dye Test Annually: Drop a few drops of food coloring into your tank. If it appears in the bowl after 15 minutes, you have a leak. This helps catch minor leaks before they become major water-wasters.
- Inspect Flapper and Seals: Monthly or quarterly, lift your tank lid and visually inspect the flapper for signs of wear, cracking, or stiffness. Check all other seals for deterioration.
- Clean Tank Components: Periodically clean mineral buildup from the flapper, flapper seat, and fill valve components using white vinegar and a soft brush.
- Proper Water Level: Ensure your tank's water level is always about 1 inch below the top of the overflow tube to prevent water from constantly flowing down the overflow.
- Replace Worn Parts Proactively: If your flapper is over 5-7 years old or shows signs of wear, consider replacing it before it fails completely. These parts are inexpensive.
- Avoid Tank Tablets: Chemical toilet tank tablets can degrade the rubber and plastic components inside your toilet over time, leading to premature failure of flappers and seals.
When to Call a Professional
While many running toilet issues are simple DIY fixes, there are times when calling a licensed plumber is the wisest choice. If you've tried all the common adjustments and part replacements and the toilet continues to run, or if you're unsure about the cause, a professional can quickly diagnose and resolve the problem. Call a plumber if you notice water leaking from the base of the toilet or from the supply line connections that you cannot stop. Additionally, if the issue seems to stem from the toilet's internal trap or the main drain, which are not accessible through the tank, professional intervention is necessary. Never attempt to force parts or connections that aren't yielding easily, as this can lead to costly damage or exacerbating leaks. A plumber has the specialized tools and expertise to handle intricate repairs or identify underlying plumbing system issues that might be contributing to the problem.
Related Articles
Keep troubleshooting with these hand-picked guides from FixlyGuide:
- The $5 Flapper Trick Plumbers Hope You Don't Know About Your Running Toilet — Discover the secret $5 flapper trick that often fixes a running toilet, saving you money on parts and plumber call-outs.
- The $2 Trick to Stop a Running Toilet (Plumbers Don't Want You to Know) — Discover the simple, two-dollar fix that can stop your running toilet in minutes, saving water and preventing costly repairs.
- The $5 Secret to Silencing a Running Toilet (Plumbers Hope You Don't Know) — A running toilet is usually caused by a simple issue with the flapper or its chain, leading to constant water waste and higher utility bill…
- The 30-Second Toilet Fix Plumbers Don't Want You to Know — A running toilet can waste hundreds of gallons of water per day, but often the fix is incredibly simple and takes under a minute.
- The 3 Hidden Reasons Your Toilet Tank Fills Slowly (And How to Fix Each) — Discover the common culprits behind a slow-filling toilet tank, from crucial valve issues to subtle obstructions, and learn how to restore…
- Is Your Gutter Sagging After Every Storm? The Hidden Flaw Most Homeowners Miss — Discover the overlooked reason your gutters sag after every storm and learn the lasting fix that most homeowners miss.
Frequently asked questions
How much water does a running toilet waste?+
A continuously running toilet can waste hundreds of gallons of water per day, potentially adding thousands of gallons to your water bill each month. Even a small, slow leak can amount to over 500 gallons of water wasted monthly.
How do I know if my flapper is bad?+
The easiest way to check your flapper is with a food coloring dye test. Drop a few drops of dark food coloring into the toilet tank (away from the flapper). Do not flush. Wait 15-20 minutes. If the color appears in the toilet bowl, your flapper is likely leaking and needs replacement or cleaning.
Can I use bleach in my toilet tank?+
No, it's generally not recommended to use bleach or other harsh chemical tablets/cleaners in your toilet tank. These chemicals can corrode and degrade the rubber and plastic components (like the flapper and seals) over time, leading to leaks and premature failure of parts. Use mild cleaners and brushes for maintenance.
What if my toilet runs intermittently?+
An intermittently running toilet often points to a slow leak from the flapper valve. The water level in the tank slowly drops, triggering the fill valve to briefly turn on and refill the tank. Perform the food coloring test to confirm a flapper leak. If no leak is found, check the refill tube's position within the overflow tube, as it could be siphoning slowly.
How often should I replace my toilet flapper?+
Toilet flappers typically last between 5 to 7 years, though this can vary depending on water quality, toilet usage, and the type of flapper. If you have hard water, you might need to replace it more frequently. It's a good idea to inspect it annually for signs of wear and replace it if it looks cracked, stiff, or warped.


Discussion
Loading comments…