Tools & materials you'll need
Affiliate linksAs an Amazon Associate FixlyGuide earns from qualifying purchases — at no extra cost to you. Prices and availability are accurate as of publication and subject to change.
Quick Answer
Your toilet is constantly running because the flapper, the rubber seal at the bottom of the tank, isn't doing its job. Over time, flappers can degrade, become dislodged, or accumulate mineral deposits, preventing a tight seal and allowing water to continuously flow from the tank into the bowl and down the drain. Replacing the flapper is a quick, inexpensive fix that can save you significant money on your water bill and prevent further damage to your toilet's internal components.
The Problem
You hear that persistent, ghost-like hiss or whoosh from your toilet tank, even when it hasn't been flushed recently. This isn't just annoying; it's a significant waste of water, potentially adding hundreds of dollars to your annual utility bill. A running toilet can waste hundreds, even thousands, of gallons of water per month. That's equivalent to leaving a garden hose trickling and can escalate your water consumption dramatically, silently emptying your wallet while seemingly doing nothing. Beyond the financial drain, persistent running can accelerate wear on other toilet components like the fill valve, potentially leading to more complex and costly repairs down the line. It's a sign that your toilet's internal sealing mechanism is compromised.
How It Works
Understanding how your toilet works is key to fixing a running issue. When you flush, the handle lifts a chain connected to the flapper (or tank ball) at the bottom of the tank. This flapper, typically a rubber or plastic disc, opens, allowing water to rush from the tank into the toilet bowl, creating the siphon effect that pulls waste down the drain. As the tank empties, the flapper falls back into place, sealing the tank outlet. Simultaneously, the float in the tank drops, activating the fill valve. The fill valve then refills the tank to a preset level, and a small tube diverts some water into the overflow tube to replenish the bowl. Once the tank is full and the float rises, the fill valve shuts off, and the system is ready for the next flush. A running toilet means this seal isn't complete, or the fill valve isn't shutting off correctly. Water is constantly escaping the tank, or the fill valve is continuously trying to refill a tank that never quite reaches its "full" state. The flapper is the prime suspect because it's a moving part made of soft material, constantly exposed to water and chemicals, making it prone to degradation, warping, or mineral buildup.
Step-by-Step Fix
Safety First: Before beginning any toilet repair, always turn off the water supply to the toilet. The shut-off valve is usually located on the wall behind or beneath the toilet tank. Turn it clockwise until the water flow stops.
1. Drain the Tank Completely — Empty the water for clear access
Once the water supply is off, flush the toilet. Hold the handle down to allow as much water as possible to drain from the tank into the bowl. This gives you a dry, clear workspace to inspect and fix the flapper. Use a sponge or small cup to remove any remaining water at the bottom of the tank to prevent spills.
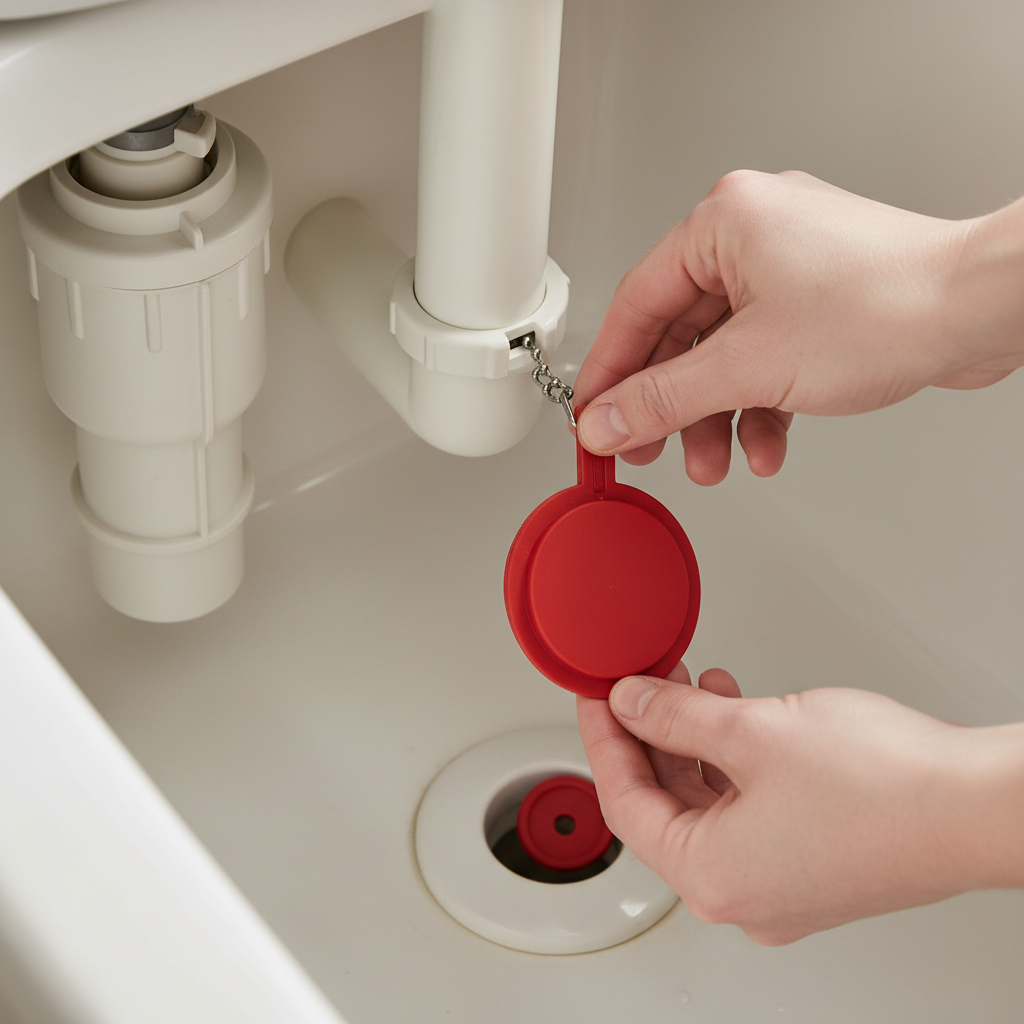
2. Inspect the Flapper and Chain — Identify wear, damage, or improper alignment
Carefully examine the flapper. Is it discolored, brittle, warped, or covered in mineral deposits? Pinch the rubber; if it feels stiff or crumbly, it's likely past its prime. Check the chain that connects the flush handle to the flapper. Is it too long, causing the flapper to get stuck open? Is it too short, preventing the flapper from closing fully? Ensure the chain is free of tangles and isn't catching on anything inside the tank. The chain should have just a little slack (about 1/2 to 1 inch) when the flapper is closed.
3. Clean the Flapper Seat — Remove gunk for a better seal
Even a healthy flapper can leak if its seat (the opening it seals against at the bottom of the tank) is dirty. With the tank drained, use a non-abrasive scrubber, a soft brush, or even your finger to gently clean around the rim of the drain opening where the flapper rests. Mineral deposits, rust, or debris can accumulate here and prevent a watertight seal. Do not use harsh chemicals or abrasive pads that could scratch the porcelain or plastic.
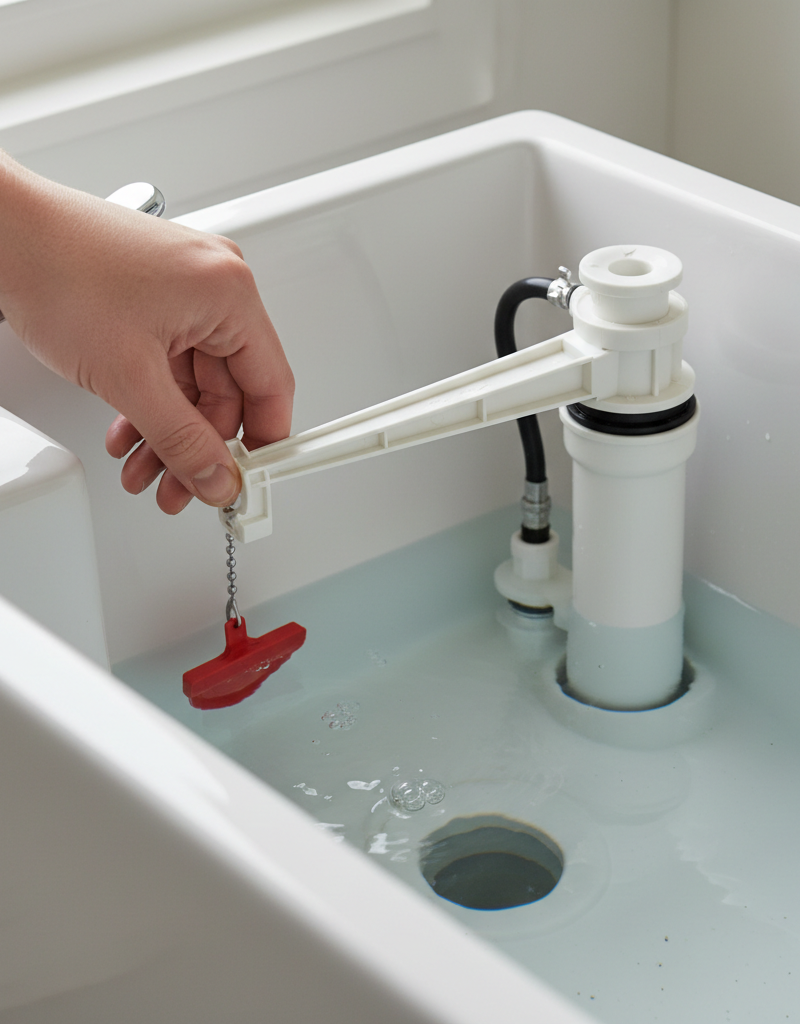
4. Adjust the Flapper Chain — Ensure proper movement and seal
If the chain is the issue, unhook it from the flapper arm. Reattach it to a link that provides just enough slack so the flapper can fully open when flushed, but also completely close and seal when the tank refills. A general rule is to have about 1/2 to 1 inch of slack. Test by gently lifting and releasing the flapper by hand, ensuring it drops squarely into place without obstruction.
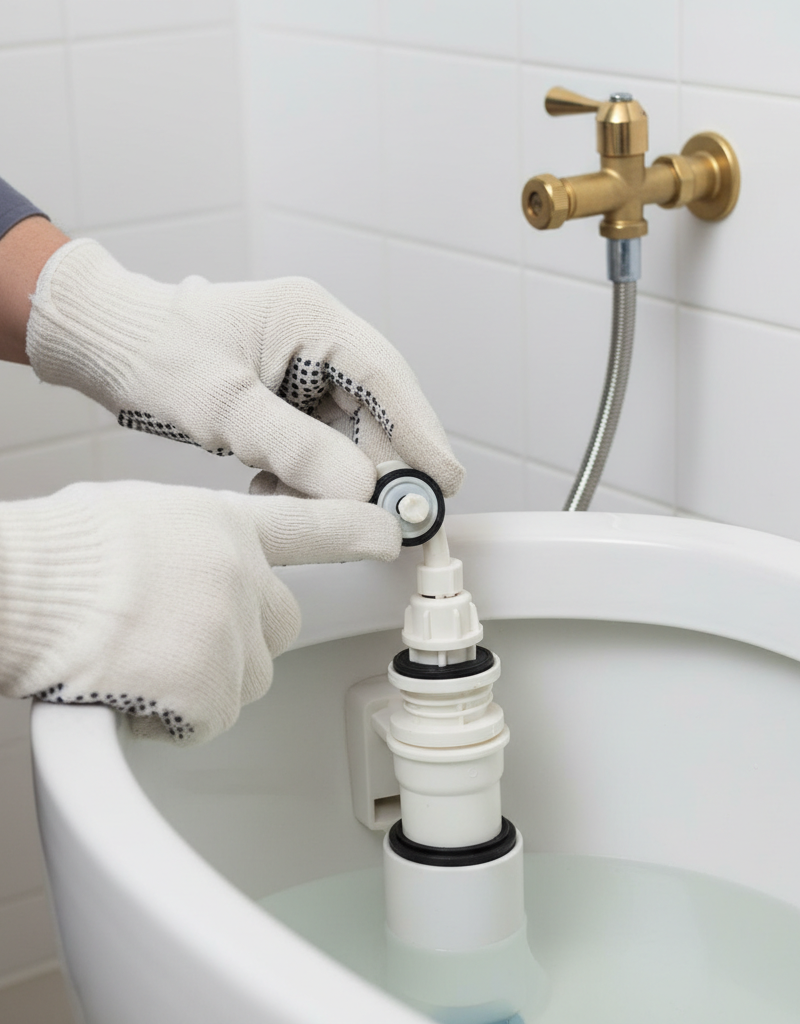
5. Replace the Flapper — Install a new, flexible seal
If the flapper is old, stiff, or visibly damaged, replacement is usually the best option. To remove the old flapper, unhook the chain and gently unclip the flapper from the overflow tube ears on either side. Some flappers might have a ring that slides down the overflow tube. Take the old flapper with you to the hardware store to ensure you buy an exact match for your toilet
Related Articles
Keep troubleshooting with these hand-picked guides from FixlyGuide:
- The $5 Flapper Trick Plumbers Hope You Don't Know About Your Running Toilet — Discover the secret $5 flapper trick that often fixes a running toilet, saving you money on parts and plumber call-outs.
- The $5 Secret to Silencing a Running Toilet (Plumbers Hope You Don't Know) — A running toilet is usually caused by a simple issue with the flapper or its chain, leading to constant water waste and higher utility bill…
- The 30-Second Toilet Fix Plumbers Don't Want You to Know — A running toilet can waste hundreds of gallons of water per day, but often the fix is incredibly simple and takes under a minute.
- The $2 Trick to Stop a Running Toilet (Plumbers Don't Want You to Know) — Discover the simple, two-dollar fix that can stop your running toilet in minutes, saving water and preventing costly repairs.
- The $2 Flapper Fix: Why Your Toilet Won't Stop Running (And It's Not Always the Handle) — Don't let a running toilet waste water and money; often, the culprit is a faulty flapper, a simple and inexpensive fix anyone can do in min…
- Is Your Gutter Sagging After Every Storm? The Hidden Flaw Most Homeowners Miss — Discover the overlooked reason your gutters sag after every storm and learn the lasting fix that most homeowners miss.
Frequently asked questions
How do I know if my flapper is the problem?+
To check your flapper, put a few drops of food coloring into your toilet tank. Wait 15-20 minutes without flushing. If color appears in the bowl without flushing, your flapper isn't sealing correctly and needs adjustment or replacement.
Can I replace a toilet flapper myself?+
Yes, replacing a toilet flapper is one of the easiest and most common plumbing repairs a homeowner can do. It typically requires no special tools and takes less than 30 minutes, even for beginners.
What kind of flapper do I need?+
Flappers come in universal sizes or specific designs (e.g., for 1.6 GPF or 3.5 GPF toilets). It's best to take your old flapper to the hardware store to ensure you get a direct replacement, or check your toilet's model number for compatible parts.

Discussion
Loading comments…